The Making of PrintLab’s ‘Design a Self-Watering Planter’ Lesson Plan
We often get asked about the process in which we create our 3D printing curriculum and today we are delighted to announce a new content series on our Instagram page, where we will be sharing behind-the-scenes footage showing the development of our lesson plans.
17th September 2018 • News
From brainstorm sketches and notes to the 3D modelling and testing of prototypes, you’ll have the opportunity to see the thought process we go through for lesson uploads to PrintLab Classroom! To kick things off and to give you a taster as to the content you can see on our Instagram page, this blog will reveal the steps we took to create our most recent lesson plan – Design a Self-Watering Planter…
The Making Of PrintLab’s ‘Design a Self-Watering Planter’ Lesson
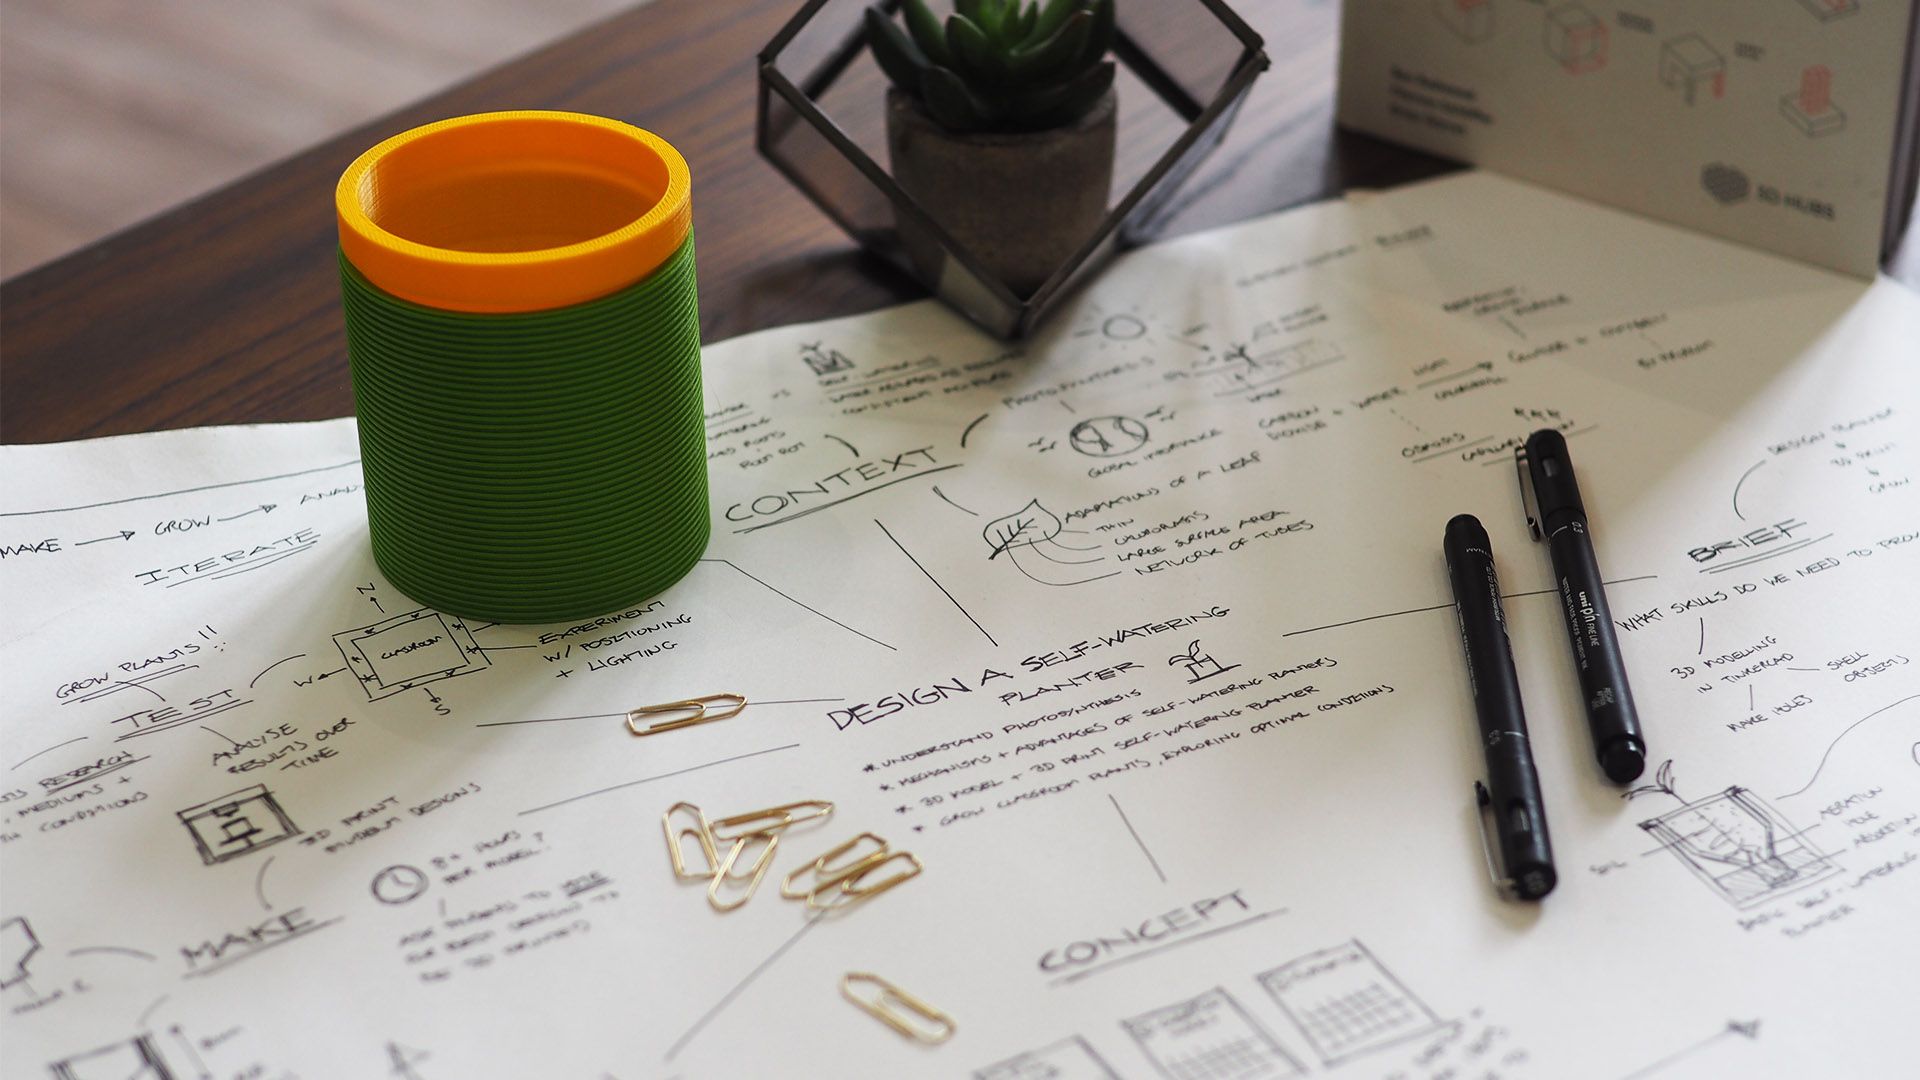
When releasing new lessons on PrintLab Classroom, we always ensure our graphics and curriculum materials are of the best presentation standards. Countless hours go in to video editing, designing graphics and creating worksheets – but what you don’t see is that each lesson begins with rough sketches and notes on pen and paper!
STEP 1: The Overarching Idea
Inspiration for new lesson ideas come from simply living life and going about my day-to-day activities. With the sheer amount of applications and uses 3D printing has to offer, it’s difficult to run short of ideas! As an example, the self-watering planter lesson we will be exploring today came about because I was looking at how to efficiently grow plants at home (since mine keep dying on me!). It was at that point that I began reading about self-watering planters and their advantages. Half an hour after that, came the brainstorming for a new lesson plan.
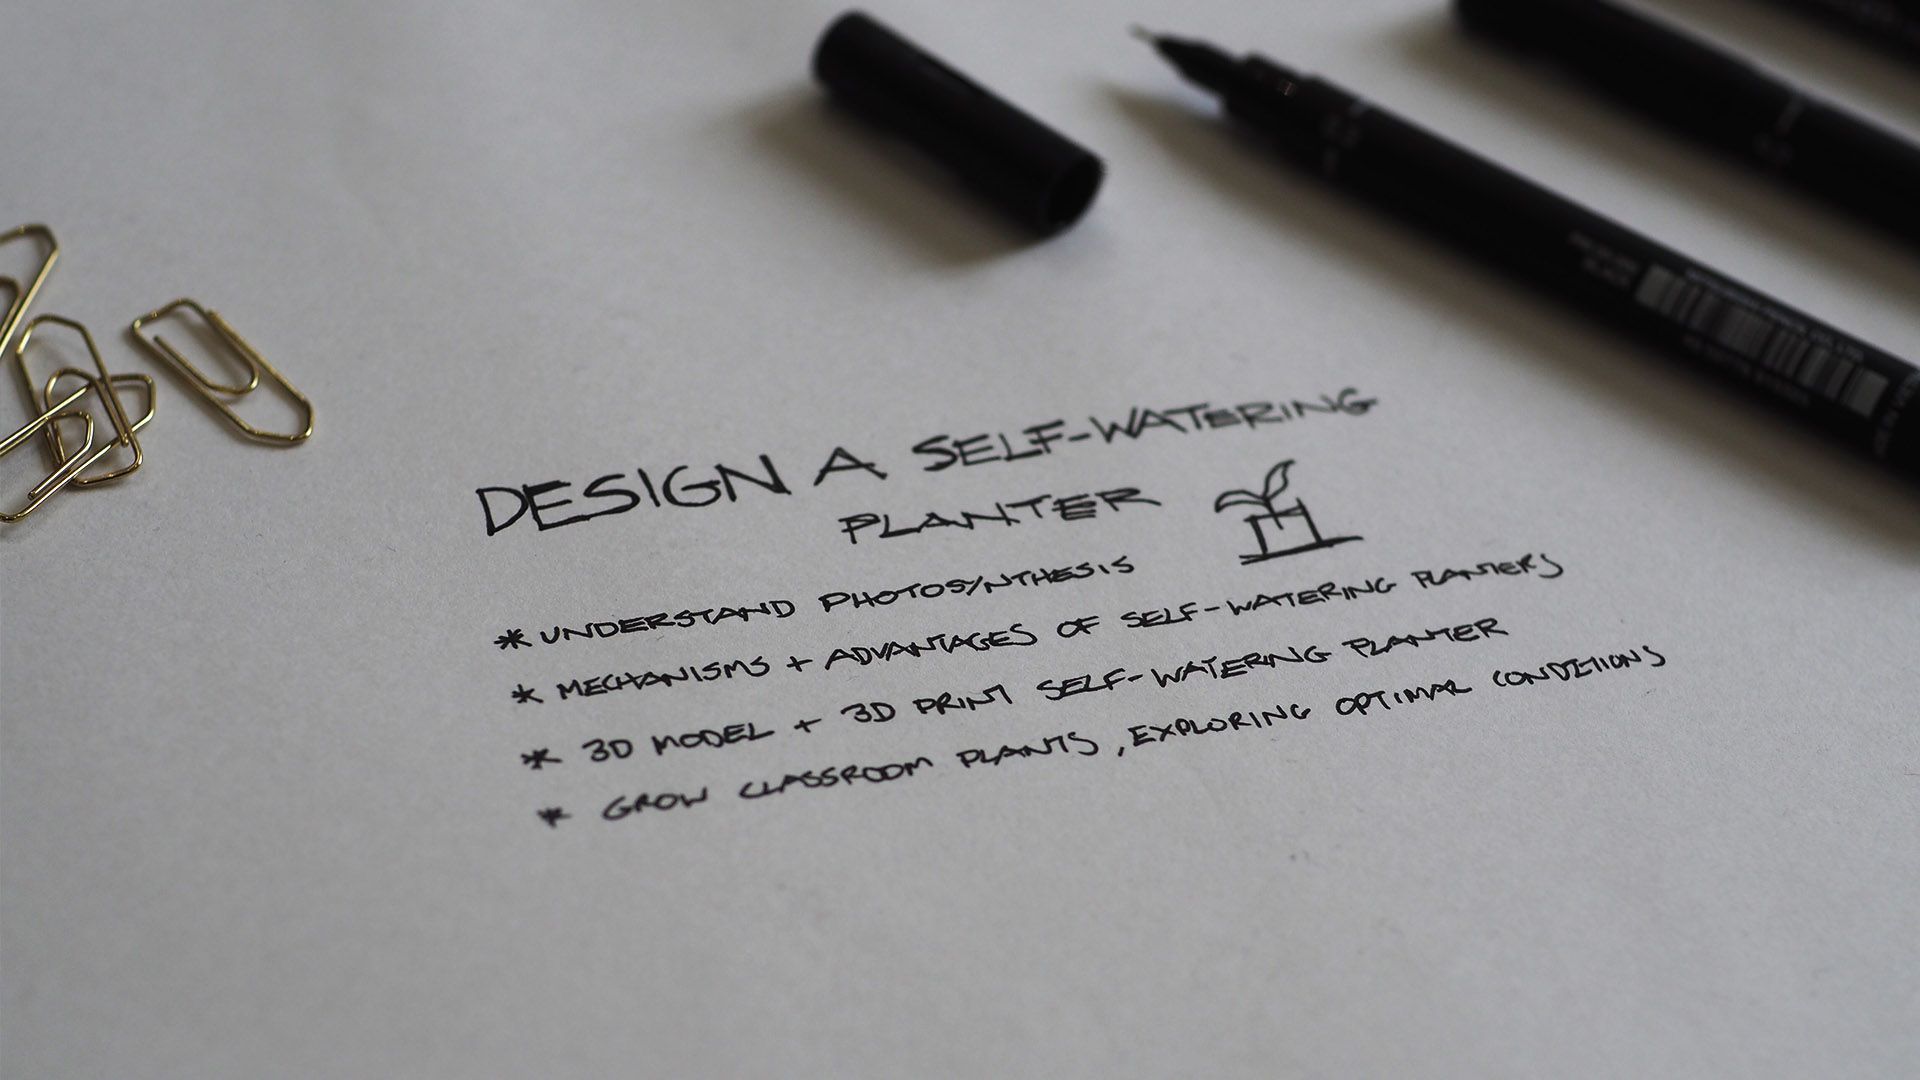
As with all of our lessons, the brainstorming began with an overarching idea, together with some key learning criteria I wanted students to achieve. By thinking about the process of creating a self-watering planter and growing seeds, it became quite obvious that this lesson would combine subject content from biology with computer science, maths and design technology.
STEP 2: Context
With an overarching idea in place, I began to explore the aims and targets of various curriculum around the world such as the NGSS, CCSS and the UK National Curriculum. By combining the key learning criteria from step 1 with aims of global curriculum standards, I was able to scribble down some important concepts to be taught during the lesson.
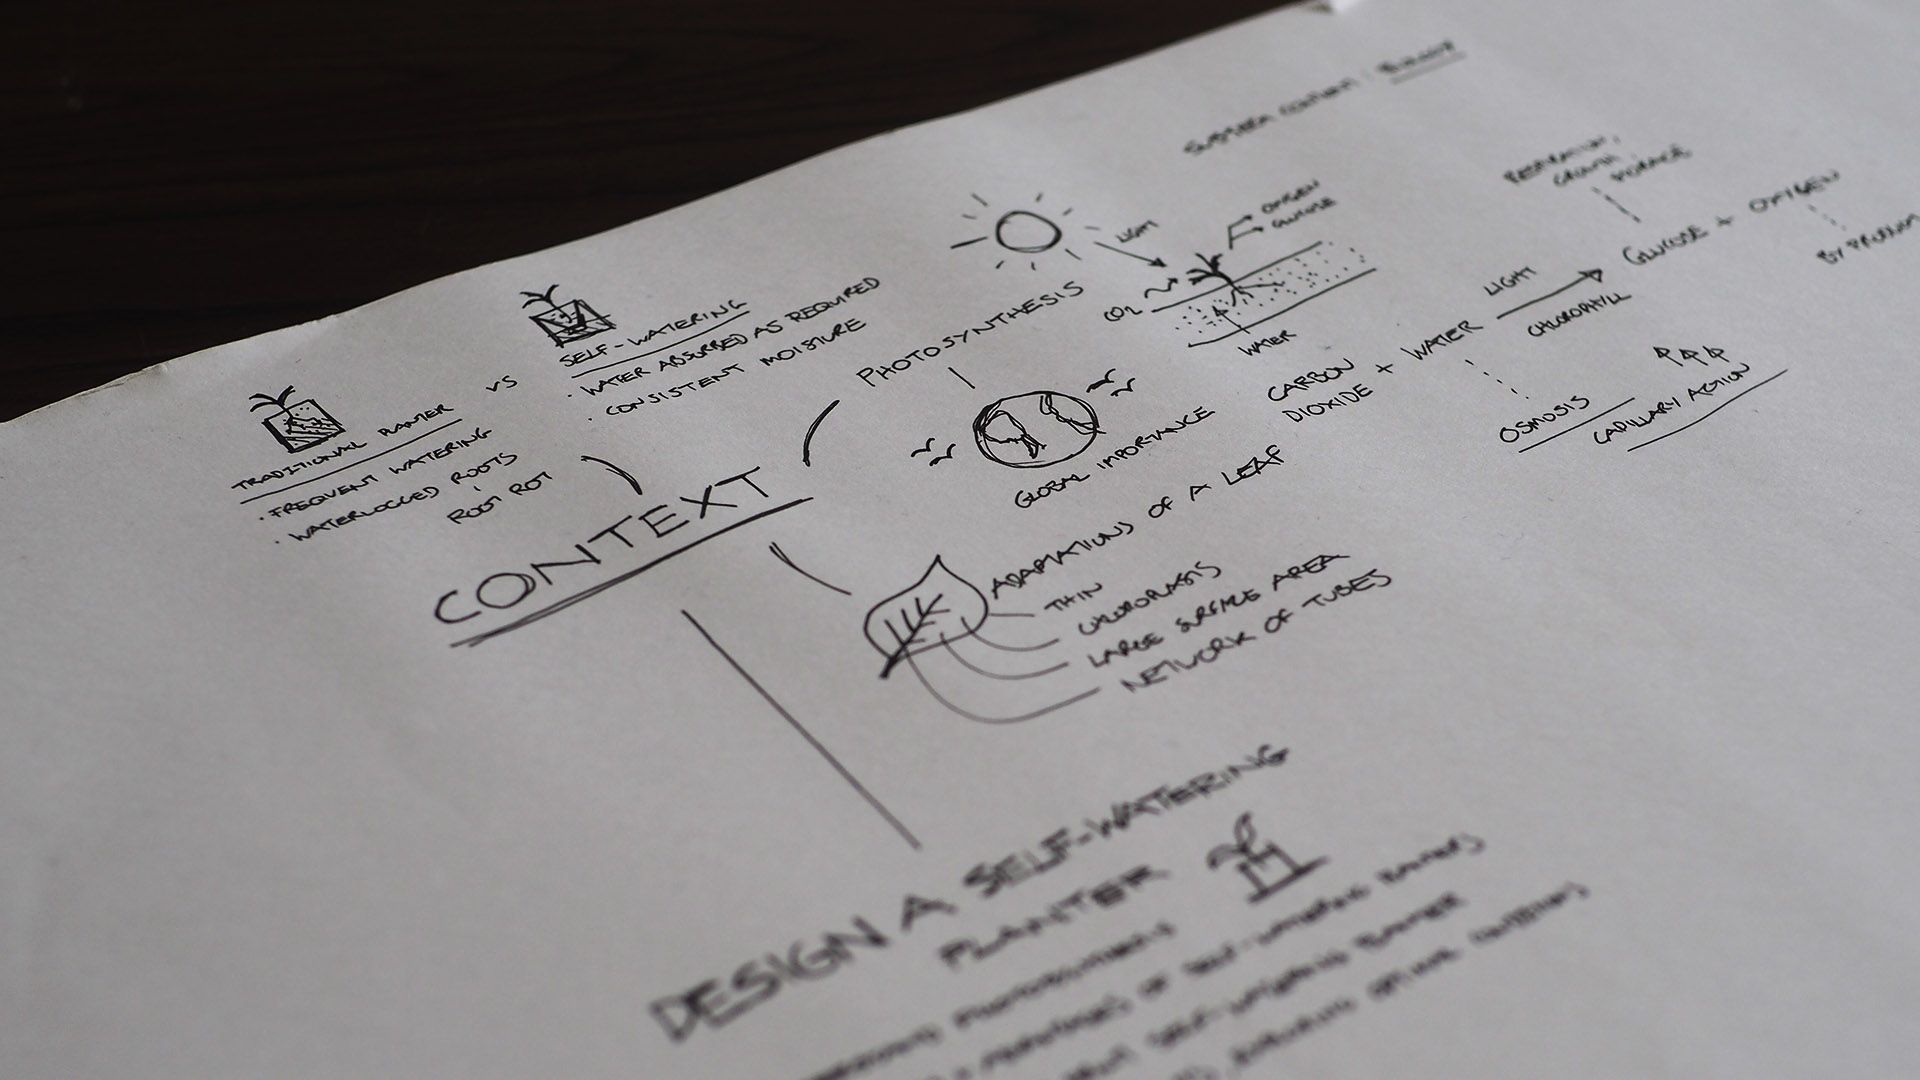
These concepts would eventually end up in a pretty powerpoint presentation, which as you’ll see later, provides students with the contextual knowledge required to grow classroom plants in self-watering planters.
STEP 3: The Brief
Determining the brief for students is the most important aspect for me as it defines the learning path students will take. Designing a self-watering planter isn’t the easiest of tasks, especially for our target age group (8-13). Advanced modelling techniques would be required to create the device so we needed to have a good balance between step-by-step instruction and self-exploration from students.
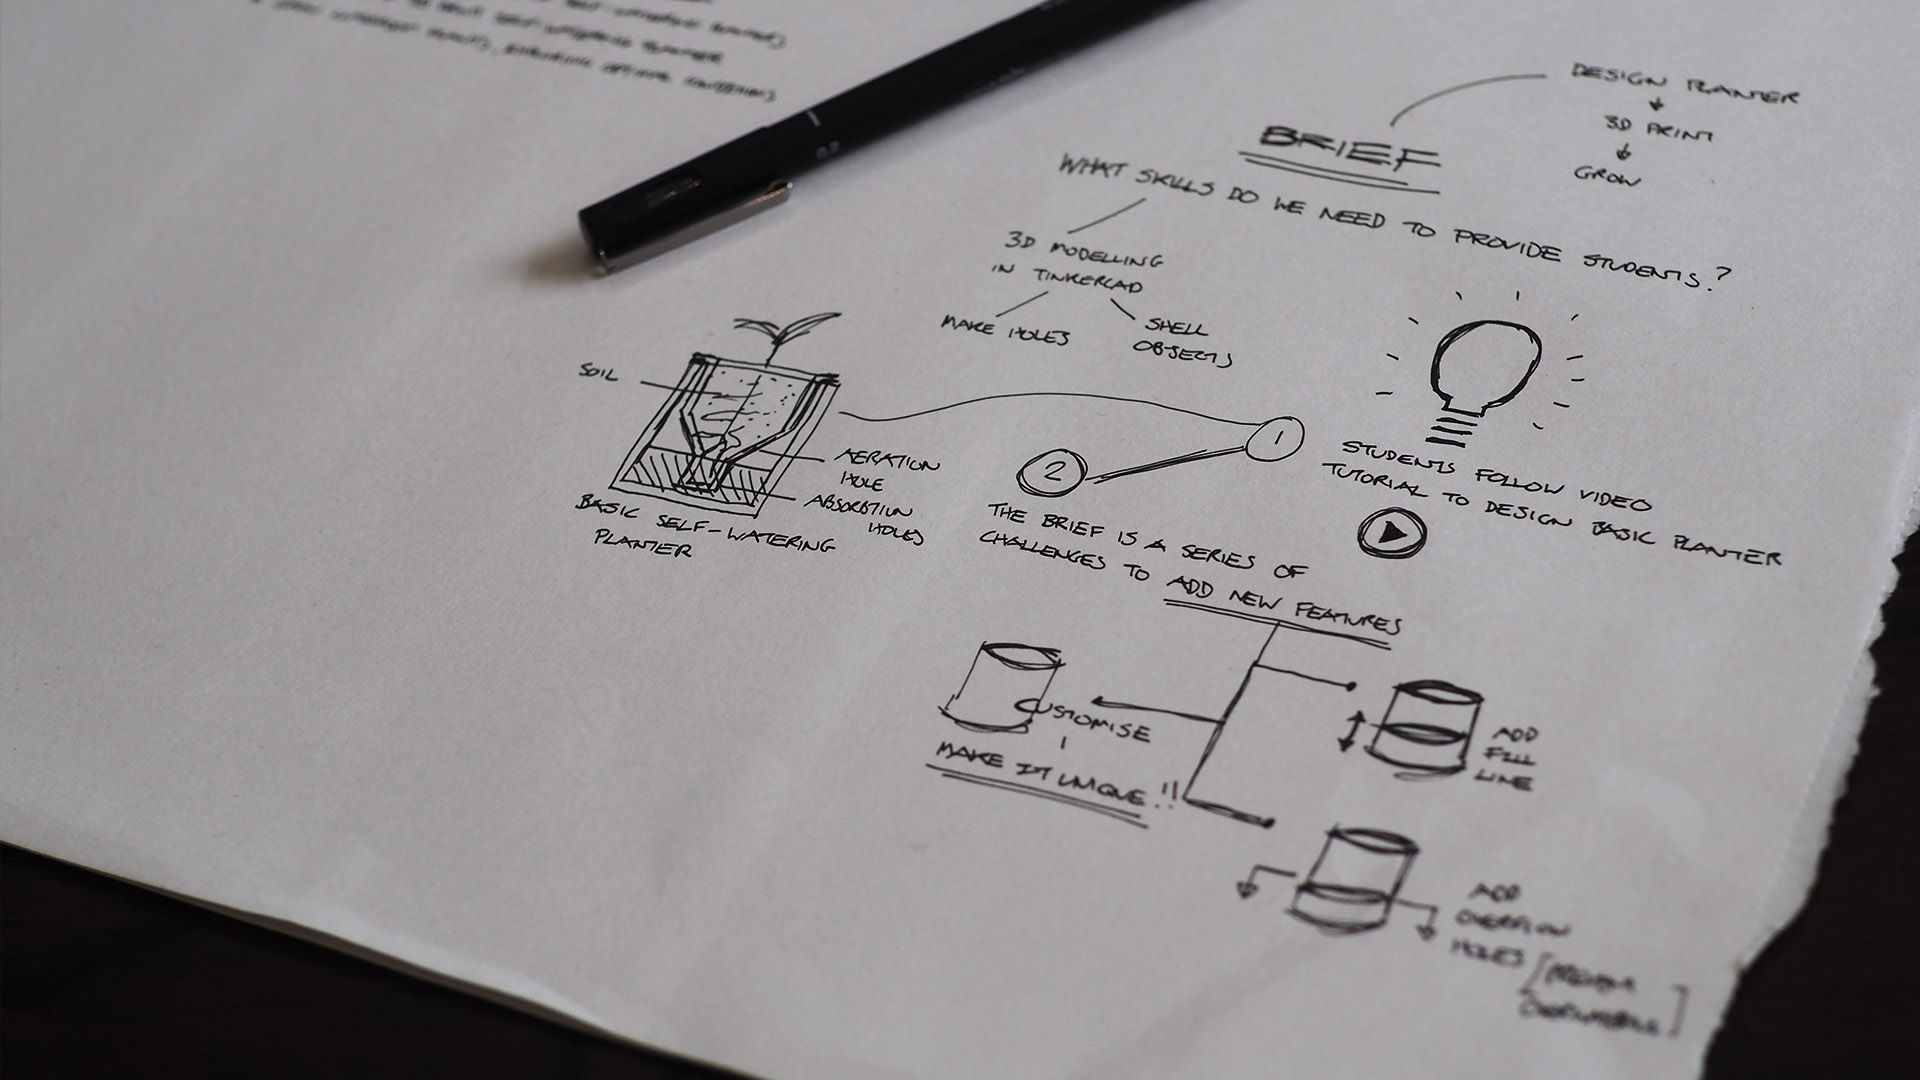
Due to the difficulty of the design, we made the decision to split the design process into 2 parts. Part 1 involves students following a tutorial video to design a basic self-watering planter. Part 2 involves setting design challenges for students to add new features and customise the planter. At first, you might think that a step-by-step instructional video doesn’t really unleash a students’ creativity or allow them to solve problems and explore new ideas. However, in addition to allowing students to freely design, we see it as our responsibility to provide them with new skills, which is exactly what the tutorial video will do! Further down the line, whether it be in this lesson or future projects, students will have a whole range of new techniques they can use in their exploratory work.
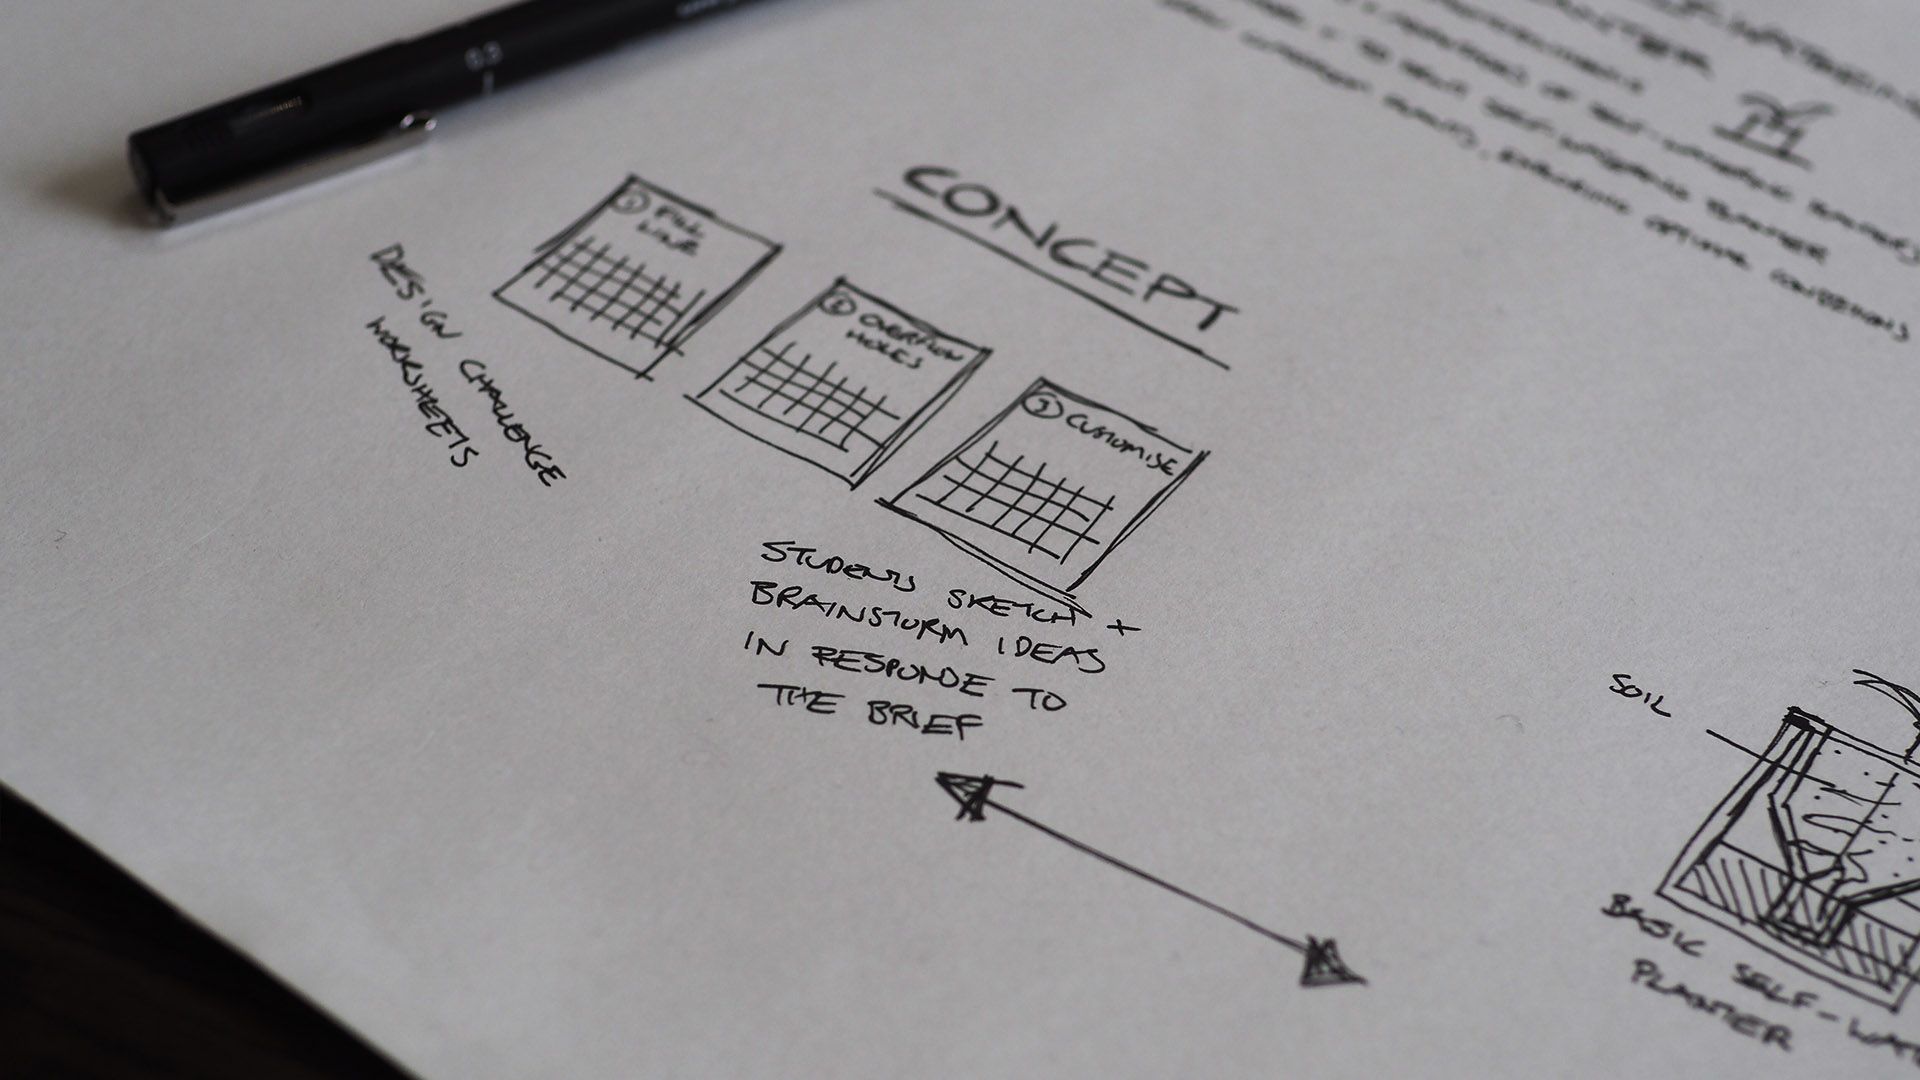
STEP 4: Concept
The design process for any industry professional, whether it be an architect, engineer or artist, rarely begins on CAD software. Concepts are usually drawn, just like we have done here, on pen and paper. I therefore wanted students to go through this same process and came up with the idea of creating design challenge worksheets, with a space where students could sketch and annotate their ideas freely before designing their final models.
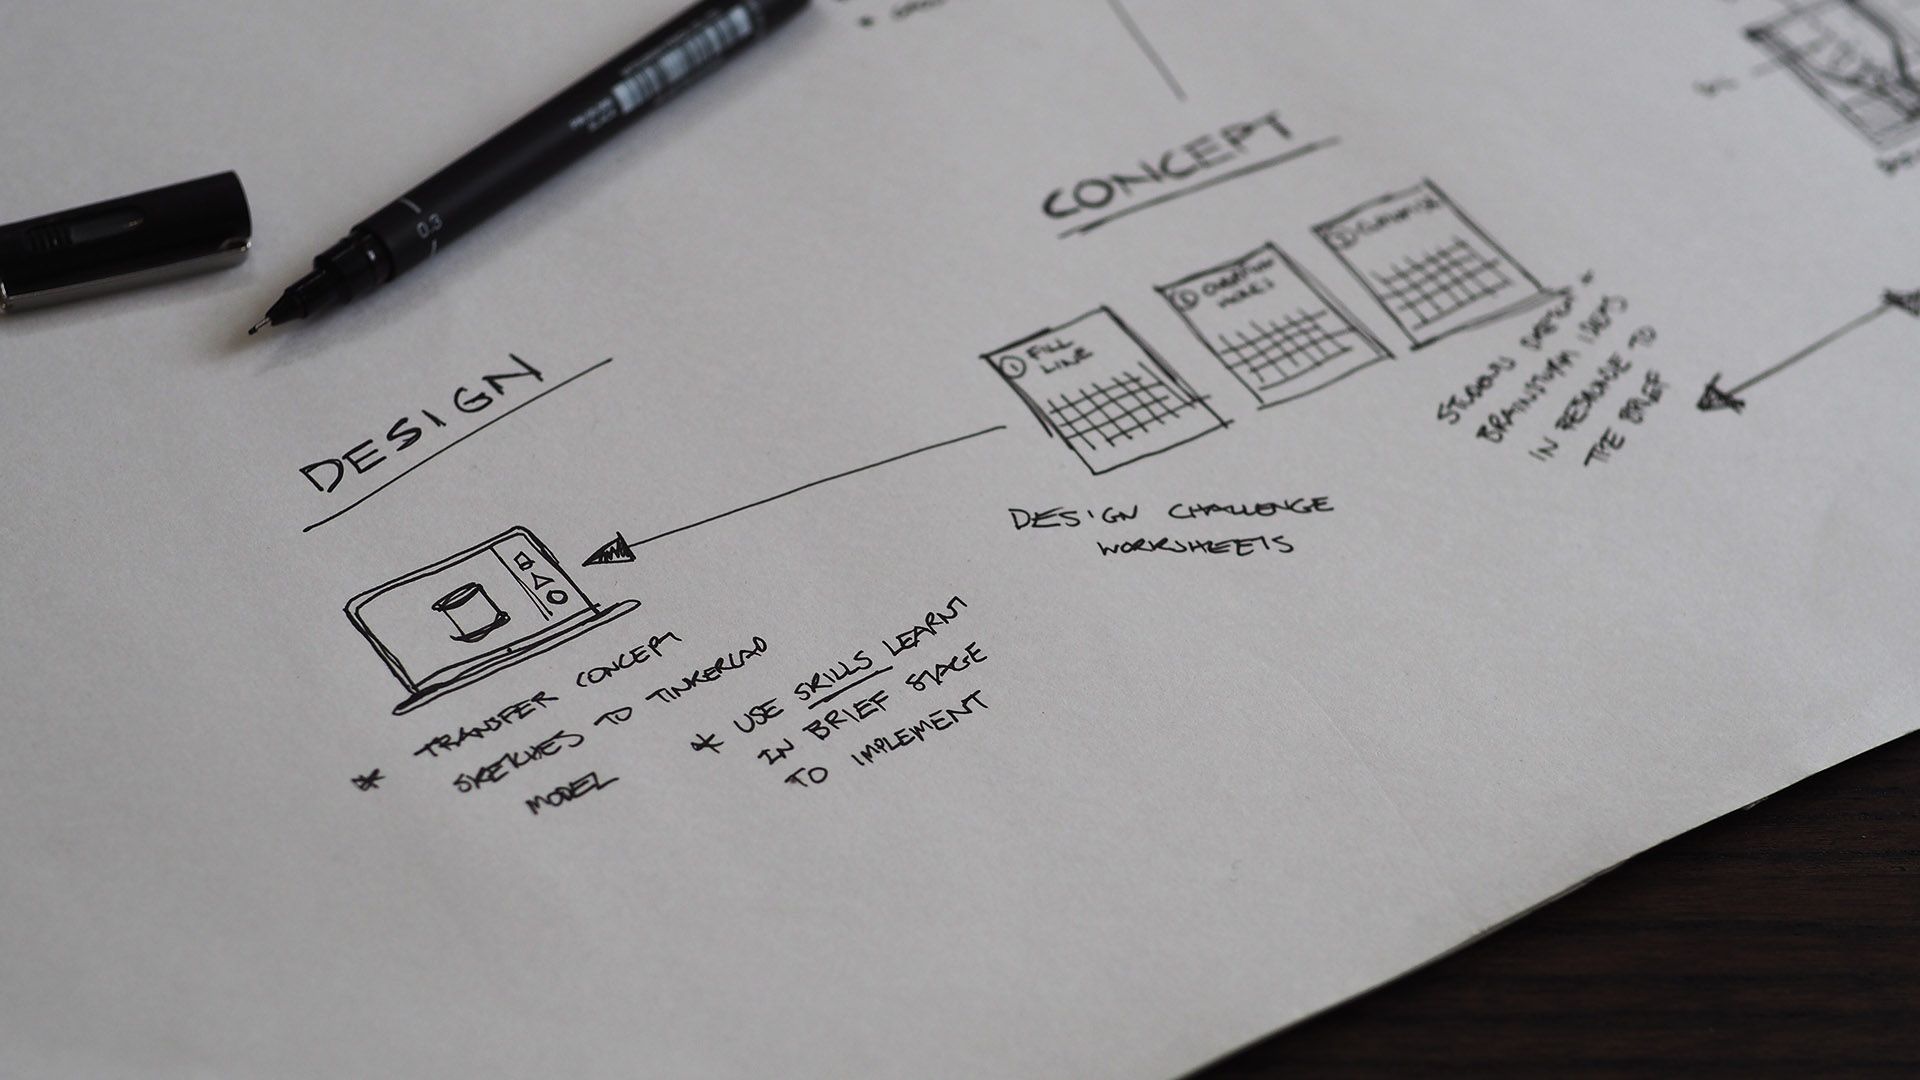
STEP 5: Design
Using skills learnt in the tutorial video, students can transfer their responses to the brief to Tinkercad software by adding new features to the self-watering planter.
STEP 6: Make
In an ideal world, each student would 3D print their own planter. However, we have to be honest in the fact that this could take a lot of time and filament. It was therefore important for me to suggest ideas in the lesson plan to support teachers who simply don’t have the time or resources to make 20-30 planters. If all students go through the design process, it’s not the end of the world if they aren’t all 3D printed! It can often be a good choice to ask students to vote for the best designs to be printed, which reduces time and cost, whilst encouraging peer-to-peer assessment.

STEP 7: Test
In every product that is designed, it’s essential to test and analyse. Rather than simply providing students with seeds and soil, I wanted there to be a research and experimentation phase to the project.

STEP 8: Iterate
Over time, students could analyse the growth of their plants along with the design of their self-watering planter. Another project could be run in the future, where students use their newly developed skills to design new planters from scratch!

I hope you enjoyed reading about the thought process behind creating this lesson and don’t forget to follow us on Instagram to keep up-to-date with more behind-the-scenes footage! We’ll finish up by showing you the preview video for the final lesson plan, which is available on the PrintLab platform. Check out our 7 day trial here!