3D Printing in Architecture – Rural Solutions Case Study
What makes 3D printing so appealing to architects is the fact that complexity doesn’t cost anything and it doesn’t take more time. Imagine trying to hand-craft a model that required intricate representation of steelwork or an organic façade – some things just can’t be modelled using card and a hot glue gun. With 3D printing, almost anything is possible and it can be done with a just few additional steps to the current design process of an architect.
11th August 2016 • Case Studies
Rural Solutions
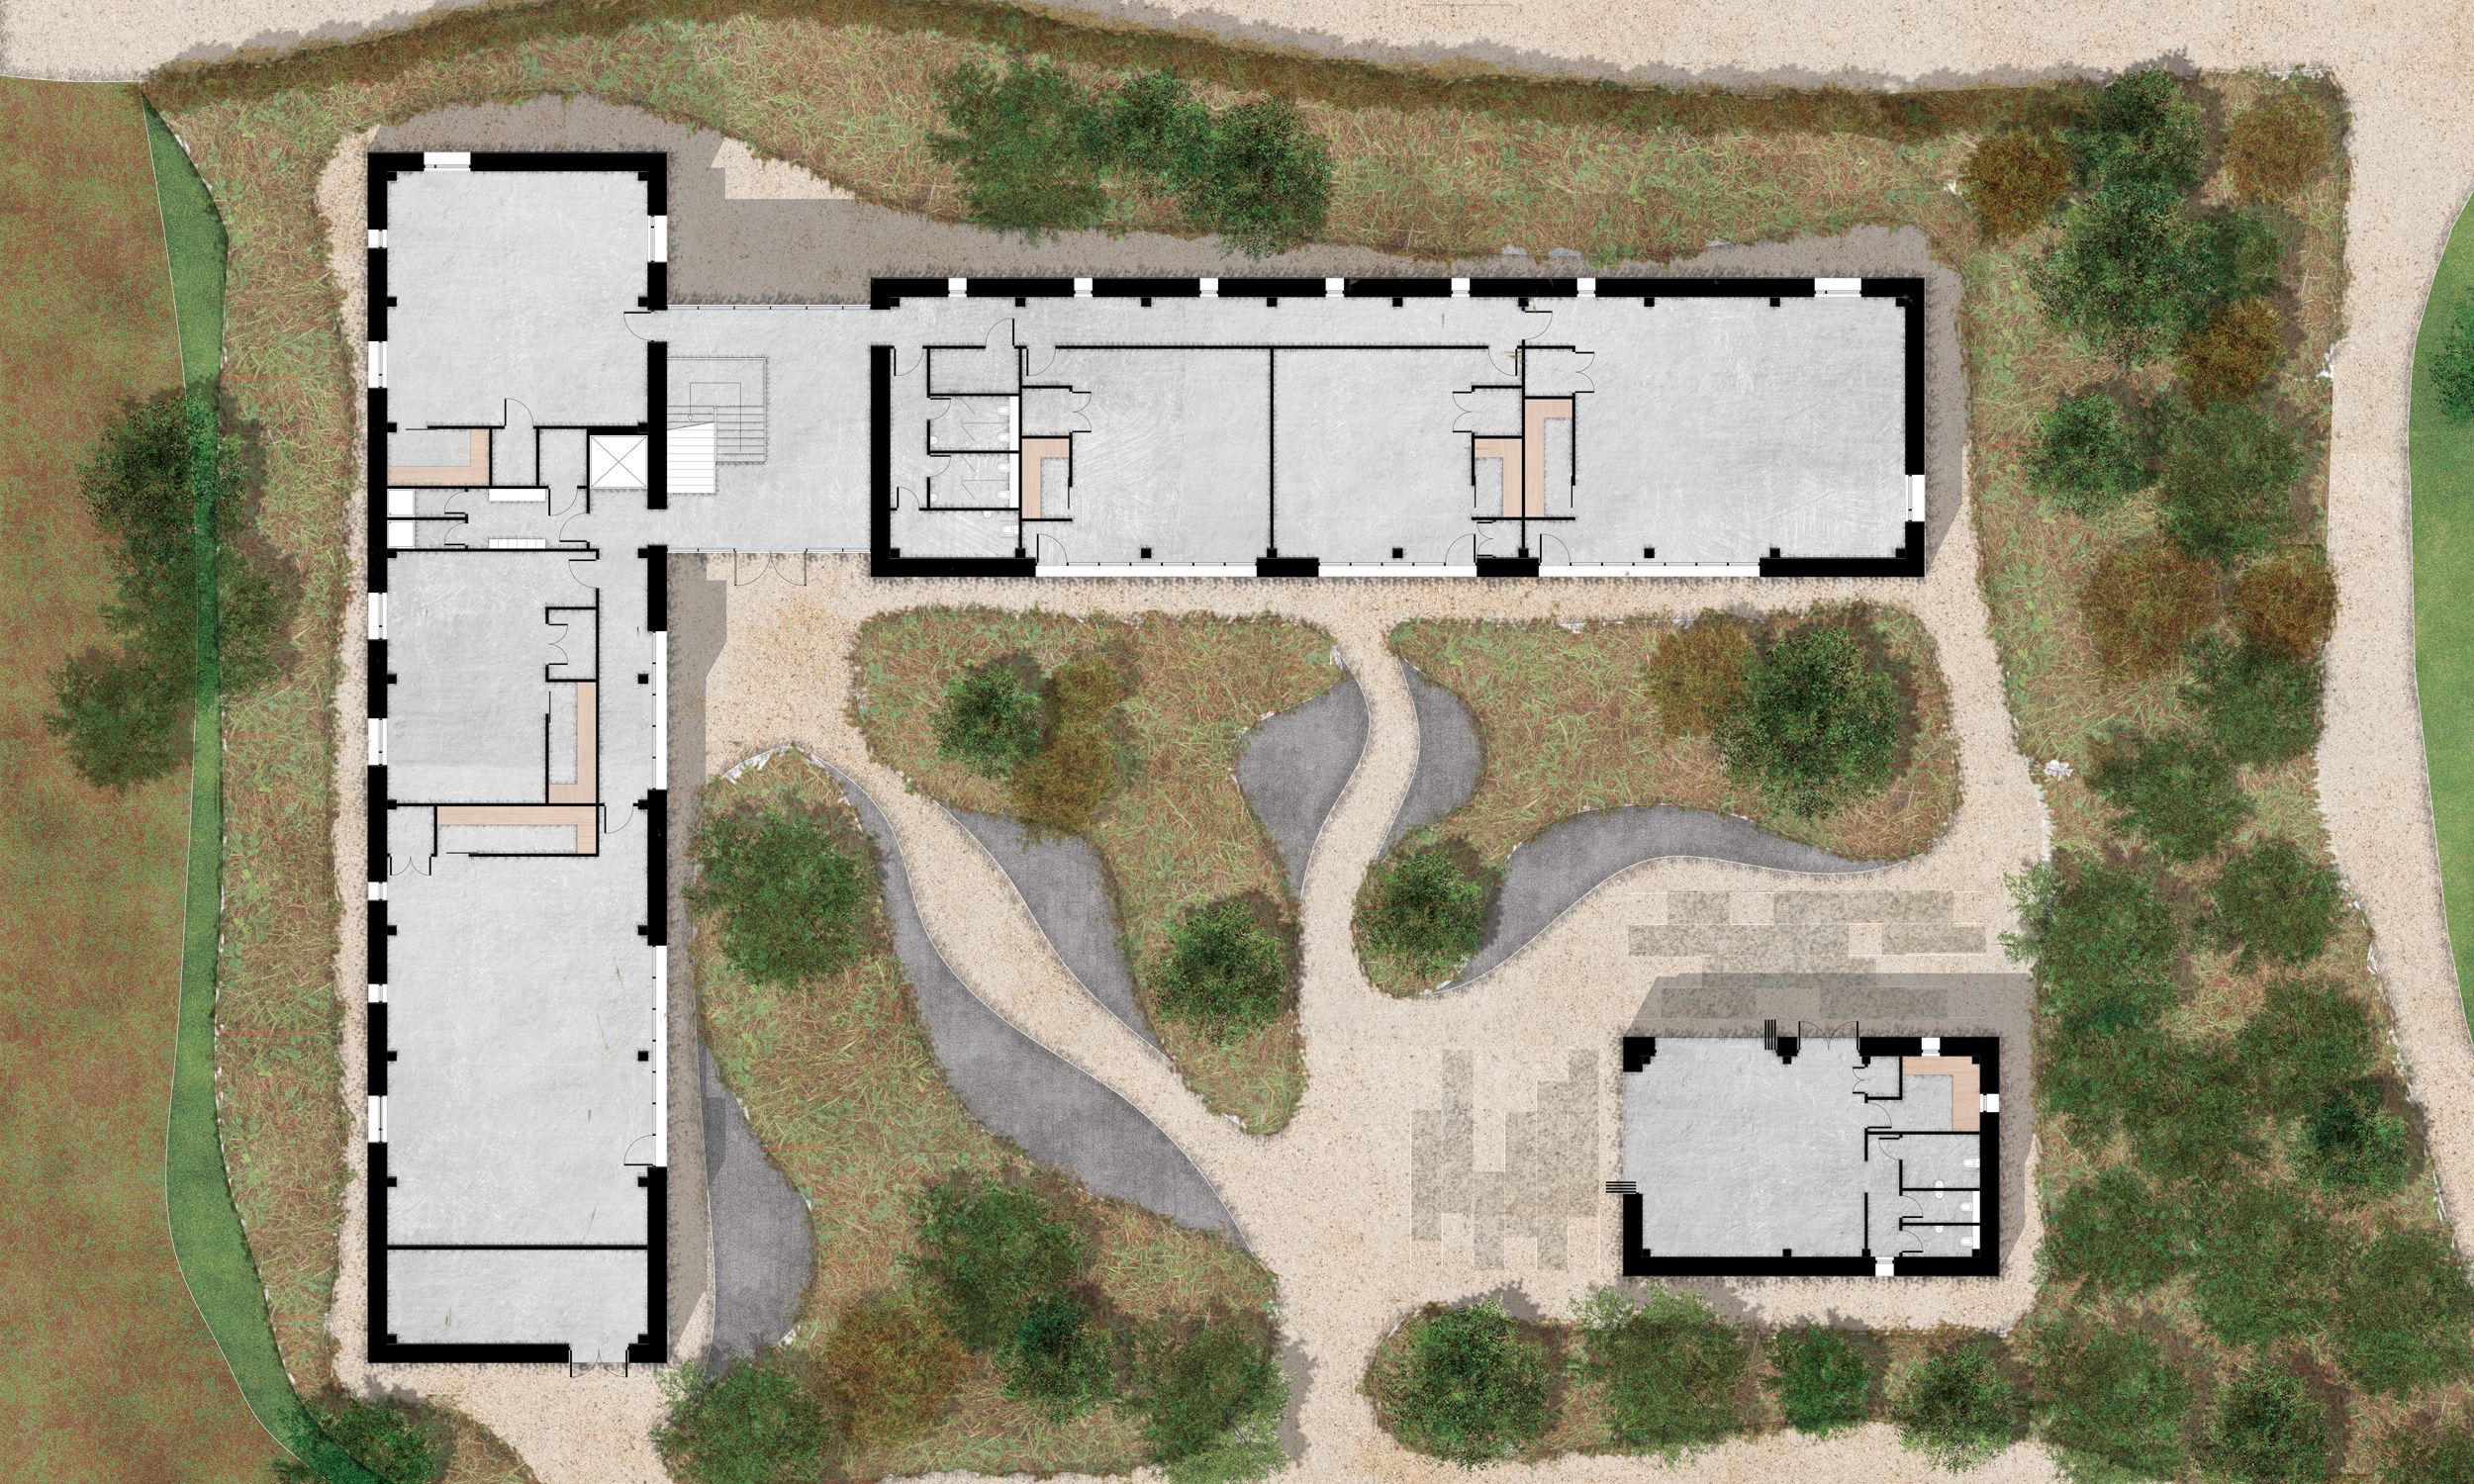
We introduced 3D printing to a local company by creating a physical model of a new design they are currently developing. Rural Solutions is a nationwide, multi-disciplinary consultancy, providing full architectural and planning services for people, organisations or businesses with interests in the diversification of rural land and property. The project they are working on is “Rural Office Complex”, a scheme which will be replacing existing agricultural buildings, as the client looks to generate an alternative source of income from their farmland.
When we were sent the 3D design, modelled in Sketchup, there were a few simple steps we had to take to make it “3D printable”. Here is what we did:
1. Ensured there were no holes in the model and that it was watertight
This is a basic requirement for 3D printing. All it means is that there are no “cracks” or missing parts of the outer layer. If you struggle to understand the technicalities of this, just imagine the outer layer of your model acts like a skin that holds some form of liquid inside – if there are cracks in the skin, it will not be suitable for 3D printing.
2. Increased the depth of certain geometries
The model was to be printed at 1:200 scale, meaning that some features were less than 0.5mm in diameter. This varies from printer to printer but on the one we used, the slicing software does not recognise shapes that are less than 0.5mm in diameter. Although extruding some surfaces does not give a true interpretation of the exact measurements of the building, it was an essential step to ensure key features of the design were communicated.
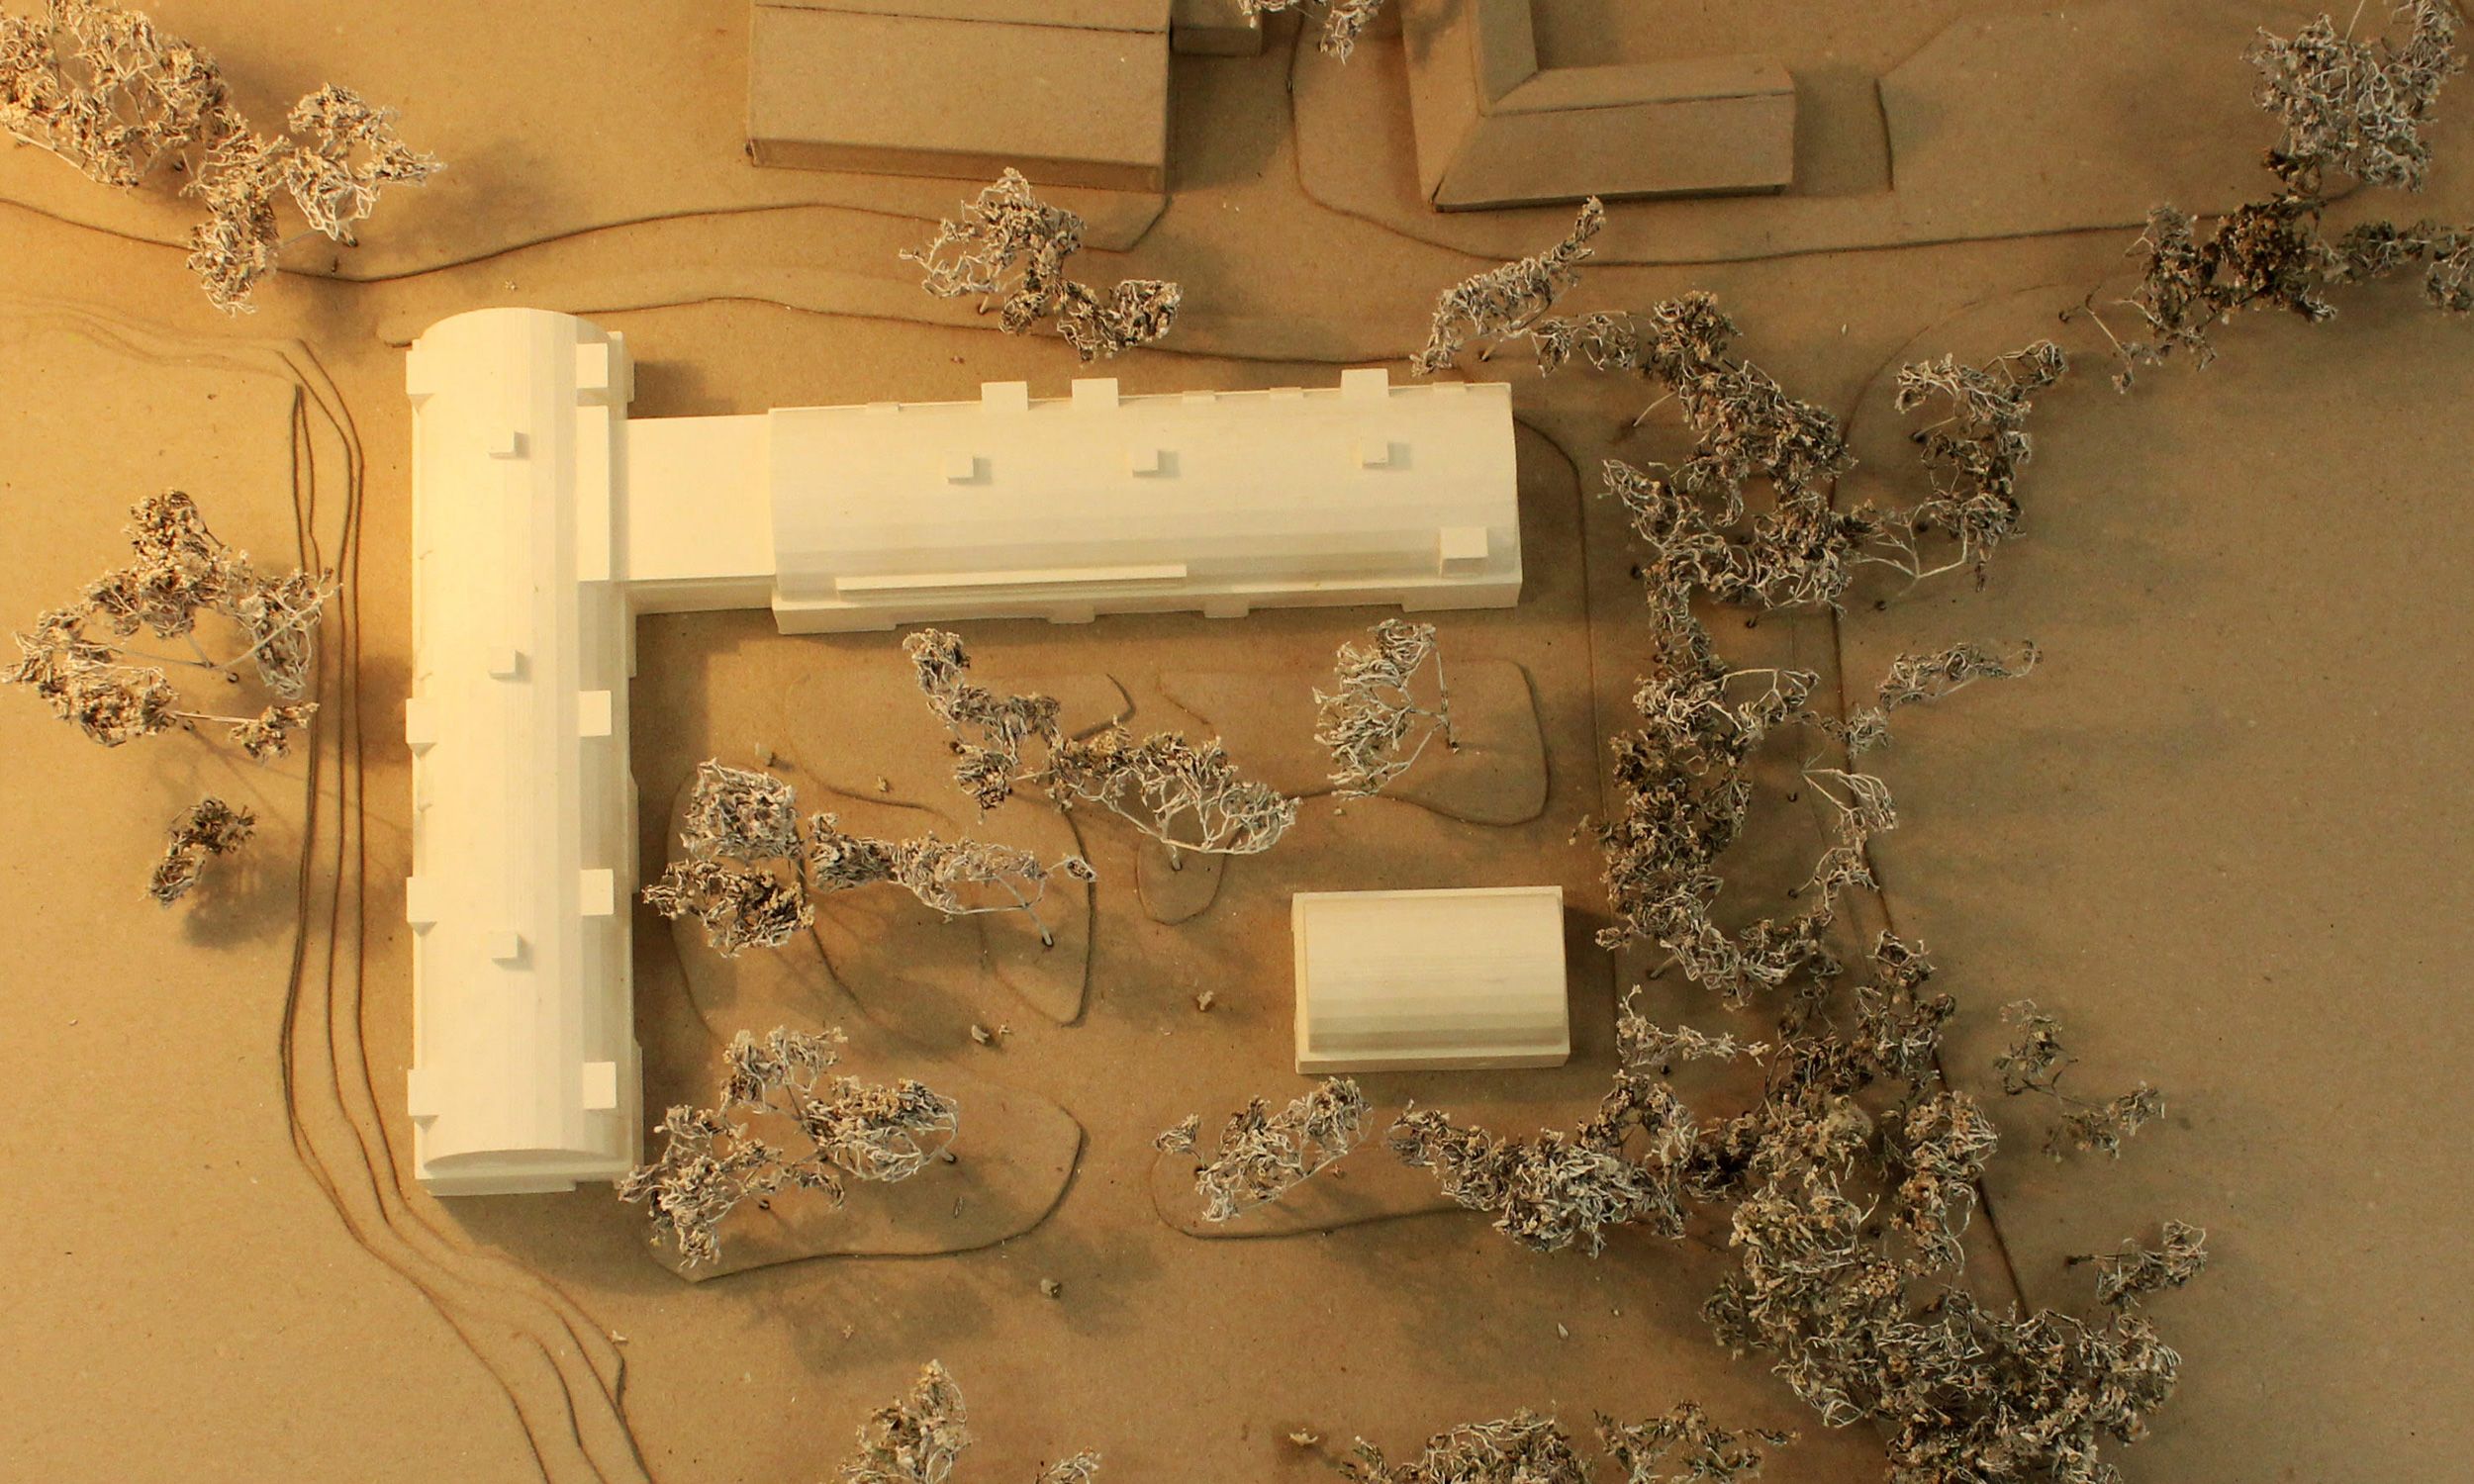
3. Split the model up
The scheme consisted of 2 long sections which sat at right angles to each other. We split the model up directly in Sketchup and placed the two sections parallel to each other so that they fit on the build plate of our 3D printer.
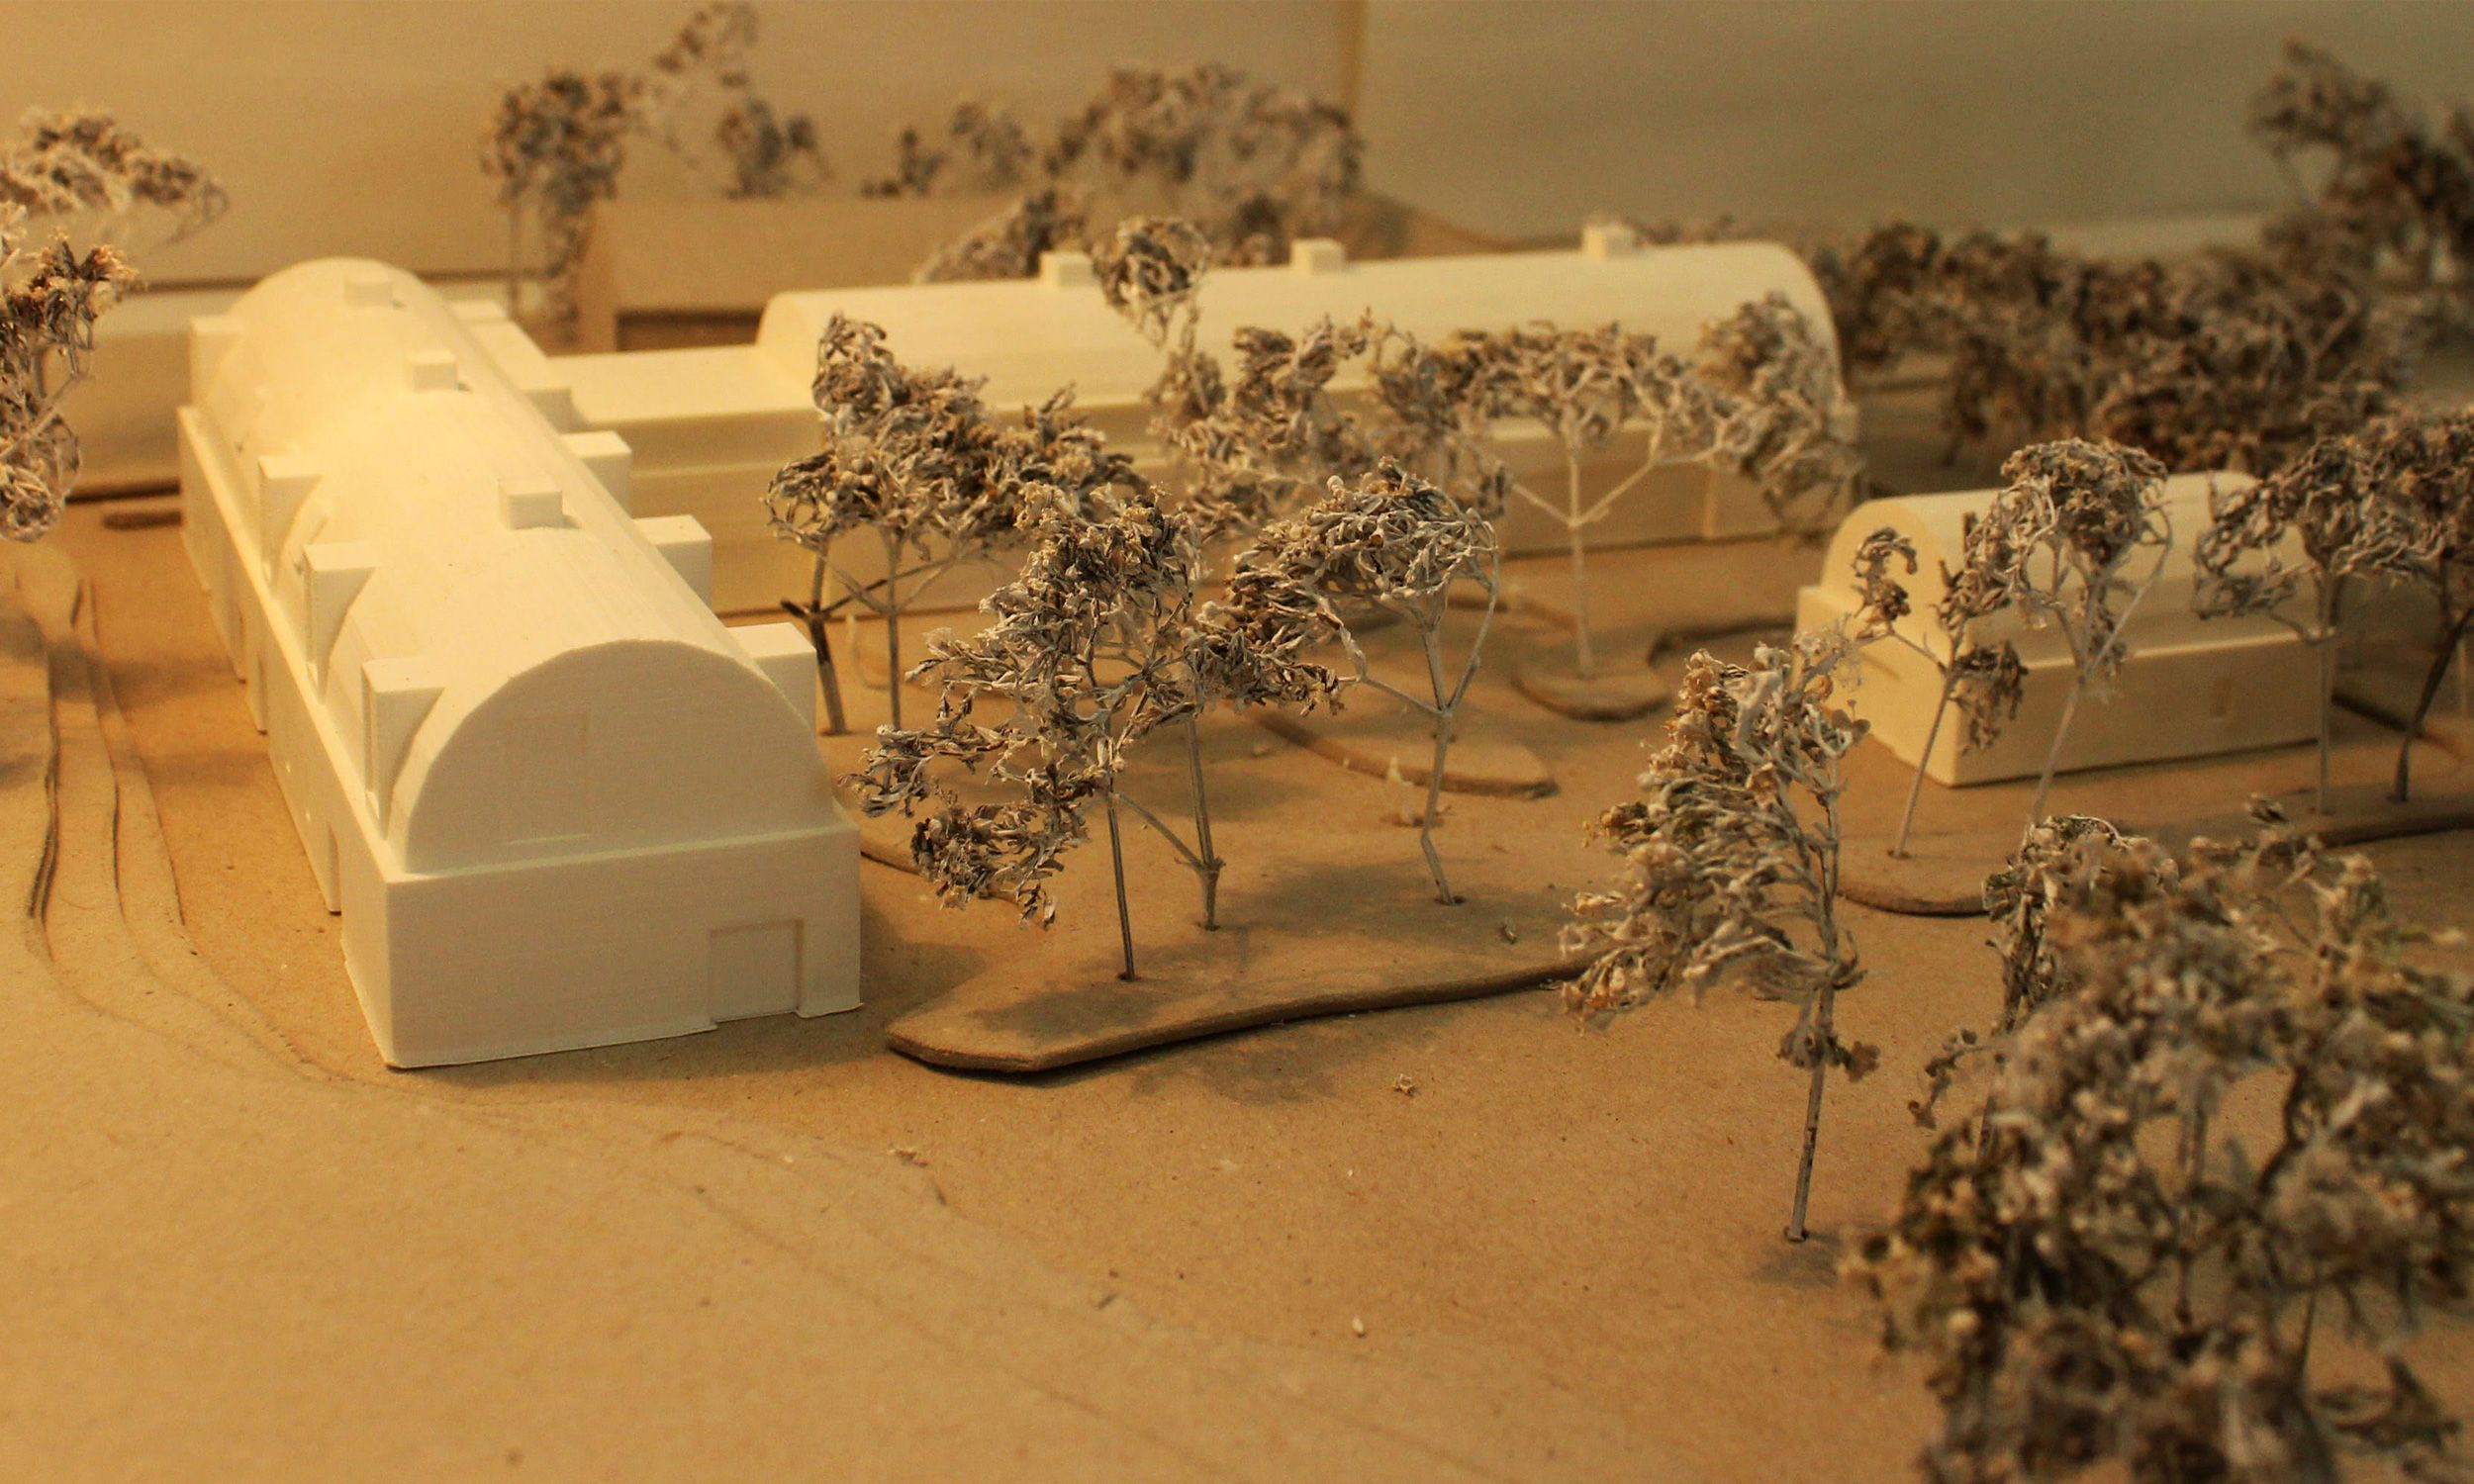
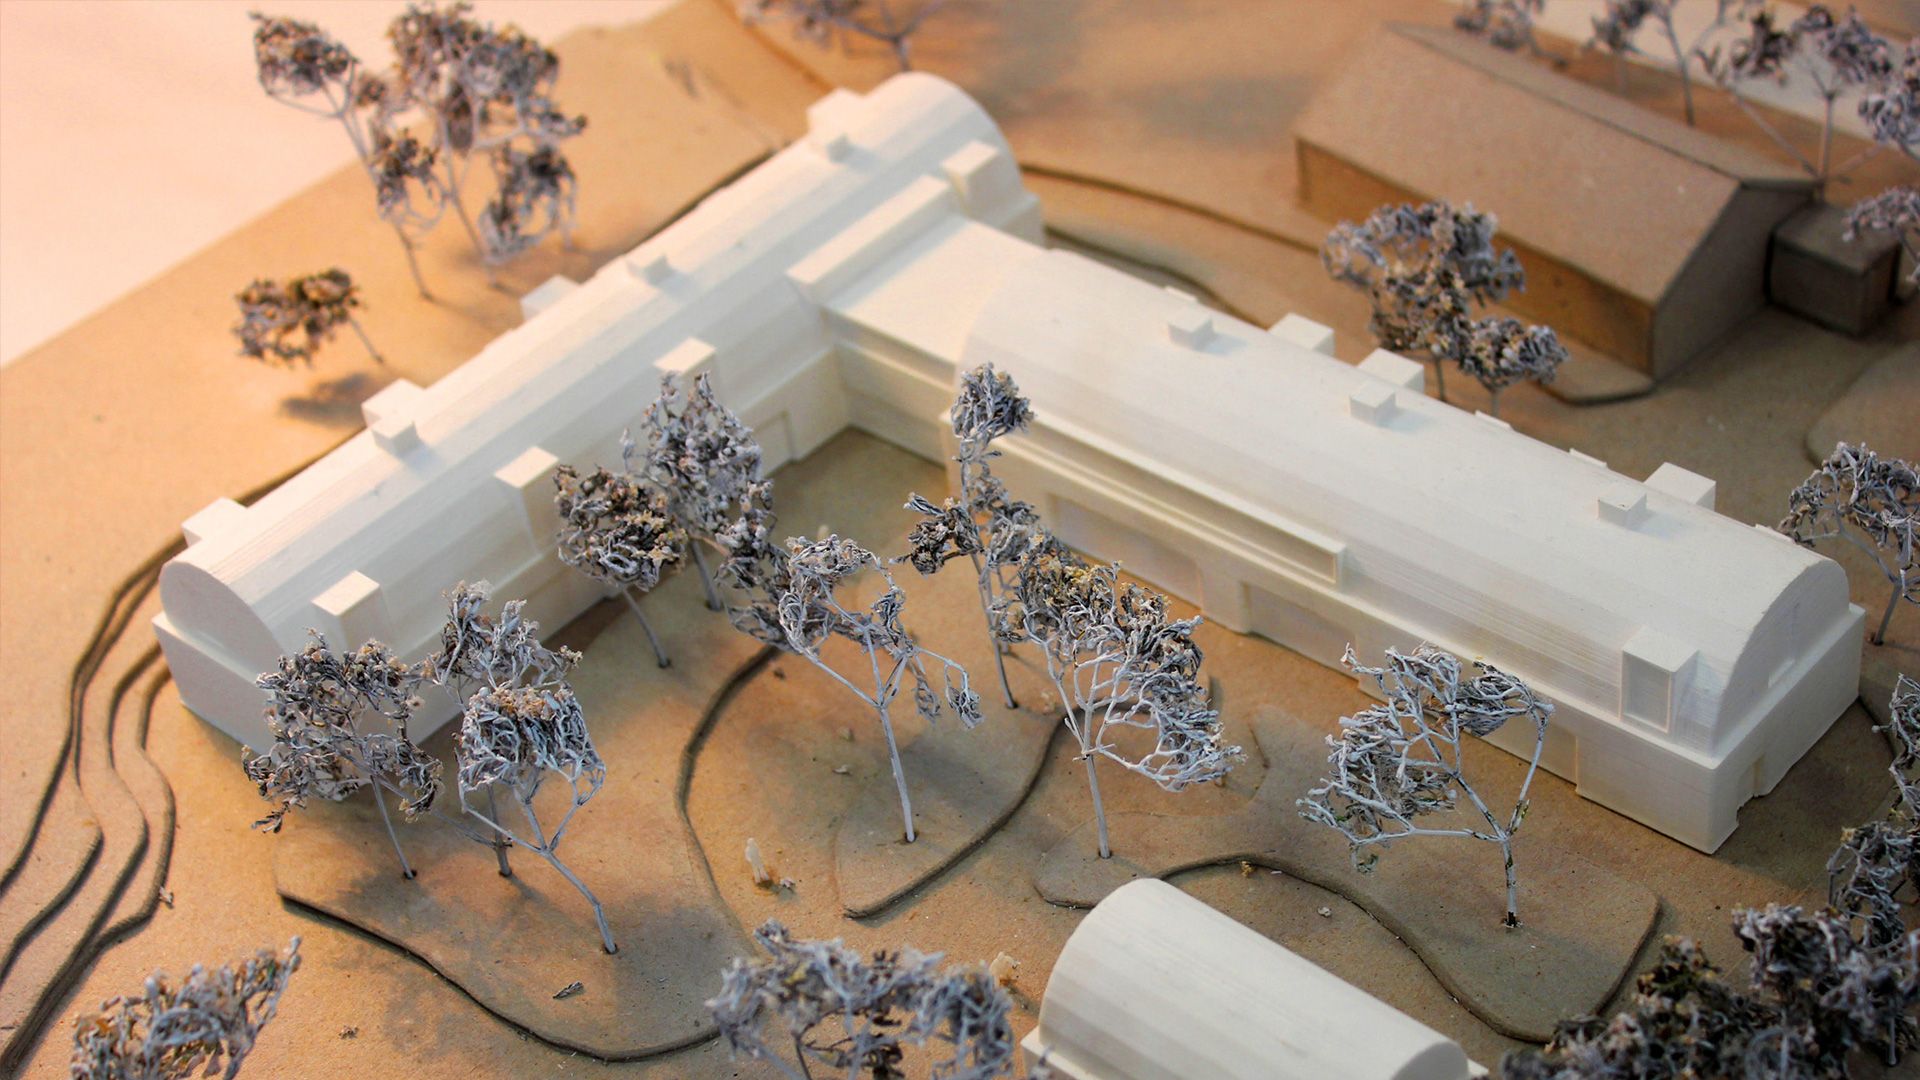
The above steps took around 10-15 minutes and the print time was approximately 16 hours. We’re really happy to say that Rural Solutions loved their 3D print! Here’s what they had to say:
“Being able to 3D print has allowed for a physical model to be created both efficiently and to a high quality. The model will allow us to physically demonstrate the design scheme to the local planning authority simply and provides a more tactile platform for those viewing for the scheme as an alternative to drawings”.
We’ll finish up with a couple images of the final print placed onto a site model. We’d love to see any great architecture models you’ve printed so feel free to share them through your PrintLab account.