From Icon to 3D Print: Using Noun Project SVGs in Tinkercad
One of the simplest ways to add detail and style to your 3D designs is by importing icons and patterns. In this blog, we’ll show you how to turn geometric pattern SVGs from The Noun Project into custom coasters in just five steps. Best of all, the same process can be applied to all kinds of projects - and to finish, we’ll share a classroom example from Charlotte Christian School, where students created playful typography designs by swapping letters with icons.
16th September 2025 • Tips
The Noun Project is an online platform with millions of icons and patterns covering almost any theme you can imagine – from animals and food to symbols and geometric designs. Many of these graphics can be downloaded as SVG files (Scalable Vector Graphics), which are perfect for Tinkercad because they store shapes as clean, scalable outlines rather than pixel-based images. This means you can import them directly into your 3D workspace, resize them without losing quality, and extrude them into 3D objects.
Let’s dive into the steps!
Step 1 – Create a Free Noun Project Account
Head over to thenounproject.com and sign up for a free account. This gives you access to a huge library of icons and patterns that can be downloaded as SVG files for use in Tinkercad. Please note that with the free version, you must credit the original creator if you use their icons in published projects, presentations, or posts.
Step 2 – Search and Download SVGs
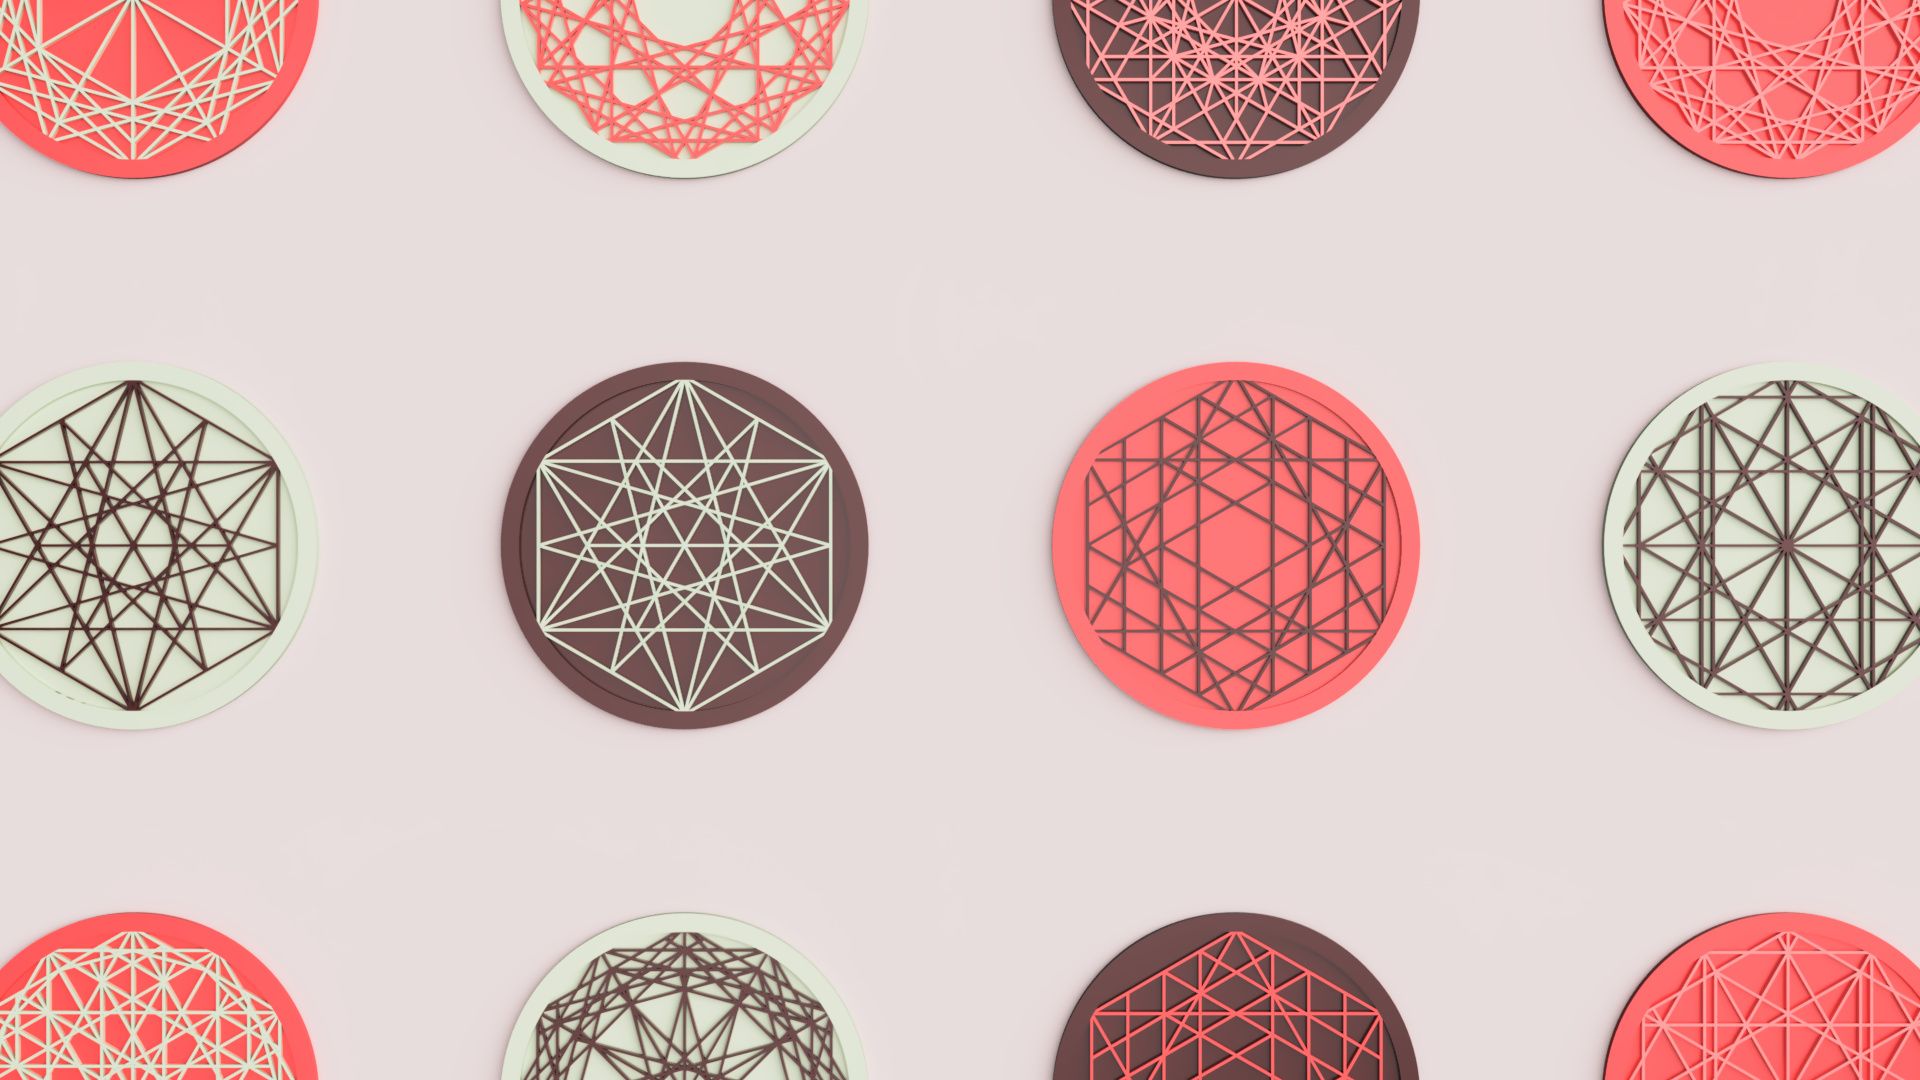
Once you’re logged in, you can use the search bar on The Noun Project to explore different designs. For our coasters, we searched for “circular pattern”, which brought up a range of great options suited to dropping onto a cylinder shape. When you find a design you like, download it as an SVG file – this is the format that Tinkercad accepts for importing.
Step 3 – Create the Coaster Base in Tinkercad
Next, draw the base of a coaster in Tinkercad. Start by dragging a cylinder onto the workplane and set the dimensions to 90 mm x 90 mm x 1 mm. This will form the flat base. To give the coaster a raised edge, drag a tube shape onto the workplane and set the radius to 50 and the wall thickness to 5 in the shape menu. Then adjust its height to 3mm and use the align tool to position it so it sits neatly around the cylinder. Together, these two shapes form the foundation of the coaster.
Step 4 – Import the SVG
Click Import in the top-right corner of the Tinkercad workspace and select your downloaded SVG file. The design will appear on the workplane, ready to be resized and positioned in the next step.
Step 5 – Scale and Position the SVG
With the SVG on the workplane, resize it so the diameter is 93 mm and the height is 2 mm. This makes the pattern slightly larger than the base cylinder so it sits neatly within the raised edge of the coaster. Once scaled, move the SVG into place so it rests on top of the base cylinder. You can use the cruise and align tools to help you with this. Finally, group the shapes together to complete the design!
With the coaster model finished, there are plenty of directions you can take it. You might 3D print a set for everyday use, export it to Autodesk Fusion to create polished renders, or even adapt the process to design entirely new products – from stencils and stamps to jigsaw puzzles and more.

A great example of this comes from Charlotte Christian School, where teacher Heather Wilson guided her students through PrintLab’s 3D Printed Typography Project. Using Noun Project icons in creative ways, the students produced some playful results – like Jane’s Sunny Days model and Jewel’s Hot Dog design!
Whether it’s coasters, typography, or something entirely different, importing icons from The Noun Project is a simple way to bring style and creativity into your 3D designs. Give it a try in Tinkercad, experiment with your own ideas, and see what you can create! Finally, a huge shoutout to Middle School Technology Facilitator, Heather Wilson, who inspired and contributed to this blog.
Interested in checking out PrintLab's 3D Printed Typography Project and more? Gain access today