From Nameplates to Assistive Tech: A Middle School 3D Printing Journey
In this guest post, teacher Aaron Sottile shares how he guides his middle school students from learning 3D design basics to applying their skills in meaningful, real-world projects - culminating in the Make:able Assistive Technology Challenge. Along the way, Aaron highlights how 3D printing can empower students to grow in creativity, empathy, and problem-solving. Check out the blog below!
3rd October 2025 • Case Studies
Hello everyone! My name is Aaron Sottile, and I teach 8th-grade science and Project Lead the Way (PLTW) Design & Modeling as well as Medical Detectives STEM Electives at Calavera Hills Middle School. Every year, I guide my Design and Modeling students through a journey that starts with the fundamentals of 3D design and culminates in using those skills to make a real difference through the Make:able Assistive Technology Challenge. It’s important to me that my design class doesn’t just focus on pushing plastic; I strive to use 3D printing design challenges sequentially to empower students to develop and implement design skills that can make a positive impact on their worlds.
The Journey Begins
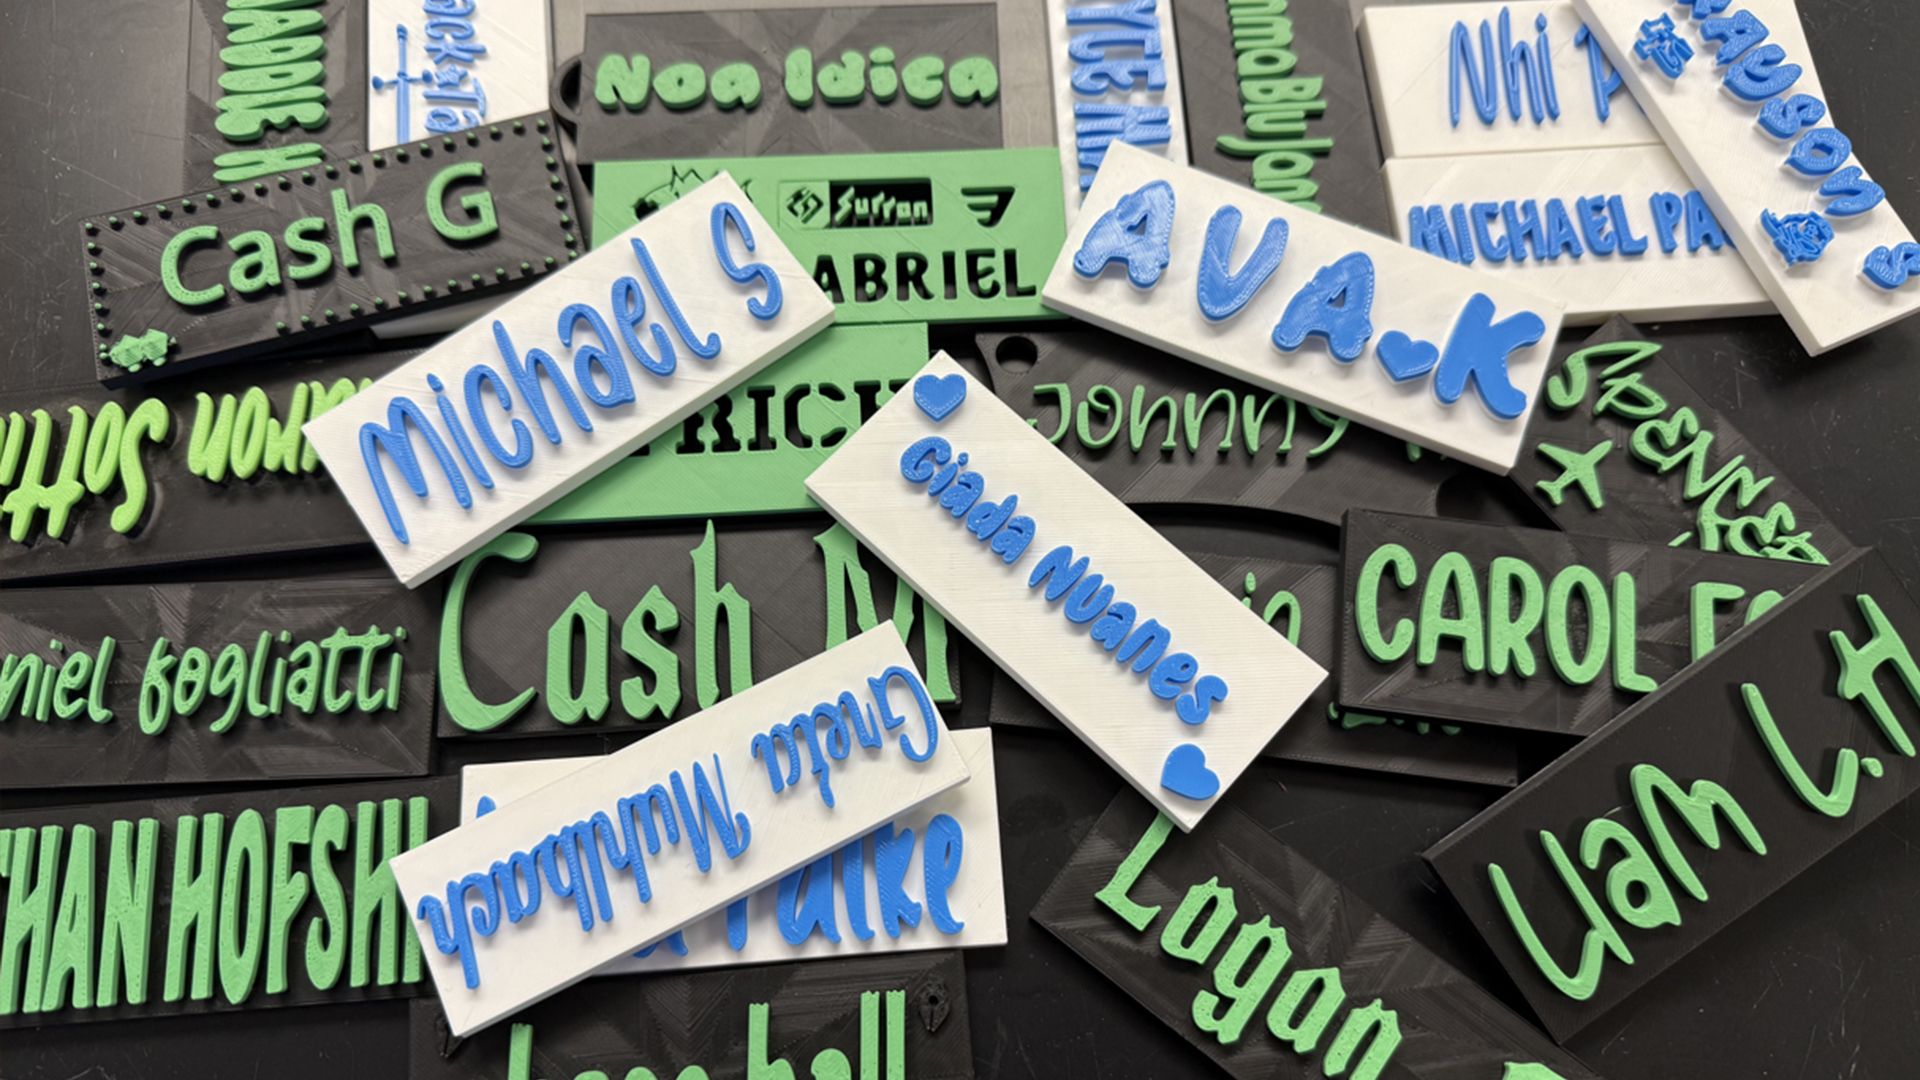
The foundation of any great project is a strong set of skills. We kick off the year with a simple yet powerful challenge: a custom nameplate. This project, inspired by a perfectly timed post from fellow ambassador @mrhuerta, is the ideal entry point. It’s an instant “win” for students. Not only do they get to take home something they designed within the first few weeks of school, but the project also helps them introduce themselves to one another, including a design element about themselves and sharing their work in the context of our shared print plates. It’s a great way to build a sense of community while teaching some neat design tricks that get them fired up about later opportunities to expand and apply their skills.
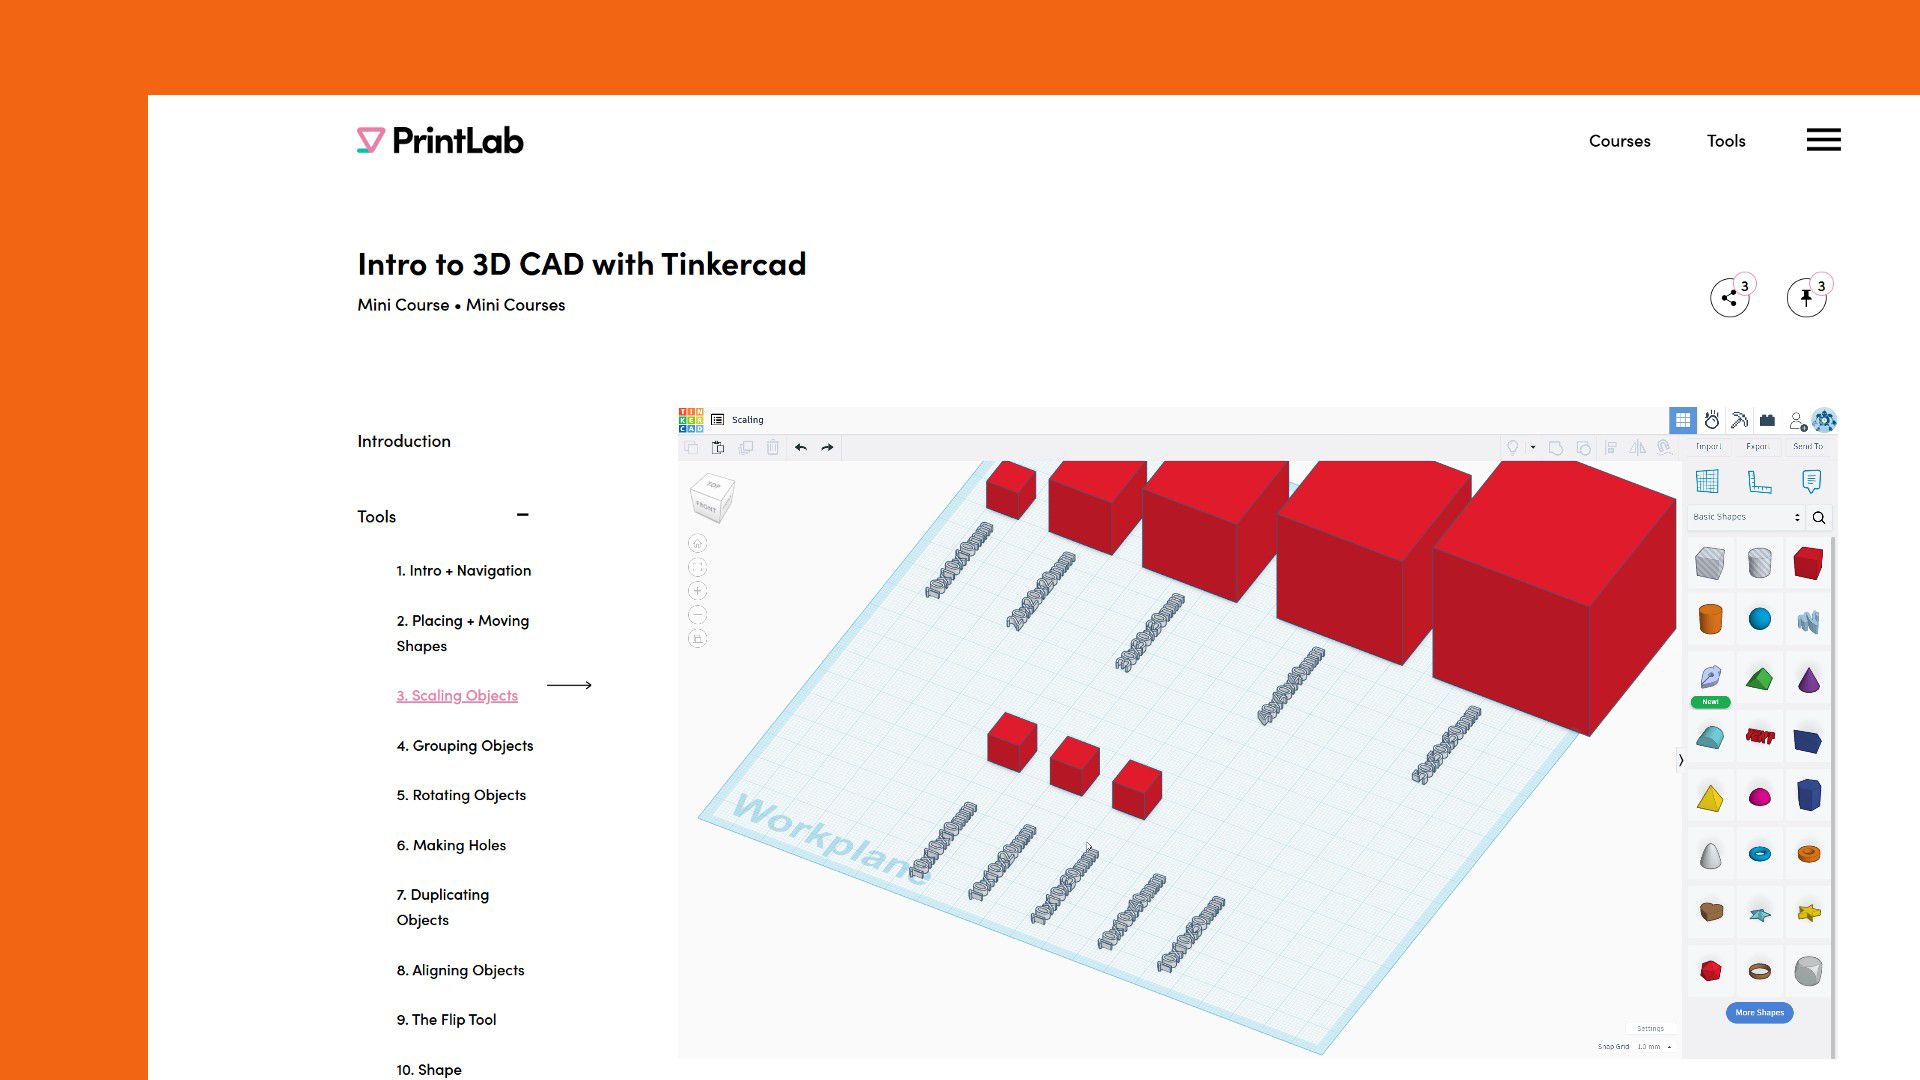
After working through our first unit, focused on understanding the nature of the design process, we dive into solid modeling challenges. This is where I like to embed Printlab’s incredible online mini-courses. These modules methodically teach students how to master key functions in Tinkercad. From placing and moving shapes to making holes and grouping objects, these courses give students the foundational skills they need to tackle more complex challenges, both in the PLTW curriculum and others I embed into the course.
Fostering Independence and Solving Problems
As students progress, my role shifts from instructor to facilitator. With a solid skill set and newfound independence, students are ready to get creative. I get to pose new challenges to my students as opportunities arise. I keep students designing throughout the course by integrating fun, seasonal design challenges like creating custom Halloween pumpkins, intricate calaveras, or unique snowflakes. These projects allow students to apply what they’ve learned in a low-stakes, high-creativity environment.
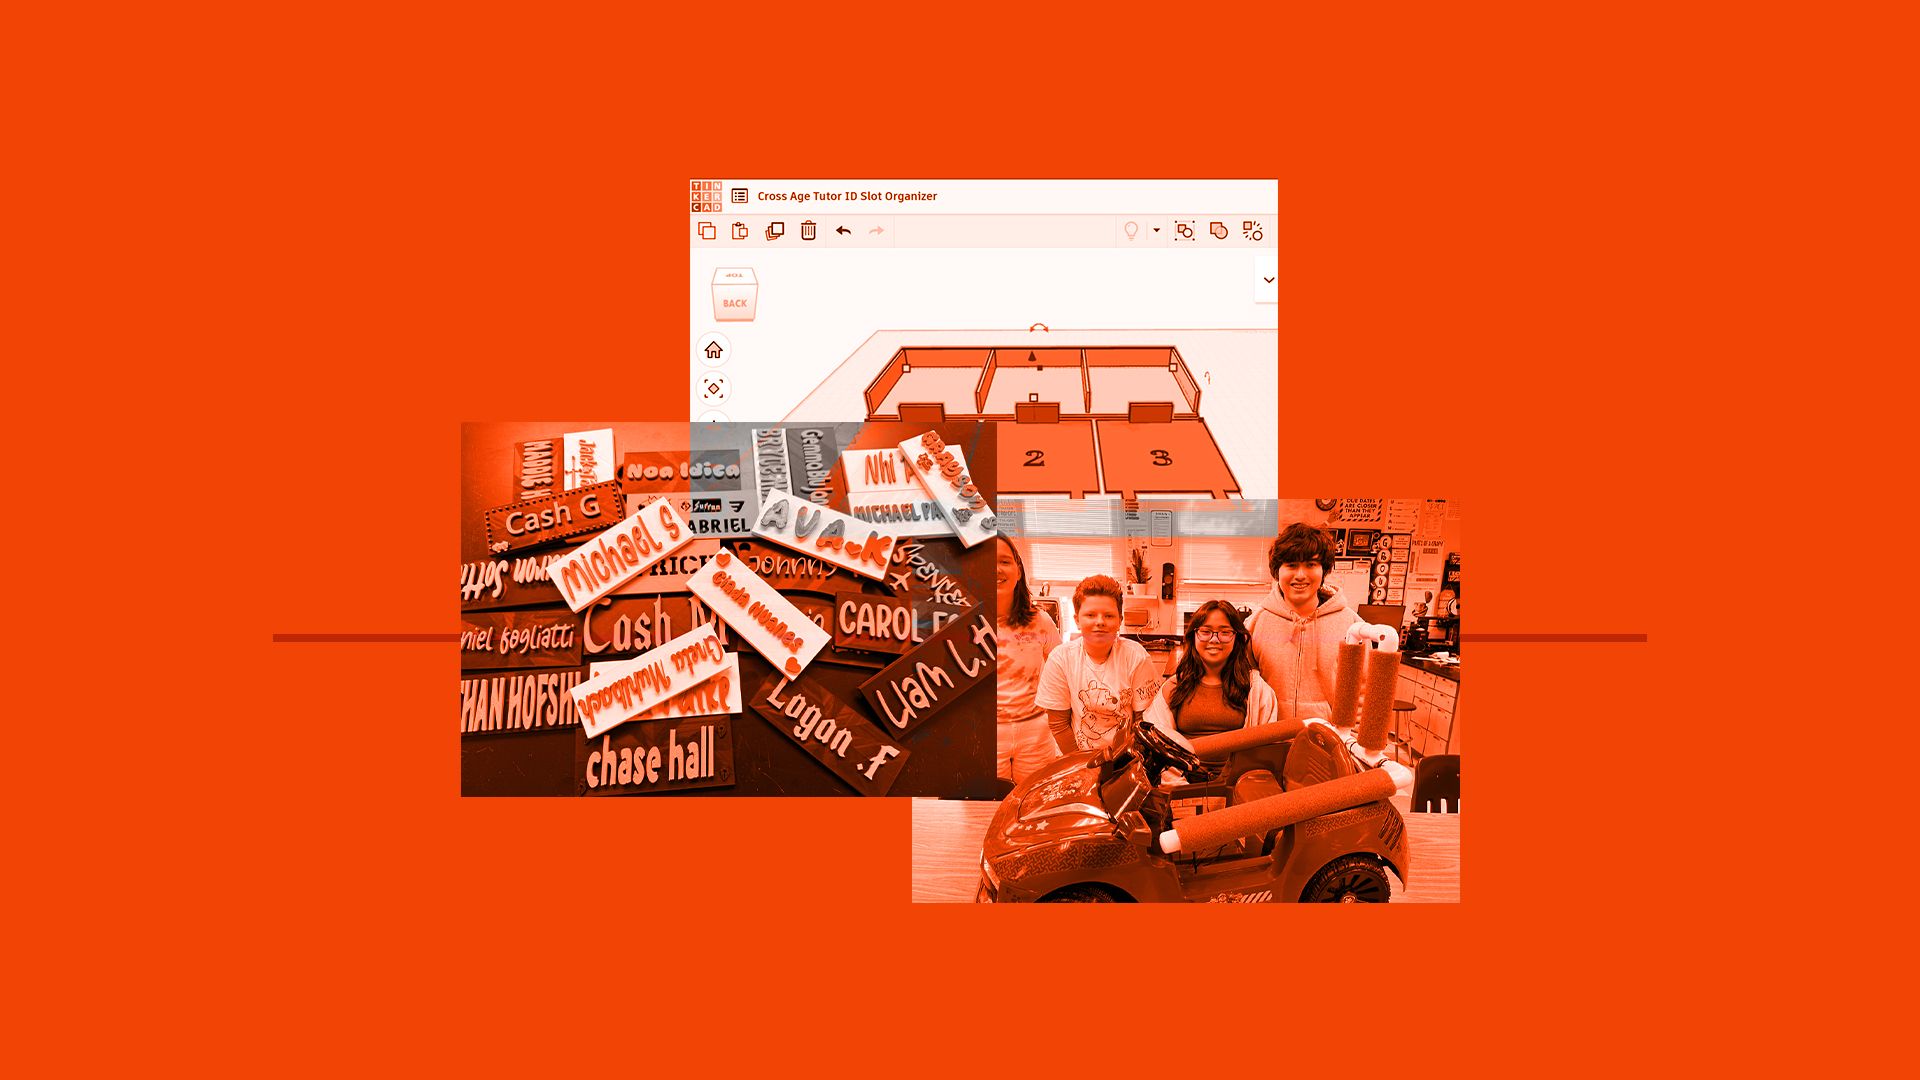
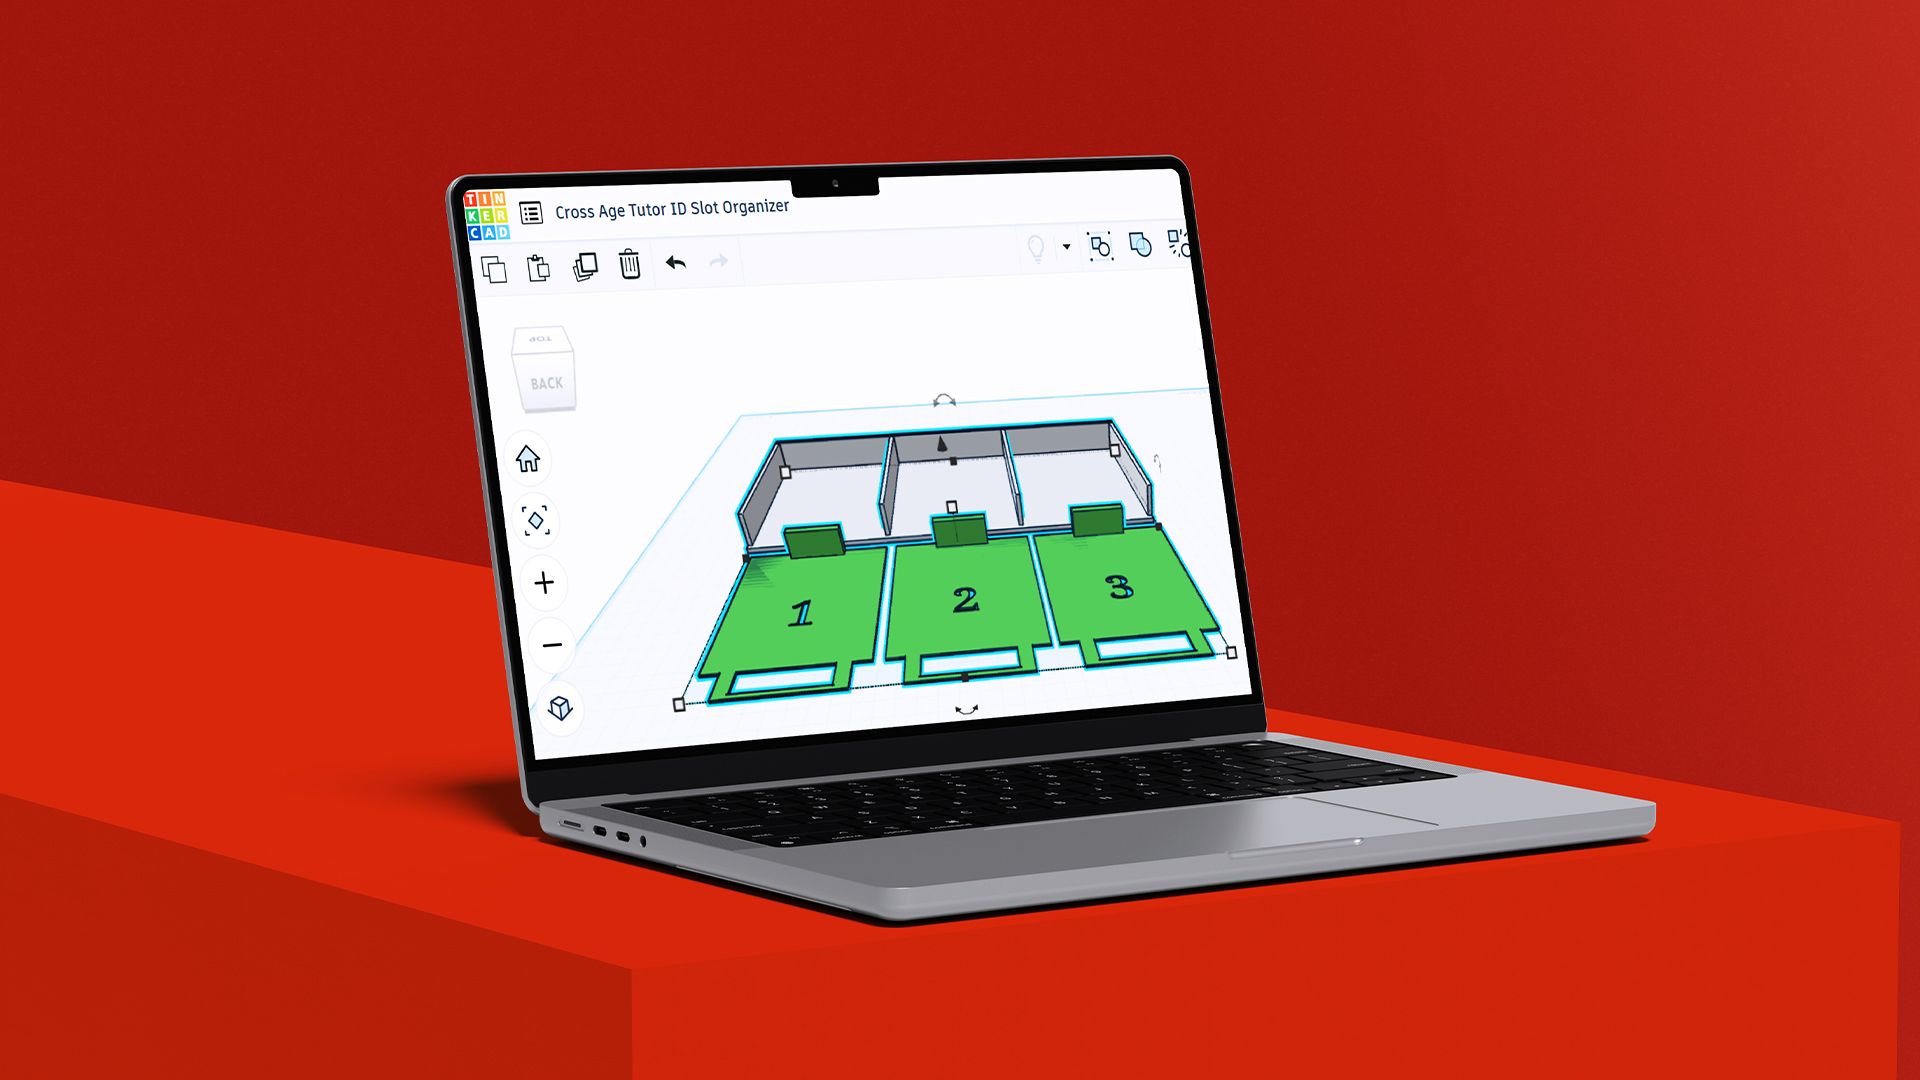
In addition to these planned design opportunities, some real magic happens when students take their skills beyond the screen to solve small, everyday problems around campus. Teachers frequently bring me things they need or wish they had, knowing my students are eager to use their skills for tangible solutions. I call these our “duct tape” problems. Just last week, our counseling team needed a way to organize ID cards for cross-age tutors, and a student designed and printed a slide-out mailbox ID card organizer.
Another student designed special risers to elevate the lid on a 3D printer to improve airflow when printing. These projects anchor the course in the design process and put our students out in the world as problem-solvers. It’s a powerful way to show them how their skills can make a real difference.
To support this level of independence, I’ve implemented the Printlab Maker Certification. This certification allows students to demonstrate they have the “chops” to design and print on their own and access our printers for some of their own projects. Students who earn this certification are approved to submit their own designs for printing during scheduled lunchtime sessions or in class. It’s a great way to formalize their expertise and empower them to take ownership of their learning.
Real-World Impact
The culmination of this entire journey is the Make:able Challenge. This isn’t just a project; it’s a profound demonstration of skill, empathy, and the true power of design. Our students are tasked with designing and 3D printing a piece of assistive technology for a real person with a disability. It’s the ultimate test of their ability to combine everything they’ve learned—from mastering CAD software to understanding the user’s needs.
The experience of meeting the person they are designing for and seeing their creation turn from a digital file into a functional object that improves someone’s life is unlike anything else. It’s an emotional and inspiring moment that brings the entire design process full circle. My students don’t just learn how to design; they learn how to listen, how to empathize, and how to use their creativity to solve problems for others. The Make:able Challenge is more than a project—it’s a powerful lesson in what it means to be an engineer for good.
Thanks so much for taking the time to read my blog, and I’d like to round things up by sharing one of our Make:able finalist submissions – a switch adapted car for 4 year old Nathan, who has cerebral palsy and cannot press the pedal down on his toy car.
Interested in joining Aaron in using PrintLab to upskill students in 3D CAD and 3D printing? Start a free trial of PrintLab today