Advancing 3D CAD Skills in UK Design and Technology Classrooms
Today we’re joined by UK Design and Technology teacher Ed Chambers, who shares his approach to developing 3D CAD skills with students - from Year 7 through to A-Level. Whether you teach in the UK or elsewhere, you’ll find plenty of practical insights and strategies to bring into your own classroom. Dive into the interview below!

9th November 2025 • Case Studies
Thanks for joining us on the PrintLab blog today, Ed! To begin, could you tell us a little about yourself and your role at Thames Christian School?
I’ve been teaching Design and Technology in the UK for 20 years now. Prior to teaching, I worked in the Automotive industry. Thames is a small, growing school with a passion for the creative arts. I started here a year ago during a period of expansion for the school.

In your view, why is 3D CAD such an important skill for students studying Design and Technology or Product Design?
CAD has always been important to me and accessible for staff and students in one form or another, but it’s possible for students to quickly create really functional objects. The possibilities for 3D printing are so much greater if students are able to secure key CAD skills.
How does CAD support students in their GCSE and A-Level projects, particularly when it comes to coursework and assessments?
We encourage students to engage with CAD, even in a small way, during the initial ideation phase. If a design can be explored easily within set parameters, it works well to quickly produce a range of ideas. Some students prefer to sketch or model with card before producing a higher definition CAD model. Students often find CAD helpful for producing contextual schemes of how a design will work or they are working at a precise scale. Most of our GCSE and A Level students produce renderings and orthographic drawings as their projects progress.
Which 3D CAD software packages do you use in the classroom, and what led you to choose them?
We teach Tinkercad in Year 8 and 9 including laser cutting and 3D printing. Autodesk Fusion from Years 10 to 13. We also use Adobe Illustrator and Lightburn for 2D work. The progression offered from Tinkercad to Fusion made it an easy choice. Once students secure the basic commands and mouse control, they love being able to quickly create designs from pre-made shapes. The shared features with Fusion are also helpful such as view cube, mouse controls and more recently sketch mode. Tinkercad is still powerful – students can build large models (>500mm) at 0.1mm accuracy.
How do you approach building CAD skills progressively – from beginner students in Year 7 through to advanced learners at A-Level?
Literacy plays a key role here, especially at KS3. We introduce the basic Tinkercad commands as up to 30 key terms and definitions with supporting images. This is hosted on Quizlet. These keywords are reinforced as the students follow the PrintLab mini-course for Tinkercad. We have 4 projects which build on these skills over Years 8 and 9.
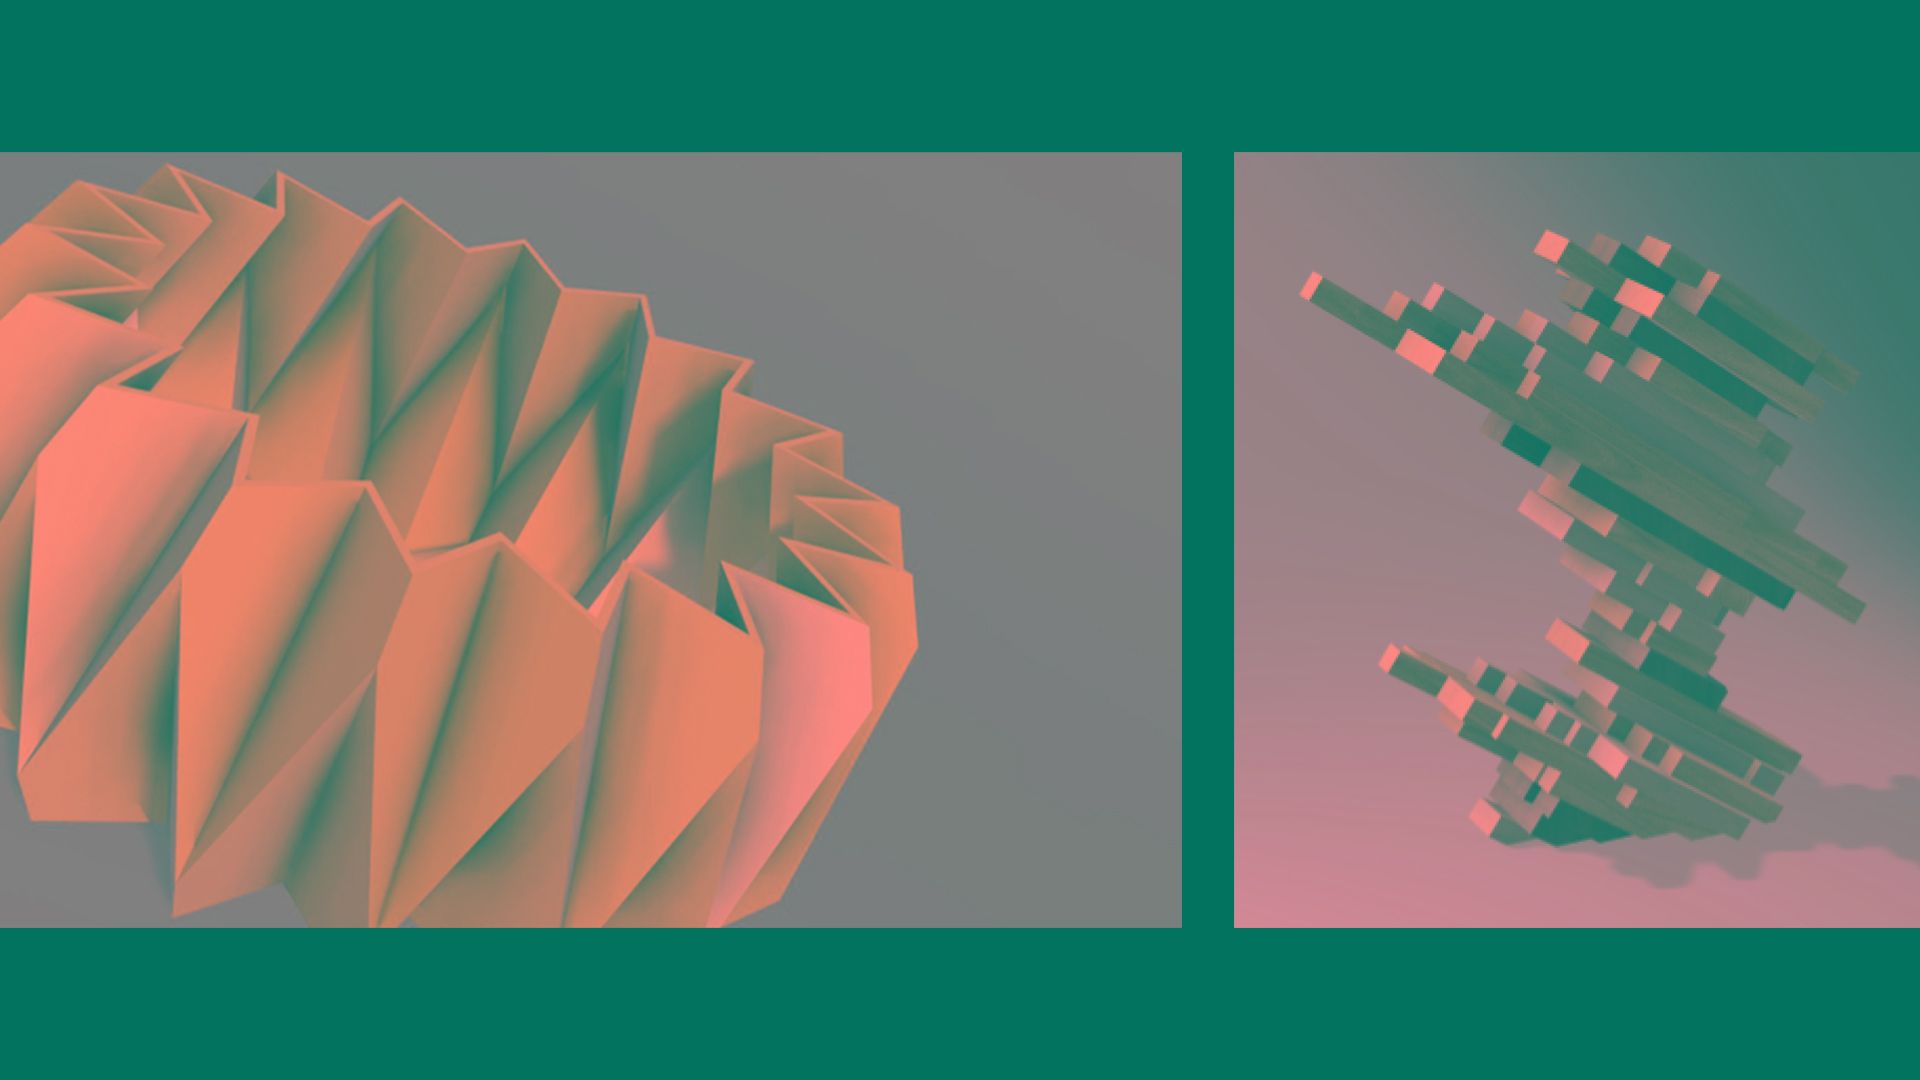
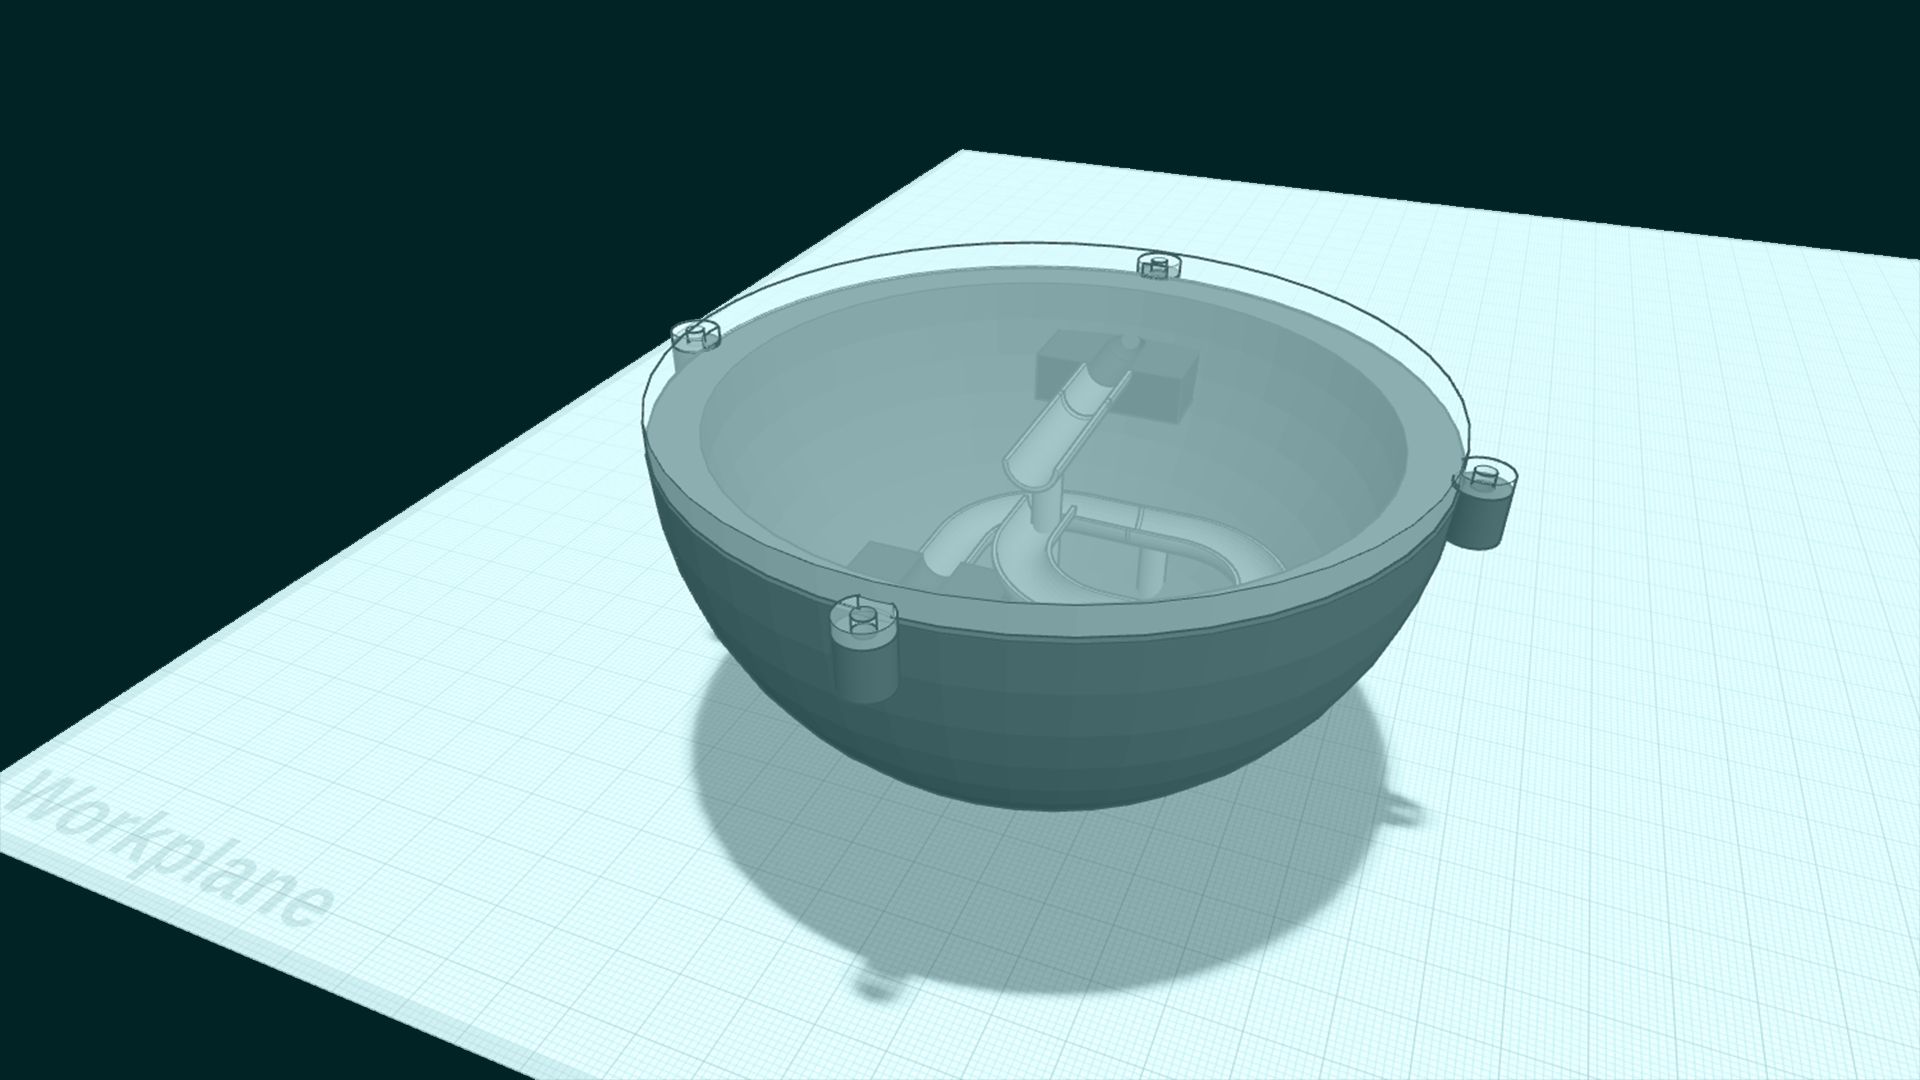
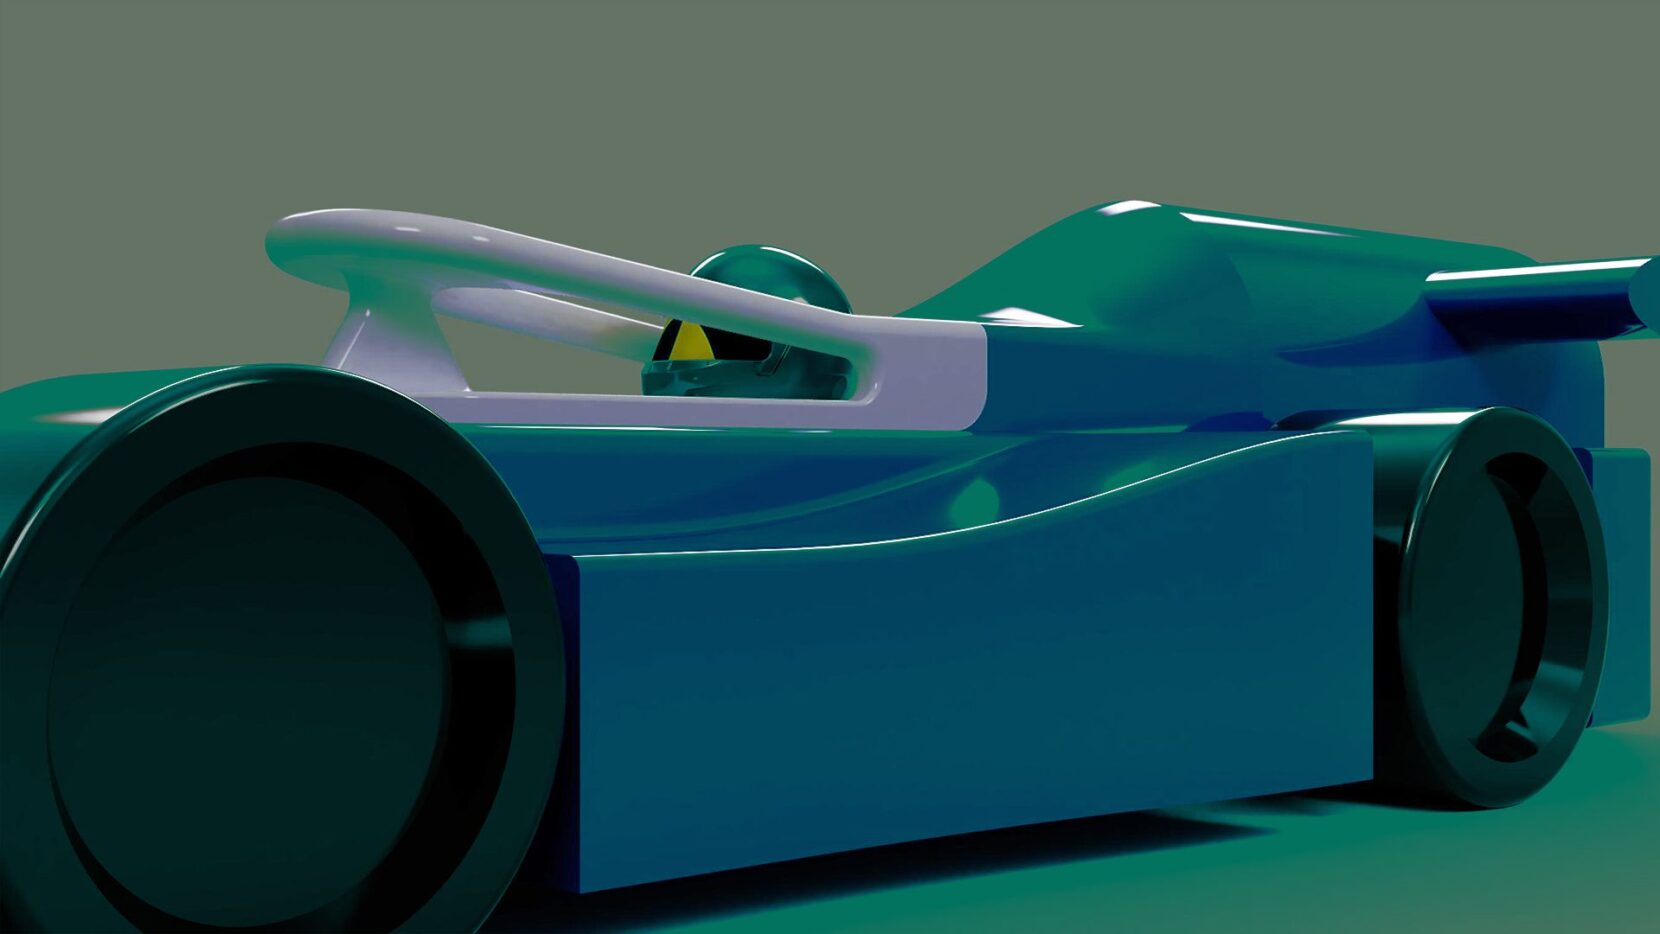
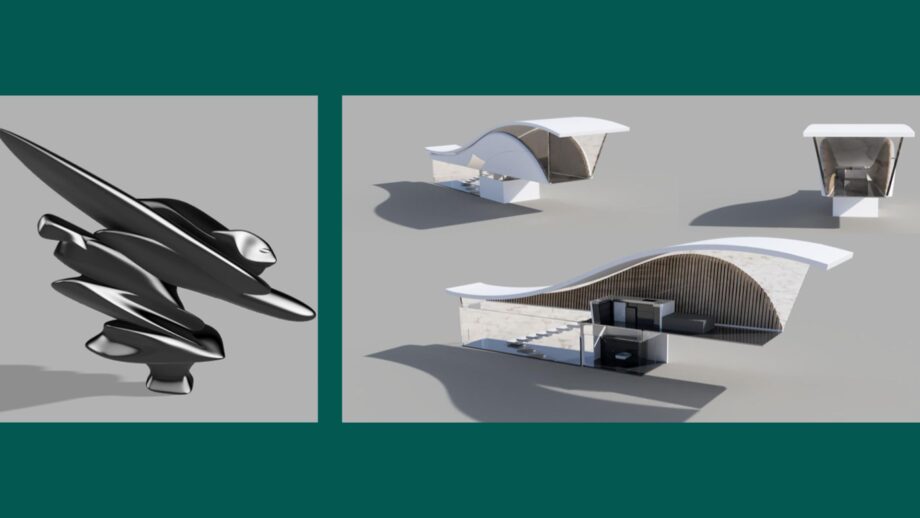
The Fusion journey begins in Year 10. We build real autonomy through highlighting the common features of Tinkercad and Fusion, then covering the fundamentals of Fusion using PrintLab mini courses. Students then apply these skills over 2 larger projects broadly themed around geometric and biomorphic forms. We focus on the importance of sketching in Fusion and the Extrude command as there is so much students can achieve with just these. There have been some amazing final year projects using CAD in years 11 and 13.
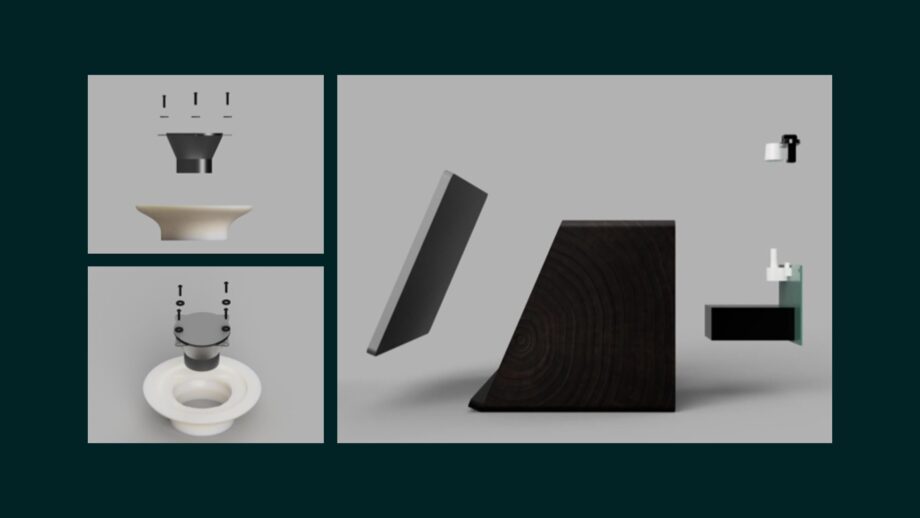
Below are some examples, which include designs from the F1 in Schools Challenge.

How have you used PrintLab’s resources with your students? What impact have you seen from the certification program?
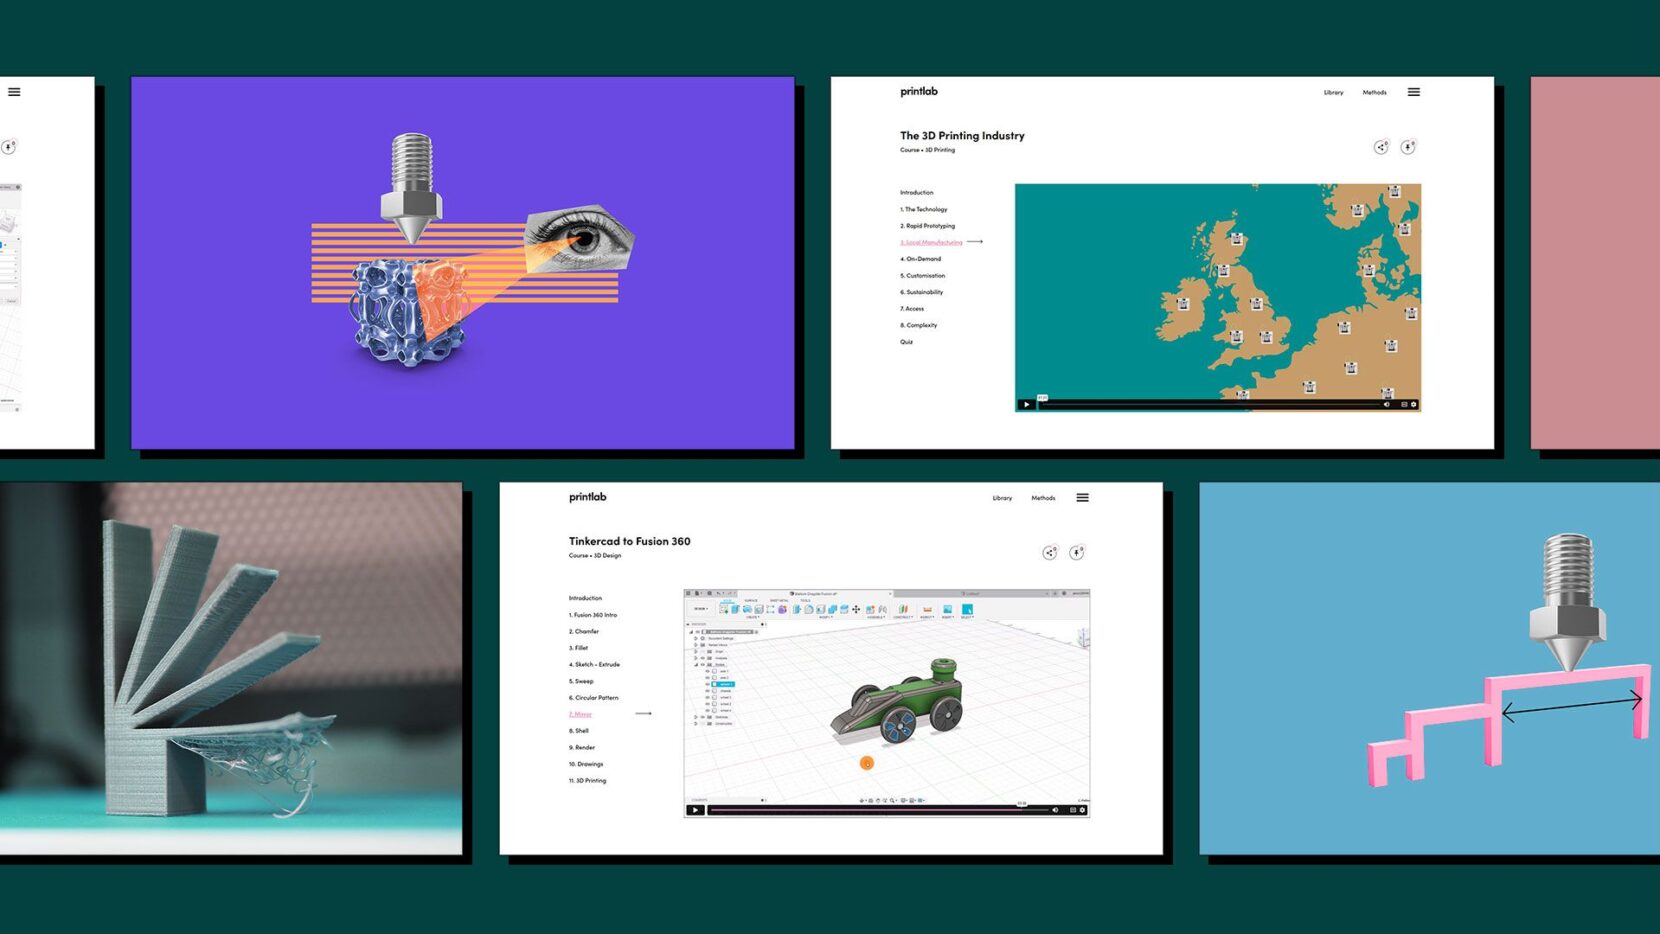
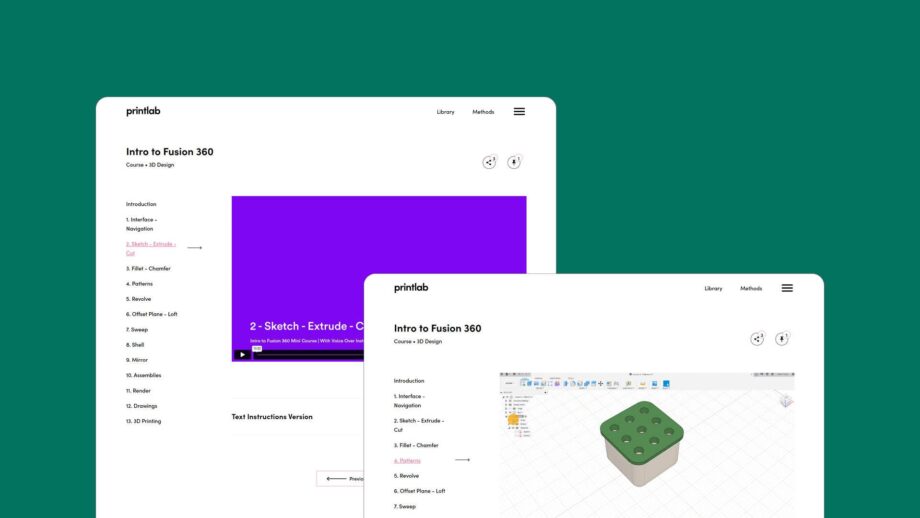
Yes, we have focused on Year 10, but plan to include Year 9 too this year. Students have really benefitted from these 4 PrintLab courses in particular; Intro to 3D CAD with Tinkercad, Tinkercad to Fusion, Intro to 3D CAD with Fusion and Designing for 3D Printing.
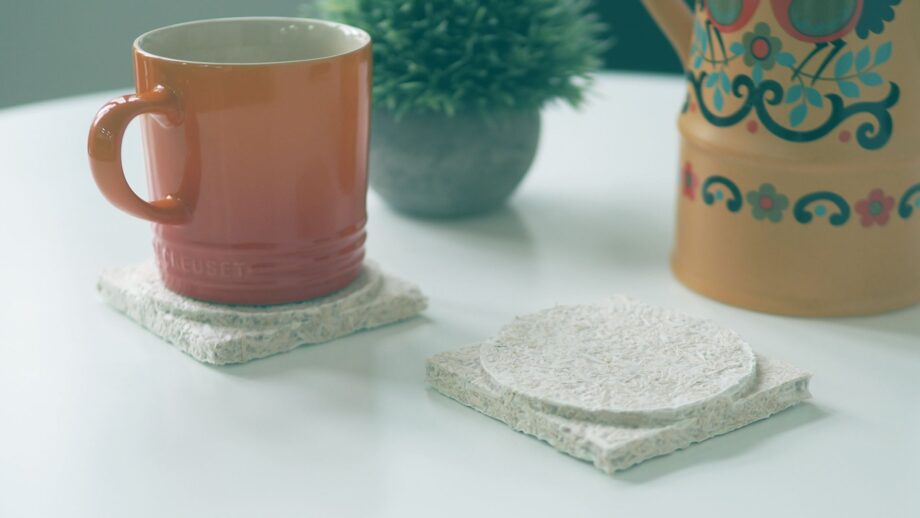
We have also completed the mycelium course with our year 12s. It was really useful having the structure of the PrintLab course as a basis for students to develop their work. The process of designing moulds was really beneficial as an introduction to using 3D printing for the process instead of the final piece.
Most of our GCSE and A Level students gained certification for Tinkercad and Fusion by completing 4 courses across the PrintLab platform. It is really beneficial for them to get some recognition of achieving a certain standard and importantly encourages them to keep working on those skills.
What advice would you give to fellow D&T teachers who are just starting out with CAD in their classrooms?
When starting out, it’s best to use Tinkercad only across select areas of the curriculum (inc KS4) instead of starting with Fusion. Students need access to computers (like chromebooks) and a basic mouse. It’s really helpful if there are at least 2 team members willing to champion CAD and try to bring the rest of the team with them.
There is plenty of content and a large online community of users. Alongside the curriculum, staff can take up fully funded training directly with Autodesk and then implement changes to KS4 as when ready. The PrintLab course from Tinkercad to Fusion is a good starting point.
Finally, what’s next for you and your students – are there any CAD or 3D printing projects on the horizon?
We want to master 3D scanning and experiment with what advantages it can bring. Scanning is a potential entry point to students who already have confidence in modelling with clay or plaster and wish to digitize their work. This is a helpful start for students who are overwhelmed by the interface at times and need another route into CAD.
–
A big thanks to Ed for sharing his 3D CAD journey and advice with our community. We’ll be sure to keep you up-to-date with Ed’s work over the coming year!
Interested in developing your students’ 3D CAD skills in Tinkercad and Autodesk Fusion? Check out the courses on PrintLab