Spark Better Design Ideas with the Feature Combinations Method
You know that moment at the start of a design project where you’ve got a broad idea… but no clear path forward? That’s when creative but structured ideation becomes super useful. One of the tools we use here at PrintLab is the Feature Combinations method - a quick, meaningful way to turn a general idea into dozens of promising directions.
18th November 2025 • Tips
It’s simple, fast and especially effective for exploring how a concept could function or behave before you start thinking about detailed form and aesthetics. To show how powerful this can be in practice, we’re going to share how we used the method when designing Pinchee, a 3D printed game that combines fun with hand therapy. Before we begin, take a look at the short video below to learn more about Pinchee.
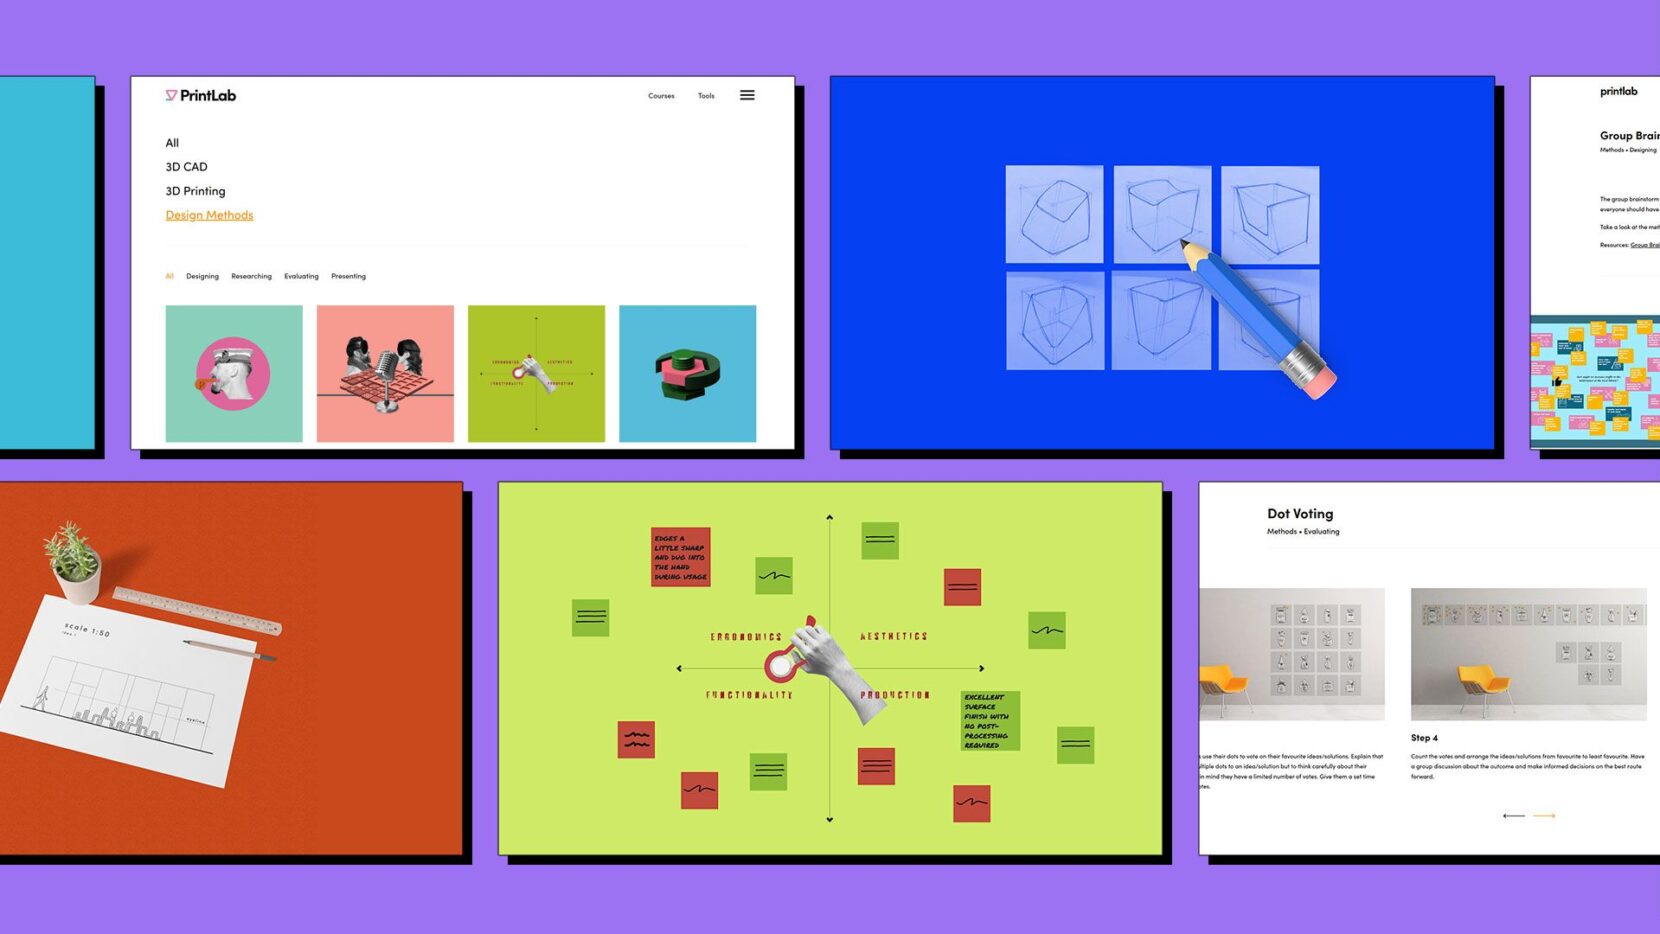
And now for the method itself. Below, you will find each step of the Feature Combinations method, followed by a short note showing how we applied it during Pinchee’s early development. Friendly disclaimer: the graphics below look neat, but our real process was far messier, built with quick digital post-its and rough notes!
Step 1
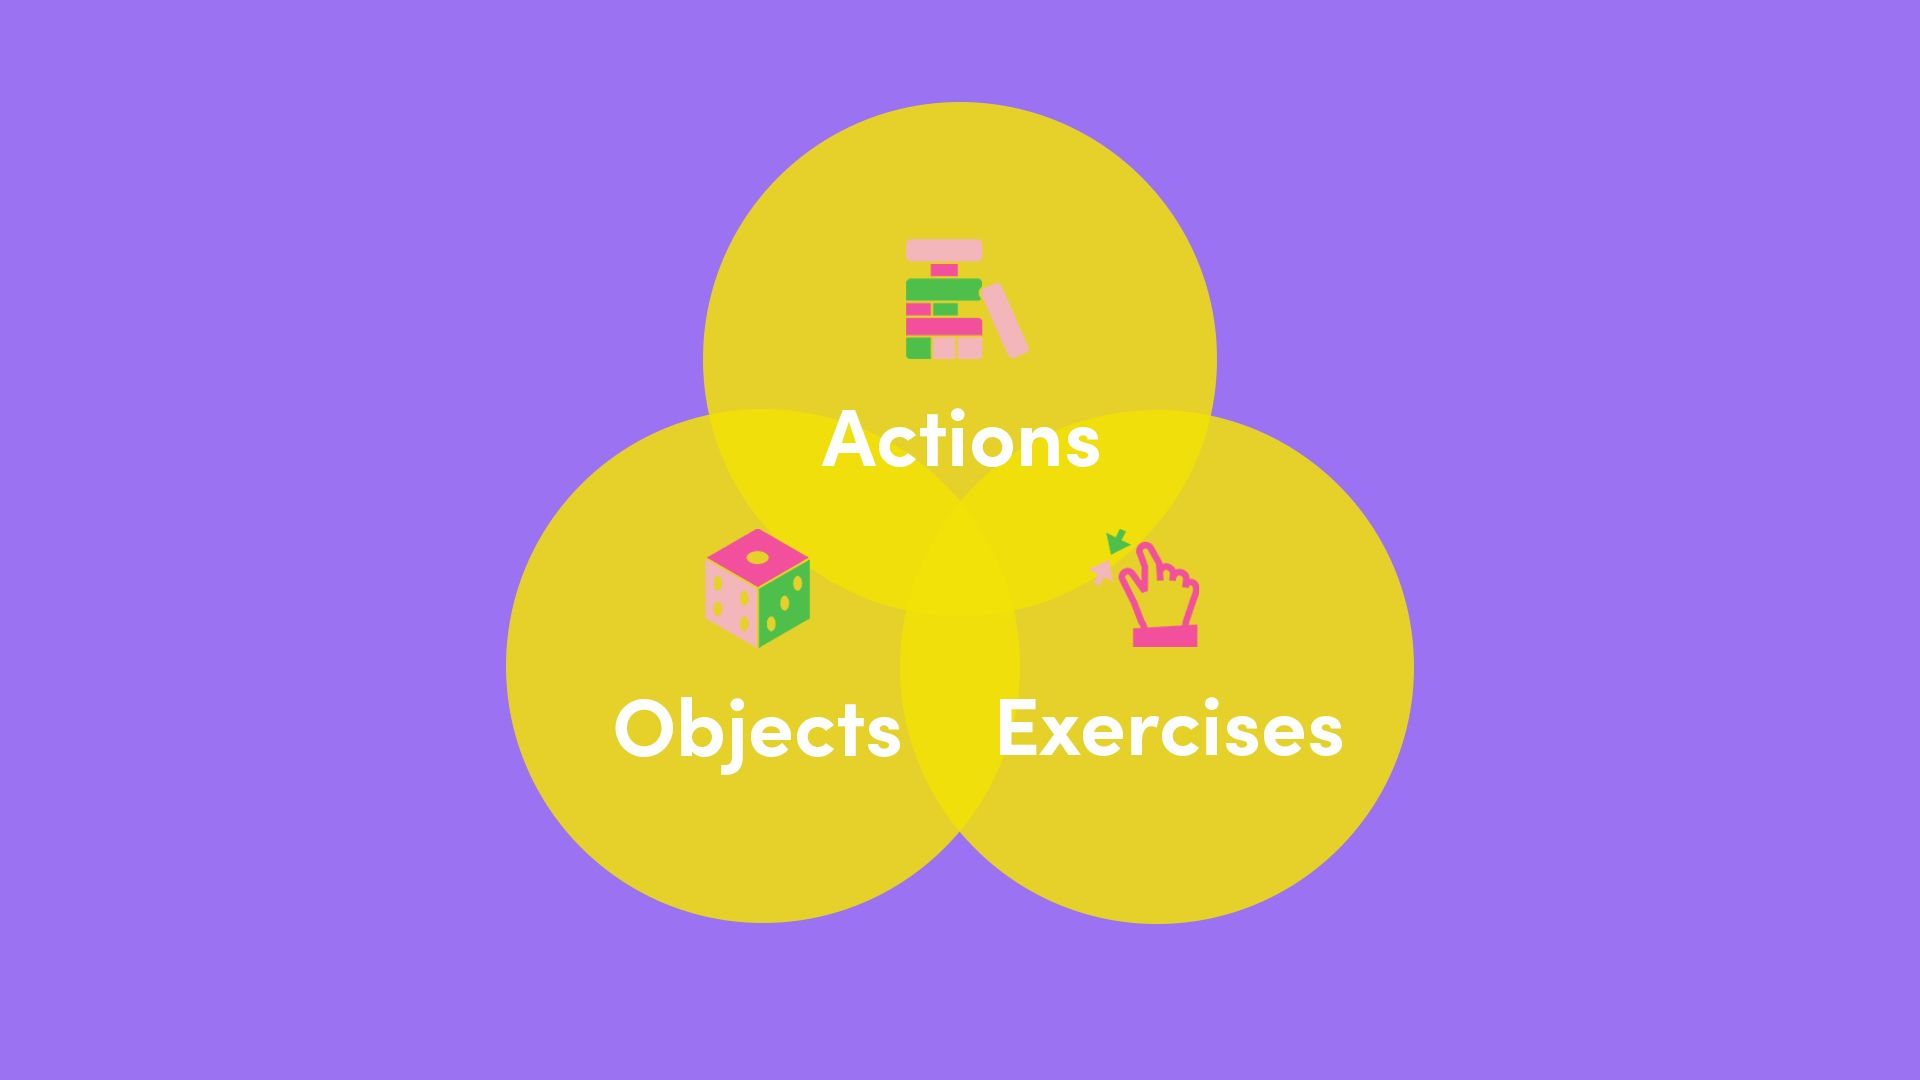
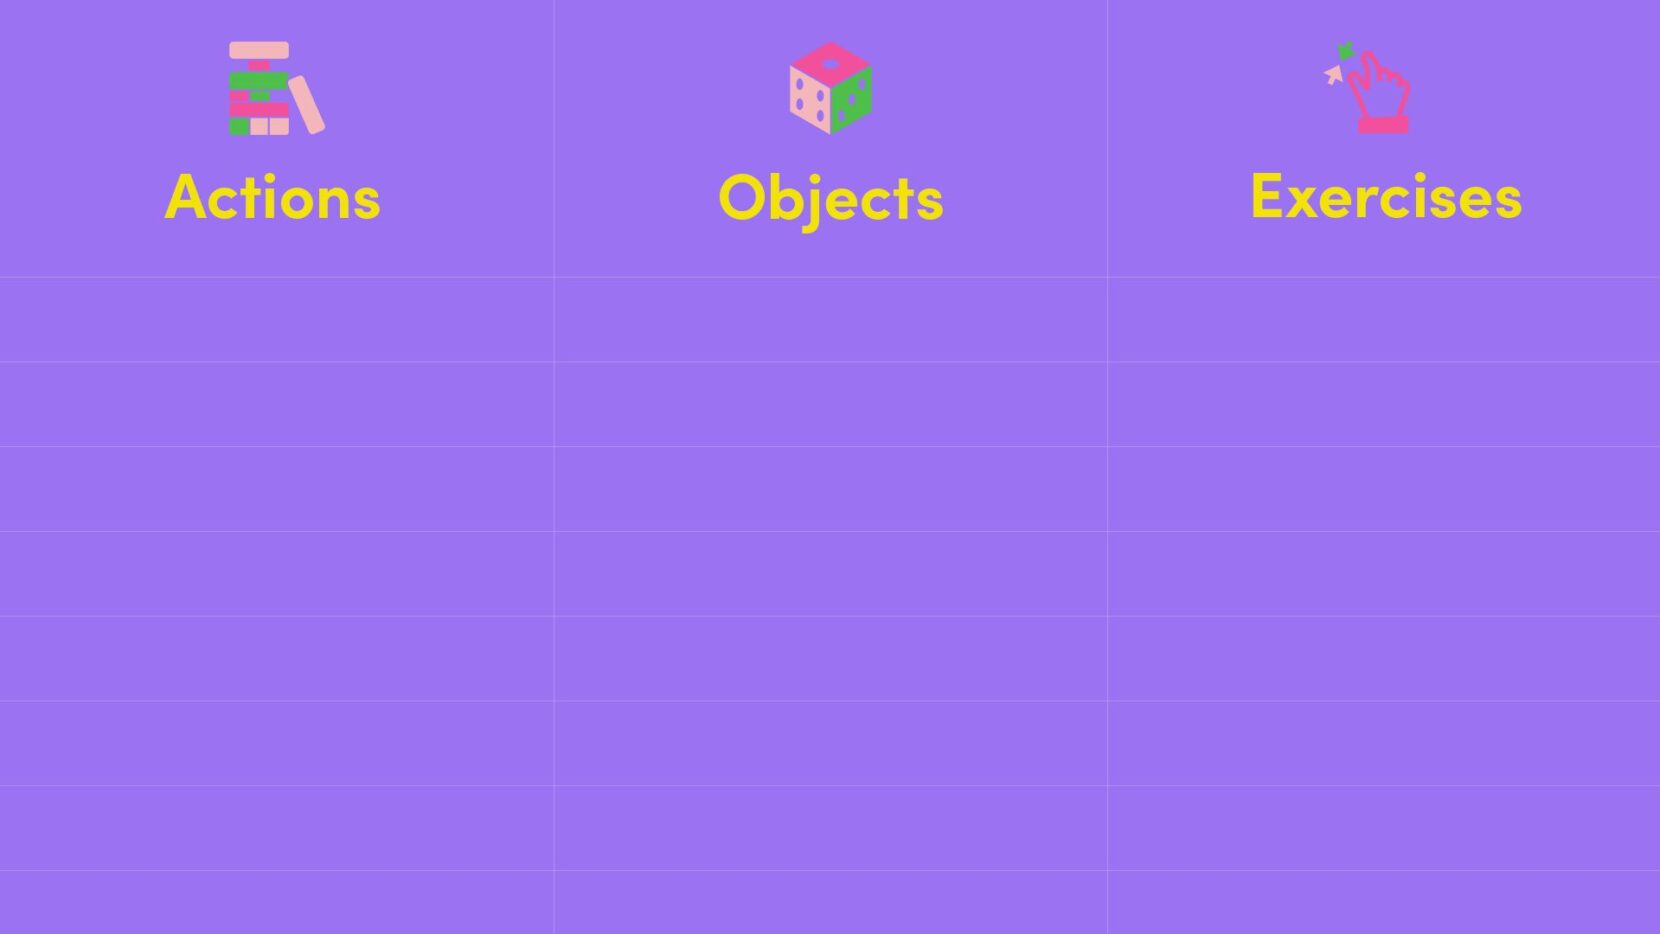
Select two or more categories that reflect the core elements of your project, such as actions, objects or user needs. Set up a column for each category using paper or a simple digital table. Choose categories that, when combined, create variety and interesting design directions.
How we applied this in Pinchee: Pinchee was originally designed for Cath, an individual user with hand arthritis. From our empathy work, we learned that staying active eased her discomfort and that she strongly disliked anything that felt clinical. So we set the criteria of creating a fun, playful game that supported her arthritis through gentle, purposeful hand movements. To shape our early thinking, we chose three categories: game actions, game objects and hand arthritis exercises, giving us a focused but flexible starting point for ideation.
Step 2
Dive into primary or secondary research to fill each category with interesting features. Explore how others solve similar challenges and note any actions, objects or needs that stand out. Aim for quantity at this stage so you have plenty of ingredients for idea generation.
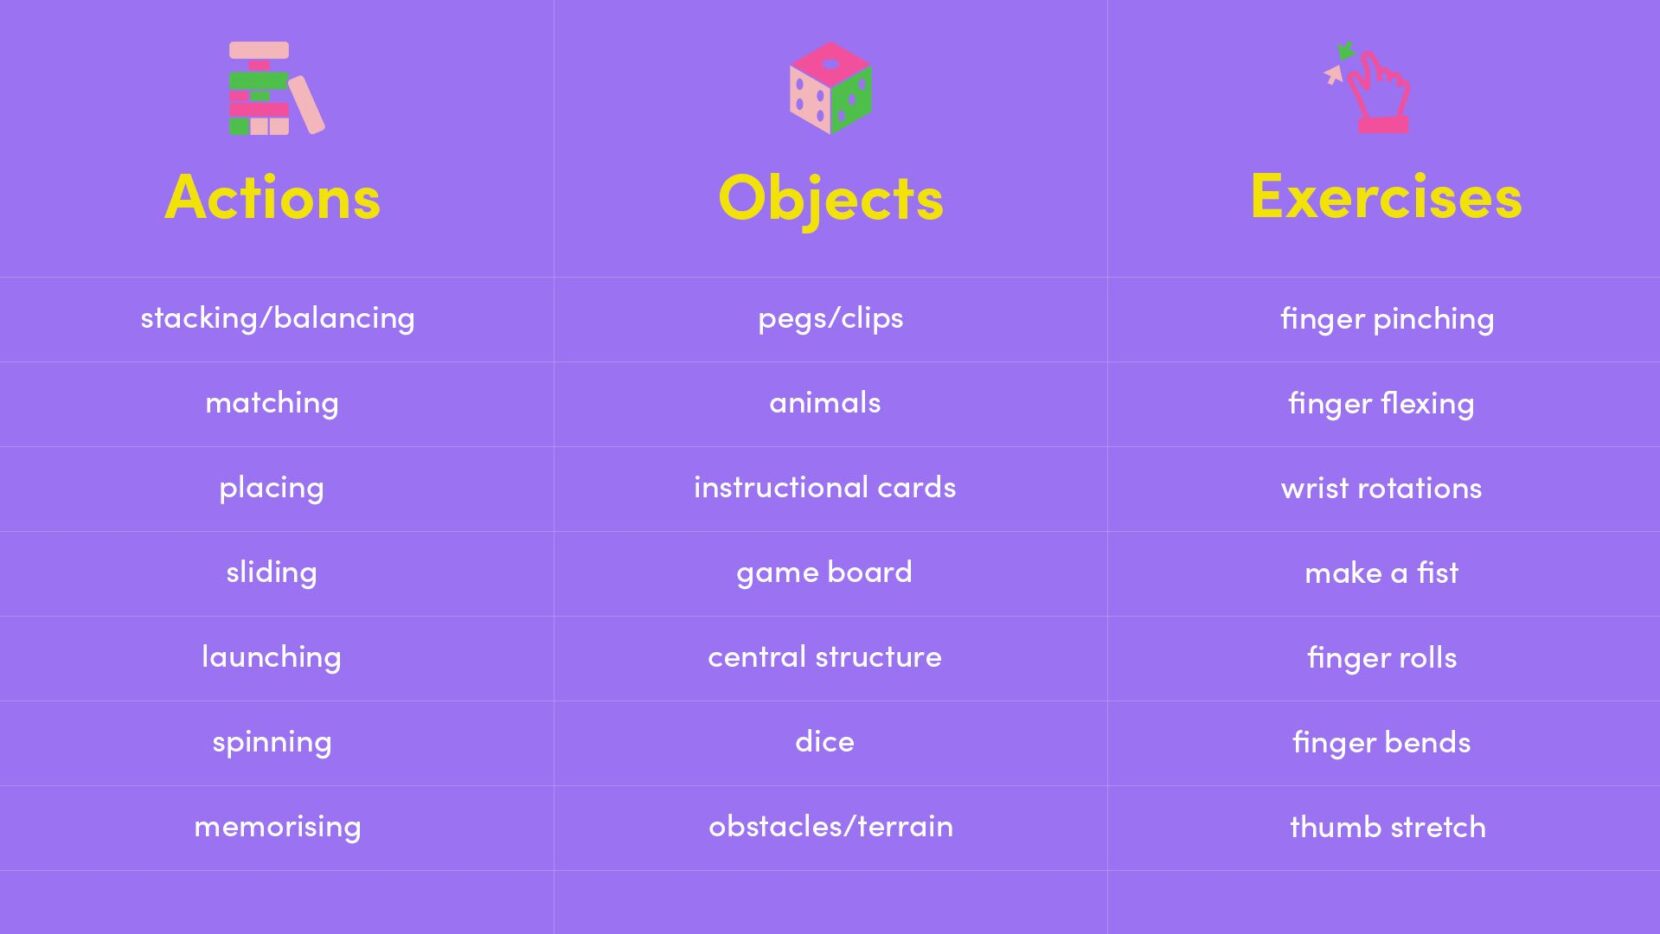
How we applied this in Pinchee: With our categories in place, we gathered as many examples as we could across game actions, game objects and hand arthritis exercises. We explored simple movements from existing games and researched therapy exercises that could support Cath’s mobility. The goal here was quantity over quality.
Step 3
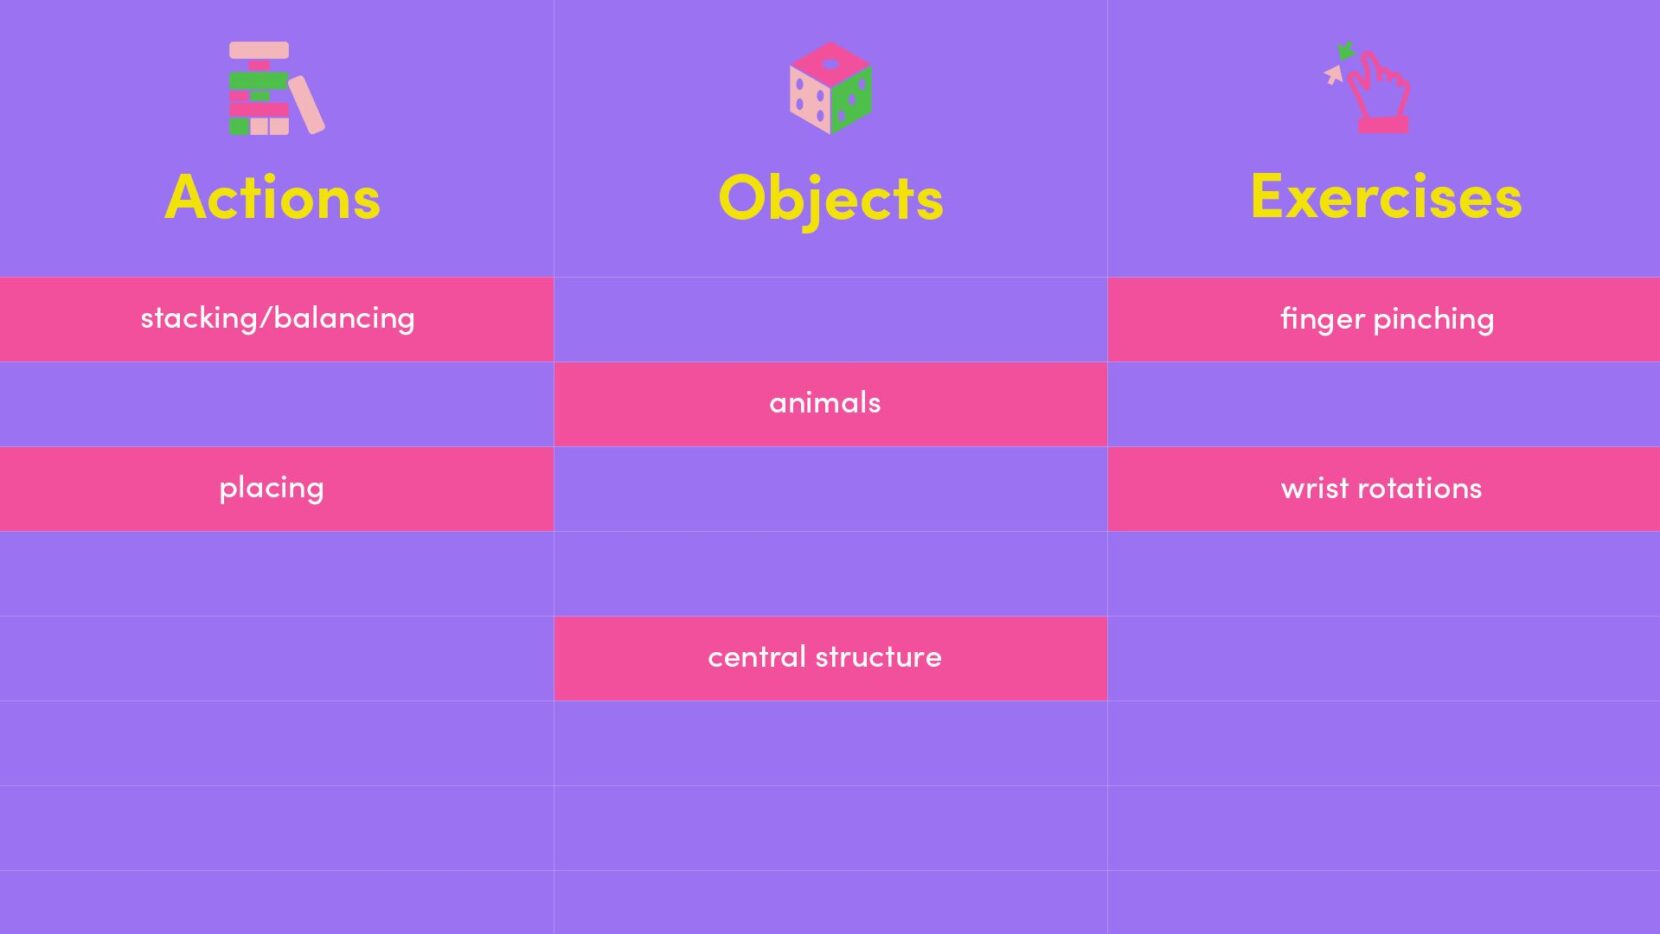
Experiment with different feature combinations to spark potential design directions. Pick one or several features from each category and, if helpful, ask potential end users to suggest combinations. Save all your ideas so none are lost.
How we applied this in Pinchee: With plenty of features to work from, we started freely mixing them to spark new directions. We combined different game actions with objects and paired them with hand exercises that Cath could comfortably perform. This stage was all about exploration, creating a wide range of possible movements and interactions without judging which ones were strongest yet.
Step 4
Review your ideas and compare them against your design goals. Look for combinations that feel practical and aligned with user needs, but also pay attention to any ideas that genuinely excite you or stand out on gut feeling. Then select the direction you want to explore further.
How we applied this in Pinchee: Generating so many ideas led to both surprisingly silly and surprisingly delightful concepts, all of which we reviewed. We removed anything that felt impractical or unengaging and ranked the rest on two things: their potential to support Cath’s arthritis and their ability to bring her genuine joy. In the end, several directions could have worked, so we also trusted our gut – and one clear direction emerged, which we then developed into Pinchee!
The Feature Combinations method is just one of many creative tools we use at PrintLab to guide early design thinking. Whether you are designing a game, an assistive device or something entirely different, structured ideation can help you explore widely, stay focused on user needs and uncover directions you may not have considered. We hope you enjoy trying this method out yourself. If you would like to explore more like it, our Tools library is filled with simple, practical activities to support your design process.
You can start a free trial of the PrintLab platform using the link below. Alongside our individual tools and design methods, the platform includes our full curriculum of mini courses, projects and challenges for educators, students, makers and anyone interested in 3D printing with purpose.
Start your free PrintLab trial to explore the full Tools Library and more