How to Trace Images in Tinkercad Using an SVG Trick
Designing around real objects can transform simple 3D prints into practical, custom solutions. But because Tinkercad doesn’t support direct image tracing, it’s not always obvious how to capture the shape of real items accurately. In this tutorial, you’ll learn a simple SVG trick that allows you to trace objects and turn them into precise 3D models.
9th March 2026 • Tips
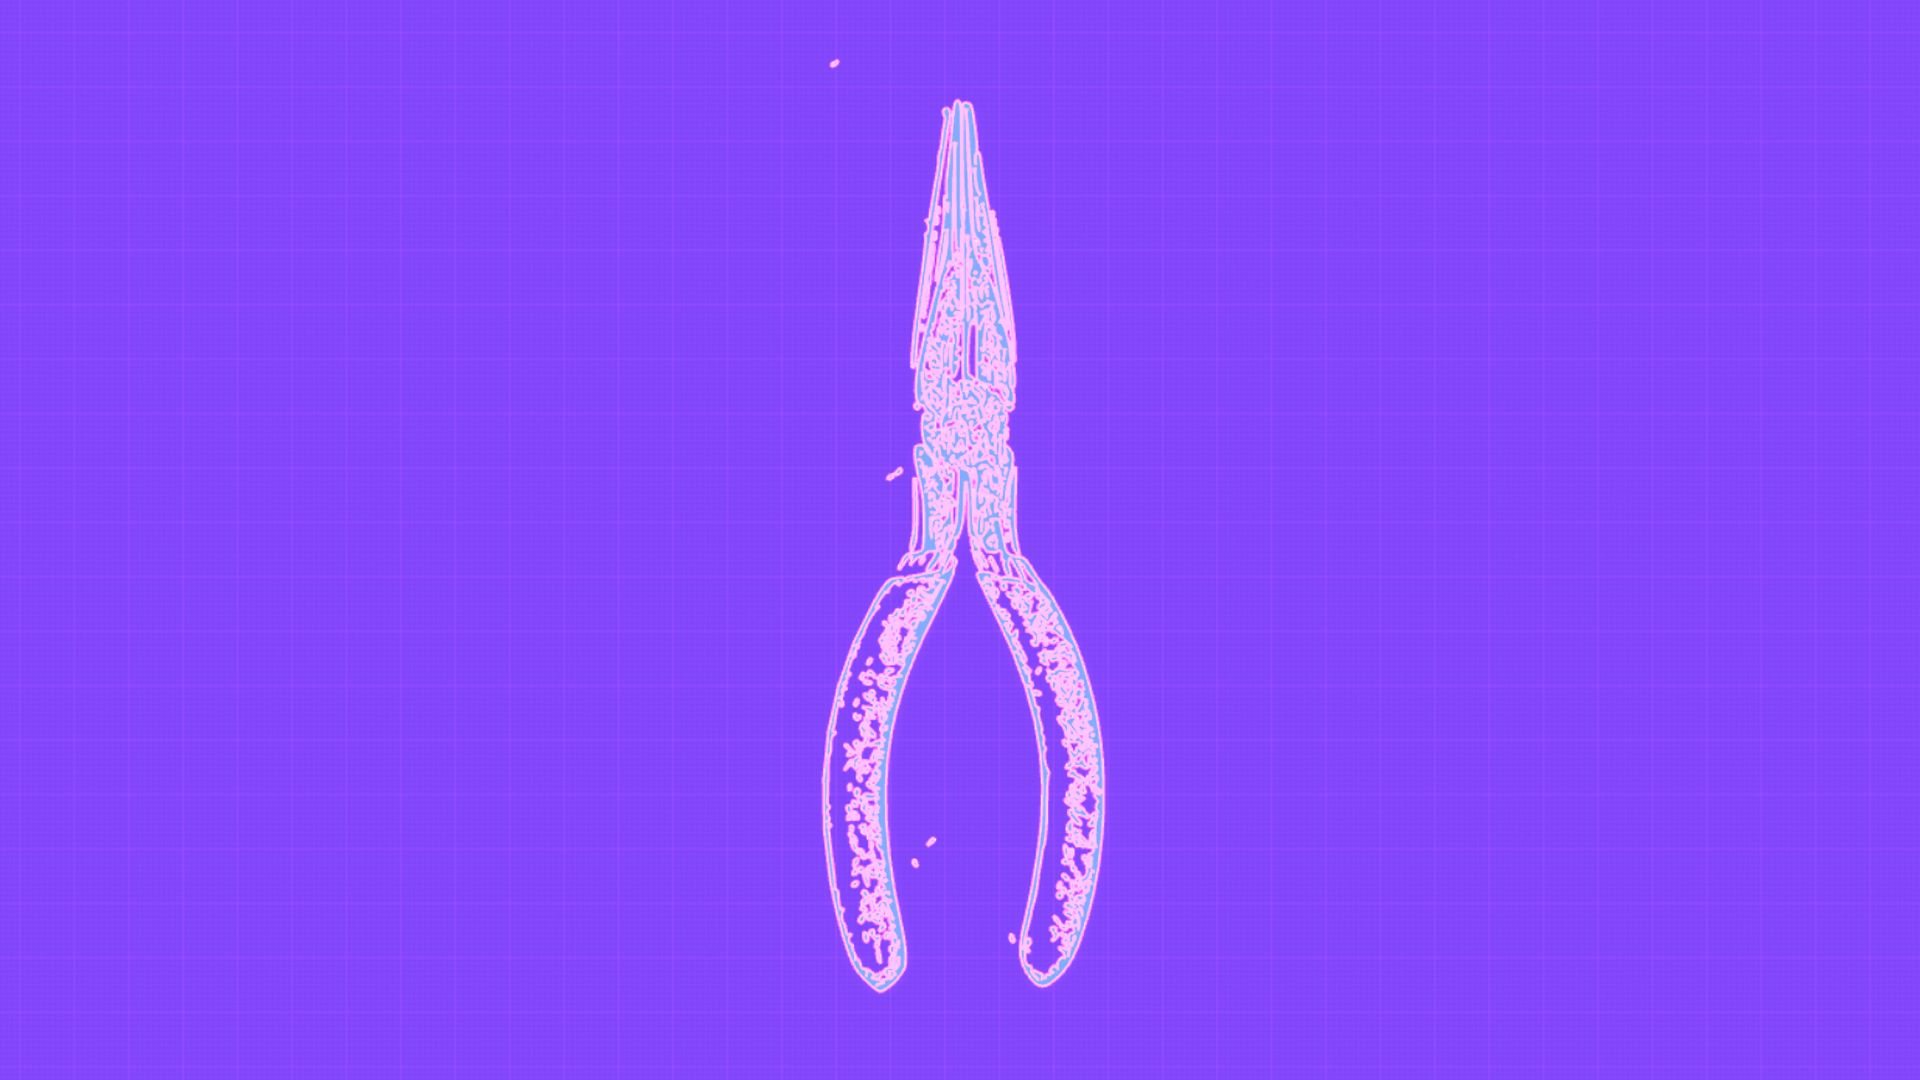
By converting a photo into an SVG file, you can import it into Tinkercad and use it as a reference for tracing outlines. The SVG generated from an image is usually not perfectly smooth. It often looks a little rough or sketch-like, but it works well as a guide for creating accurate shapes.
Video Tutorial
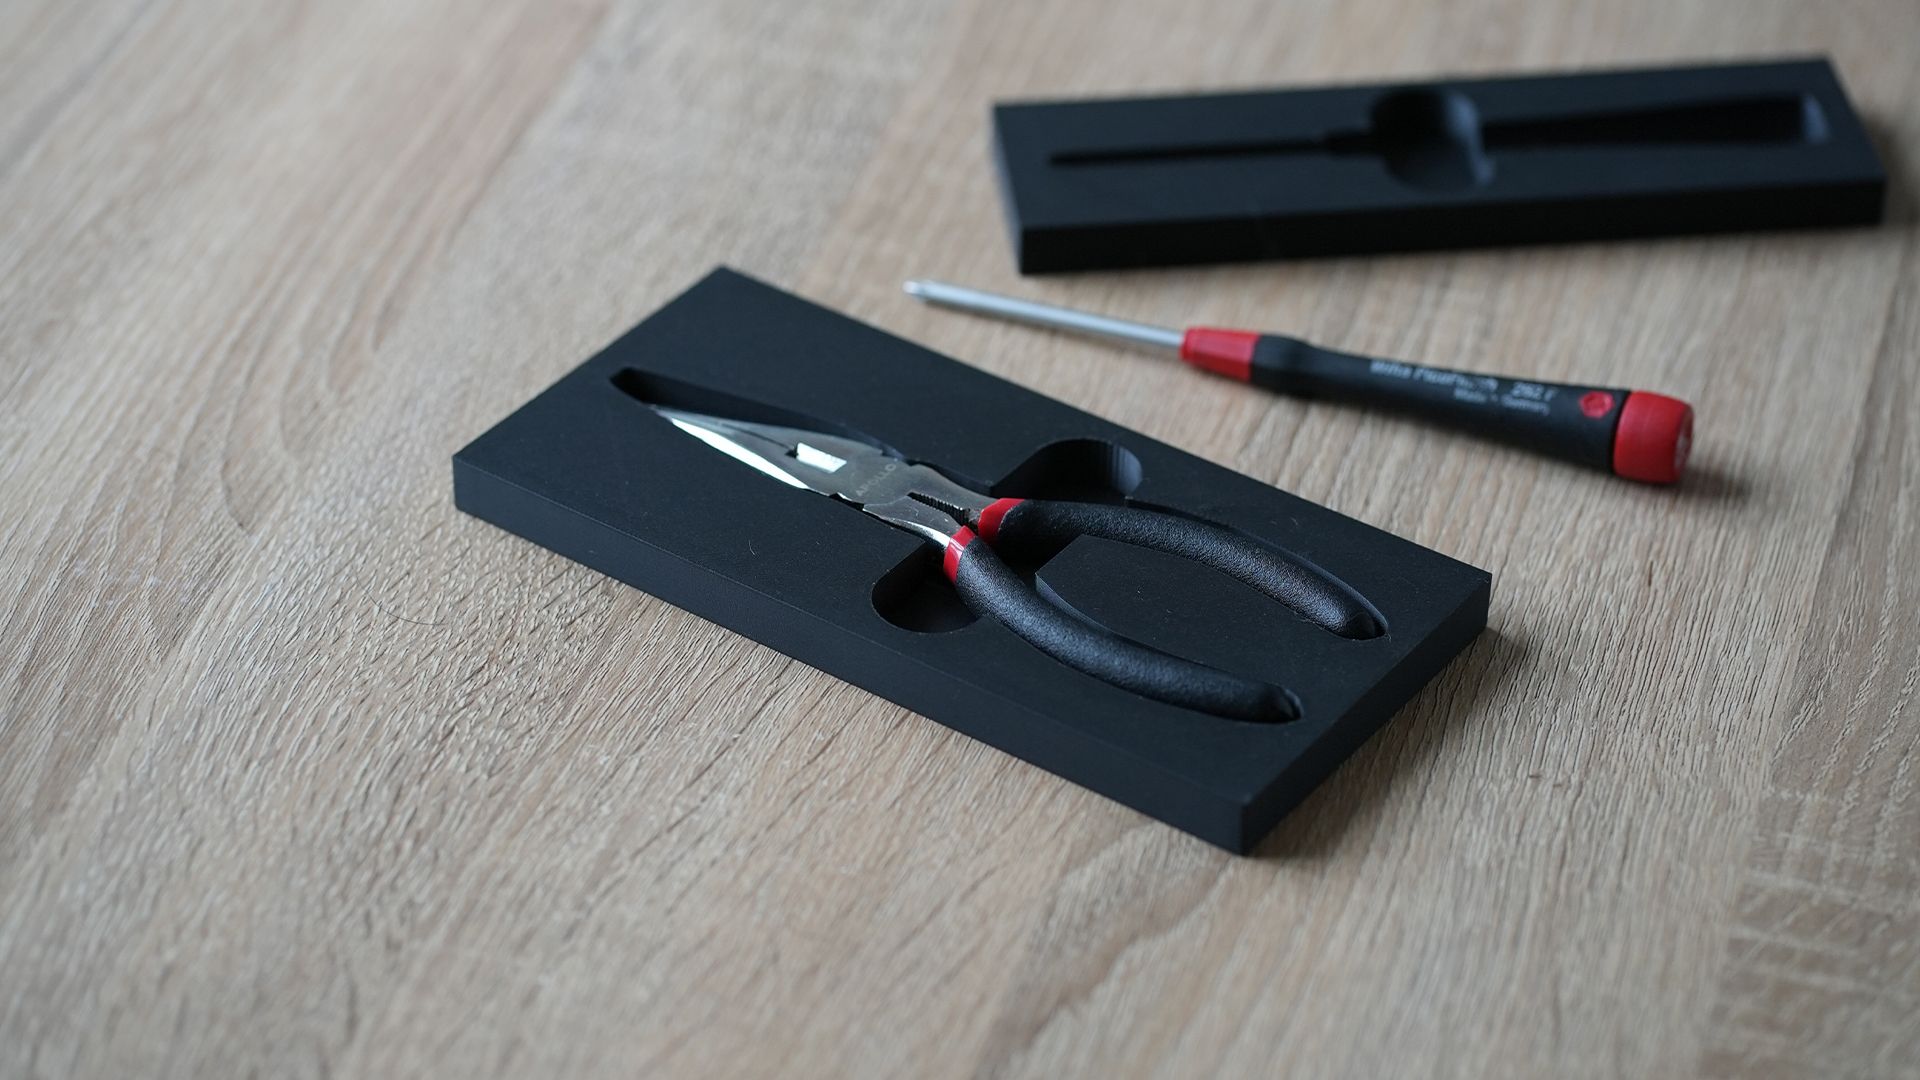
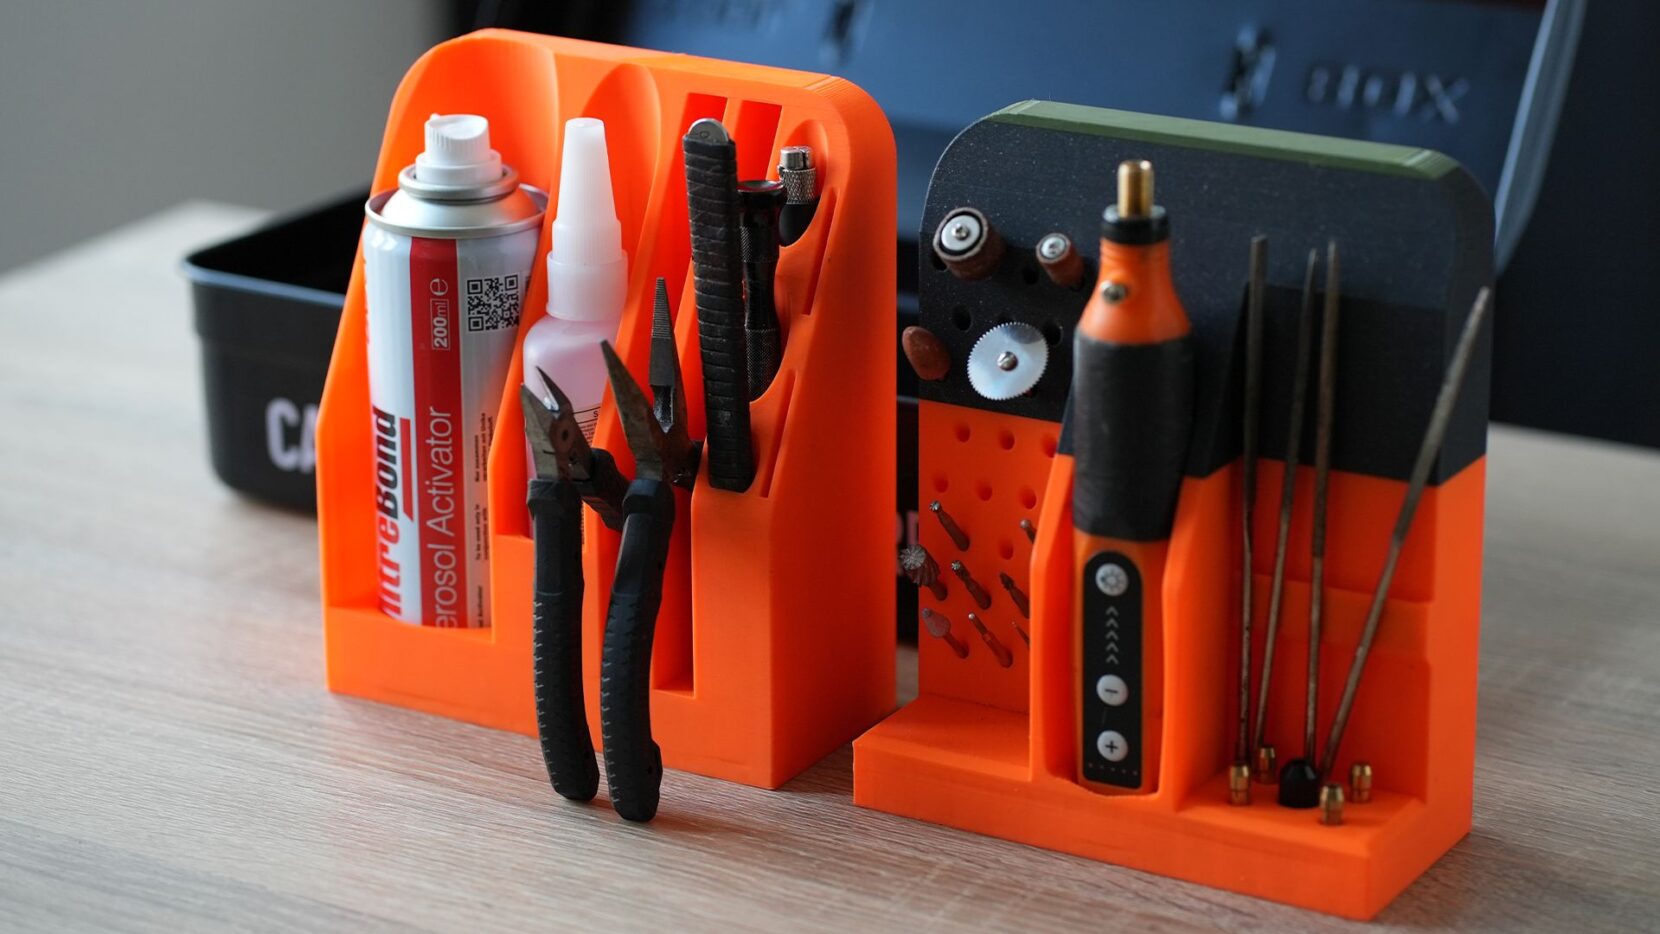
To demonstrate the method, this tutorial shows how to trace a pair of pliers and use the outline to create a custom insert that holds the tool securely. The same approach can be used for many other objects such as tools, stationery, electronics, or kitchen utensils.
The tutorial covers how to:
- Convert a photo into an SVG file
- Import the SVG into Tinkercad
- Scale the reference using real-world measurements
- Trace the outline using the sketch tool
- Cut the shape into a base to create a custom insert
Check it out below. If you would like to follow along, you can download this pliers reference image used in the tutorial.
Why This Technique Is Useful
Tracing reference images can be a powerful shortcut when designing products in Tinkercad. Instead of estimating shapes or building complex geometry from scratch, you can use a simple photo as a guide to create accurate outlines. This approach can be useful for a wide range of design tasks, such as:
- designing organisers or inserts that fit specific objects
- recreating the shape of existing items for repairs or modifications
- creating holders or mounting solutions for devices and tools
- tracing logos, silhouettes, or decorative shapes for product designs
By combining simple reference images with Tinkercad’s sketch tools, you can quickly build accurate geometry while keeping the modelling process approachable for beginners.
Part of the Storage Organisers Project
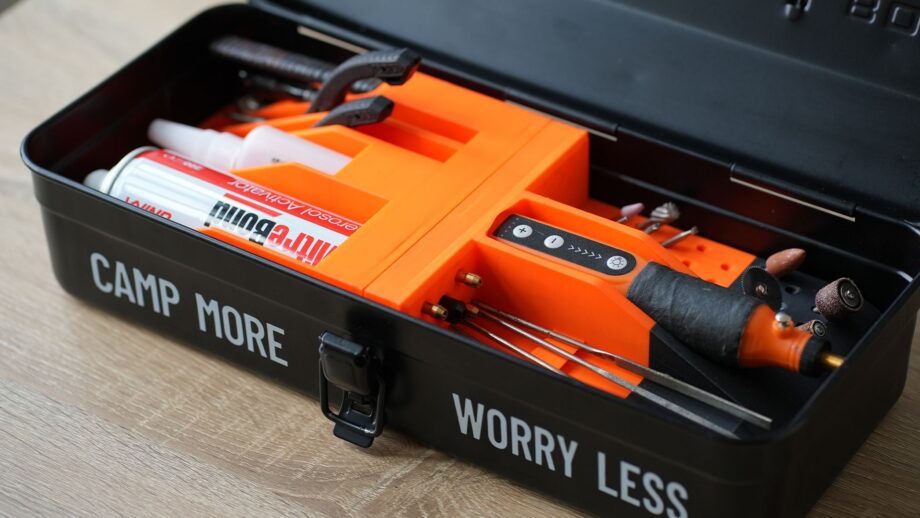
The tutorial is one of several modelling techniques included in the Storage Organisers project on PrintLab. In the project, learners design and 3D print custom organisers for drawers, toolboxes, shelves, or other spaces that need better storage. The goal is to measure real objects, explore layout ideas, and design inserts that hold items securely while keeping them easy to remove.
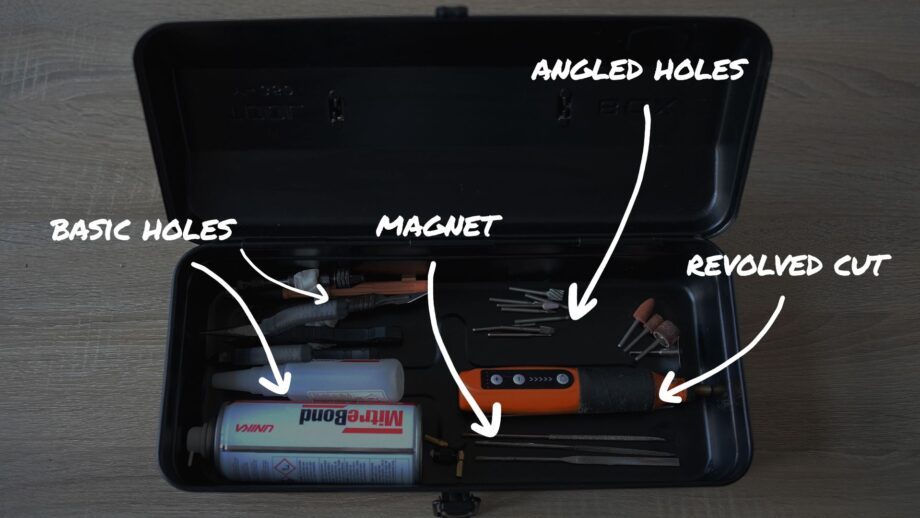
Alongside this straight cut method, the project also includes other techniques such as creating inserts using the revolve tool, which allows you to generate smooth cavities by tracing and rotating object profiles. Explore the full project by starting a free trial to PrintLab below!
Start a free trial to PrintLab to explore the full Storage Organisers project