Teaching Autodesk Fusion Through Mini-Projects: A Teacher’s Approach
Learning Autodesk Fusion alongside the principles of 3D printing can be a lot for students to take in at once. In this guest blog, Aaron Winstanley, a Design and Technology teacher at the International School of Stavanger in Norway, shares how he uses mini-projects and PrintLab resources to introduce these skills in manageable steps, before applying them to larger woodworking and textiles projects. Check out the guest blog below!
5th October 2026 • Case Studies
Guest Blog by Aaron Winstanley
Hi PrintLab community! Aaron here from the International School of Stavanger. I teach middle school Design and Technology, having previously also taught primary Design and Technology and STEAM, both here in Norway and in England.
PrintLab resources form a large part of my 3D printing projects, both with primary and middle school pupils, for a range of reasons. Initially, I found PrintLab to be extremely useful for cover/substitute lessons and remote learning, to ensure pupils still got a quality lesson, with plenty of instruction and skill acquisition, even though I wasn’t in the room. Over time, I have begun to use these resources more and more in my own teaching also, enhancing the learning experience, ensuring it is accessible for all learners.
Today, I’ve been invited to share how I introduce Autodesk Fusion without overwhelming students, utilising a series of mini-projects of my own design, from PrintLab and from colleagues I have worked with. I will take you through my usual intro to Autodesk Fusion, as part of a larger project approach.
One of the biggest challenges I’ve found, is trying to introduce Autodesk Fusion, 3D design and 3D printing knowledge and ensuring pupils see its real world potential all in a relatively short space of time. I have found that splitting 3D printing out into a discrete project, allows time for detailed knowledge and skill acquisition, but in doing so often removes the real world application and purpose of such learning.
Mixing said skills and knowledge into a larger real world project is often more powerful but limits time and opportunity, due to the amount of time needed to teach workshop skills and knowledge, technical drawing, portfolio skills and time etc. I now opt to teach these skills and knowledge, within a larger real world project, and here is how I do it.
Starting with Small, Focused Projects
When teaching a larger project, that will include 3D printing and design in some capacity, I always start with small, focused projects such as creating a calibration cube keyring, importing a 3D Benchy and making edits/additions, both of which allow me to discuss calibration of axes and tolerance testing on the 3D printer and why they are important.
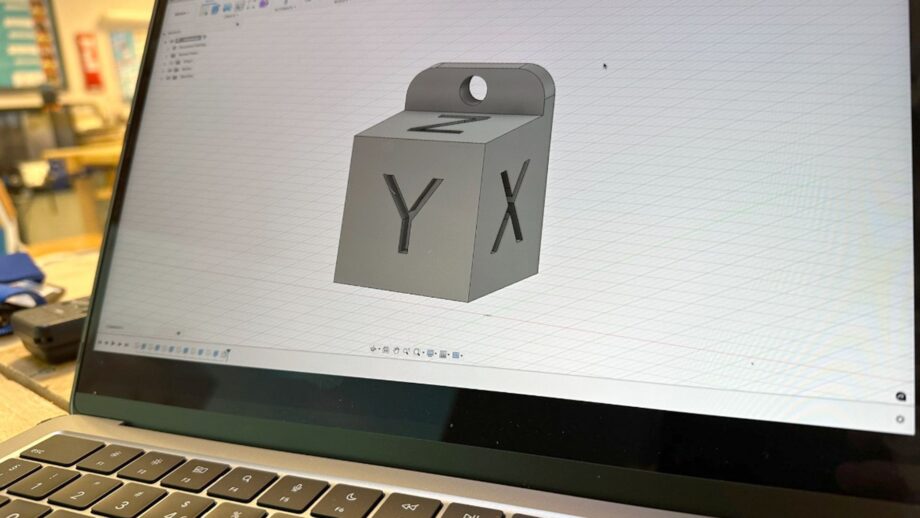
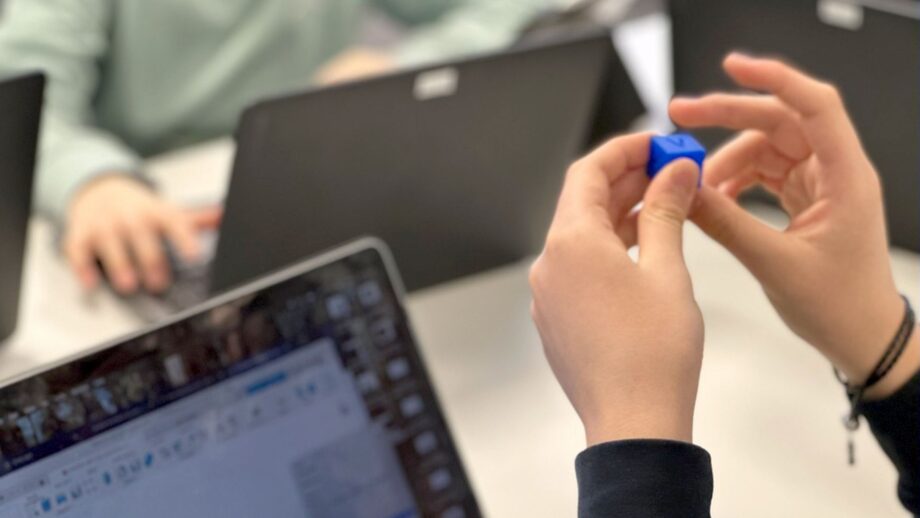
I start with this as it is often knowledge that is missed or considered less important when the upkeep of machines is not the responsibility of the students. That being said, I believe this knowledge to be important to the logic of good 3D design, and vital for successful printing in the future.
One intentional aim of these projects, and future mini-projects, is to give students something fun to take home as they go. I have found this to be really important to them, even the older they get, especially when the bigger project might be months away from being ready.
Building Skills and Testing Understanding
In my normal series of introduction lessons, I then call on PrintLab’s resources and deploy the spinning top lesson. Here we build from basic 2D design and extrudes (repeating process) to planes, lofting, constraints and an interesting challenge to optimise the design, ensuring bed adhesion but also spinning battle readiness. Once printed, students can compare results and battle!
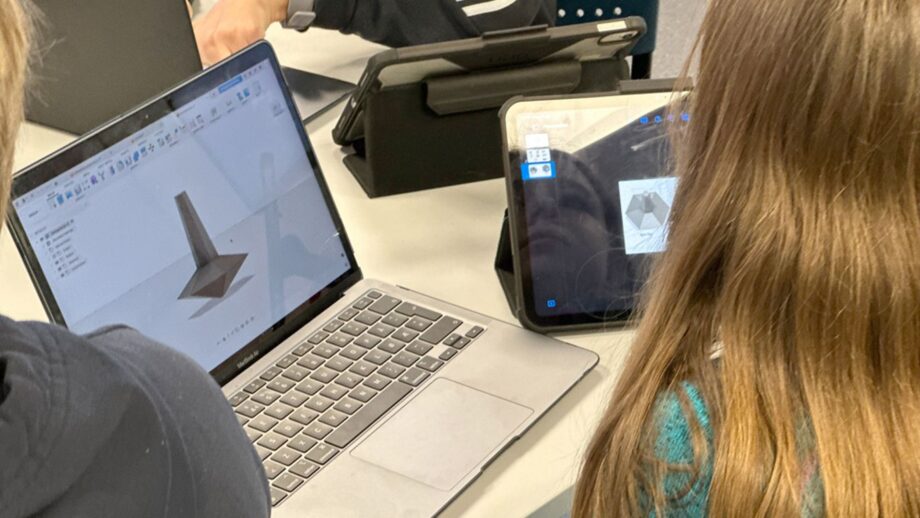
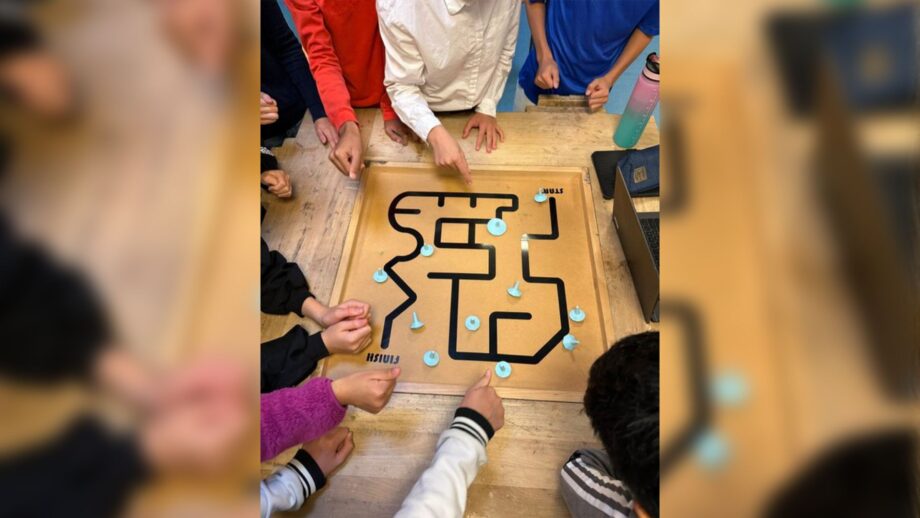
As part of this mini-project we take some time to look at support material, how it can be used, the effect it can have on a final print and post print processes that might need to be considered (dissolving filaments, sanding, filling and spraying etc). Students have to choose how to print their model, orientation and support, but support means they begin the battle stage with negative points.
Having looked at a range of 3D printing principles and acquired a range of skills, we then look towards their first assessment process. A single lesson design project that must utilise all of the skills they have acquired to this point. Before this though, we have some fun looking at revolves, fillets, chamfers, grouping jobs and planes at angles whilst designing a PacMan. This is their first exposure of designing to their own imagination as opposed to following an example.
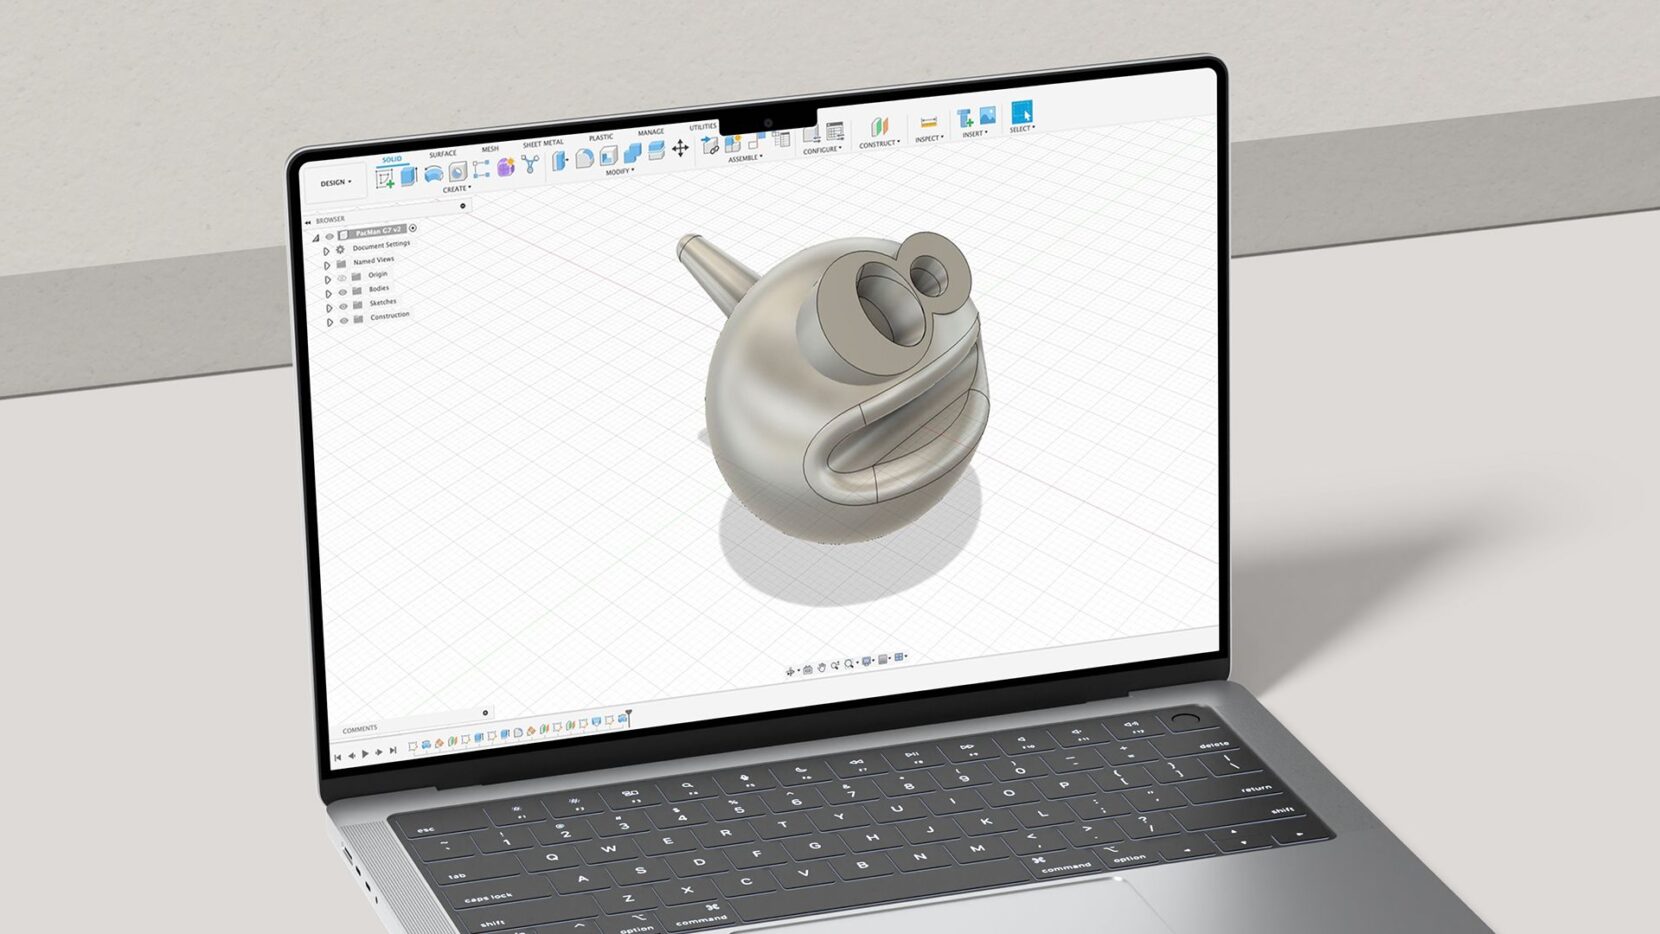
Once PacMan is ready, I test their skills, providing a brief (salt & pepper grinder, chess piece etc) that must include the 10-12 tools within Autodesk Fusion, that they have been exposed to so far. In my opinion, they are now ready with the basics of the 3D printer (calibration and general upkeep), 3D design principles, Autodesk Fusion skills and slicing.
Connecting CAD to Larger Projects
For additional context, this series of lessons is the very beginning to my Grade 7 woodworking project in which they need to look at traditional manufacturing techniques to produce a hardwood and softwood charcuterie board, or the beginning to my Grade 8 textiles project, where they must create a functional, client based design that incorporates traditional textiles, digital embroidery and electronics.
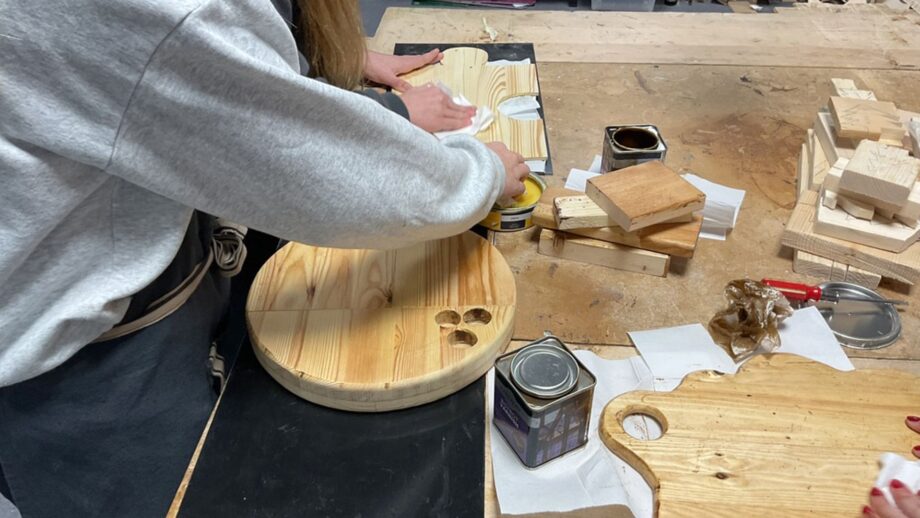
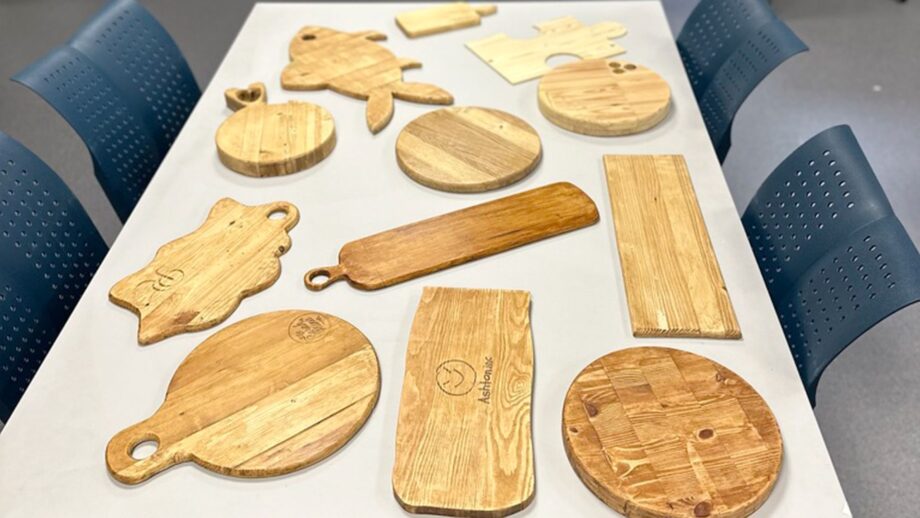
You are now probably wondering why the 3D design and Autodesk Fusion introduction is necessary with these projects. That’s simple! Their next job is to produce an orthographic projection from their final design in Autodesk Fusion, to act as a manufacturing plan.
Here we discuss not only design communication between design teams and manufacturing teams, different perspectives and views, but also filtering necessary and unnecessary information/measurements. Throughout, we have been talking about pros and cons of CAD, and now they can start to see it in action, with a use that goes beyond printing small fun objects.
Independent Learning and Reflection
A favourite in my classroom is that after this beginning to larger projects, I can use PrintLab resources to further their Autodesk Fusion and 3D printing knowledge and interest when I am not available in class. When woodworking is not an option, because I am away, they can still have a quality learning experience exploring emoji tokens or puzzle cubes through PrintLab tutorials.
This is simple for cover teachers, ensures skill and knowledge acquisition, which is often vital for the very end stages of most of my DT and STEAM projects. The introduction to 3D printing, as described above, gives them enough skill and knowledge to complete these PrintLab lessons without much or any input from me.
At the end of most of my projects, when they have completed all of the different areas of study, I ask students to reflect on a piece of equipment they struggled with the most. This could be a sewing machine, the laptop, a tenon saw, router or planer thicknesser. The reasons and thinking behind this is important: Why did they struggle? What did they need to do to overcome these struggles and improve? It also acts as an opportunity to discuss and explore rendering.
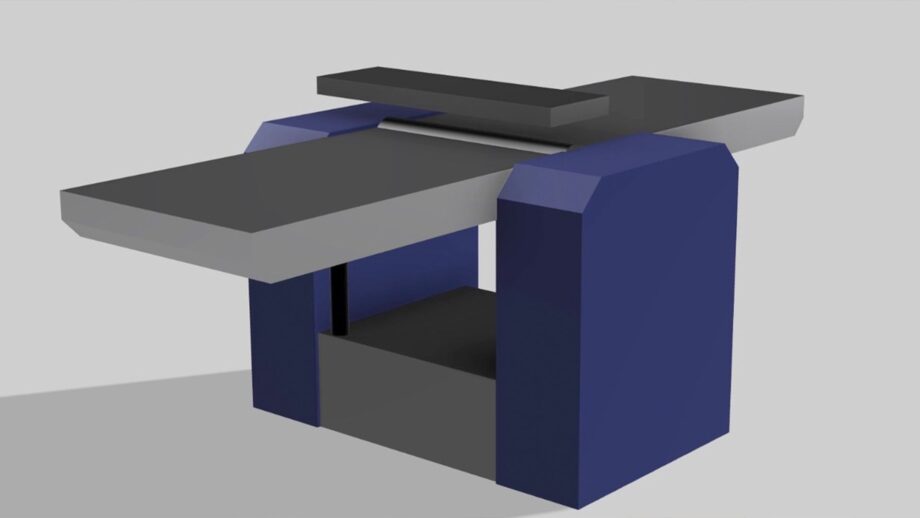
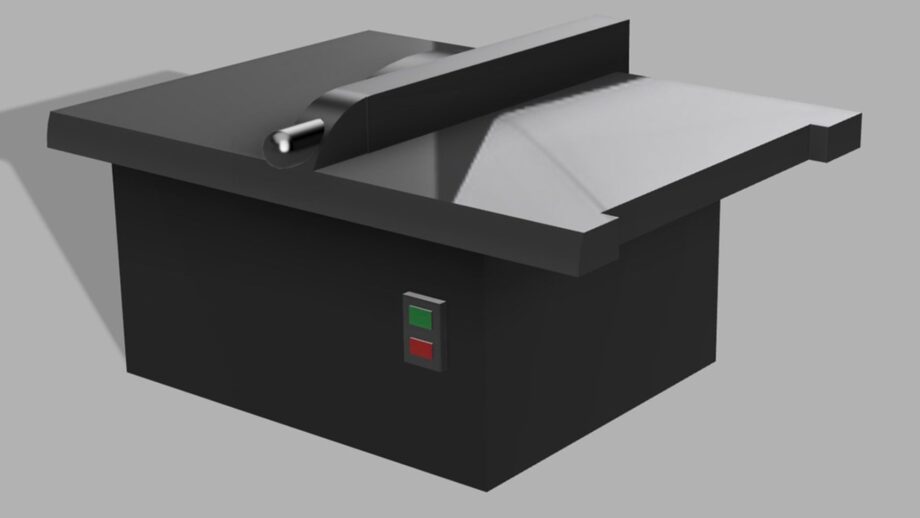
As a final mini-project, having had the extra, drip fed, remote or student-paced lessons (with PrintLab resources), in Autodesk Fusion (inclusive 3D design, puzzle cubes) they must create a scale model of the machine or tool they struggled with.
Students must measure and consider scale, ensure the design looks like a replica by examining materials and finishes, before applying these to their digital design in the form of rendering. This end to the larger project, brings their attention back to Fusion and back to a real world application that is fun and challenging for them.
Documenting the Learning Process
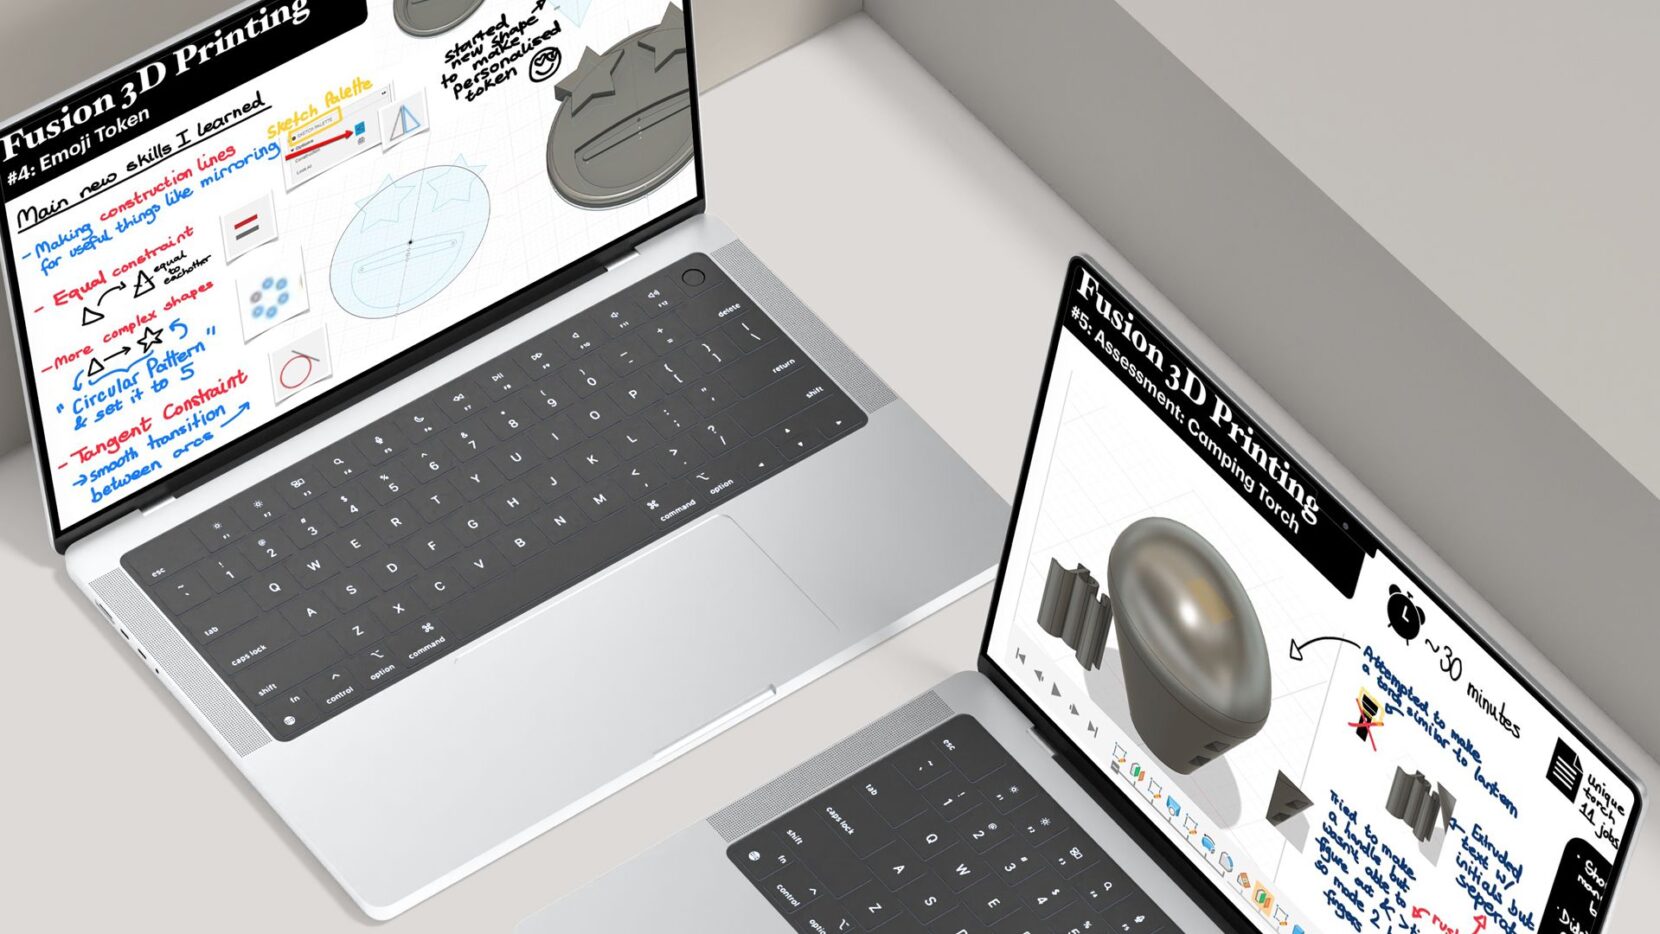
Amidst all of the learning and skill acquisition that happens in my classroom, pupils produce a portfolio. This portfolio is a demonstration of learning. Occasionally, it is a slide deck, but more commonly an infinite canvas (Freeform or Canva) that contains reflections on all of their work.
I ask these to be simple, nothing more than a series of images and screenshots with hand written reflections. The reflections must not contain a description of the image, but more why they have included the image. This is the most powerful learning within my projects, allowing for their own reflection but also the different areas of study to be linked and ordered ensuring they appreciate real world process.
From a 3D design and printing view point, it allows students to make links between why 3D design is ideal for workflow in small companies and larger multinational corporations, why it is important for companies that specialise in other materials and how technical drawings can be utilised and easily altered following prototyping. It also helps them to appreciate how accessible it is to them, and how much they can enjoy it!
Conclusion
This approach, combining different areas of study into one larger project, culminating in lots of small 3D prints, a larger project product and a reflective portfolio works for me, my students and the time/structure I have. It is not ideal by far, but hopefully it gives you a snapshot into the way I run my classes, the way I introduce Autodesk Fusion and, most importantly, how I break it down to cover a large amount of skill and knowledge in an accessible way for all my young learners.
In all of this, I use a combination of PrintLab’s resources and tutorials, my own projects and others I have ‘pinched’ from colleagues I have learnt from before. In this short case study, I have mentioned a few of the mini projects and tasks I deploy, but do feel free to ask for others I have incorporated. The important thing for me, is that each mini-project is simple skills acquisition, combined with snapshots of external knowledge to ensure understanding and real world purpose.
Having resources like PrintLab available makes it easier to introduce new skills without overwhelming students, ensuring they can move at their own pace, with or without me in the room. It allows me to be a 1 on 1 helper to each and every learner, as they follow at their own pace, often acting as a nice alternative to my own demonstrations where the majority controls the pace.
Hopefully, this gives you a few ideas you can try in your own classroom, or the curiosity to find out more. If this is the case, please feel free to contact me and ask any questions you may have. – aaron.winstanley@isstavanger.no.
—
A big thank you to Aaron for sharing his classroom approach and the ideas behind his projects. If you’d like to build your own skills and confidence with Autodesk Fusion, the free Fusion Fundamentals course is designed specifically for educators.
Delivered by Autodesk Learning Partners, this live virtual course provides 12 hours of training over 2–3 days, covering sketching, extrusion, modification, assemblies, drawings and more. You’ll also receive resources and a certificate to support your teaching and professional development. Whether you’re moving on from Tinkercad or already using Fusion, register your interest here and we’ll send you details of the training available in your region.