3D Print Farms in Schools with Jesus Huerta
Something we are truly excited about at PrintLab is the growth of 3D print farms in schools and if you share our enthusiasm about the topic, we have something special in store for you today! We recently caught up with technology teacher and 3D print enthusiast, Jesus Huerta, who now has a fleet of 30 3D printers at his school. Read the interview below to learn more about Jesus's print farm and how it is still put to use through distance-learning.
14th December 2020 • Case Studies
Hello Jesus! Great to have you here with us today. First of all, can you tell us a little bit about yourself and how you got involved with 3D printing?
I started printing a little over six years ago after attending my first educational conference. It was a local one and a teacher from a nearby district was there. Ascension Reyes was presenting on everything from Arduinos to robotics and also 3D printing. It’s because of his session that I understood the power of 3D printing.

How is 3D printing used at your school?
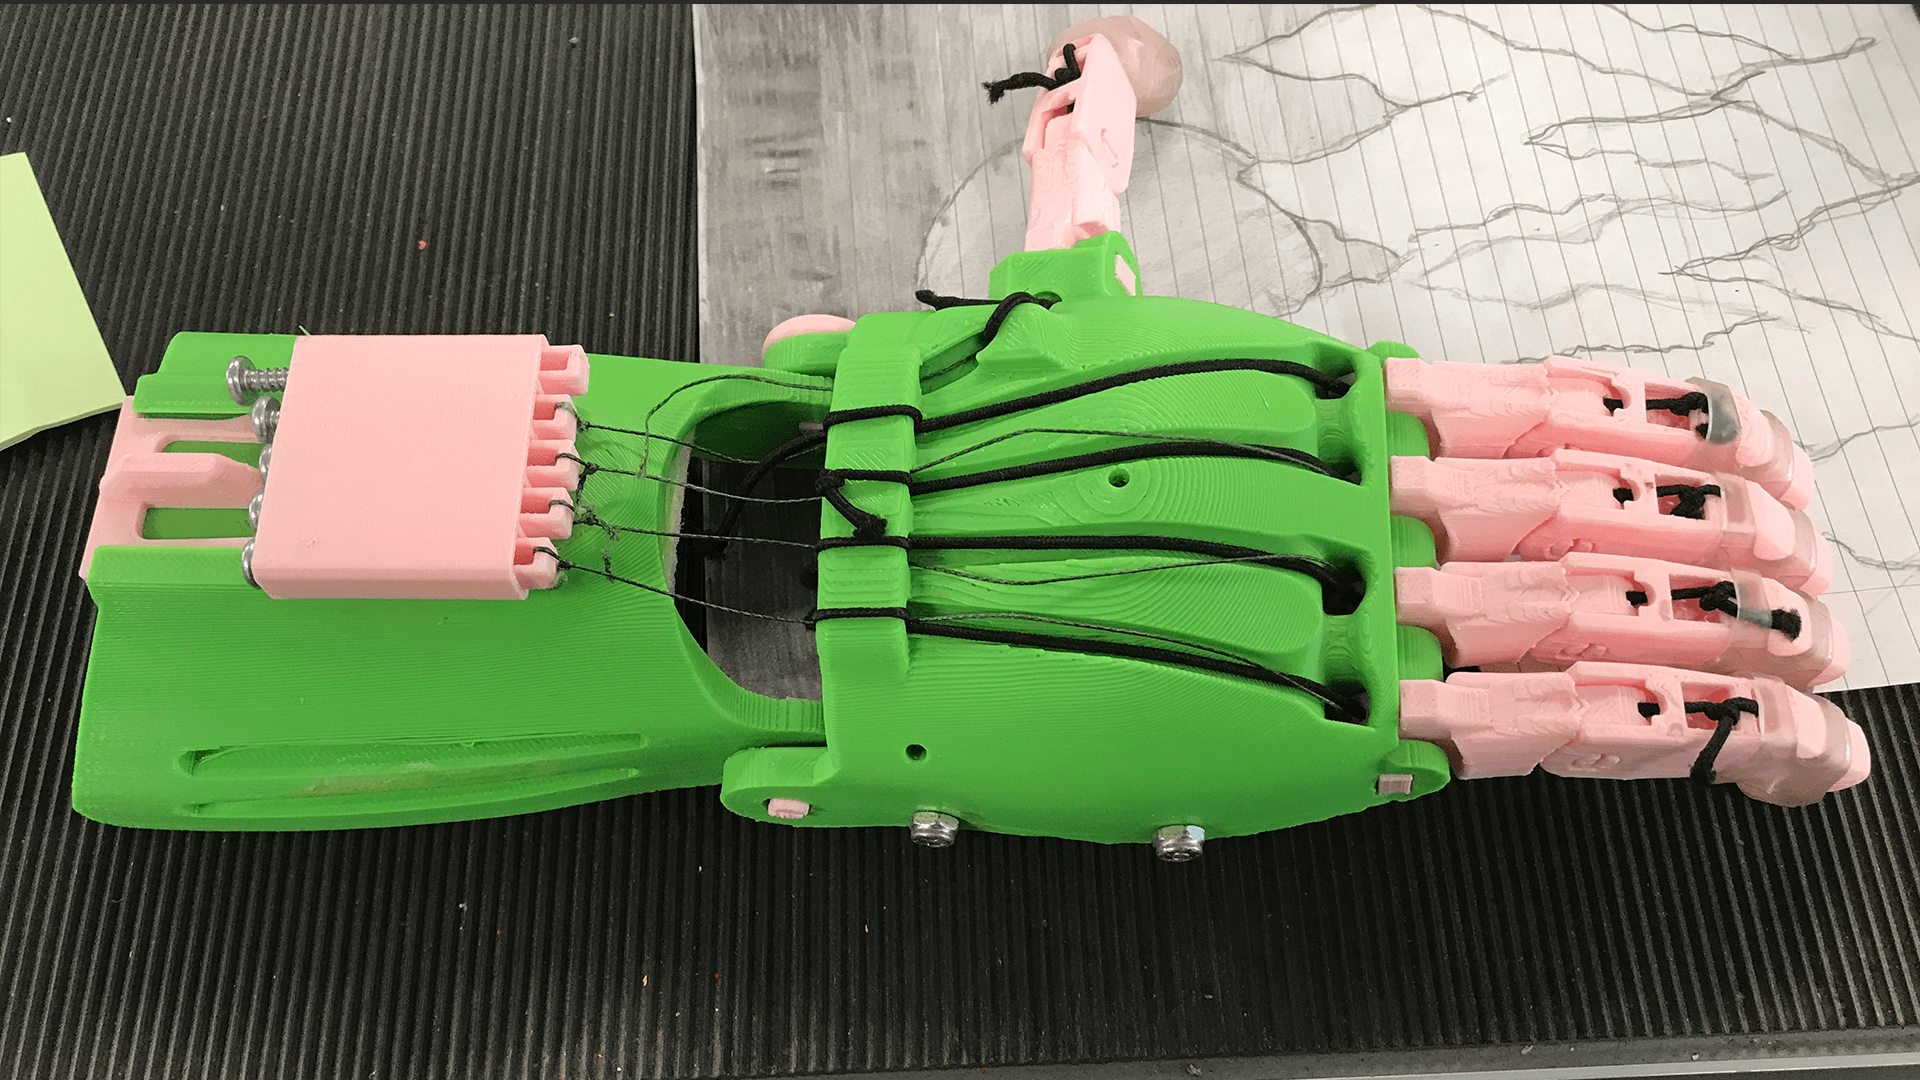
I am currently the only teacher at my site using 3D printing, but I have had a tremendous amount of support from my admin and district. This support allowed me to not only blend technology with my multiple subject classroom but also to develop a STEAM club for students that were not already in my classroom. We use it to extend various projects such as prosthetics, Caines arcade, recreate a famous landmark and more!
It’s great to hear you recently grew the 3D print farm at your school! What hardware did you opt for and how was the 3D print farm funded?
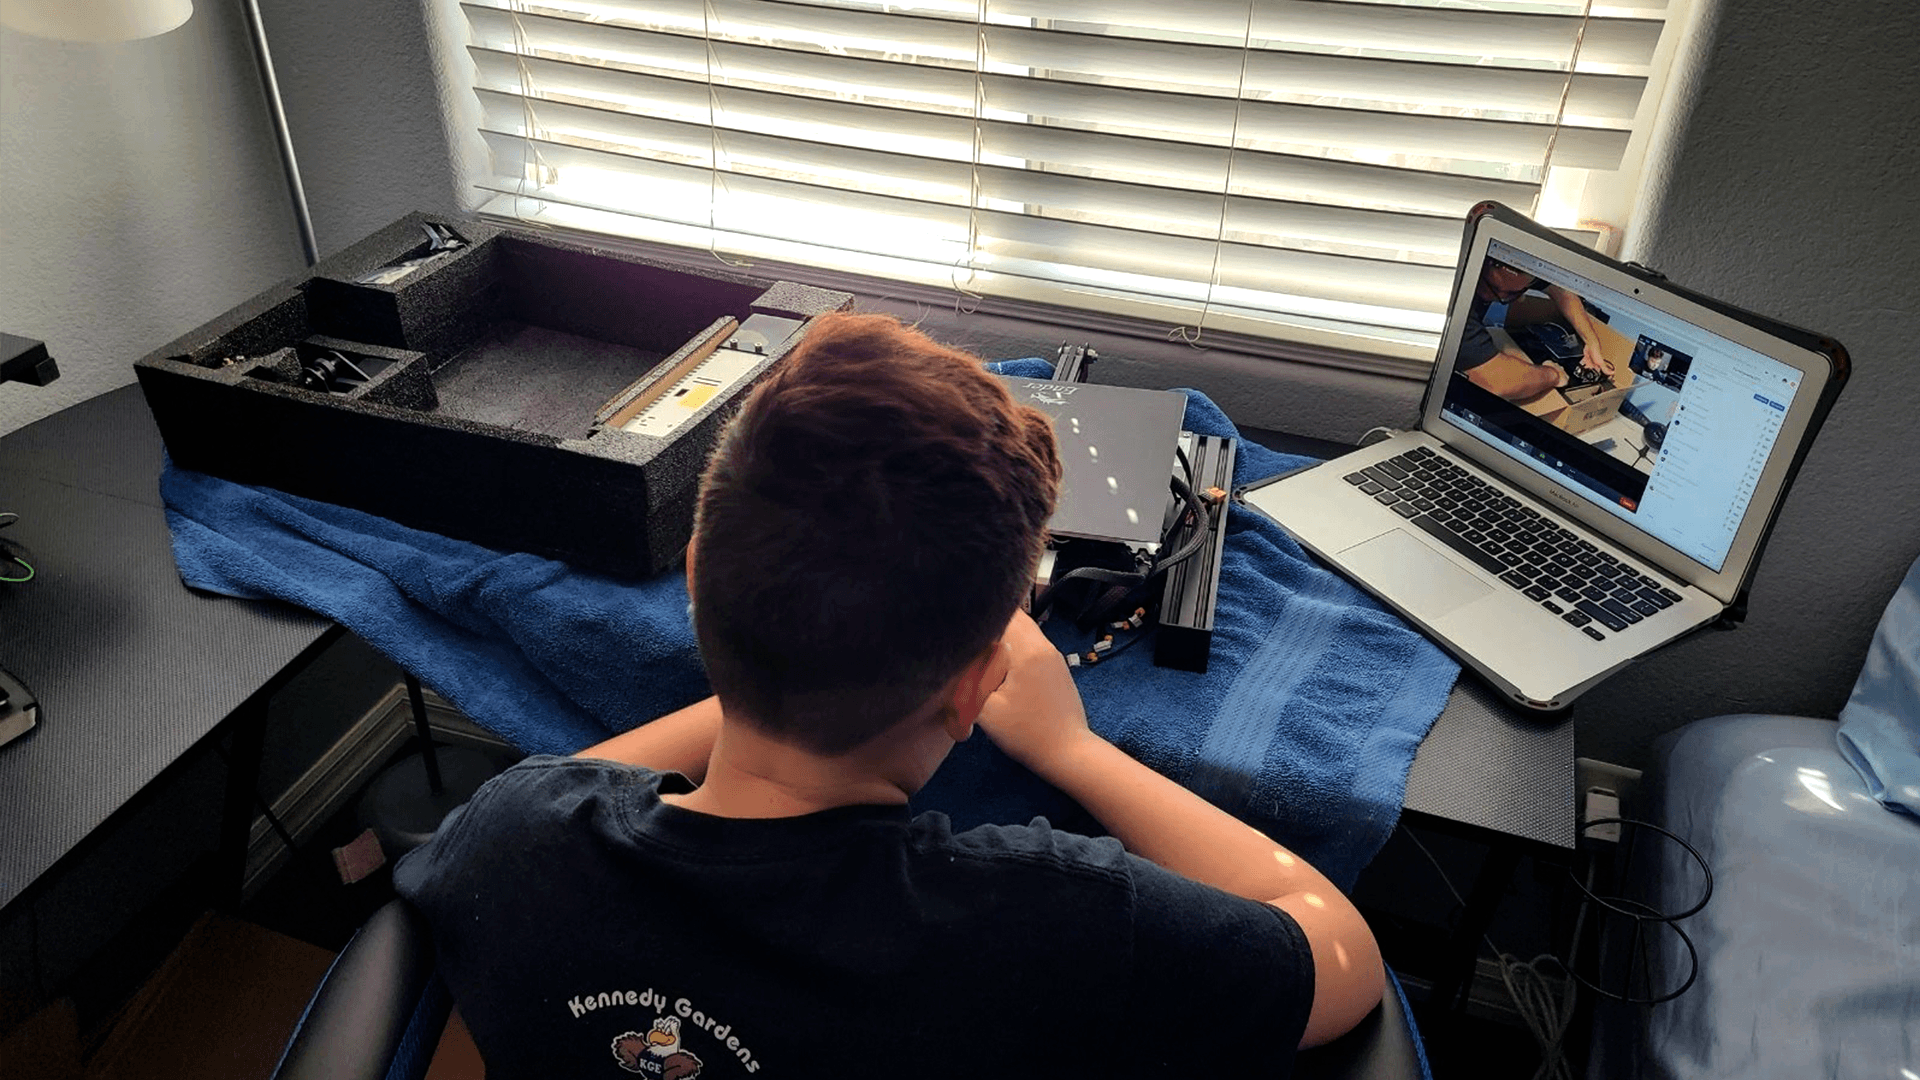
The print farm consists of 30 Ender-3 pros and the reasoning on these was because of their value. While not the most expensive printer out there, it is a workhorse of a printer and comes in right around $200. The print farm was a plan we had begun in 2019 as part of afterschool enrichment, where my students would have access to them during the day and afterschool they would be open to students that were not in my class. When the pandemic hit, I asked if we could put them in my students hands and I would help build them virtually. Many students accomplished this, while some needed to drop them off so I could finish off their printers.
What are the benefits of having a 3D print farm as opposed to just 1 or 2 3D printers?
There is “printer math” involved when you want to introduce it to the classroom. For example, say you have one 1 printer and 30 students. If you set a 1 hour time limit per student, that means that student A will print on Monday and then not again until the following Tuesday or Wednesday. The reason for this is that a teacher will be able to set up around 5-6 prints per day, so it will take 5-6 days or more to come back around to student A. Now let’s look at having 4 printers available. Now you are setting up about 20 prints a day, so student A is printing on Monday and then maybe even Tuesday again but definitely by Wednesday. Adding more printers gives students more opportunities but also can help remove any time limits when it comes to a print. That means that projects do not have to be reduced to these tiny items, which may not reflect the true nature of the design.
What would your top 5 tips be for teachers who are looking to set up a 3D print farm at their school?
What’s your budget is definitely the first question I would ask. If a teacher or site has the money to invest in a fleet of Ultimaker printers, then sure go for it! Now if the budget has wiggle room, I would say go for something in the Creality series since most will not have the budget for 30 Ultimakers or 30 Raise 3D printers. Next I would say get racks, such as kind sold at Costco or a Harbor Freight store. This also means that you need to get rid of clutter in your class but then this could also mean you have flexible seating? Now it becomes a win win situation.
Third, find the slicer that best fits your group. I would say start with Astroprint since it’s free and has been working amazingly with my class. If you have the budget, look at some paid slicers such as Simplify3D. Fourth, start off with PLA filament and avoid any exotics. Those can be difficult to print with and the goal at the beginning is to have students succeed with printing. As the year moves along, then introduce other materials if possible such as Nylon, carbon fiber and more. Finally, have tools readily availble and be ready to tinker a bit but also use those tinkering times as teachable moments.
Covid has brought about many changes but this hasn’t stopped your students from 3D printing! How did you carry on 3D printing throughout these difficult times?
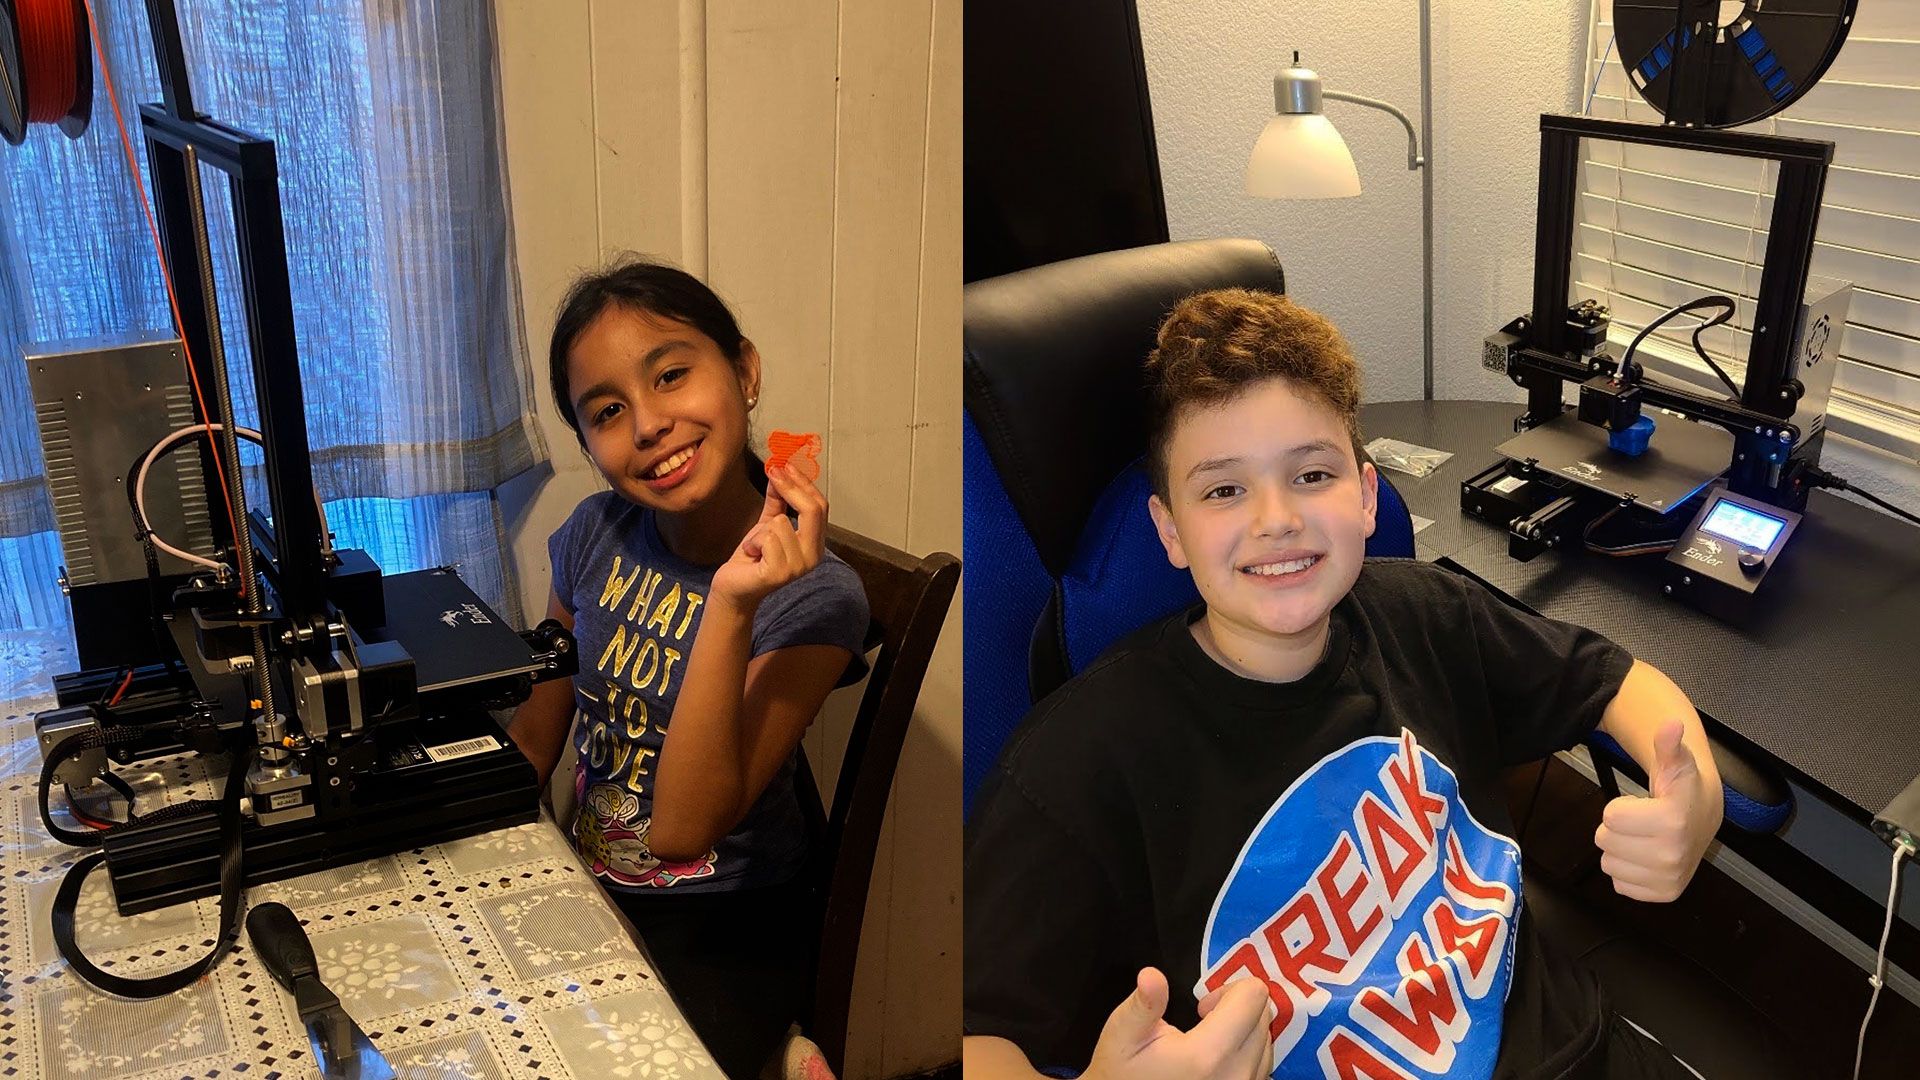
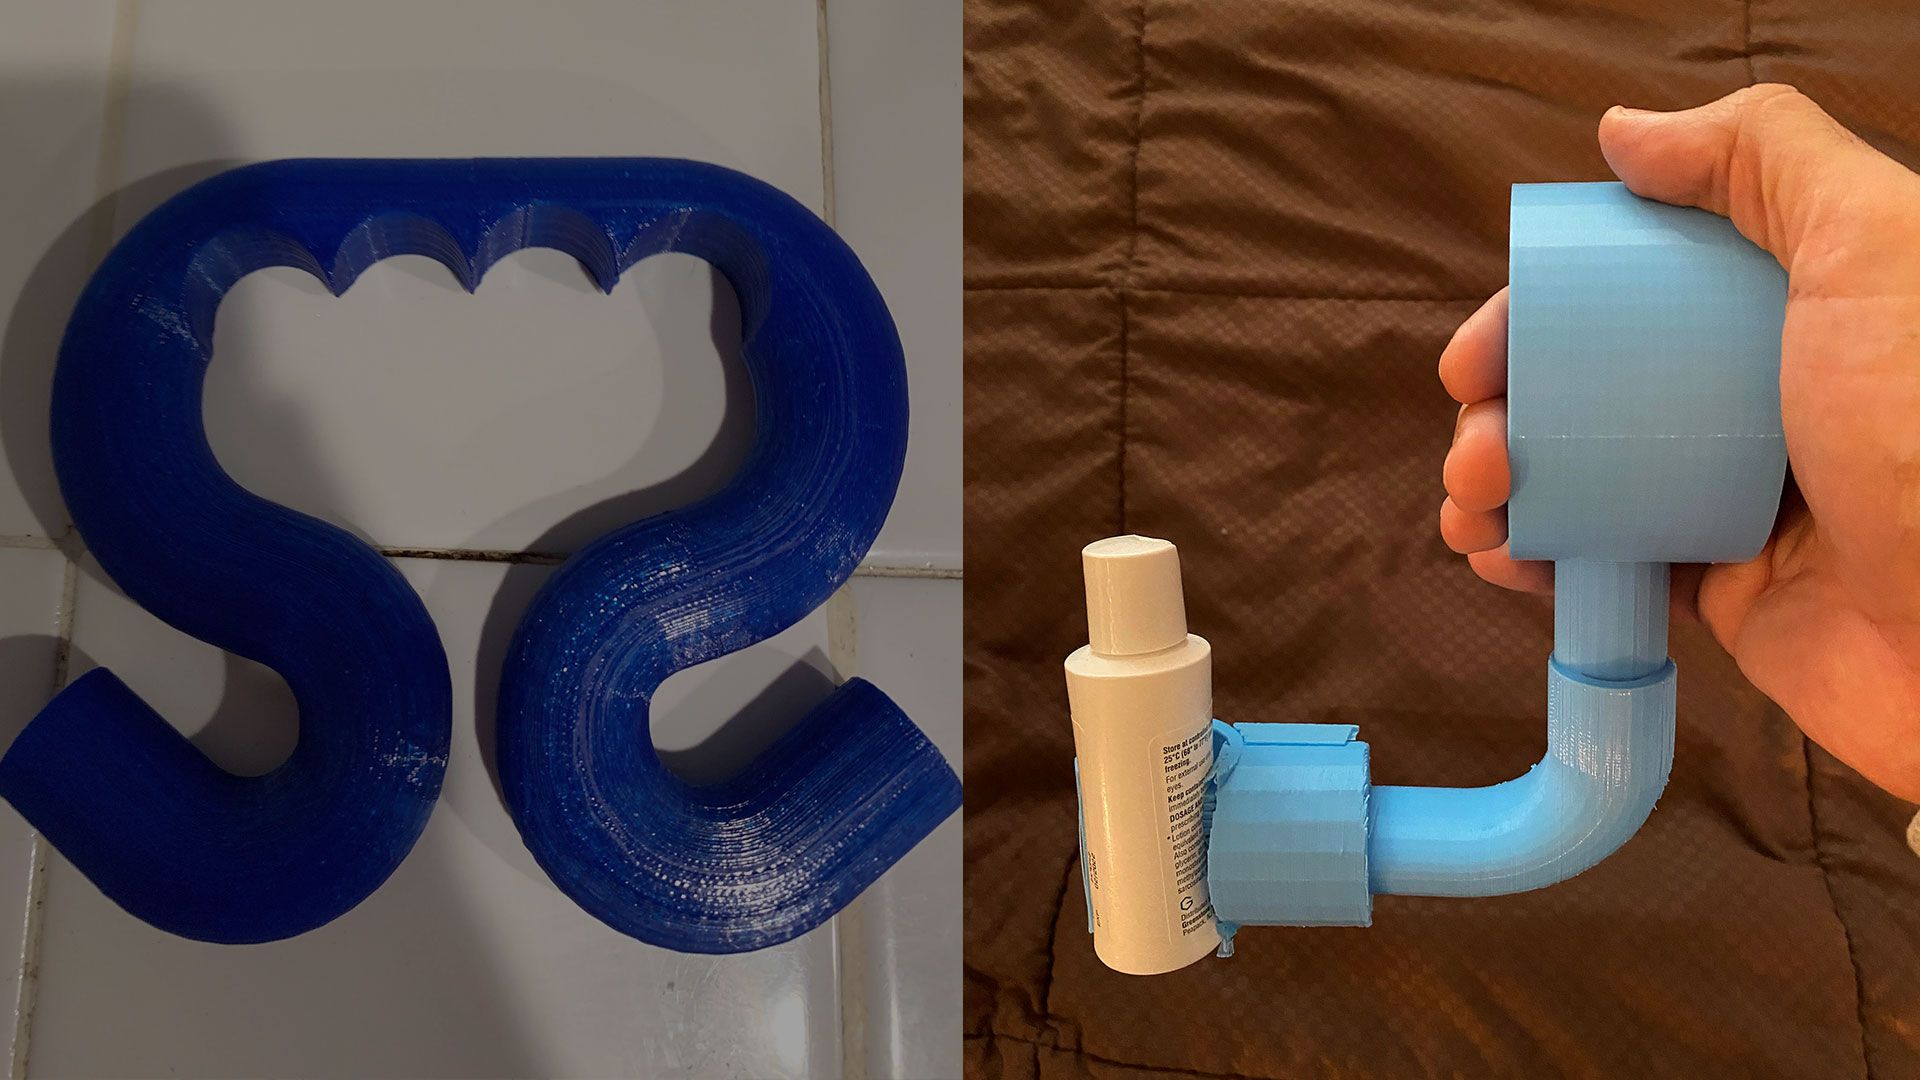
As mentioned earlier, I was able to have students pick up 3D printers, build them at home and keep them at home till the end of the school year. This has allowed them to print whenever they choose and some have even printed items that family members have paid for! Currently they are using them to print and test out their assistive technology tools for the Make:able challenge!
What 3D printing plans do you have for the rest of the year?
They will continue to use them whenever they want but I am currently planning on creating a special Sunday class where parents will stop by and learn virtually how to design, slice and run the machines also. In the future, they will use design software to create their own Amiibos since they will be working on a video game project starting in January! They will be working with the Microsoft software Makecode arcade and the Brainpad hardware.
Finally, where can people keep up to date with the work of yourself and your students?
I can be reached via email at letsteach1979@gmail.com, Twitter @jesush1979, Instagram @mrhuertasclass, TikTok @jesush1979 and my personal blog mrhuertasclass.weebly.com.
—
A big thank you to Jesus and his students for sharing their story with us. We hope you enjoyed this blog and don’t forget to follow Jesus on the channels listed above to keep up to date with his amazing journey!