Become a Confident Assistive Tech Designer with PrintLab
At PrintLab, our resources are used for all kinds of creative 3D printing projects - from homeware to classroom STEM builds. But one area especially close to our hearts is assistive technology. In this blog, we’ll be outlining a learning pathway through PrintLab resources that you (or your students) can follow to become a confident designer of 3D printed assistive devices. Whether you're an occupational therapist, teacher, student, or maker, we’ll show you how to build the skills to turn ideas into functional, life-improving products.
11th August 2025 • Tips
After outlining the steps, we invite you to take a free trial of PrintLab, so you can actually explore the resources we mention in the pathway. You can follow the entire pathway from start to finish, or simply dip into the parts most relevant to you. Let’s get started!
STEP 1 – Develop an understanding of the 3D printing industry and technologies
Begin by participating in our 3D Printing Industry mini course to learn about the key aspects of the 3D printing industry – from rapid prototyping and local manufacturing to customisation, sustainability and mass global access. Then go through the 3D Printing Technologies resource to learn about 6 key types of 3D printing technologies.

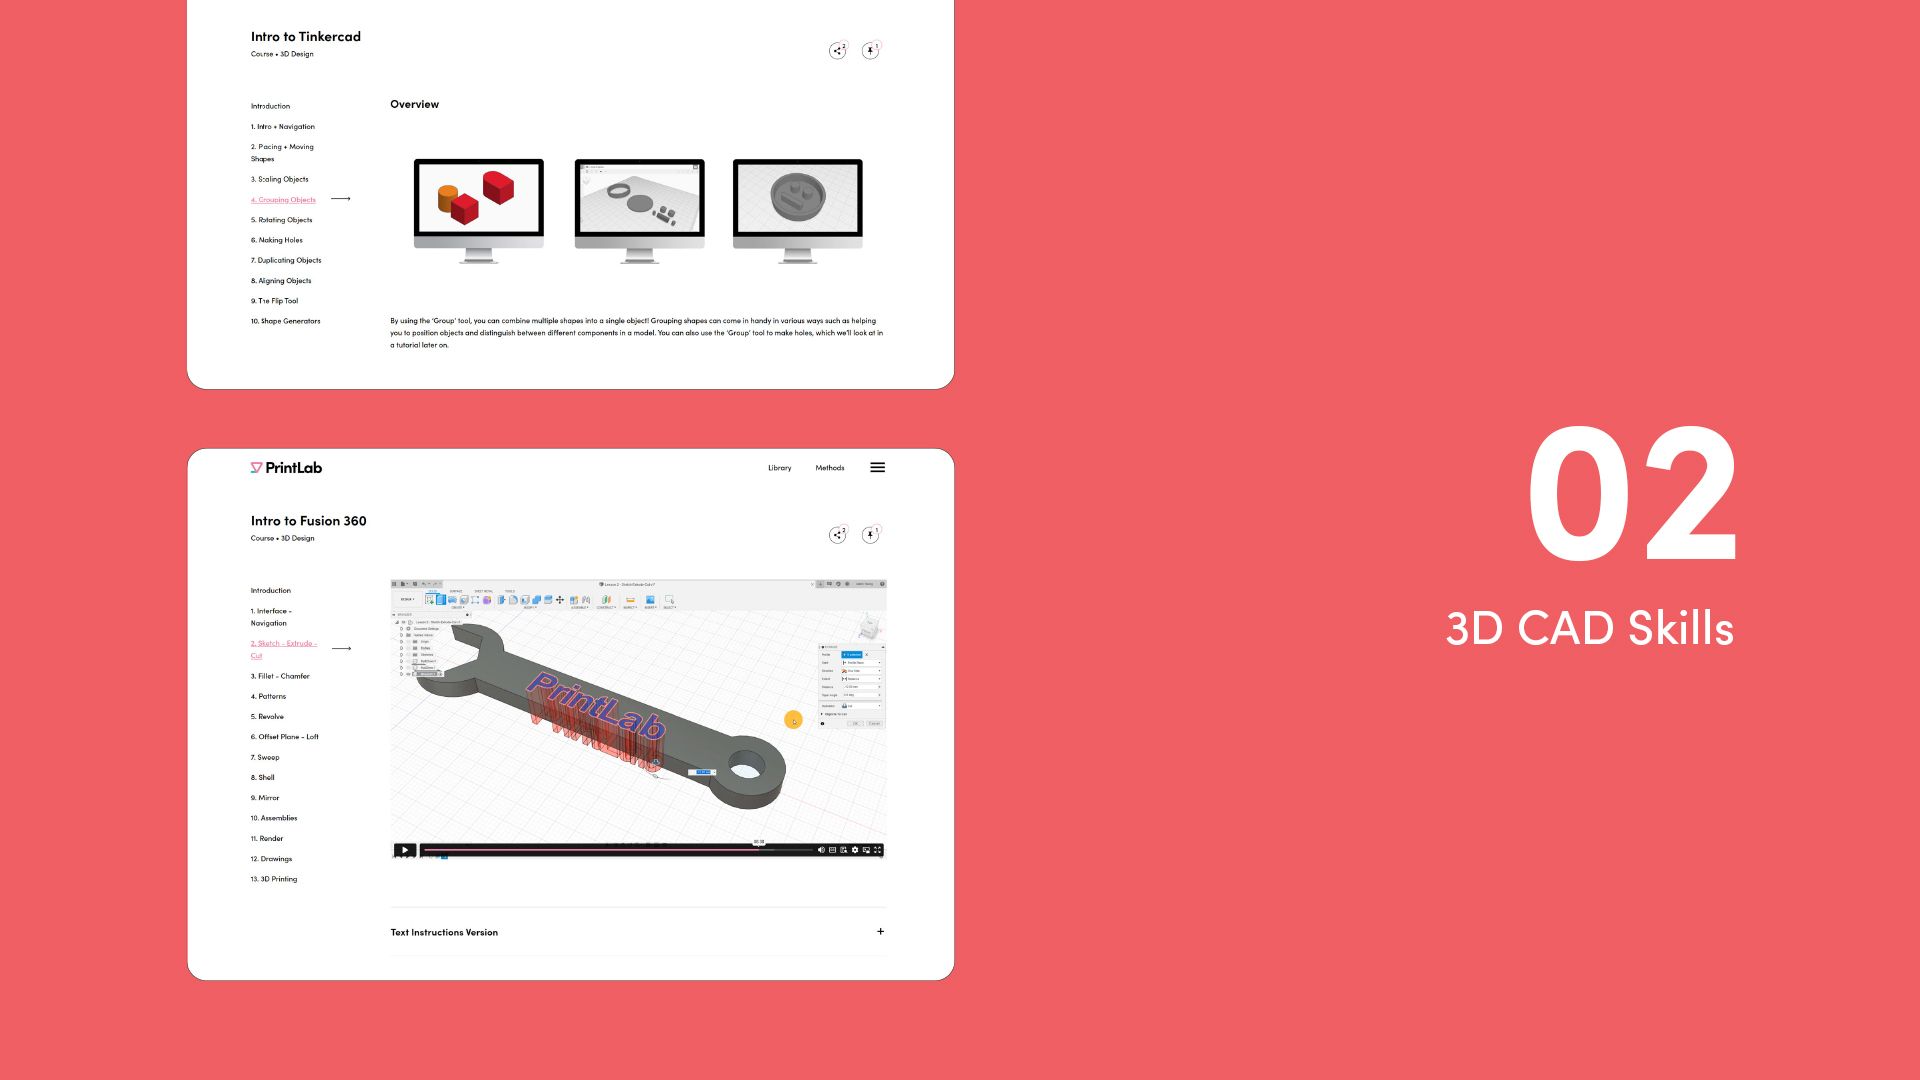
STEP 2 – Select a 3D CAD software and learn the basic tools and functions
The majority of PrintLab projects come with tutorials in both Tinkercad and Autodesk Fusion software (both free for educational and personal use) – allowing you to choose your preferred software package. We recommend Tinkercad for complete beginners, and Fusion for those who have some 3D CAD experience or those who want to challenge themselves. Do a little research on both options. Then select one and participate in either our Intro to Tinkercad course, or Intro to Fusion course.
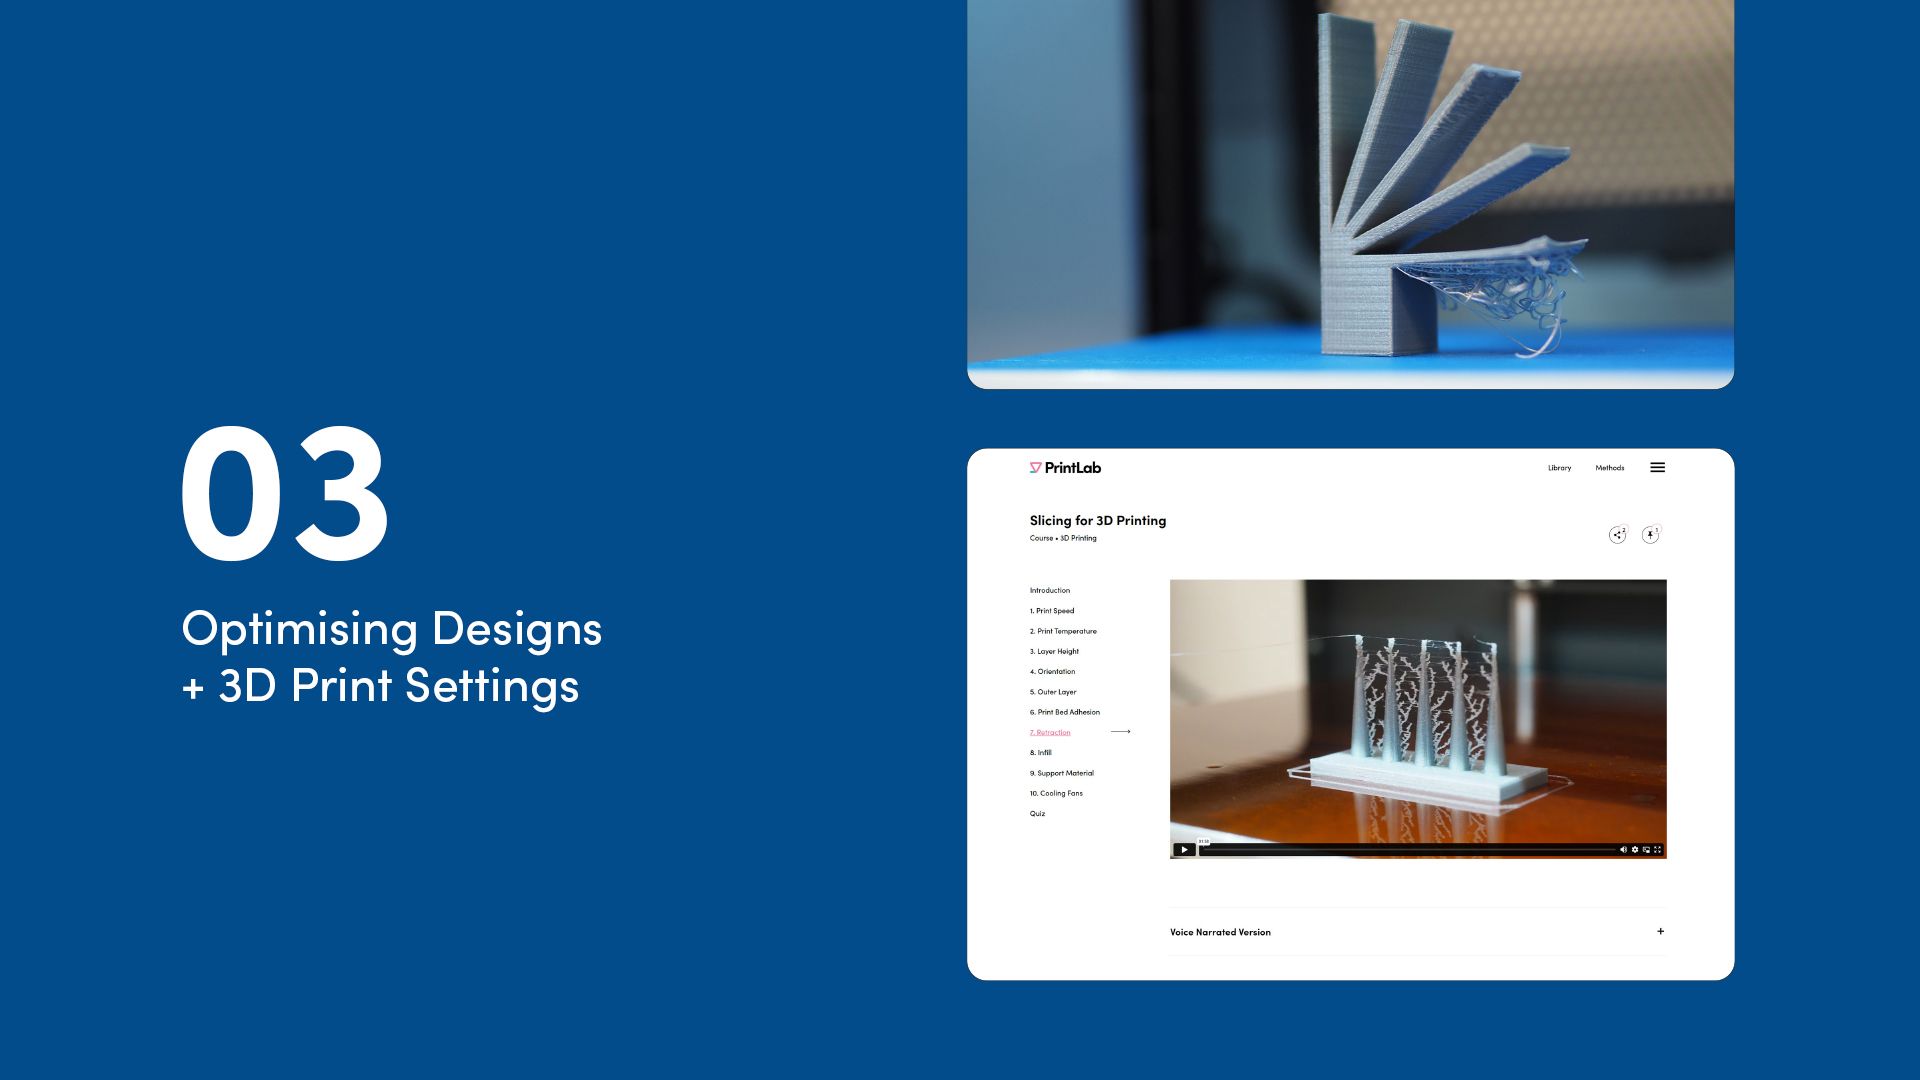
STEP 3 – Learn how to optimize 3D models and slicer software settings for quality 3D prints
Our Designing for 3D Printing course covers the best practices for designing specifically for 3D printing. And our Slicing for 3D Printing course goes over 10 essential slicer settings to help get the most out of your 3D printer. Participating in both courses will provide you with key knowledge that can be applied to all your upcoming 3D designs.
STEP 4 – Understand the full creative process and the tools available to you
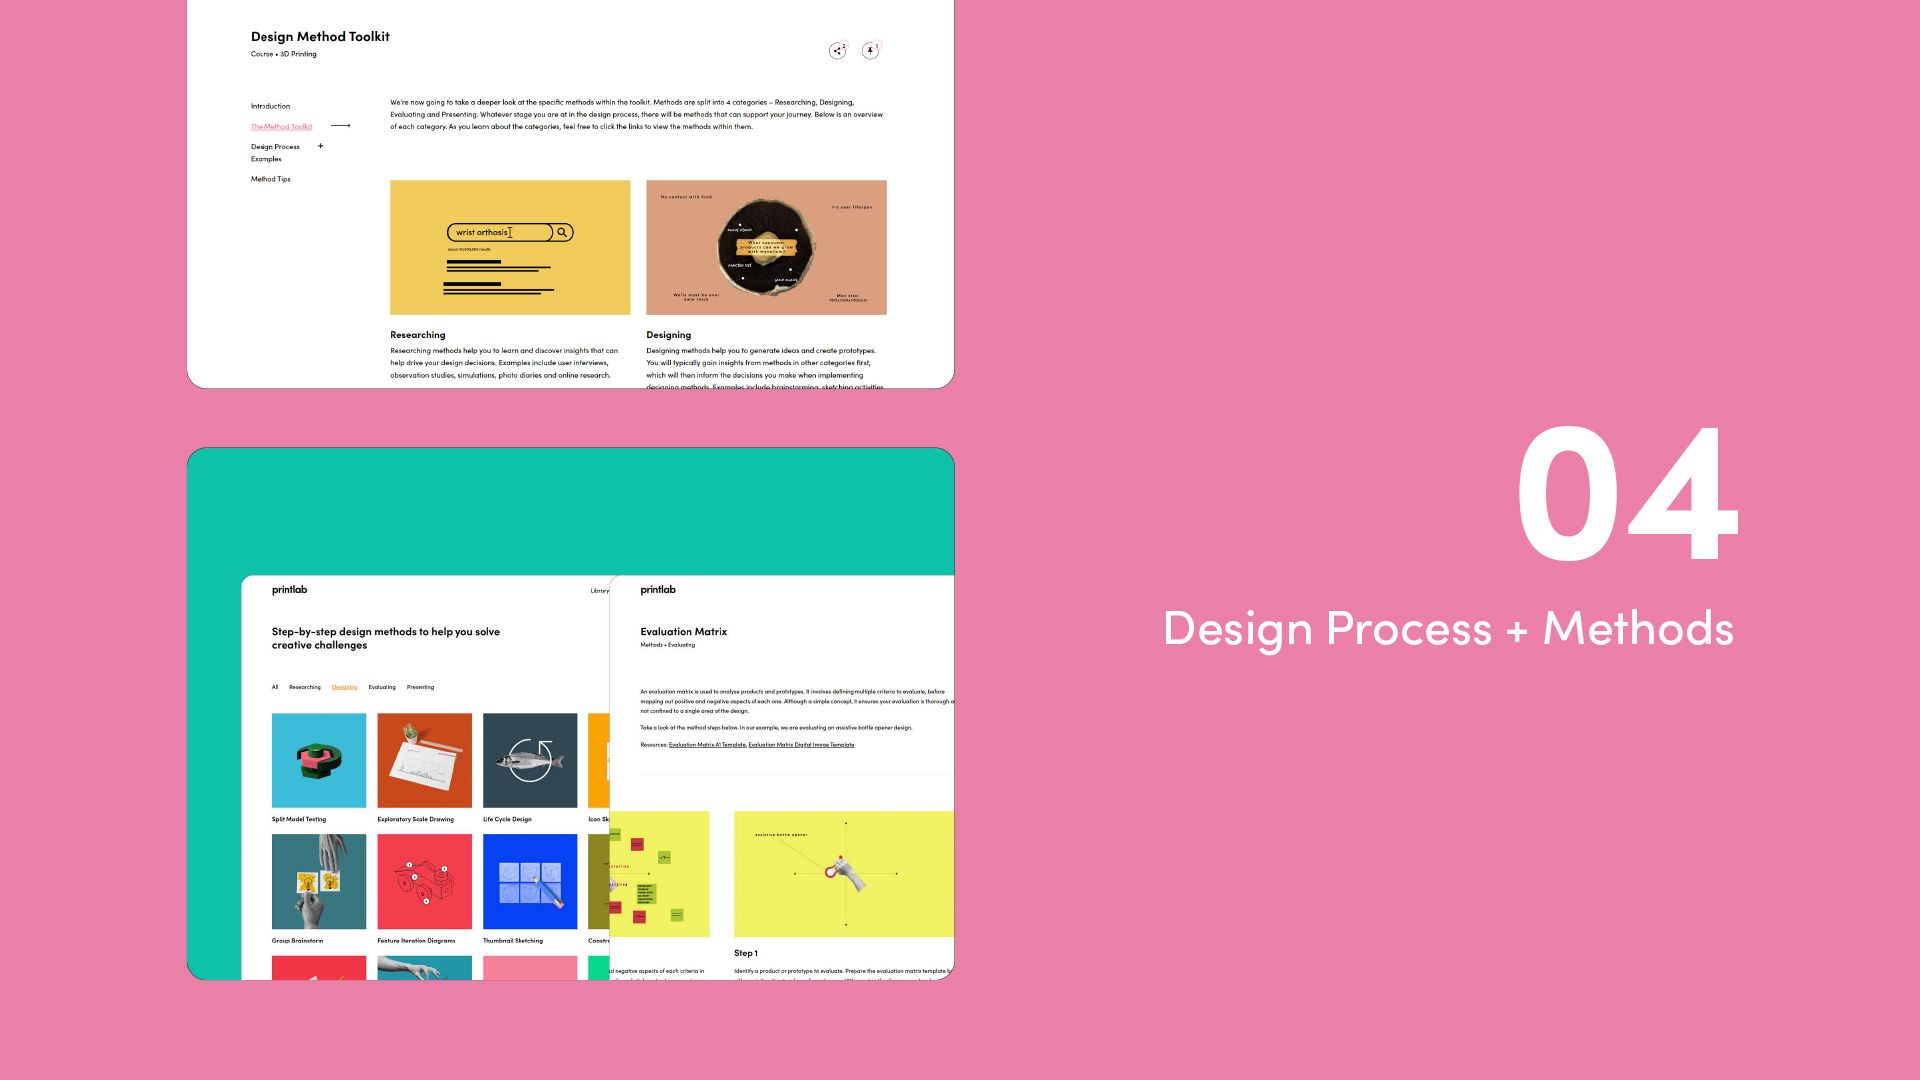
Before you delve into design projects, it’s important for you to understand how designers approach creative challenges, and the techniques they use. PrintLab’s Design Method Toolkit provides a range of step-by-step problem-solving and design activities that can be used at each stage of the design process – whether it’s to research topics, generate ideas, design prototypes, evaluate solutions or present work. And by going through the Design Method Toolkit resource, you’ll learn how to plan and implement these activities in your own projects.
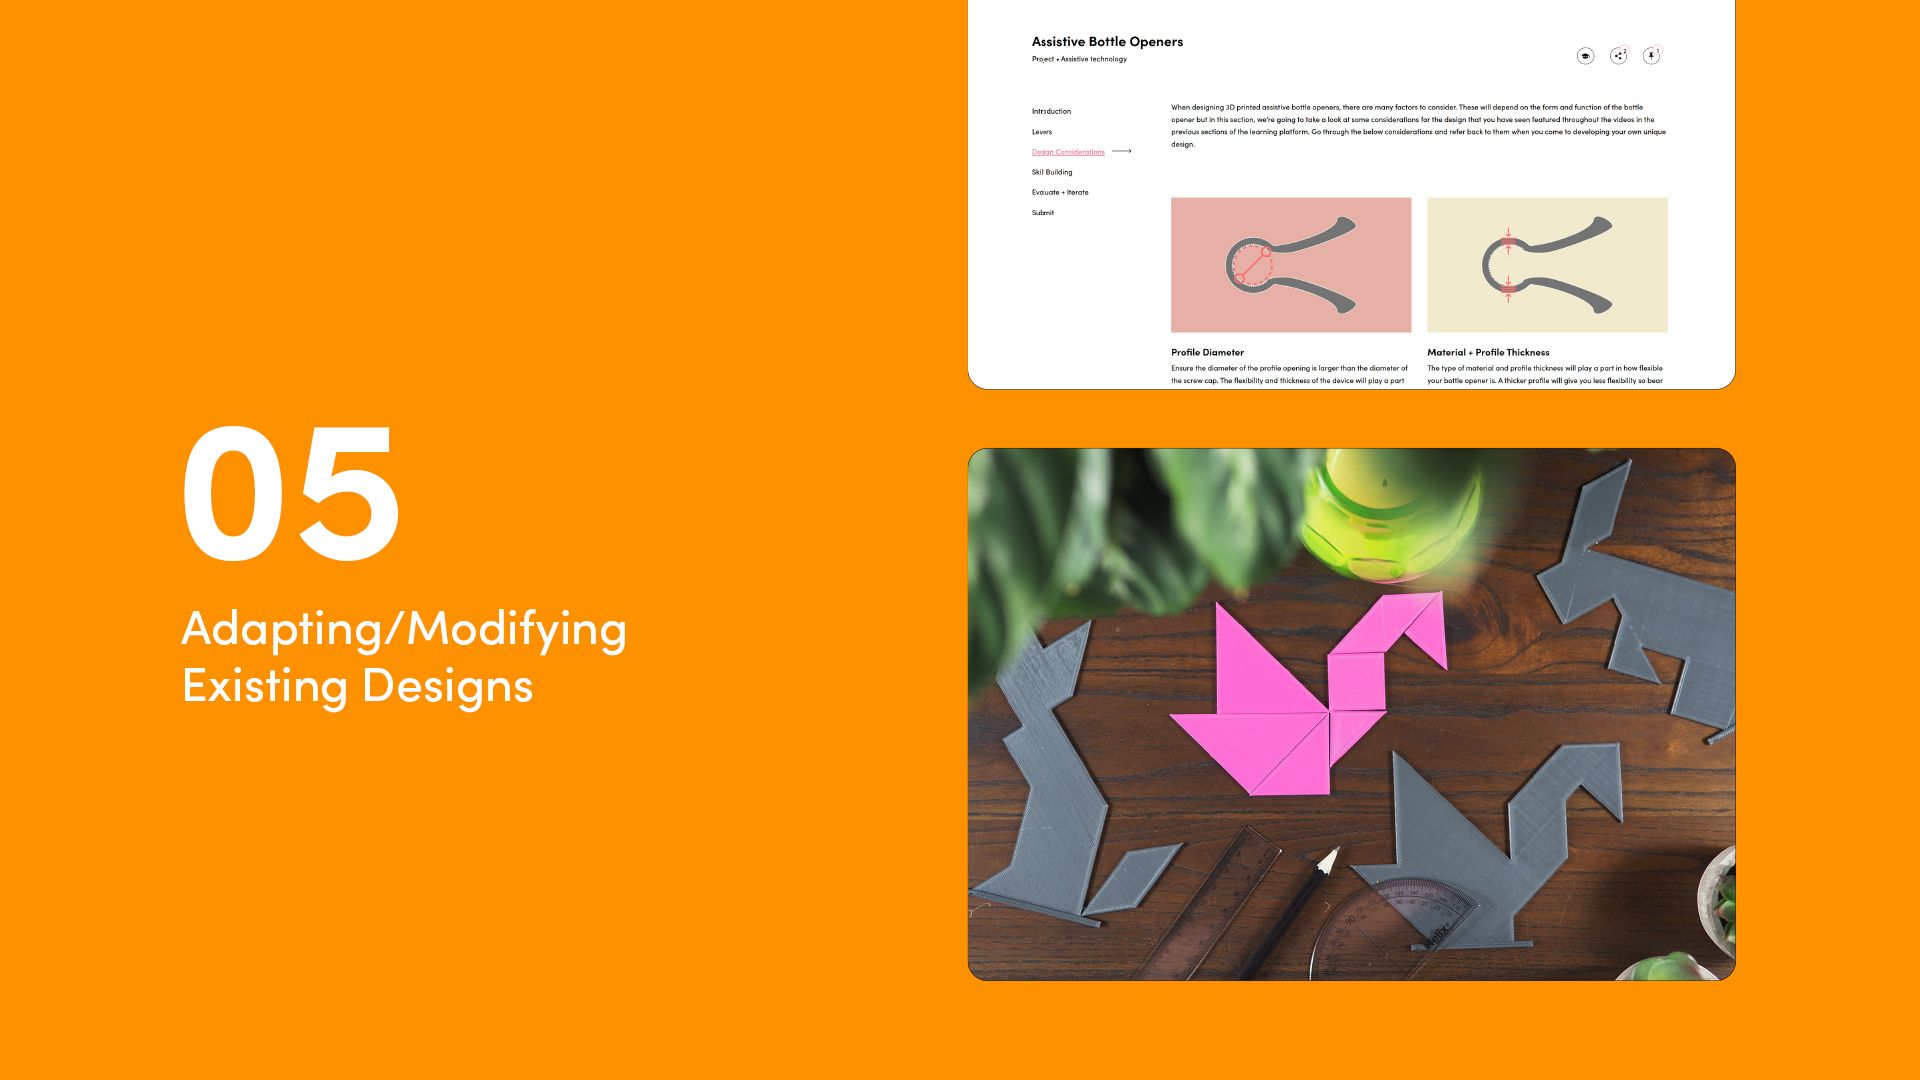
STEP 5 – Participate in beginner projects to adapt example designs
Our Assistive Bottle Openers and Tactile Tangram projects are great starting points for beginners. They guide you through the full design process to adapt/modify existing designs. You’ll also be introduced to various design methods, such as evaluation matrixes and real-time prototyping techniques. You may wish to select one or both of these to participate in.
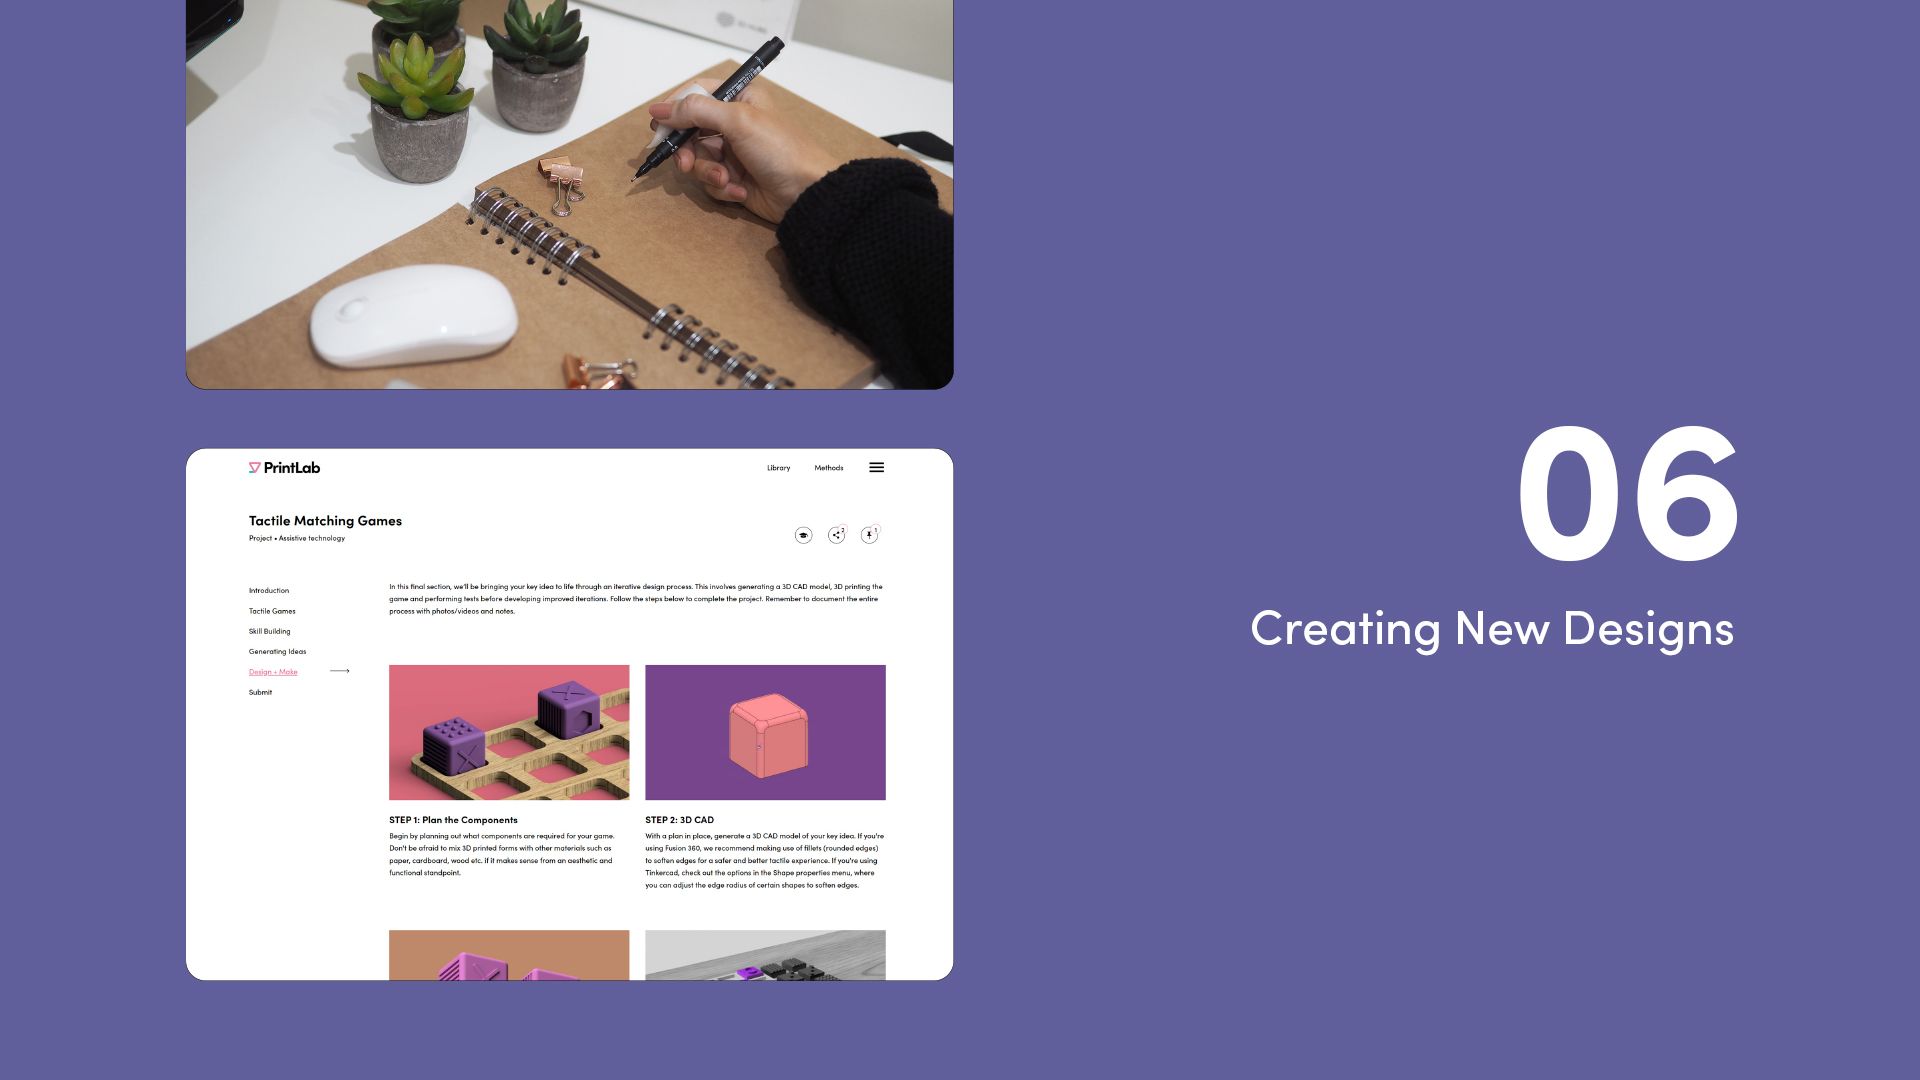
STEP 6 – Move on to projects that allow for more creative freedom
Our Assistive Clips and Tactile Matching Games projects are similar to the beginner resources introduced in STEP 5. Again, they guide you through the full design process using various design methods. However, rather than adapting/modifying an existing design, you’ll have more creative freedom to develop a unique solution.
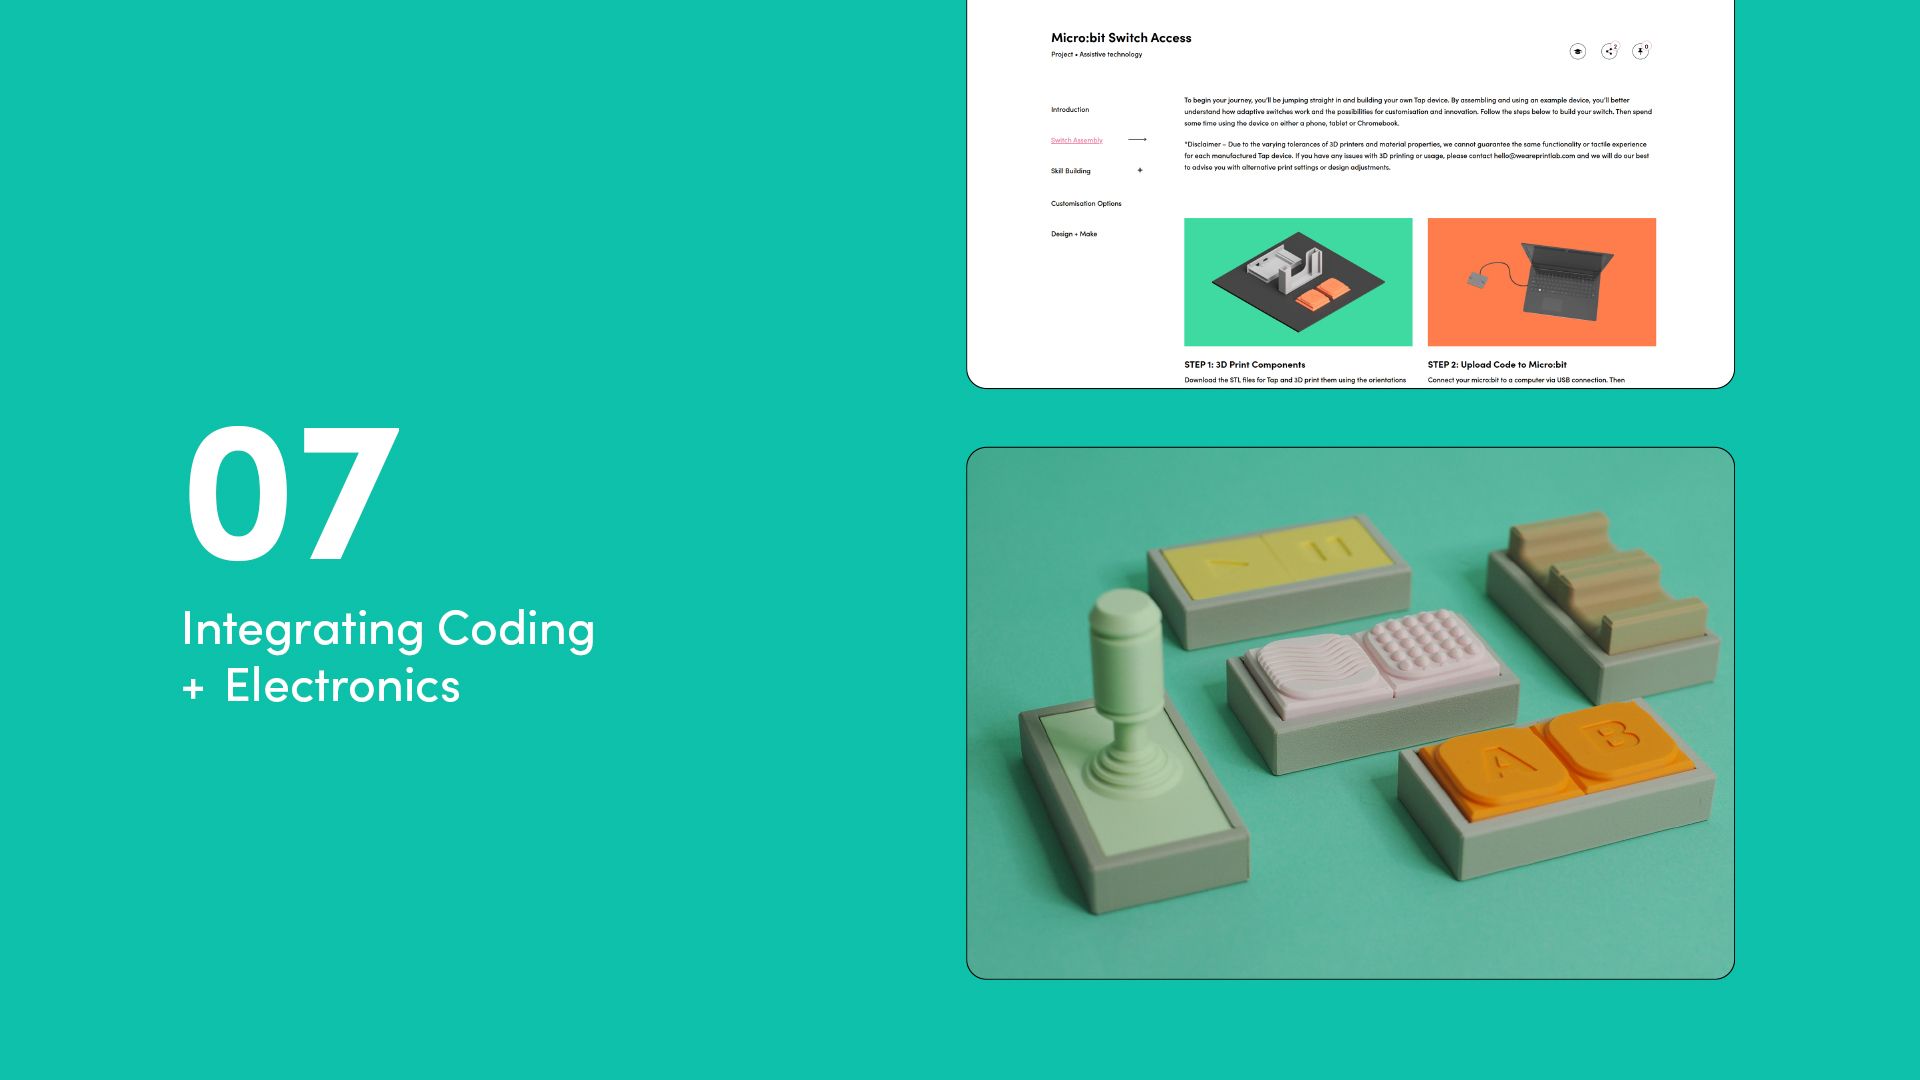
STEP 7 – Learn how to integrate electronics and coding into your designs
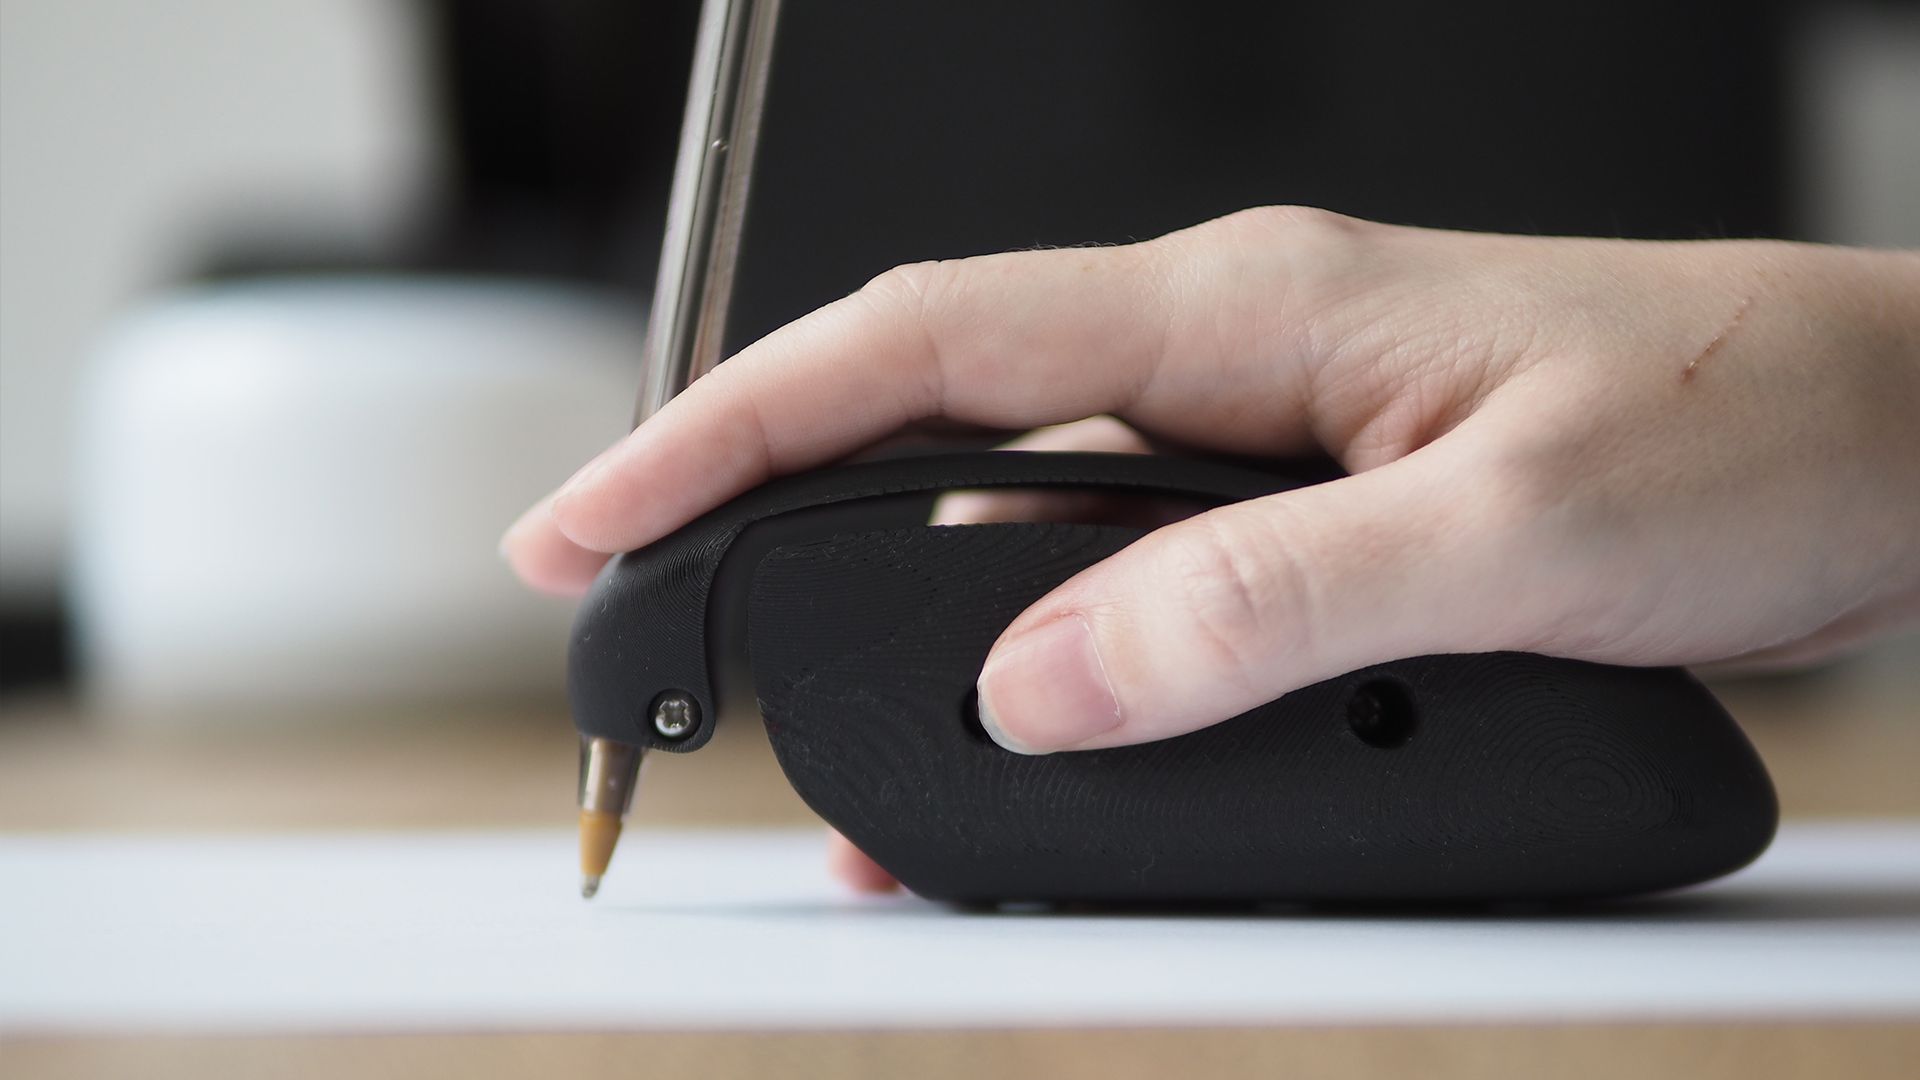
The possibilities with 3D printed assistive technology are vast – but when you combine it with electronics and coding, the potential grows even further. Our Micro:bit Switch Access project guides you through designing a Bluetooth dual-switch device that empowers people with disabilities to control phones, tablets, and computers. Along the way, you’ll develop practical skills in coding, electronics, and inclusive design – taking your creativity and technical ability to the next level.
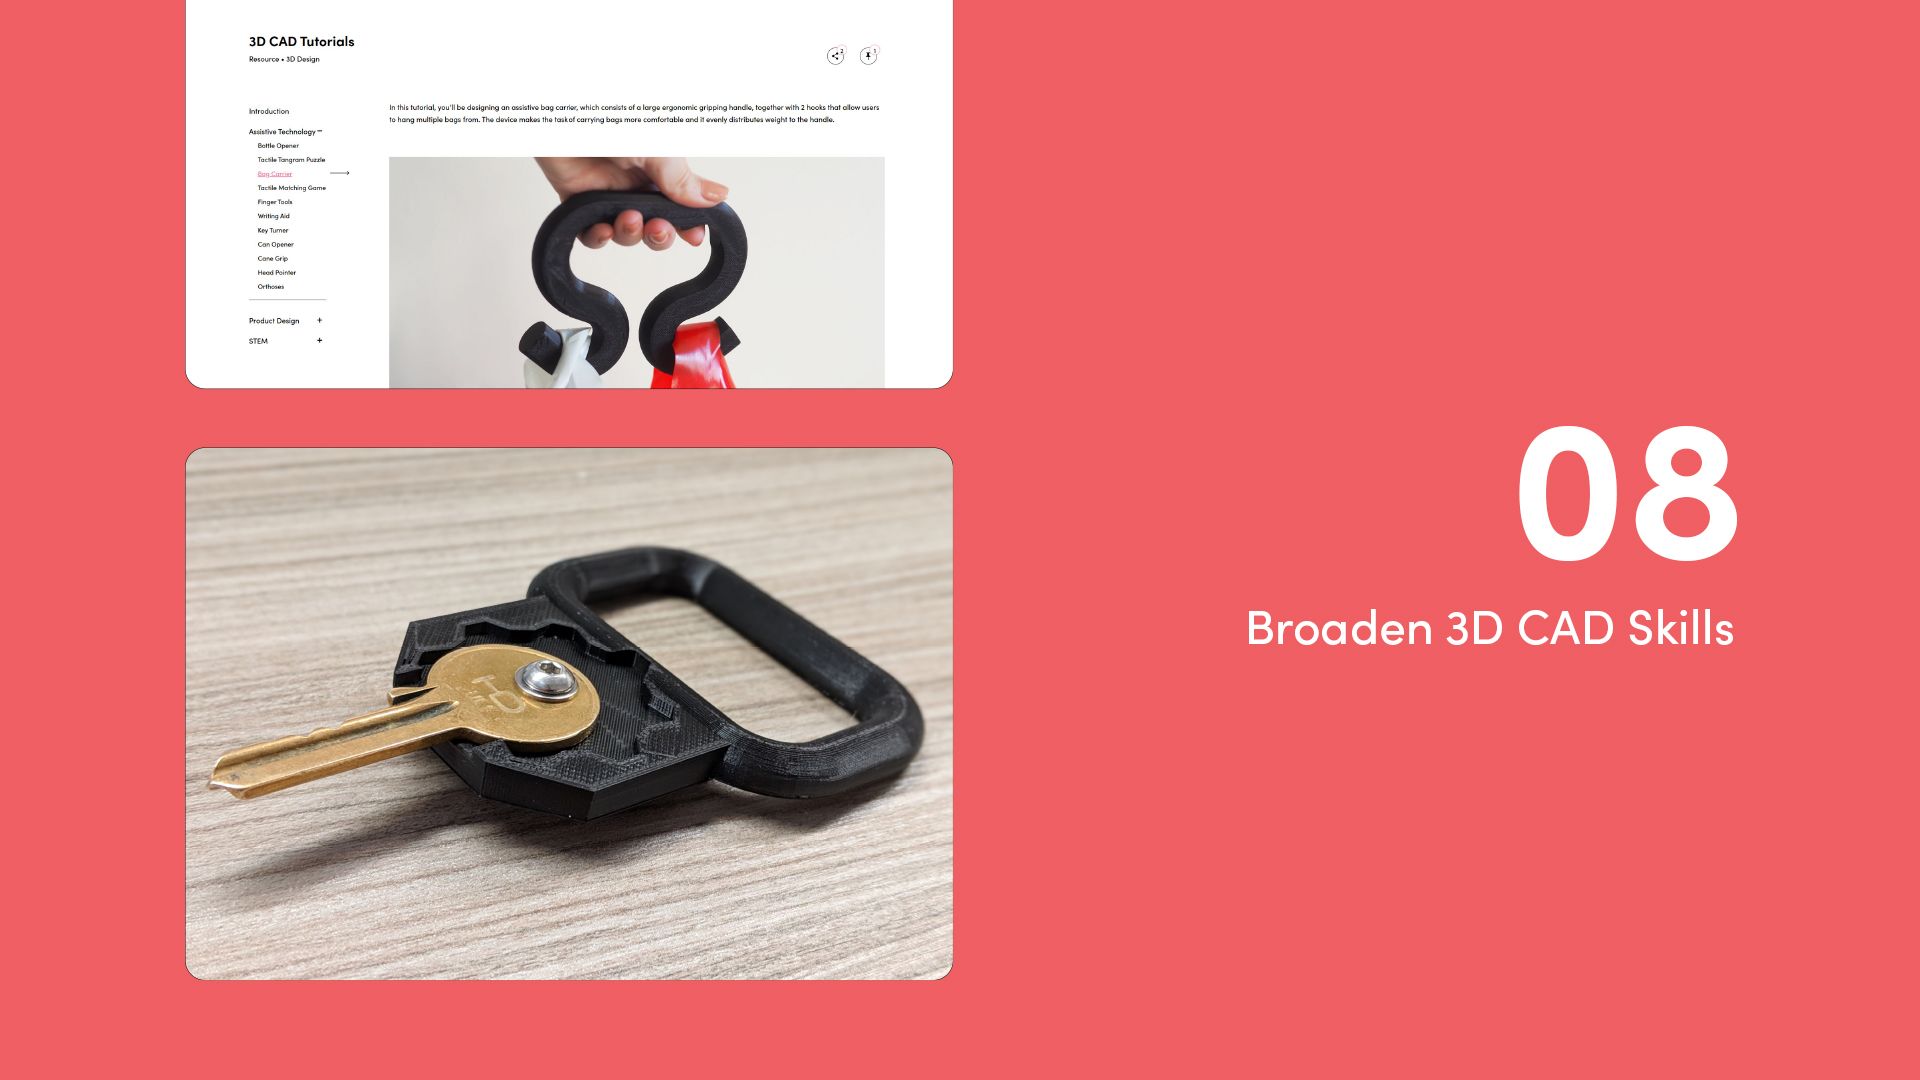
STEP 8 – Engage in additional assistive device CAD Tutorials
If you opted to use Tinkercad from the beginning, you may wish to have a go at the more advanced 3D CAD software, Autodesk Fusion. This can be done by using our Tinkercad to Fusion course, or our Intro to Fusion course. You can also participate in a selection of assistive device tutorials that you haven’t yet completed.
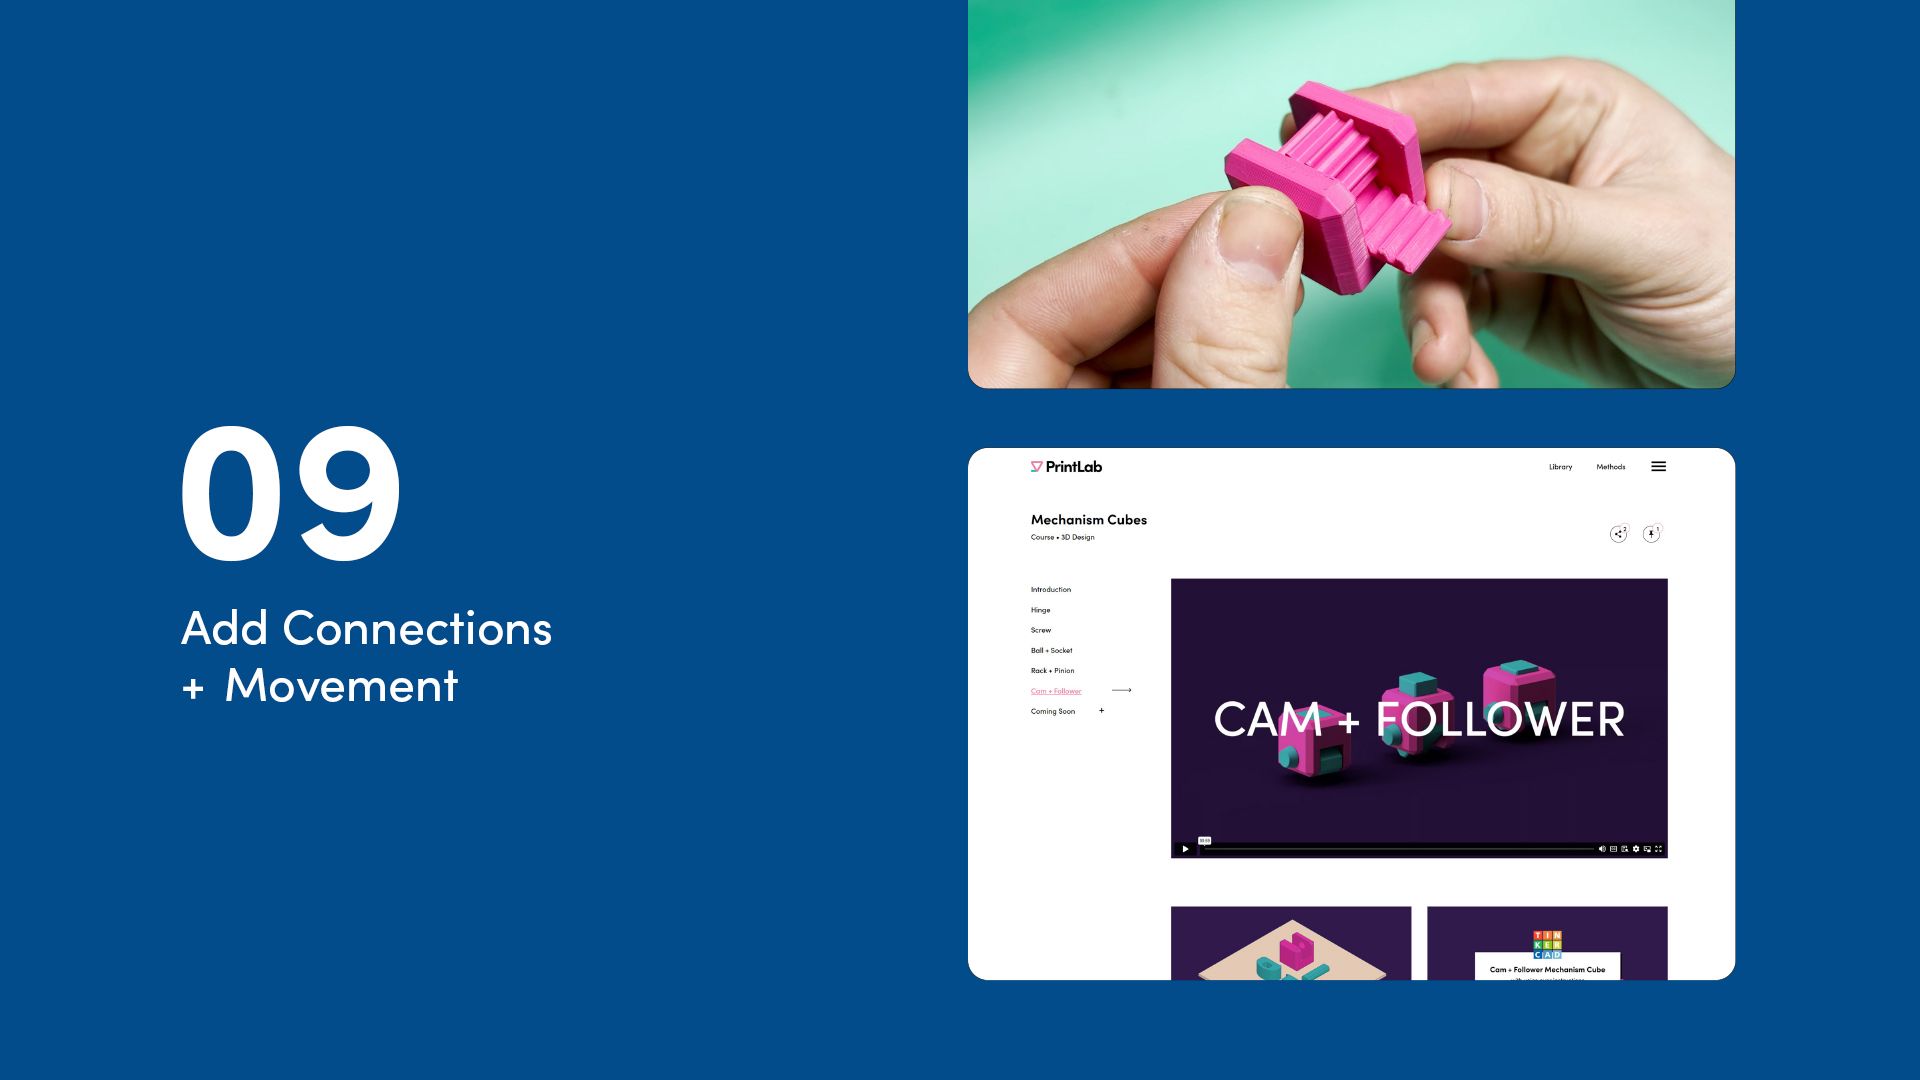
STEP 9 – Learn how to add connections and movement to your 3D models
Our Mechanism Cubes course is an intermediate-advanced resource, where you’ll be introduced to the fascinating world of 3D printed mechanisms. The creative learning resources will teach you how to add connections and movement to your 3D models – unlocking new and innovative design possibilities.
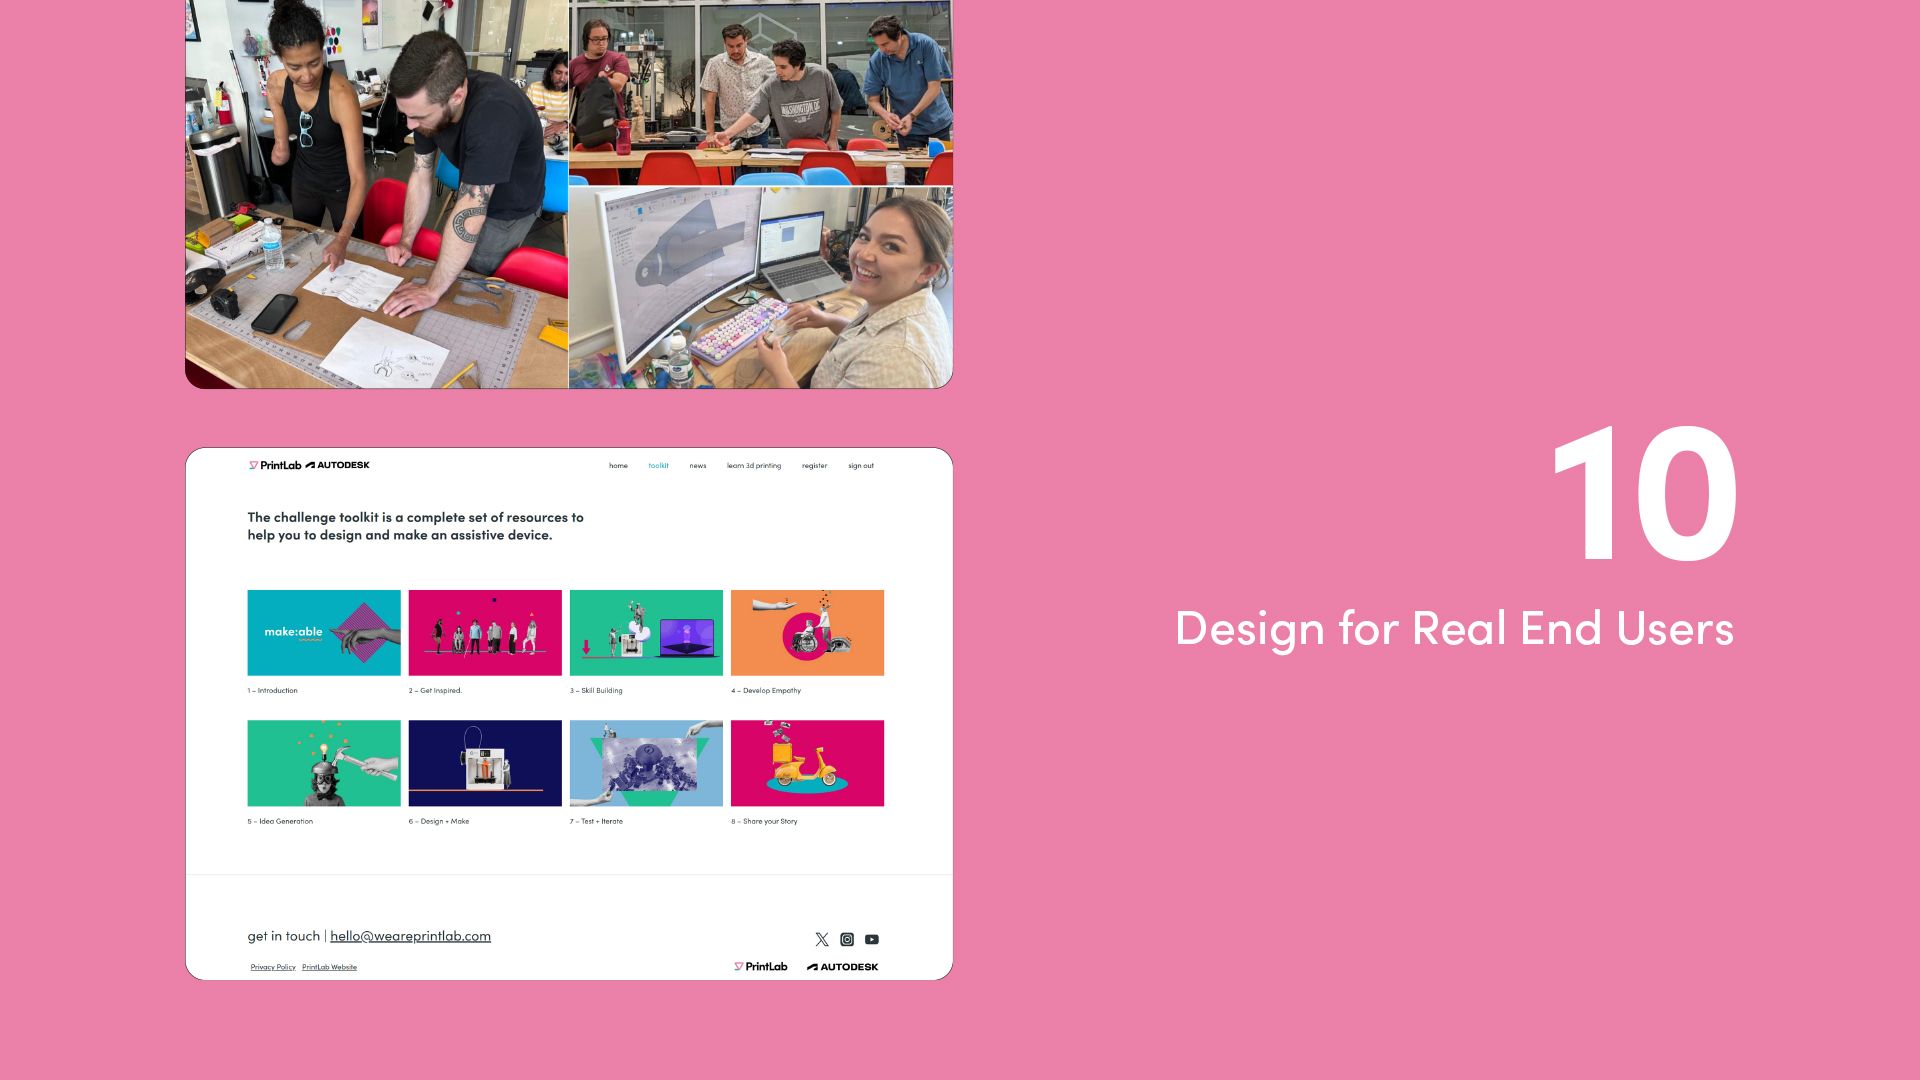
STEP 10 – Design a unique assistive device for someone in your local community
Make:able is our 3D printing and assistive technology design challenge that supports people in designing devices for real end users. It is centered around an online toolkit, which takes you step-by-step through the entire process. Throughout the toolkit, you’ll also be able to see inspirational case studies and hear from industry experts. Head over to the platform to sign up and browse the toolkit.
—
We hope you enjoyed learning about our AT pathway. Designing assistive technology is an incredibly rewarding way to use your creativity and problem-solving skills. Whether you follow the full PrintLab pathway or just pick out the parts that suit you, each step will build your confidence and capability as a designer.
We’d love for you to explore the pathway in more detail with a free trial of PrintLab – and start working on ideas that could change someone’s daily life. Click below to get started!
Join us in using 3D design and printing to create unique, life-improving assistive devices