3D Printing in Education | Southampton Township Schools Case Study
Since launching our free Assistive Device Academy lesson plan, we've had thousands of teachers utilise it in the classroom. It has been amazing to see not only the interest in our curriculum, but the motivation teachers and students have to work on exciting and empathetic real-world problems. Today we are delighted to be sharing a case study from Southampton Township Schools in New Jersey, where teacher Ron Nober facilitated his students in developing some amazing 3D printed assistive devices. Check out the interview with Ron below!

7th January 2020 • Case Studies
Hi Ron. Thanks for taking the time to speak with us today! Can you begin by telling us a little about yourself and how you got involved with 3D printing?
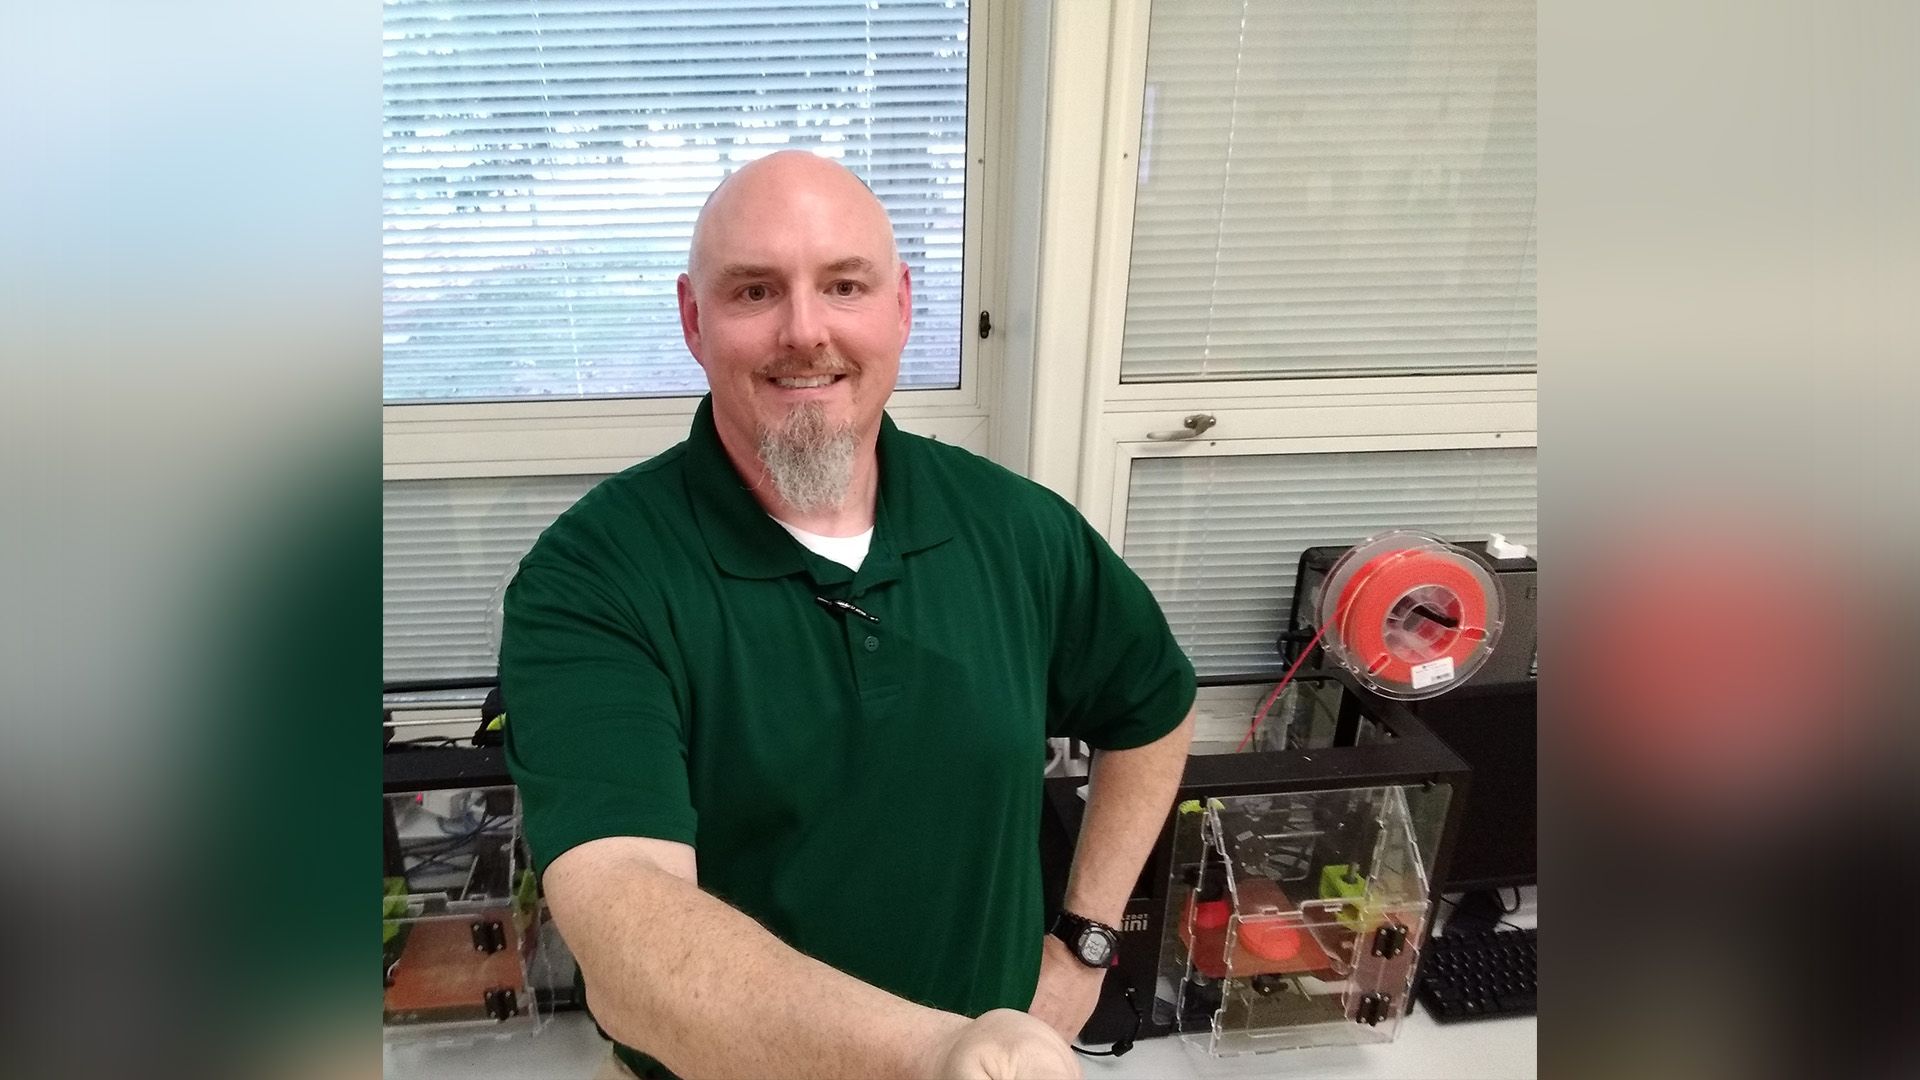
I have been teaching since 2011. I came to teaching later in life after time as an archaeologist and owning a dog training business with my wife. I began student teaching in 2011 at age 40 at my current school, Southampton Township Schools in Southampton Township New Jersey. After student teaching, I taught 3rd and 5th grade and in 2016 was approached about teaching technology. I agreed and with the support of the administration began to move our technology classes to a more STEAM focused curriculum. The following year I began to teach the Project Lead The Way (PLTW) program’s Design and Modeling Course and during that training I became interested in 3D printing. I wrote a grant for a Makerbot Z18 and the following year wrote another grant for 3 Lulzbot mini printers.
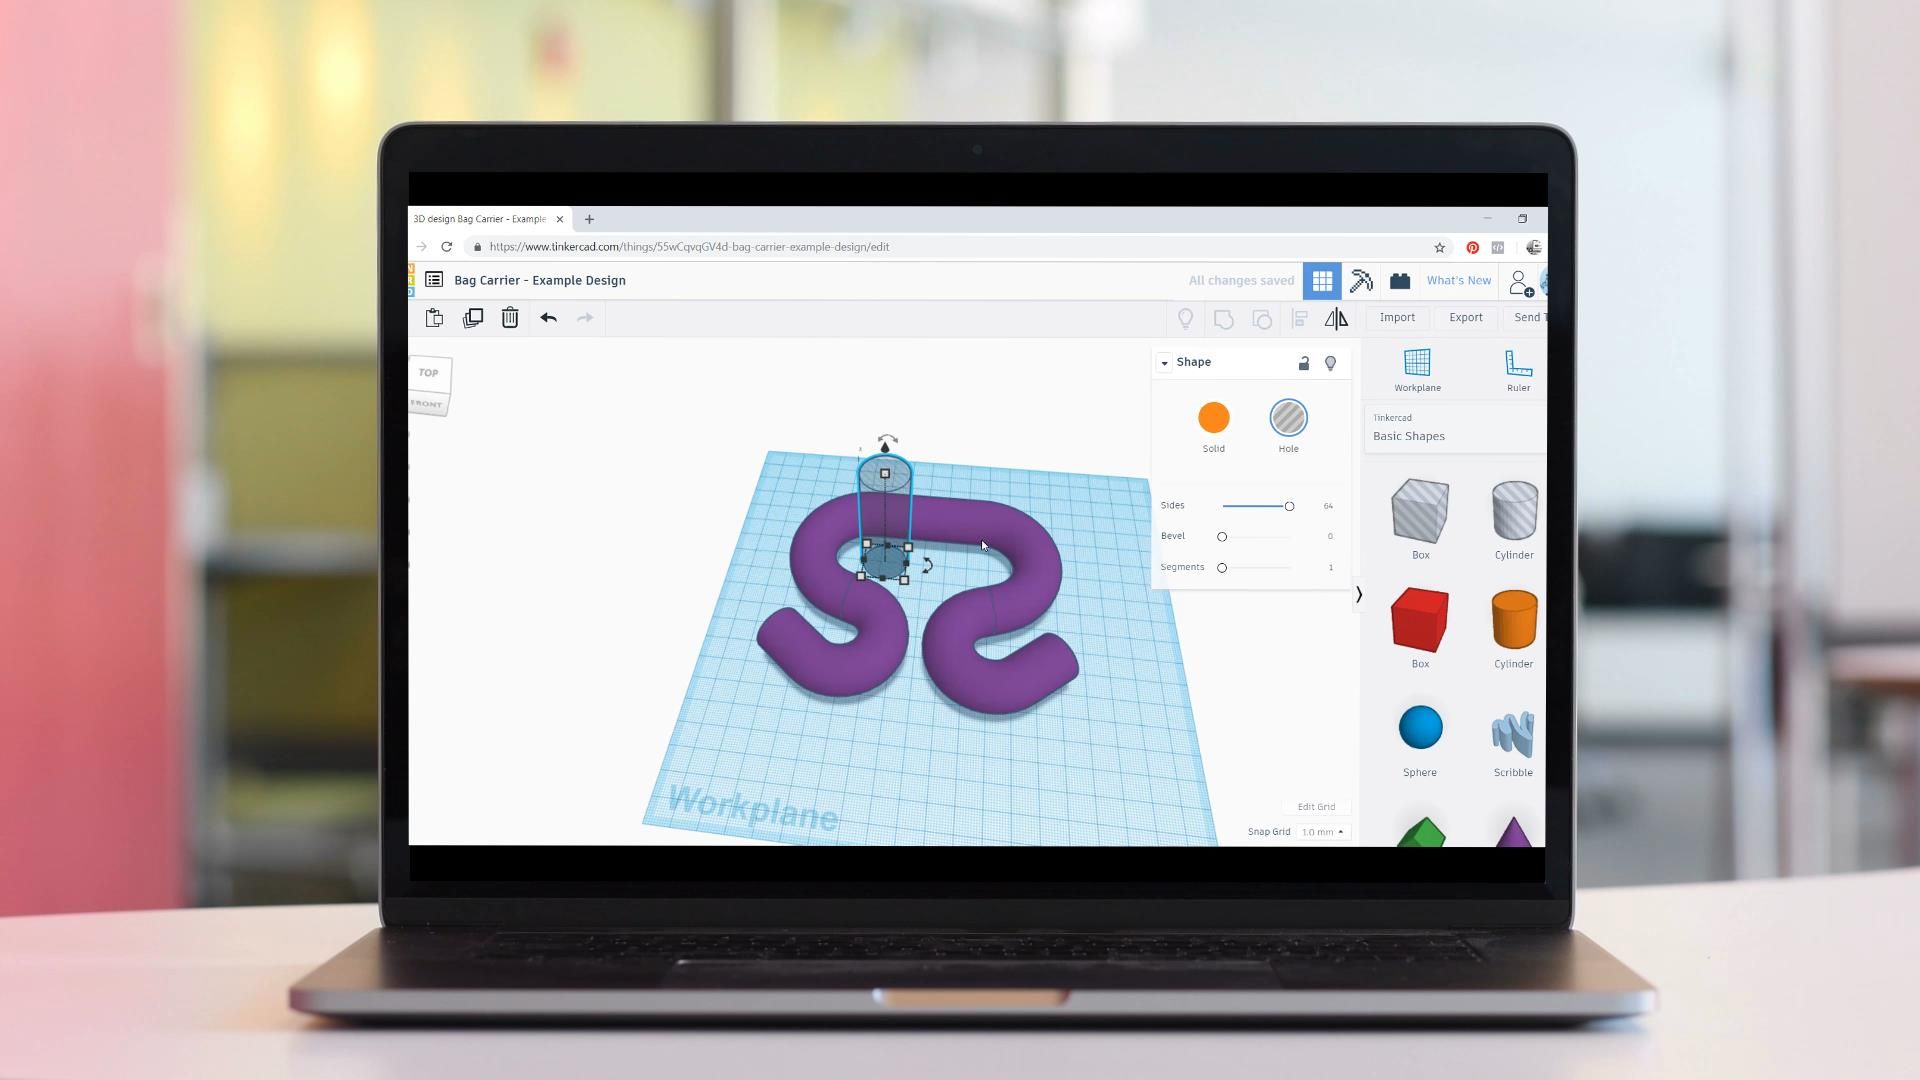
While I loved having 3D printers, I didn’t want students to be printing out a bunch of pre-made items like Yoda heads. I decided if our students were going to print, they would also learn to design. So we began using Tinkercad and having students design from the simple keychain to the more complex designs our 7th grade students produced in the Assistive Device project. Now after a few years and students having some experience designing and printing we are able to create bigger, better, and more complex designs.
How is 3D printing used at your school? And why do you think it is important for young people to be learning about 3D printing?
At our school 3D printing is touched on in grades 3 and 4, then more focused on in grades 5 and 7. Other grades use the printers, for projects if needed, but it is not a focus of the curriculum. I believe that learning to design in 3D opens up a world of creativity, imagination, and innovation to our students. It gives students the opportunity to iterate designs, take risks, and re-imagine solutions to problems they see. One of the wonderful “side effects” I have also seen is that it makes students empathetic, they look at the world, see problems, and look for ways to design solutions.
Additionally, 3D designing and printing allows students to better understand the why behind the math we teach; students get to see area, volume, precise measurement, angles, and geometry in action. They get to think critically about the “how and why” if a design is going to be a viable print, or ways to take a print that isn’t viable and make it so by rotations or supports. In education, we have all heard about the 4C’s, well 3D design and printing hits them all, students get to use creativity, critical thinking, collaboration, and communication.
It was great to see your students creating assistive devices in a recent project. What made you choose this type of project and how did it fit into your curriculum?
I choose to focus on this project, because I am a big believer in Design Thinking and bringing empty into the design process. I use the PLTW Design and Modeling curriculum as a guide for my 7th grade class and the first lesson I do in this class is either a redesign of an ankle foot orthosis (AFO) or a prosthetic leg, so the assistive device project just blended seamlessly in as a final project.
How did the students find the project? What did they learn and what challenges did they face?
My students loved the project. I think what they liked the most was the freedom, other than it being an assistive device, it had no real constraints. The students also love the real world application of the project, they were researching and designing things for other students or people they saw in the world.
For me, the two most important things they learned were GRIT, the ability to persevere when things didn’t work out, and empathy towards the user or stakeholder. The GRIT had them work through challenges when things didn’t work as expected. I thought this was so important because in many classes when you complete a project it is over. However, in this project they were able to iterate their designs multiple times. I also was happy with the empathy aspect of really thinking about the user or stakeholder, this is something children are not always great at doing and it’s a skill that we can teach. Some of the challenges they faced were precise measurement and using 3D design software.
Can you tell us about some of the devices that students created? And what software did they use?
The devices my students created varied widely depending on what they thought about with assistive device. My thoughts immediately went to wheelchairs, crutches, and hearing or sight impairment.
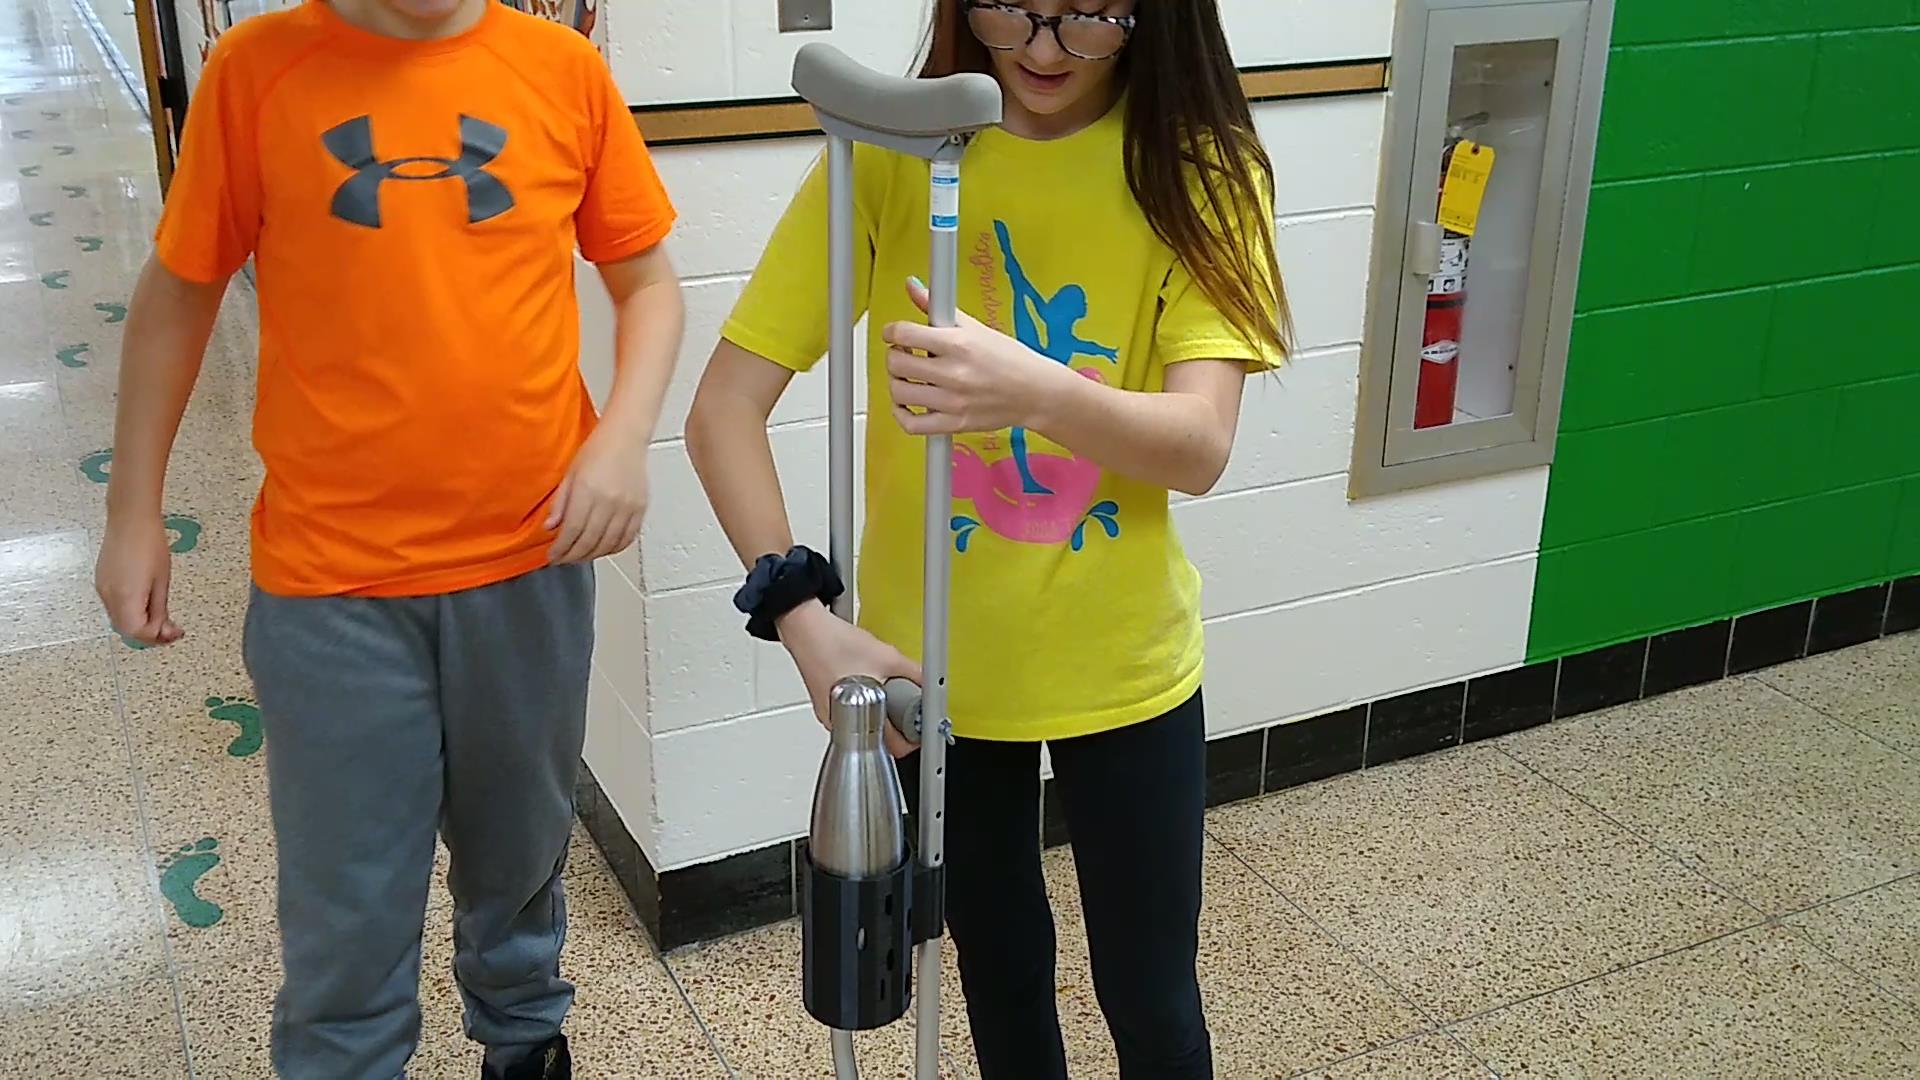
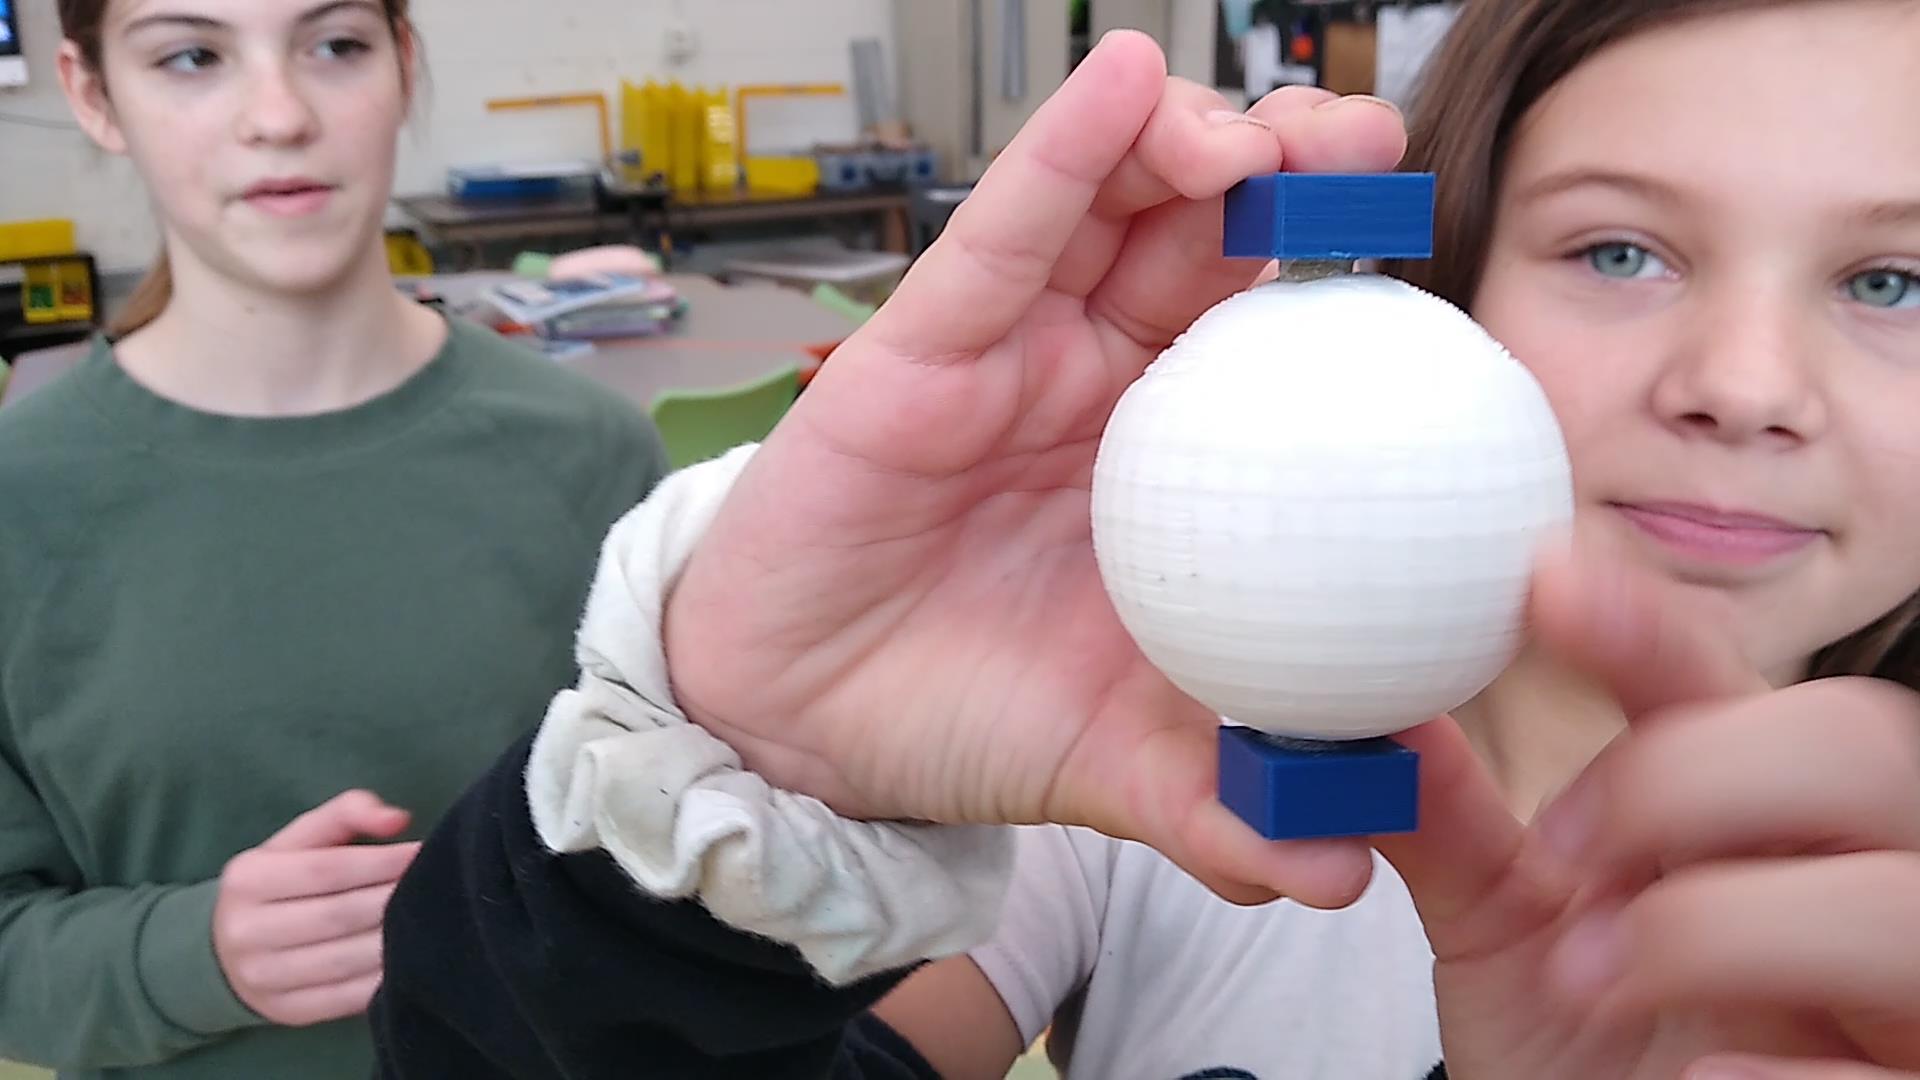
I was very happy to see that a number of groups thought about mental health, which I thought was phenomenal. So devices included: a cup holder that attaches to a crutch, a hook that attaches to a wheelchair, a platform and cup holder that attaches to a wheelchair, a device that attaches to a crutches to attach to a chair and one to a desk to hold the crutches when not in use, a fidget toy that spins, a “brick” for those with anxiety that has instructions for calming oneself, and devices to help with hand tremors. Students used Tinkercad in the creation of all their designs.

How did you find the project as a teacher? If you ran the project again, what would you do differently?
I was so happy with the project, it gave enough guidance to be helpful, but also enough freedom to make it your own for your class. The tutorials for creating an assistive device in Tinkercad were invaluable, they really gave students skills and confidence to create on their own, I think it is a must do part of the plan.
I will be running the project again twice more this school year and I will make some changes. I have students keep an Engineering Notebook, and will be a bit more strict and have them get sign-offs from me prior to moving on to aspects of the project just to keep tabs on the work. I will also edit the rubric included in the project a bit to fit my grading focus. But, all in all, I will keep the majority of the project the same, it worked better than I could have expected.
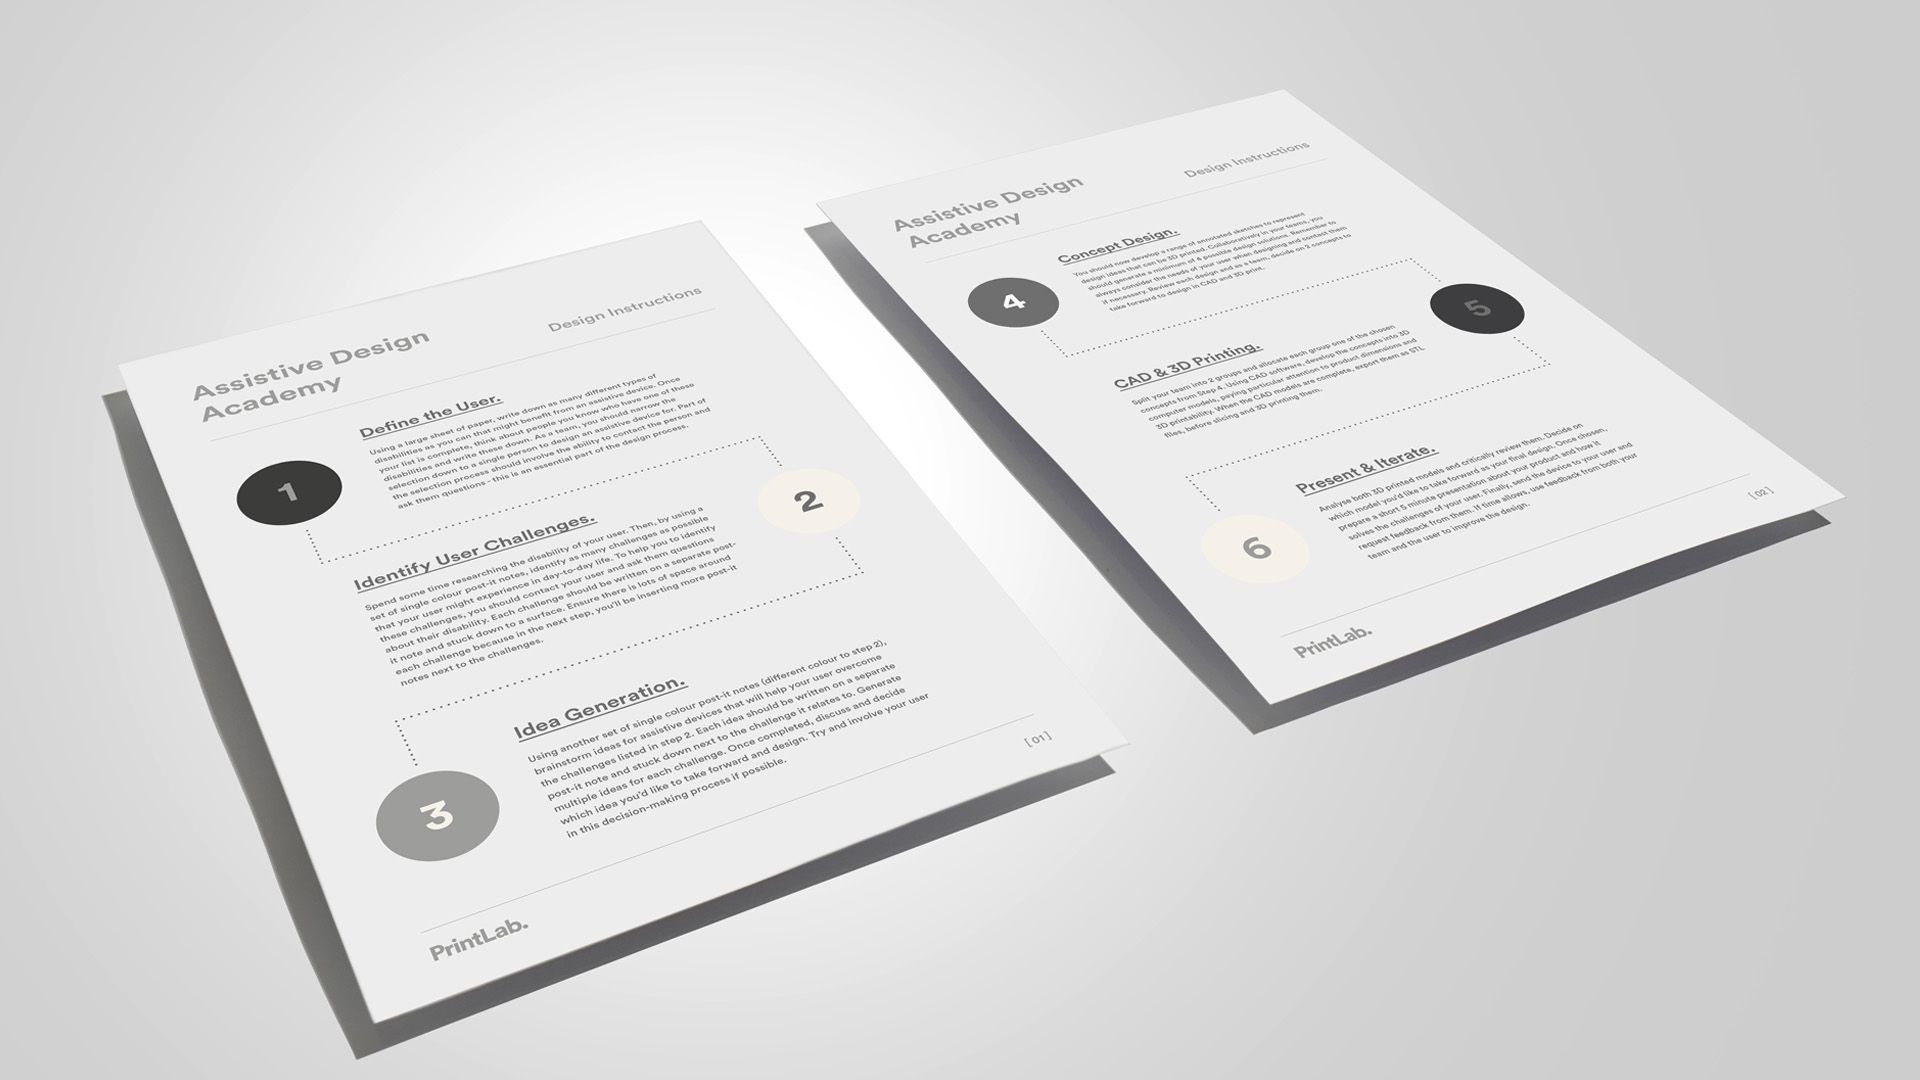
How did you make use of PrintLab’s resources?
I used the design instructions, I thought they kept the beginning of the project well organized. I used the video tutorials, these were the most important resource from my point of view because they gave the students great skills and confidence in Tinkercad.
The idea of running assistive technology projects can be quite daunting to teachers who are new to 3D printing. Can you provide them with any tips or advice?
I would tell teachers interested in running the assistive device project to first be sure to take some of Printlab’s basic 3D printing lessons. Then do all the assistive device tutorials themselves and print out the samples, this gives you a better understanding of what the students are doing when they complete the tutorials. Then be sure to have the students do one or more of the tutorials, this is invaluable when they begin to design their own devices. Finally, remember design is messy and a bumpy road, so don’t get down or give up if things take a little more time than expected. It is worth all the effort to see the amazing designs and ideas students create!
—
A huge thank you to Ron and his students for sharing their amazing work with us. Due to the amazing interest we had in the Assistive Device Academy, we developed it into something even bigger and better! Introducing the Make:able Challenge – a 3D printing and assistive technology design challenge, brought to you by PrintLab, Autodesk & partners. Going beyond a competition, the Make:able design challenge centres around an online challenge toolkit, which takes you through a step-by-step process to design and make an assistive device for a real end user.
We’ll finish up with a video of Ron’s students showing off the devices made in the project!