3D Printing & Upcycling at Maryville Middle School
In today's blog we invited our amazing pioneer, Becky Wynne, to share her experiences with a recent student project called 'Project Upcycle'. The project is part of our circular economy series and involves upcycling waste materials at schools by combining them with 3D printed forms - resulting in beautiful and valuable products. We were delighted to see such a diverse range of creative solutions, which you can see in the interview below!
28th April 2021 • Case Studies
Hi Becky. Thanks for taking the time to speak with us today! Can you begin by telling us a little about yourself and how you got involved with 3D printing?
I am a 5th – 8th grade STEM teacher and first got involved with 3D printing by teaching a Project Lead the Way Design and Modeling class. The students loved bringing their ideas to life so I wanted to make it available to the students in the other classes that I teach.
How is 3D printing generally used within your school?
3D printing is primarily used in my STEM classes to fabricate student design ideas and solutions to problems they have, or are aware of in their daily lives. Occasionally students will come to me with designs they would like to 3D print for projects they have in their core classes (which is encouraged).
It was great to see your students participating in our Project Upcycle lesson recently. What made you choose this type of project and how did it fit into your curriculum?
The students were noticing certain containers being thrown away regularly after breakfast and lunch in the cafeteria, so Project Upcycle seemed like a natural fit. I used the project to expand on the student’s Tinkercad skills to prepare them for object creation and the design process in my Augmented Reality class.
How did the students find the project? What did they learn and what challenges did they face?
The students thoroughly enjoyed the project. Their creativity was inspiring. They not only increased their knowledge of Tinkercad and 3D design, but they learned new problem solving strategies as well. My students’ biggest challenges were accuracy and precision in their measurements. Their final projects came after several iterations, which in itself reinforced the design process.
Can you tell us about some of the products that students created?
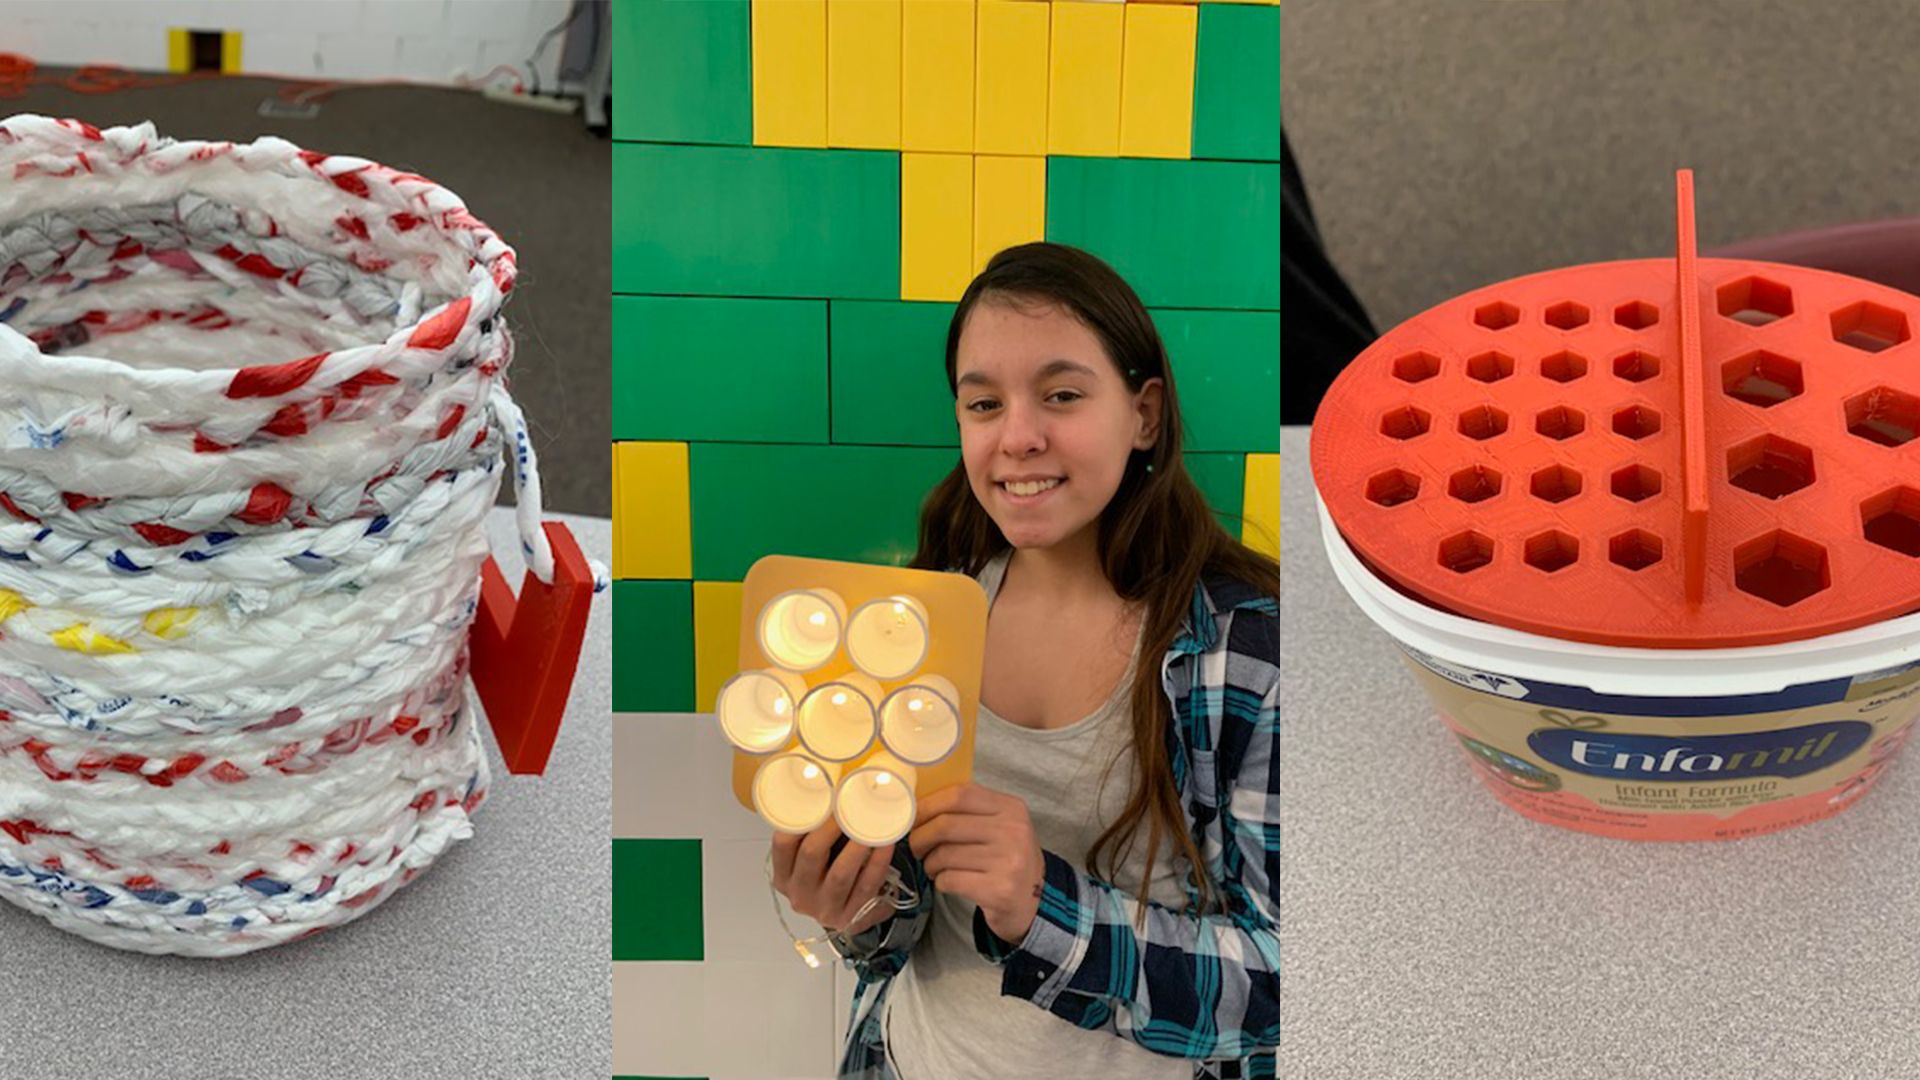
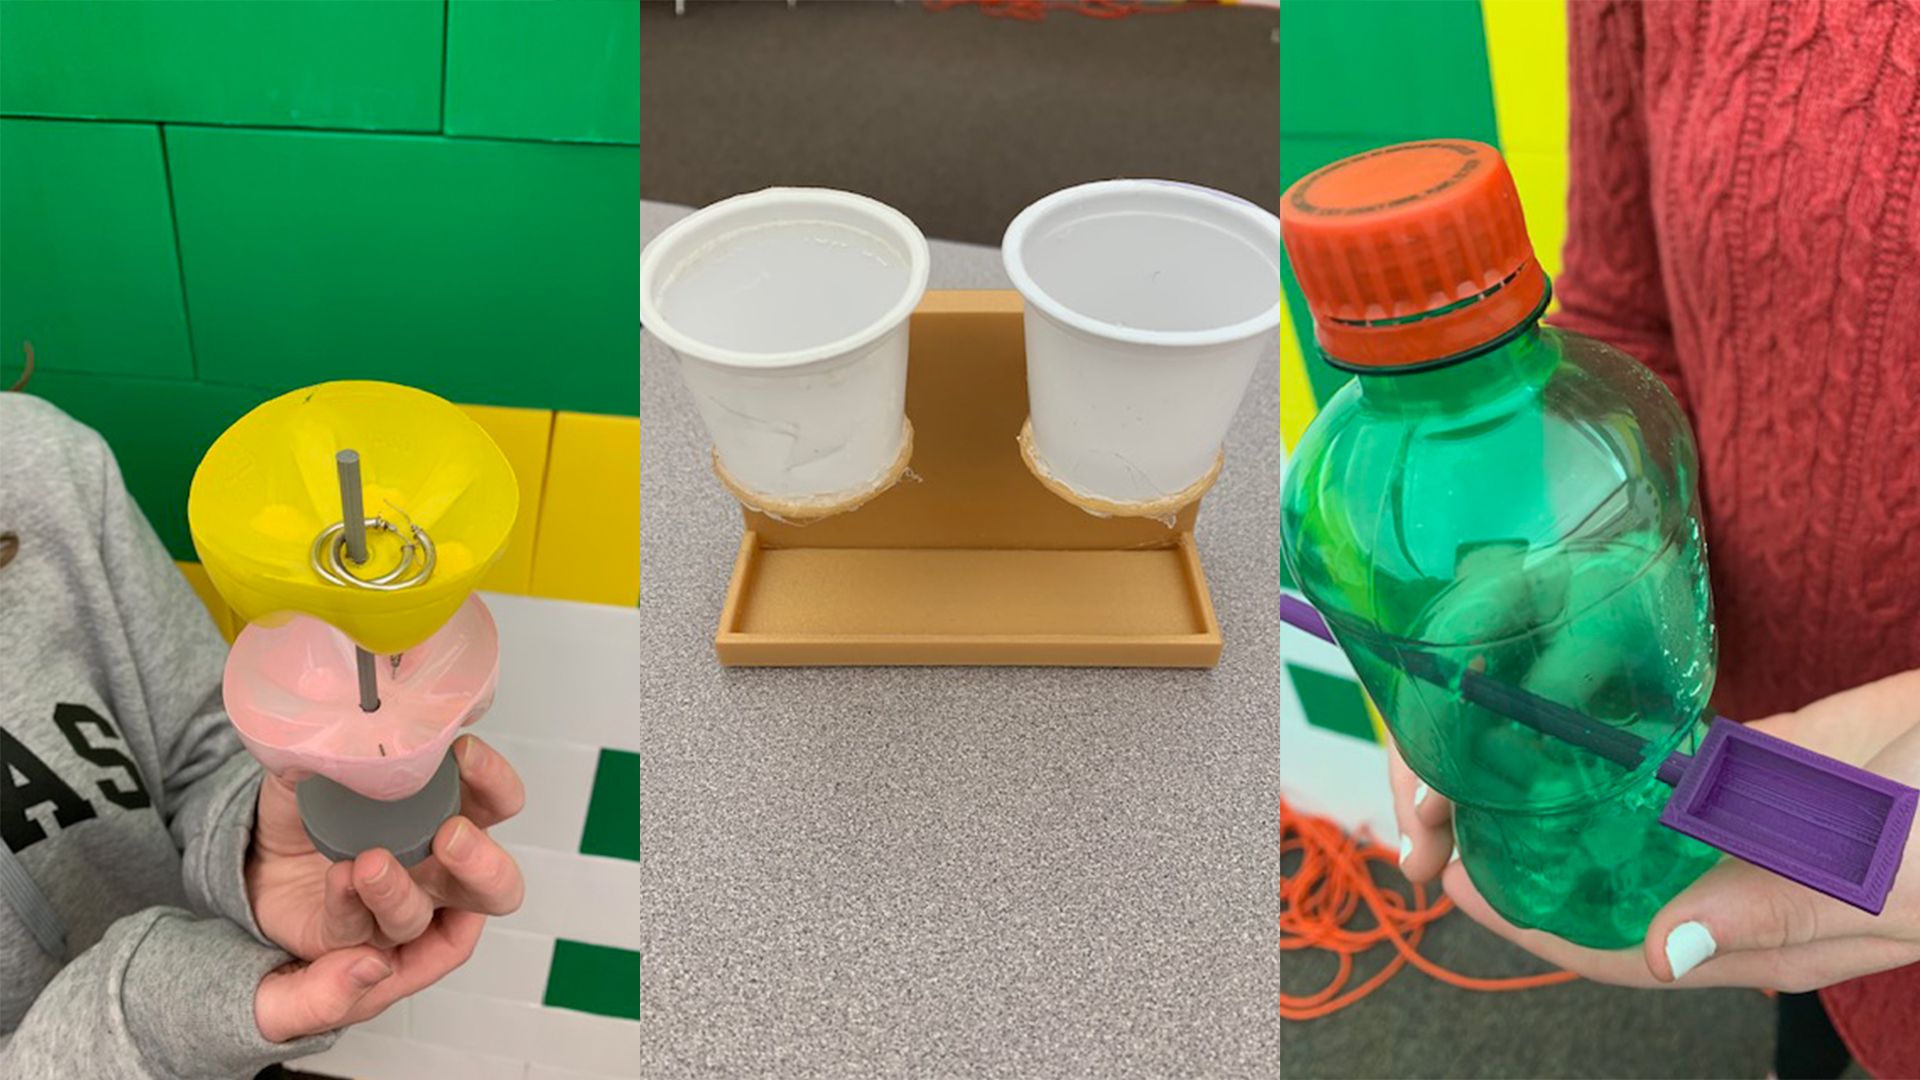
My students designed jewelry holders, bird feeders, art, a bag, drink coasters, organizers, and more. Students chose things they could use in their daily lives as their final upcycle product. I was thrilled at the outcome and the creativity they demonstrated.
How did you find the project as a teacher? If you ran the project again, what would you do differently?
The upcycle project was amazing. My students were very engaged and got first hand experience at how the design process works. They were excited to have a choice in what they were going to create, and honed their measurement skills in a fun way to make their end product work effectively.
How did PrintLab’s curriculum help you to plan and run the project?
PrintLab’s curriculum is amazing and does a fantastic job guiding users through the design process. There are step-by-step instructions, as well as additional resources to use if needed along the way. Hands down the best curriculum I have ever used.
What can we expect to see from Maryville Middle School this year in terms of 3D printing?
At Maryville Middle School, we plan to compete in the Make:able Challenge, complete the Assistive Device Challenge Lesson, Assistive Clips, the Emoji Feedback System, and Tinkercad Basics – all from PrintLab’s curriculum. My students are also applying their Tinkercad skills to create bobbleheads, PEZ dispensers, pinball machine obstacles, and wind-up toys too.
—
A big thank you to Becky and her students for sharing their experience with us. We’ll finish up the blog by sharing the lesson introduction video to Project Upcycle. And don’t forget to try out our free trial here!