Designing 3D Printed Splints and Orthoses at Prepa UDEM
In today’s blog, we invited our amazing pioneer, José Antonio, to write a guest blog about his journey of facilitating students through the process of designing 3D printed splints and orthoses. Check out the story below!
4th March 2025 • Case Studies
*Disclaimer – This project is a conceptual learning experience designed to teach students about CAD and 3D printing in the context of assistive design. We strongly advise that anyone creating orthoses consults with medical professionals or clinicians to ensure safety and effectiveness.
—
Hello everyone! 👋 I’m José Antonio, a maker educator and head of the Makerspace at Prepa UDEM in Mexico. This semester was an incredible journey with my students as they dove into the fascinating world of 3D printing. We embarked on this adventure with a big goal: to become the first generation at our school to earn certification through the PrintLab program. 🌟
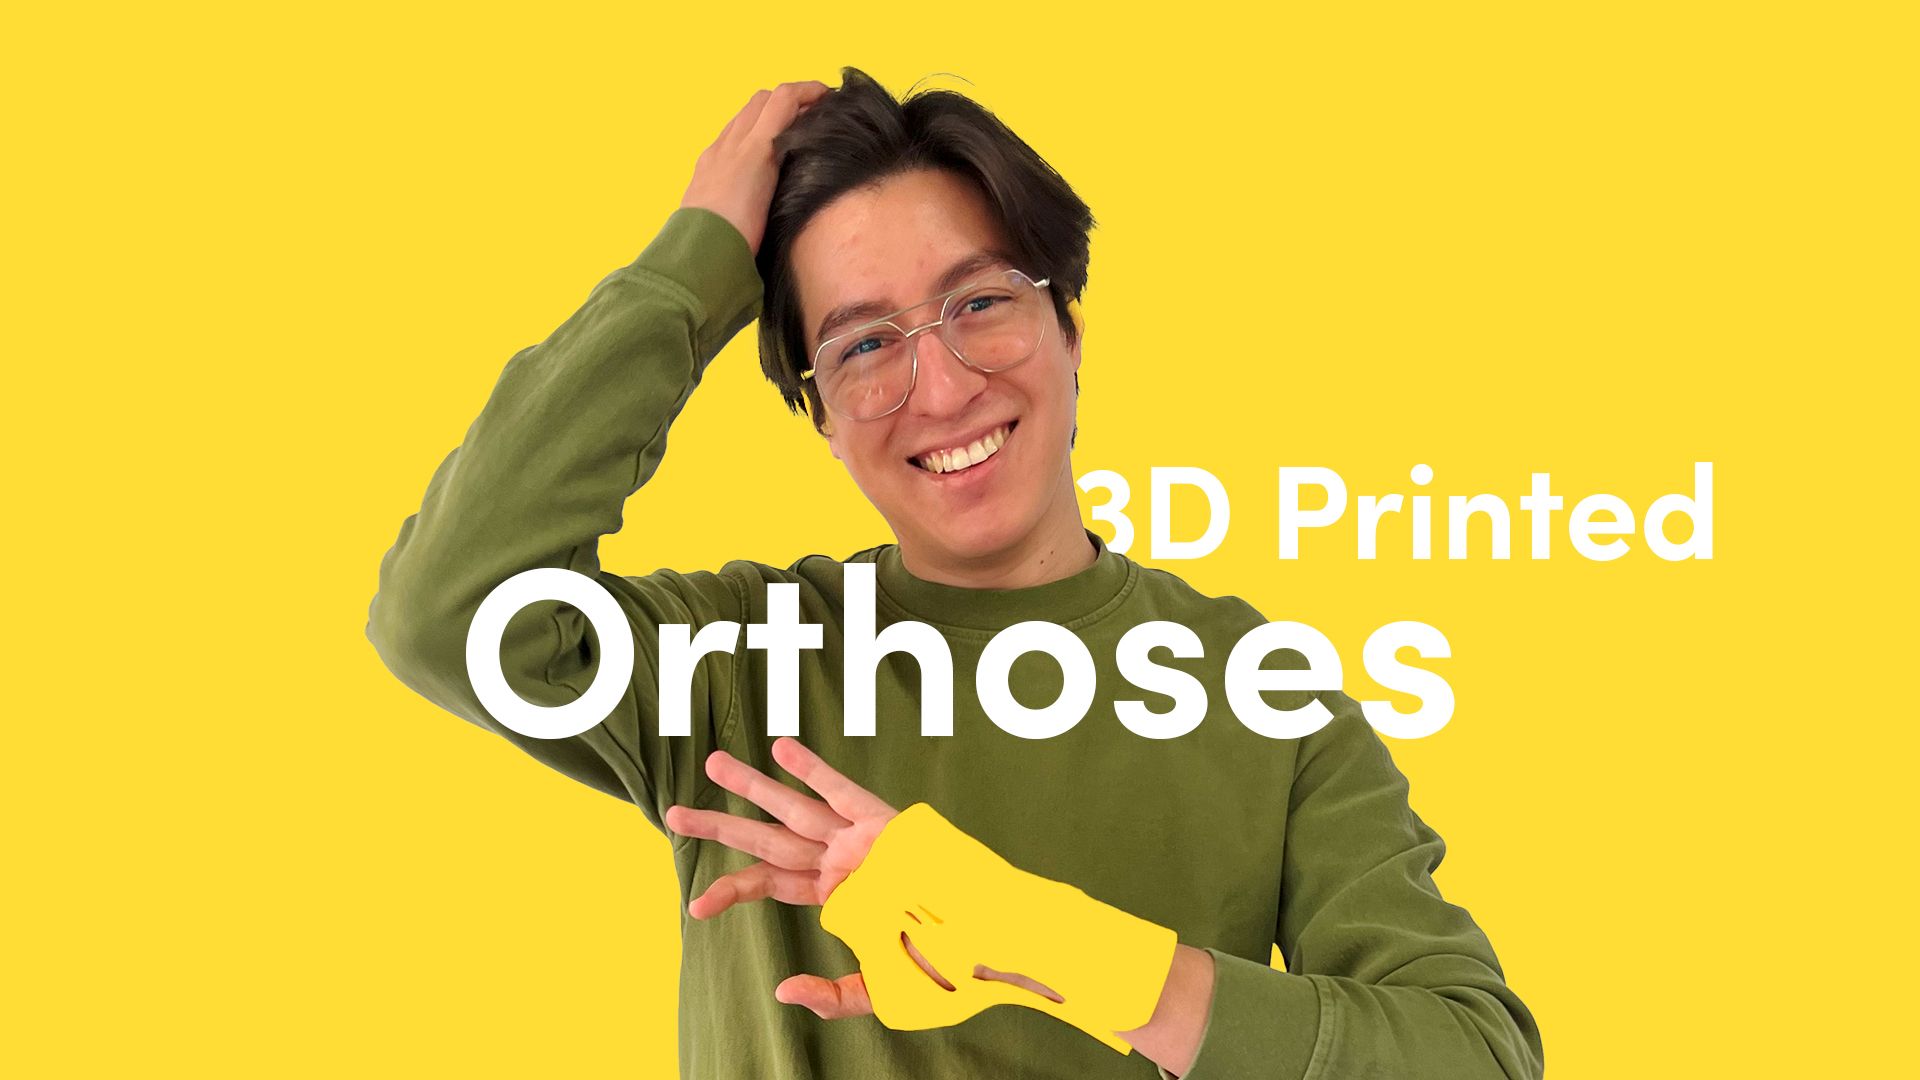
We started with the basics, exploring the fundamentals of 3D technology, and gradually levelled up. In the end, they wrapped up with an amazing final project. 🚀Using 3D scanners and the CAD design skills they developed throughout the course, each student designed and created their own personalized 3D-printed Splints and Orthosis! 🙌
The Personalized 3D-Printed Orthosis project from PrintLab Assistive Technology Projects can be considered an advanced endeavor, especially for students with no prior experience in 3D design. To develop the necessary skills, my students embarked on a learning journey filled with theory and hands-on practice. To guide them, I used the “Three Modes of Making” methodology—key principles of Maker education.
Let me share the story of our journey:
Pre-Phase: Building the Foundation 🛠️
Since all students were starting from scratch, we began with theoretical classes covering the basics of 3D printing technologies and CAD design. For this, we used the mini-courses available on PrintLab like:
• 3D Printing Industry
• 3D Printing Technologies
• Intro to 3D CAD with Tinkercad
• Designing for 3D Printing
• Slicing for 3D Printing
Each mini-course ended with a quiz that ensured students grasped the key concepts. Successfully completing these courses allowed them to earn four digital recognitions, an essential step to achieve the Level 1 Maker digital badge from the PrintLab Certification Program. 🎓
![]()
Sample Projects: Hands-On Exploration
Once students understood the theoretical concepts of 3D printing, we moved on to guided practice using Tinkercad. They chose three projects from the PrintLab platform, based on their interests and personalities.
Each project, regardless of difficulty, followed the “Three Modes of Making” to help students develop their maker skills:
Stage 1: Imitation: 👥 At the start of each project, we worked simultaneously in Tinkercad to replicate the predetermined model. This imitation phase not only allowed students to learn directly from me but also provided an opportunity to address questions and solve challenges on the spot.
Stage 2: Modification: ✨ After completing the basic designs, I assigned “design challenges” tailored to each project. These challenges encouraged students to apply what they had learned by modifying the original design and adding their personal touch. The challenges often involved functional adjustments, improving certain aspects of the design, or, for the more creative students, adapting the original model to fit a specific personality or aesthetic 🌟.
Stage 3: Innovation: 🚀 We concluded each project with plenary sessions where all the designs were placed at the center of the table. Each team presented their concept, showcased their evidence portfolio, and received constructive feedback from their peers. We ended these sessions with thought-provoking questions like:
• “With the skills you’ve just acquired, what other projects could you develop?”
• “How would you use this in your daily life?”
• “How could these skills be applied to careers outside of product design?”
These discussions sparked curiosity and helped students connect their new skills with real-world applications. Guiding my students through this journey was both challenging and rewarding. Seeing their creativity grow and their confidence build as they moved from imitating to innovating was truly inspiring.💡This project didn’t just teach them about 3D printing—it also empowered them to see themselves as creators, problem-solvers, and innovators ready to tackle the challenges of the future.
Why 3D Printed Orthoses?
Now moving on to the orthoses project! I chose this project as the final challenge for my students so they could experience firsthand the real-world impact of 3D printing and its applications across various professions beyond design. 🌍
When exploring online 3D design galleries, it’s easy to be amazed by the vast collection of incredible models created by the community. Most of these designs are toys, gadgets, collectibles from video games, or decorative elements. While impressive, this can sometimes narrow the perception of 3D printing as merely a tool for creating fun or ornamental items.
I wanted my students to see beyond that—to understand the potential of 3D printing for creating functional objects that could genuinely improve someone’s life. More importantly, I aimed to show them how 3D printing is not exclusive to designers; it’s a technology that intersects with many other fields, such as medicine, biotechnology, robotics, and even art. 🎨🤖
By working on personalized 3D-printed orthoses, my students were able to explore these possibilities while connecting their creativity with real-world problem-solving. This project not only expanded their technical skills but also opened their eyes to the broader impact of innovation across disciplines. 🚀
The Project Process
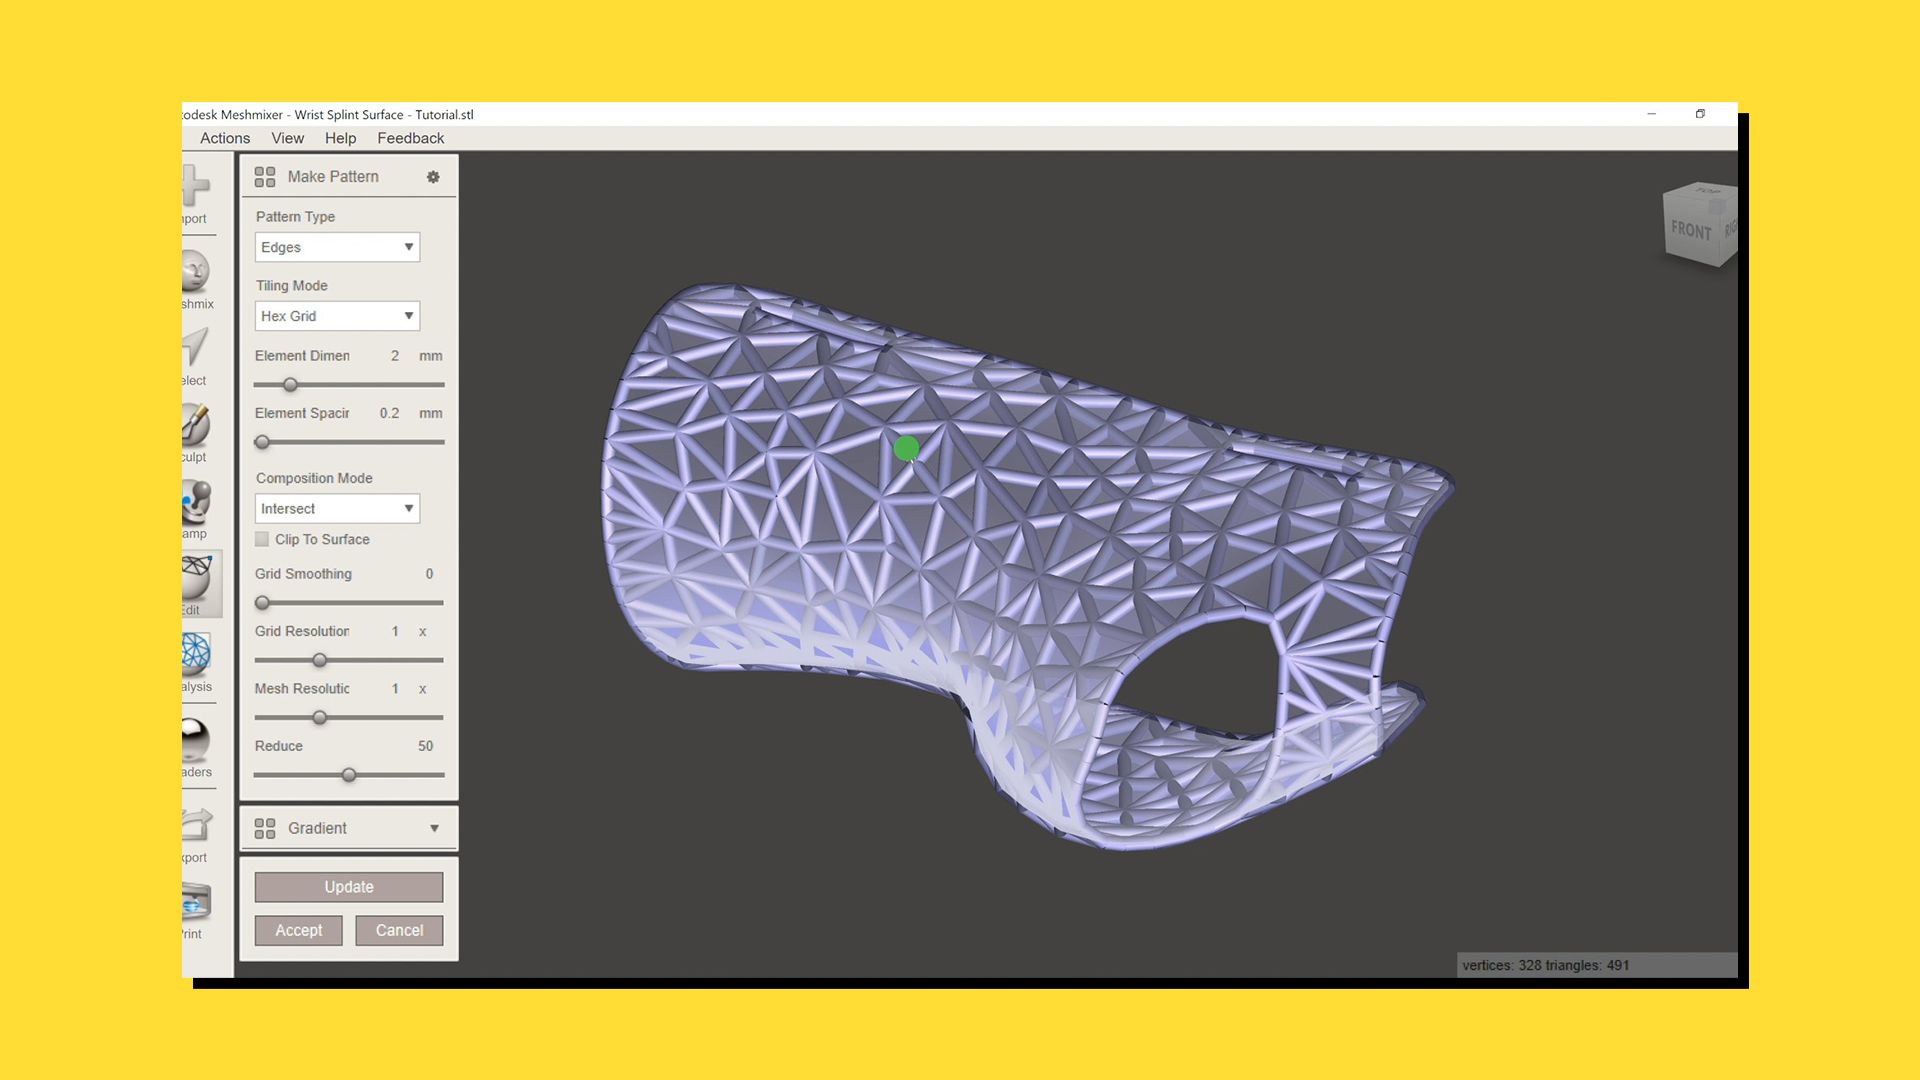
For their final project, the “Three Modes of Making” methodology was once again the foundation of our approach. The main challenge this time was helping students shift their mindset from traditional CAD 3D modeling for solid objects to “digital sculpting.” This was crucial because editing or fixing the raw 3D meshes generated by the scanner required different software than the parametric design tools they were used to. For this task, we chose Autodesk Meshmixer due to its intuitive interface. As its developers describe it, Meshmixer is like a “Swiss Army Knife” for working with 3D meshes.
Another key skill for this project was learning the basics of 3D scanning and mastering the proper use of the equipment. Fortunately, modern 3D scanners are no longer the bulky, hard-to-calibrate devices they once were. Today, there’s a range of user-friendly options designed for educational purposes, especially at the high school level. For this project, we used the Creality Ferret scanner, which was ideal for our needs. Some students even took advantage of the LiDAR scanners integrated into their smartphones, using apps like PolyCam. These apps leverage artificial intelligence to create 3D geometries by blending photogrammetry with LiDAR scanning.
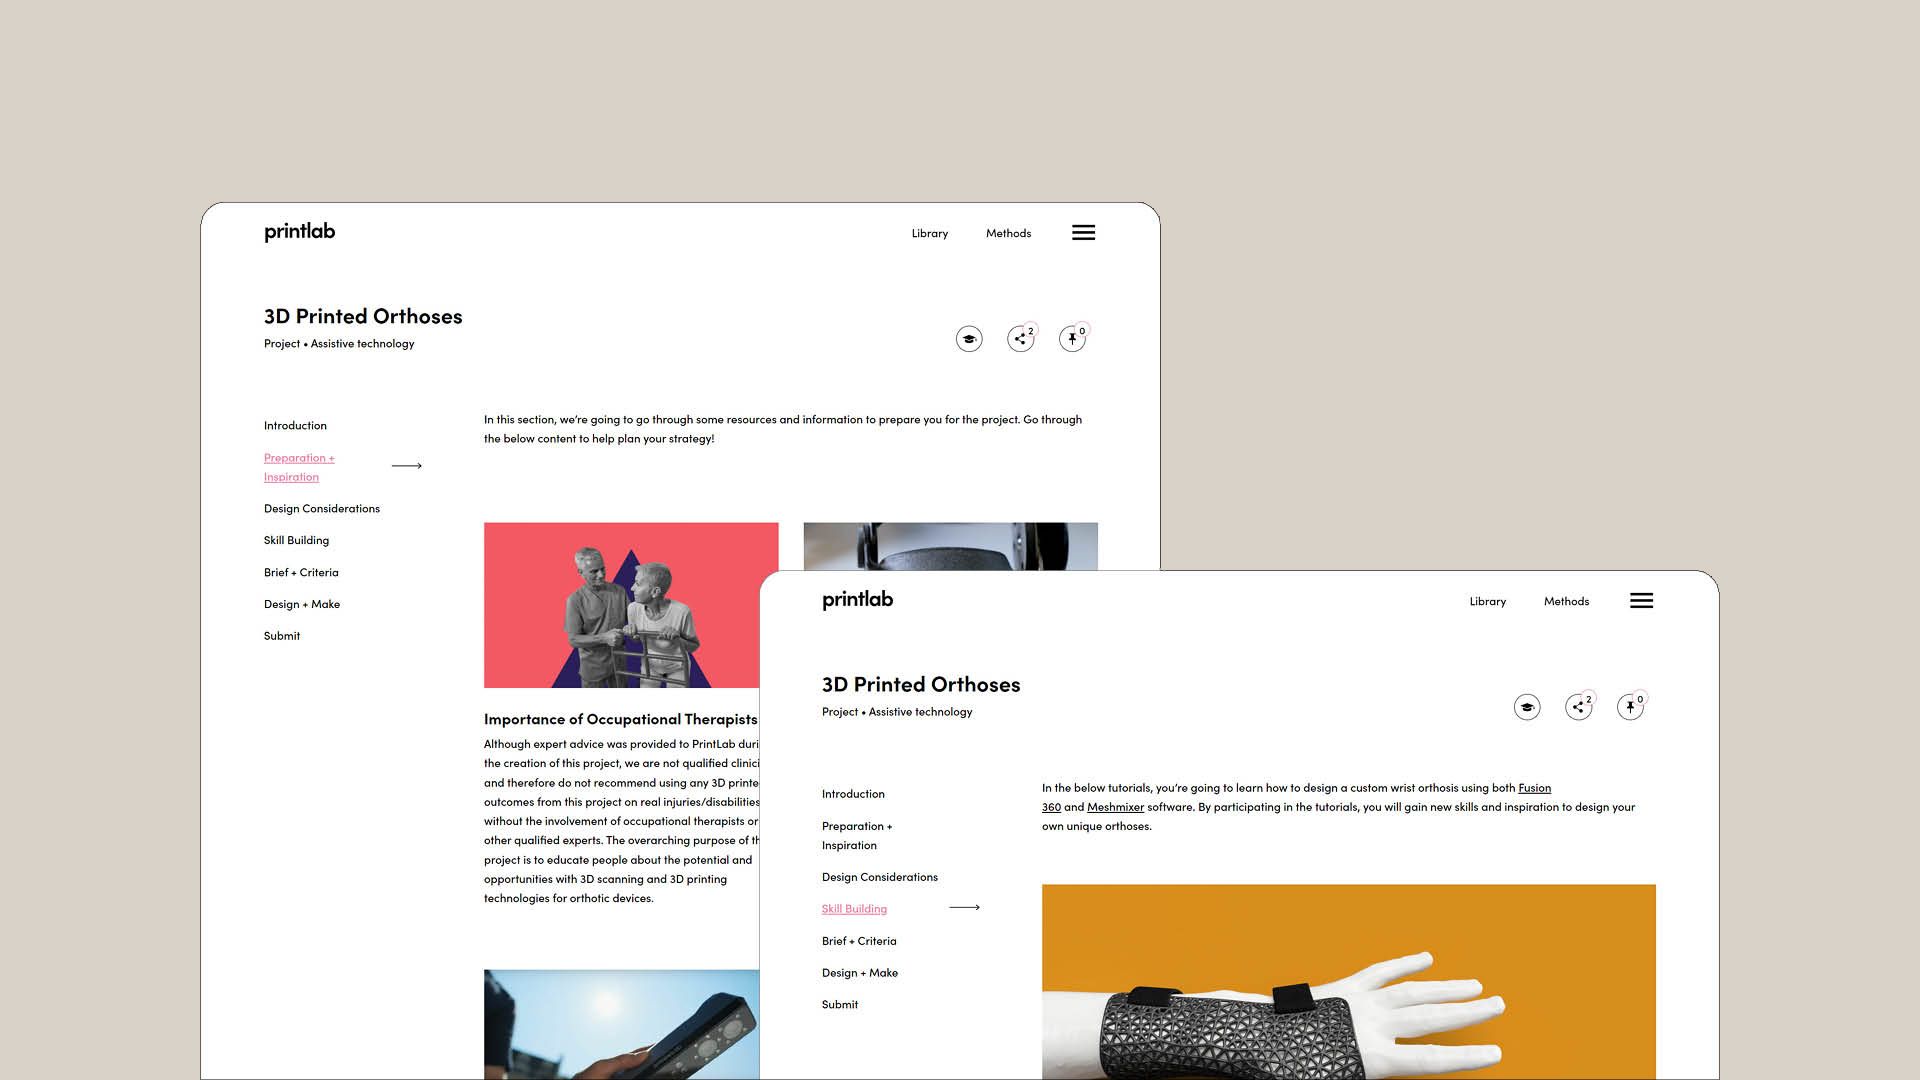
We started the project with the introductory video provided by PrintLab on their platform. This gave students a comprehensive overview of the portfolio included in the project, helping them understand the prototype they were about to create.
Preparation + Inspiration: During this phase, I shared my personal experiences developing orthosis prototypes in other labs, highlighting the pros and cons of different approaches. I also introduced the 3D scanning equipment we had available for the project.
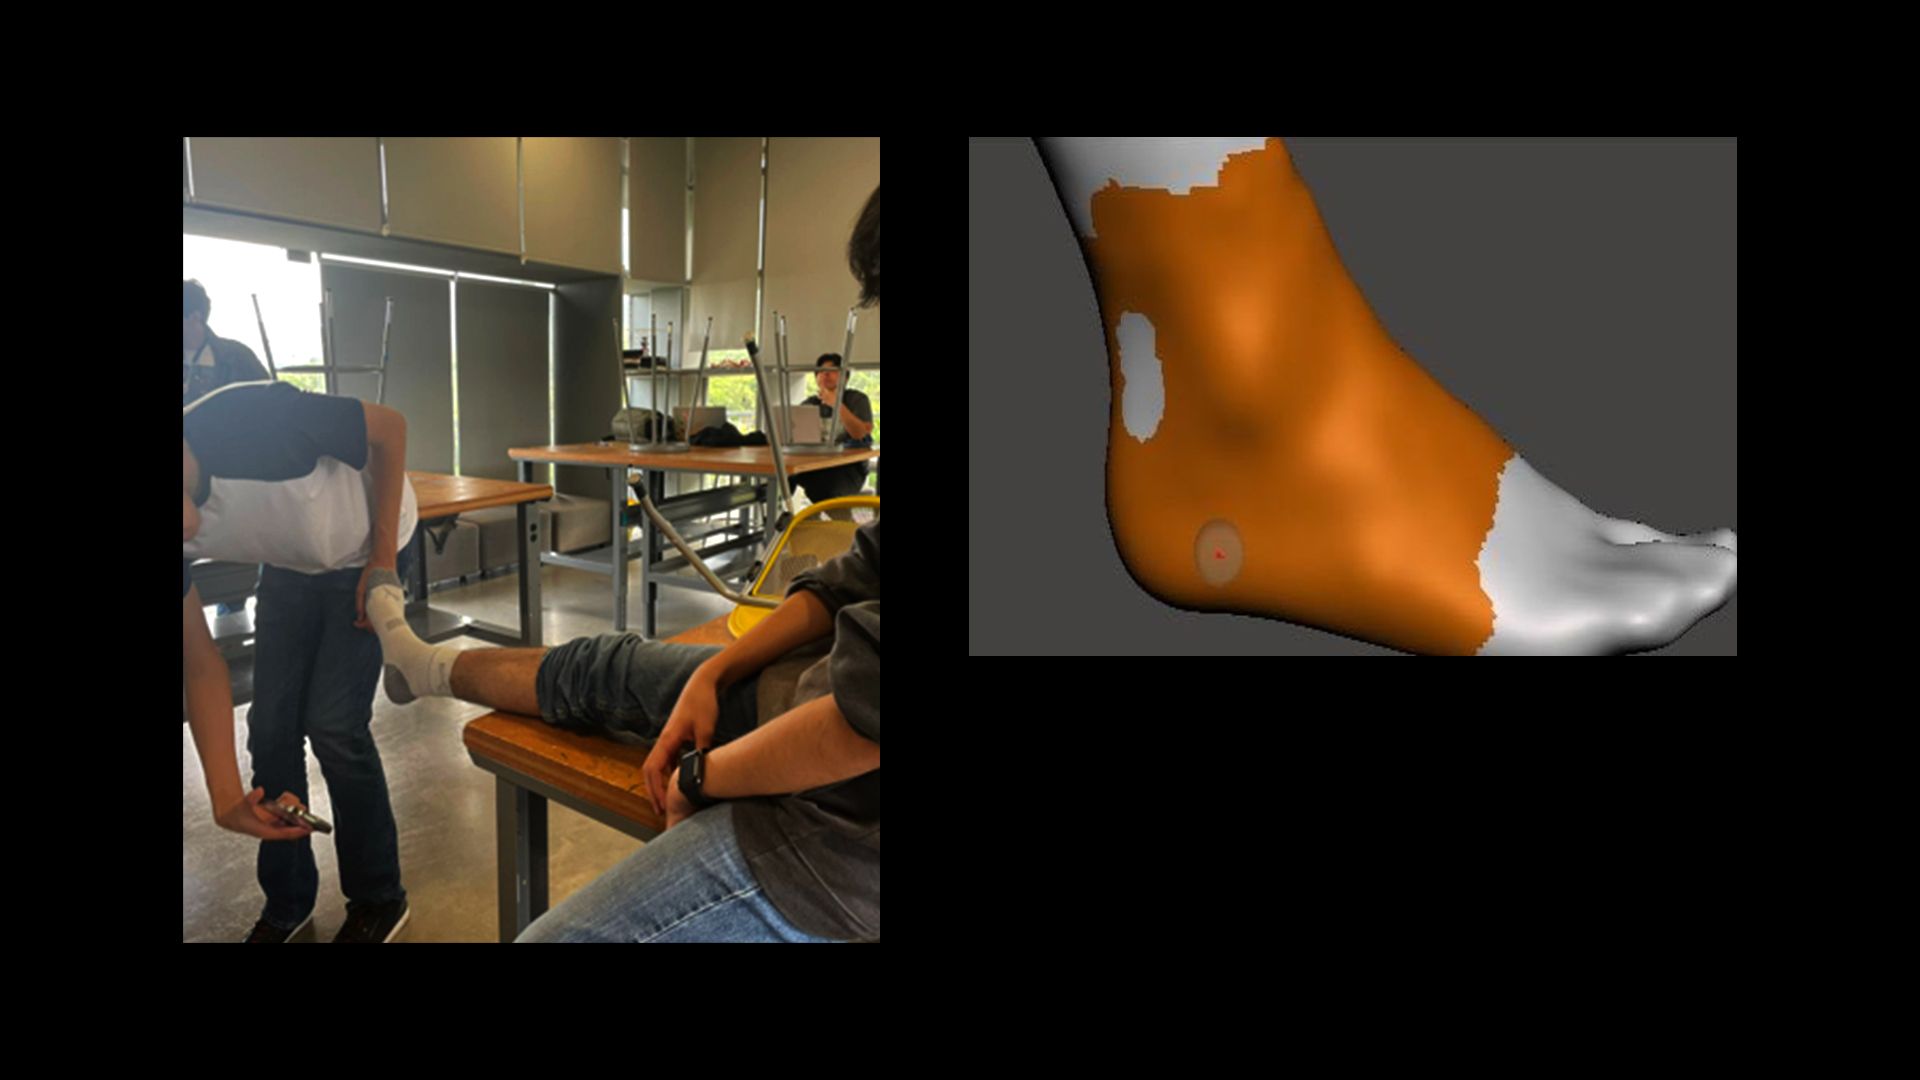
Design Considerations: We embraced the Maker concept of “learning by doing” by assigning each student a random body part often associated with common injuries, such as hands, ankles, or wrists. Students began by working directly with the assigned body part, wrapping it with plastic wrap and painter’s tape to create a base layer. Using markers, they outlined the perimeter of their splint or orthosis and added design features such as ventilation holes or attachment points for straps.
Finally, they cut along one edge to remove the mockup and trimmed any excess material. This process resulted in a physical concept—a tangible mockup of what their final prototype would look like.
Skill Building: Next, we dedicated time to becoming familiar with Meshmixer and the operation of the 3D scanners. Students practiced until they could produce a high-quality 3D scan suitable for use. We also leveraged the PrintLab video tutorials and sample 3D models included in the project, giving students a chance to practice designing their own digital orthoses using the software.
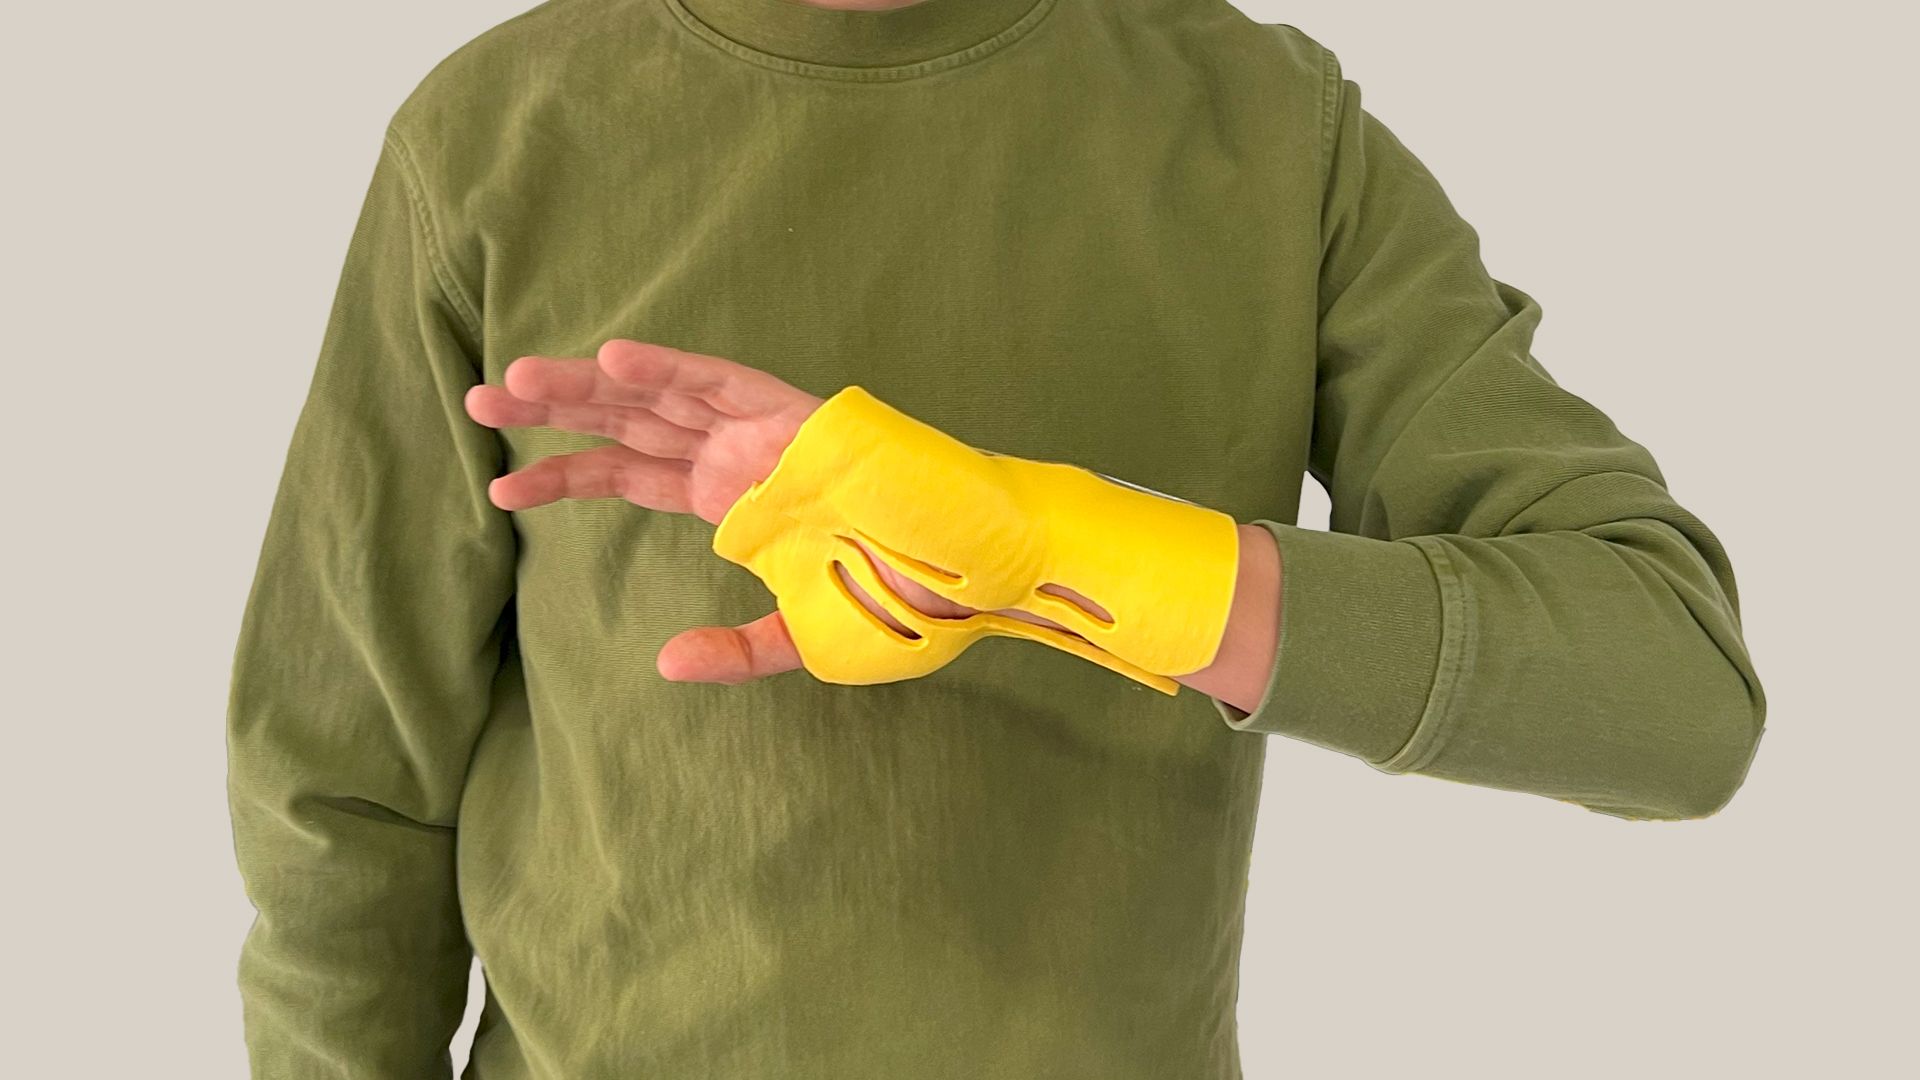
Design + Make – Bringing Ideas to Life: Finally, the moment arrived to bring their ideas to life! Students were now ready to use the 3D scanners and begin developing their own personalized orthoses. During this phase, I stepped into the role of an advisor, helping them navigate any challenges that arose. After some days of hard work, each team successfully completed their unique version of the project. Seeing their creativity and problem-solving skills come together in a functional, real-world product was incredibly rewarding for both them and me. 🙌
The Challenges
At the end, students decided to work in teams to tackle the project more efficiently, divide the workload, and beat the clock. ⌛ While every student successfully completed the project, each team encountered unique challenges and learning experiences. Here are some of the most common lessons learned along the way:
1. Out-of-Scale Scans: One of the recurring challenges with semi-professional 3D scanners or apps that rely on smartphone LiDAR technology was the issue of scale distortion. During scanning or file transfer, the scale of the 3D models could unintentionally change. This became a significant problem when designing directly for the human body, as even slight variations could make the orthosis fit improperly.
To mitigate this, I instructed my students to take multiple measurements of the body part they were scanning beforehand. Once they imported the 3D model into the design software, they cross-checked its dimensions to ensure it matched their physical measurements.
2. Lost Tracking During Scanning: Another common issue was losing tracking during the 3D scan, especially when scanning symmetrical or smooth surfaces like bare skin. This problem arose in nearly every student project. To guide them toward a solution, I asked them to practice by scanning the arm of a teacher friend of mine—luckily, he had several tattoos. To their surprise, the scan worked perfectly on the first try!
When I asked them to reflect, they realized that the tattoos provided unique reference points for the scanner, preventing it from losing track during the process. Building on this insight, I suggested they use adhesive markers or stickers placed randomly on the body part to create similar reference points (just like markers used to scan car parts). With this adjustment, the students had no further tracking issues.
3. Cleaning and Fixing 3D Scans: A crucial step in the 3D scanning process is cleaning up the raw files, as they’re rarely ready for immediate use. Students learned to correct common errors in the digital polygon mesh, such as:
• Filling in holes in the mesh.
• Fixing intersecting surfaces.
• Resolving scale and orientation problems.
• Correcting polygons with inverted normals.
Thankfully, Meshmixer made these fixes relatively simple, allowing students to refine their 3D scans efficiently.
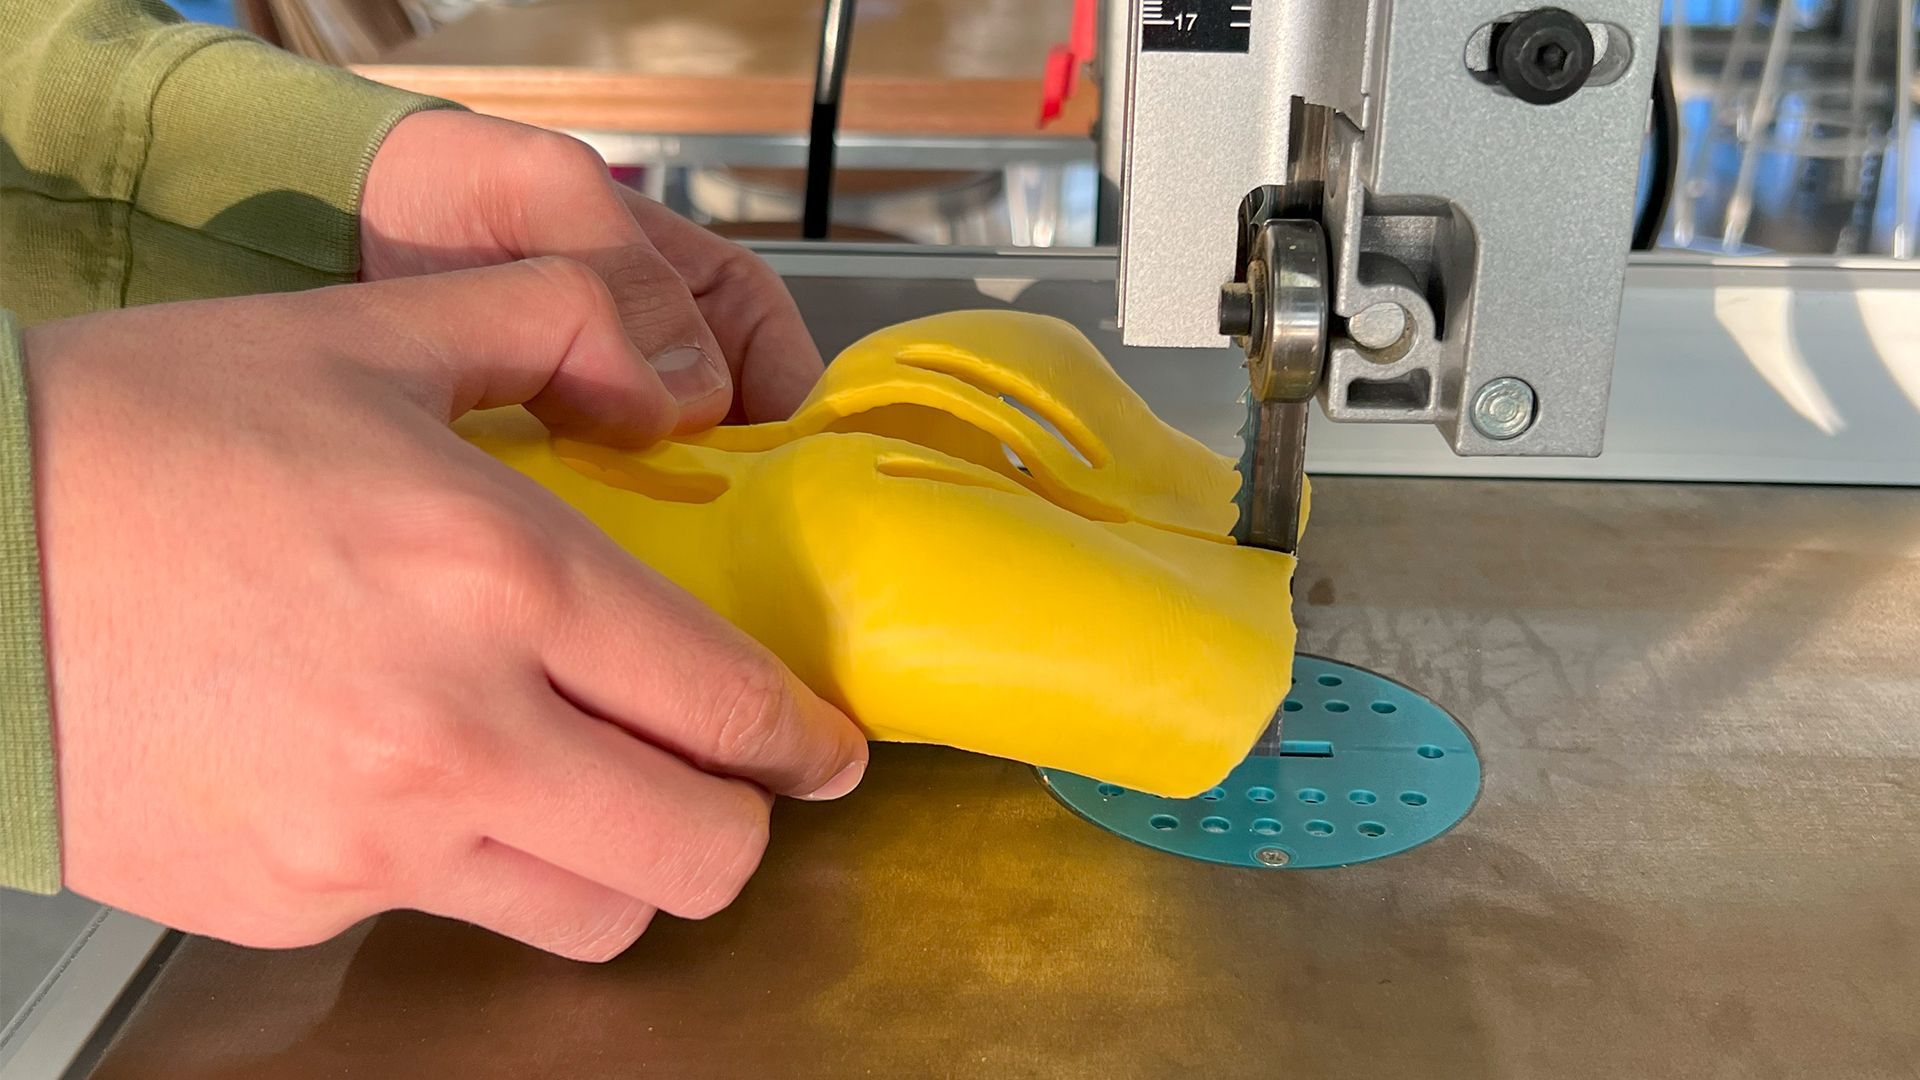
4. Rigid 3D Prints with Limited Flexibility: Once we transitioned from digital models to physical 3D prints, we discovered another challenge: the printed splints were too rigid to be comfortably worn without causing discomfort. To address this, we used a band saw to cut the splints in half. While this was a setback, it also opened the door for new design opportunities.
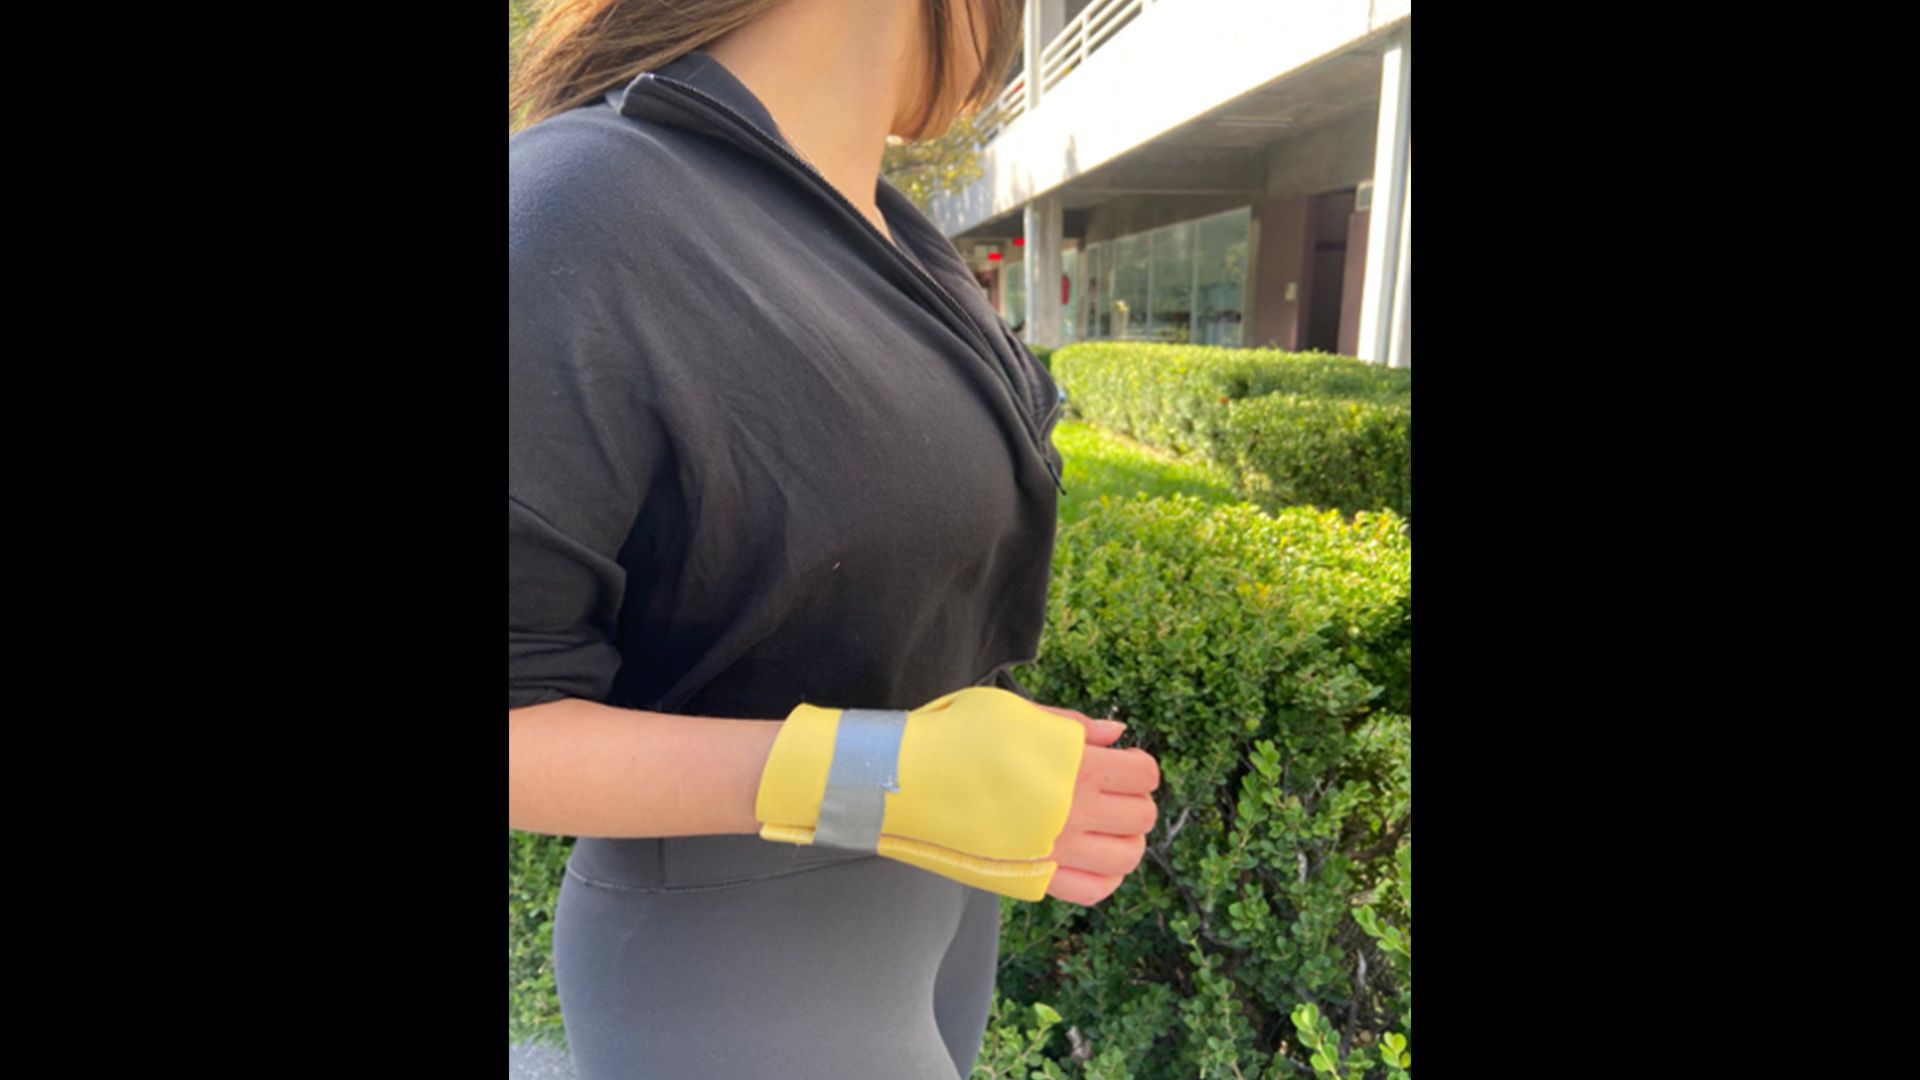
5. The Idea of Hinges: While taking photos of the final prototypes, I noticed one student had used duct tape to create a “living hinge” on their splint. This simple addition allowed the orthosis to open and close, making it much easier to fit onto the user. Inspired by this, I initiated a group discussion about other functional features they could incorporate into their designs. Students brainstormed ideas like integrating adjustable straps, breathable patterns, and even snap-fit closures directly into their CAD models for a potential second iteration.
6. A Race Against Time: Unfortunately, the semester came to an end before we could create second versions of the prototypes. However, conceptually, my students gained a deeper understanding of the functional design considerations required to make advanced prototypes like these work effectively. While time wasn’t on our side, the lessons learned and ideas generated during this project laid the foundation for future explorations. It was truly inspiring to see the creativity, problem-solving, and resilience they brought to the table! 🙌
The Student Experience
If there’s one thing my students truly learned through this project, it was patience and resilience. Unlike the other projects we tackled throughout the semester, this one presented numerous intermediate steps between each stage, each with its own unique challenges that required problem-solving on the fly to keep moving forward.
Through these experiences, I believe they gained something invaluable: a deep understanding of what a real design process for product development looks like. It’s rarely linear, and things don’t always go perfectly on the first try. Instead, it’s about continuously adapting, solving problems as they arise, and finding ways to keep improving.
Even when you finish a prototype, there’s always room for refinement in the next version. That’s the beauty of the design journey—it’s a cycle of learning, creating, and evolving. 🔄
Thank You!
✨ Thank you so much for taking the time to read this article all the way through! It means a lot to me, and I hope you found it inspiring or helpful in some way. If you’d like to see more of my students’ incredible projects, I warmly invite you to check out the Instagram page for our makerspace: @makerspaceudem. 🛠️ There, we showcase the progress and creativity of our students as they explore the world of design and innovation.
And if you’re an educator (or just curious about Maker Education), feel free to follow me on Instagram at @di_joseantoniosv ⭐ I share insights, tips, and my own journey as a maker educator—you’re more than welcome to join the conversation!
Let’s keep building, creating, and inspiring together. 🚀
—
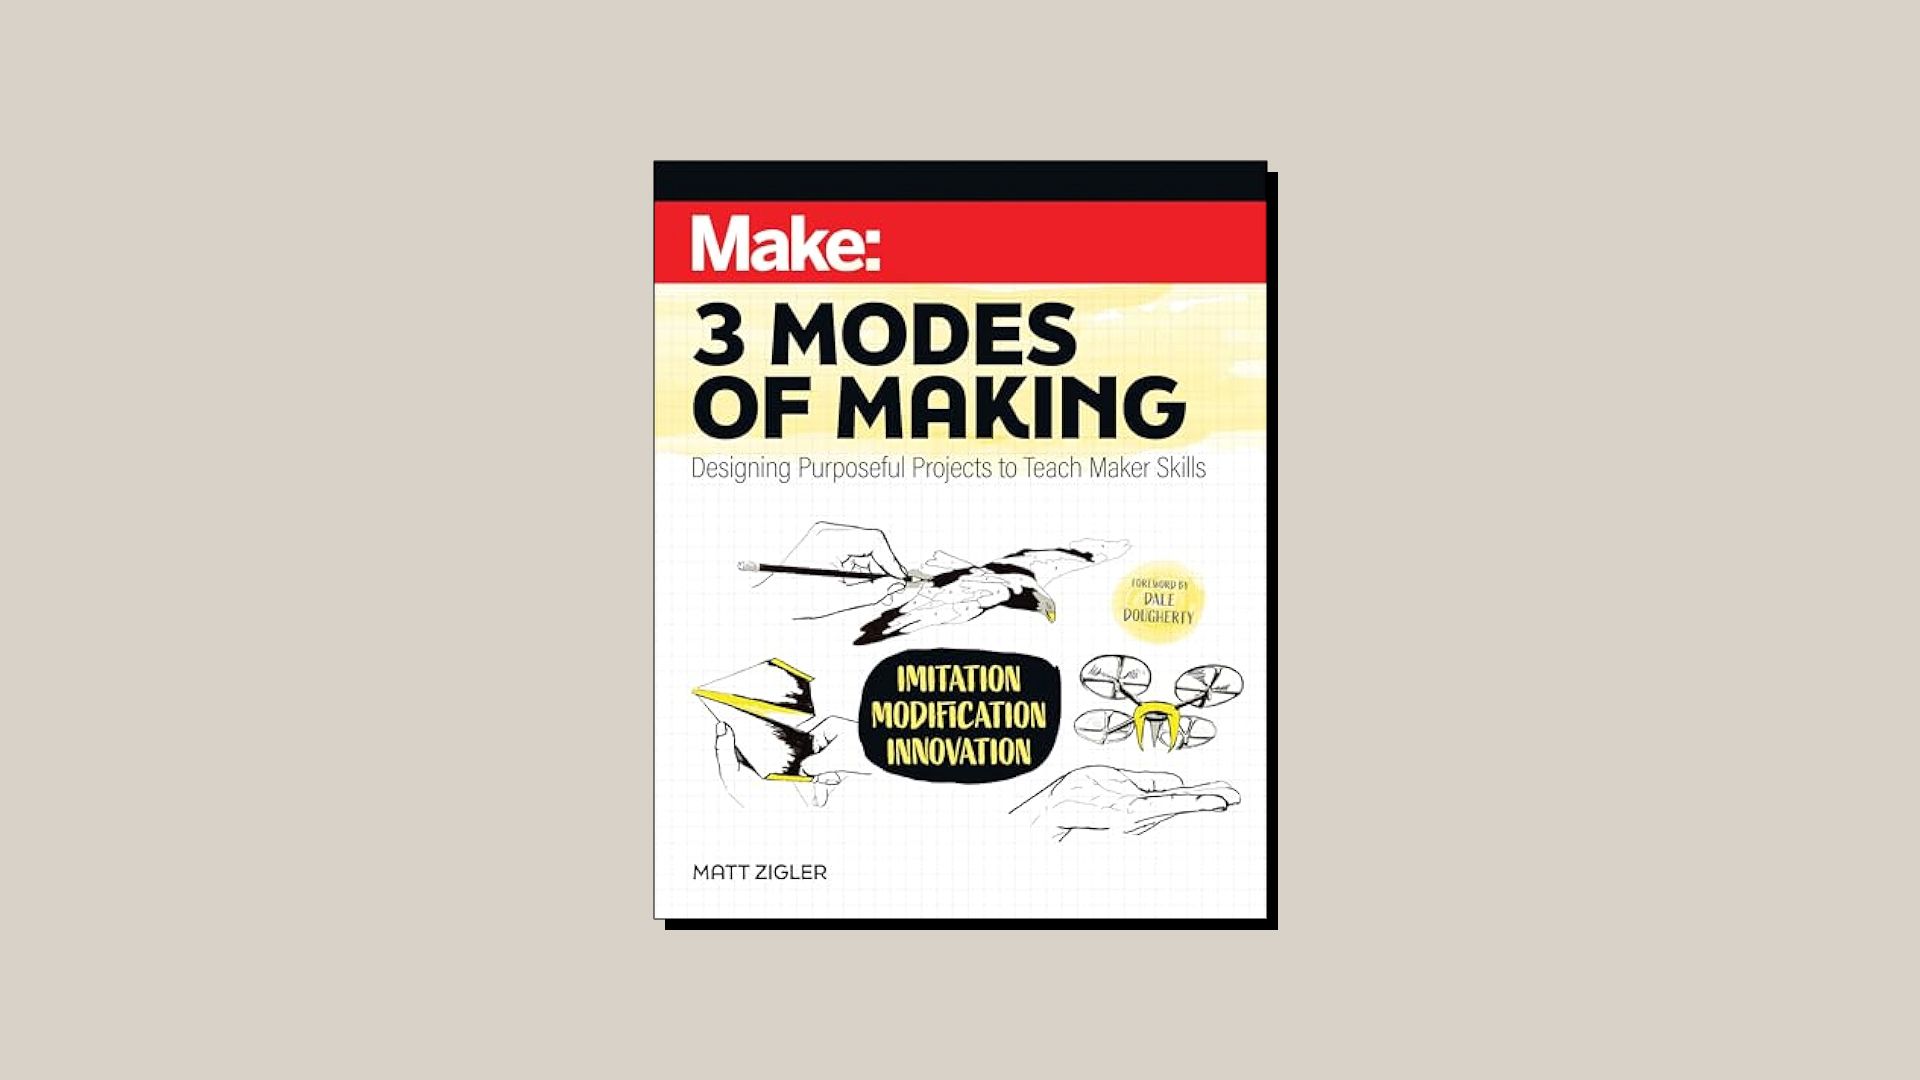
A huge thanks to José for taking the time to share his journey with us today! Finally, we’d also like to give a shout out to Matt Zigler and his book, 3 Modes of Making, which has been a huge inspiration both to José and PrintLab. The book provides a framework for Maker courses that teach students creative-process skills through three key Maker modes: Imitation, Modification, and Innovation. If you’re based in the US, you can purchase the book from the link below. For other countries, search for 3 Modes of Making on your local Amazon website :).
Learn more about the 3 Modes of Making framework and purchase the book today