Designing Prosthetic Upper Limb Devices for the Make:able Challenge
In today’s post, we sit down with Alistair Bacchetti from Handprints e-NABLE Scotland, a student-run organisation who create 3D printed prosthetics completely free of charge for anyone who has need of one. Handprints e-NABLE Scotland are one of the newest partner organisations to make:able – our yearly assistive technology design challenge, where participants are guided by an online toolkit to design an assistive device for a real end-user. Alistair has kindly offered to share his story, together with advice for those opting to create and customise low cost prosthetic upper limb devices as part of the challenge. Check out the interview below!
14th January 2022 • Make:able
Hey Alistair! First of all, can you introduce yourself and tell us a little about Handprints e-NABLE Scotland, as well as the global e-NABLE movement?
Hi there! As you may already know, my name is Alistair Bacchetti and I am a fourth year Biomedical Engineering student at the University of Glasgow. Since May 2021, I have held the amazing Presidential position at Handprints e-NABLE Scotland. This is a student-led society at the University of Glasgow which produces 3D printed prosthetic limbs for individuals with upper limb deficiencies, free of charge and with a strong focus on children.
At Handprints e-NABLE Scotland, there is nothing more rewarding than handing over a functional, personalised prosthetic to a recipient. To instil a sense of confidence and pride in a prosthetic end user is an amazing experience! As University students, we chase this passion to develop the drive and compassion of competent engineers, whilst working collaboratively alongside fellow students and medical professionals to develop key skills in medical device design.
Handprints e-NABLE Scotland is part of a global network of prosthetic hubs all over the world. This is known as the ‘e-NABLE’ network. Since 2013, this network has allowed aspiring engineers and prosthetics developers (like ourselves) to connect with and work alongside fellow pioneers in prosthetic development. More importantly, the network allows us to reach out, engage and inspire students (like you) in our cause!
We’re delighted to have you as a Make:able partner organisation. Can you explain the benefits of students designing/adapting low-cost prosthetics?
We are equally excited to be a Make:able partner organisation and cannot wait to see all of the amazing, innovative design concepts this year! During a class, have you ever opened a textbook, taken a look at the first topic and thought ‘How will this ever help me in the future?’. Time and time again, we often find ourselves asking this question, even at University level! This is where the work of Handprints e-NABLE Scotland kicks in.
At Handprints, we are not only 3D printing and handing out devices. We are thinking outside of the box, throwing ourselves in the deep end and harnessing the skills taught within our University courses to make an impact in the world of low-cost prosthetics! Project management, teamwork, 3D printing and effective communication; these are just a handful of skills that our team members develop throughout an end user project.
More importantly, an end user project is a fantastic way to prepare yourself for future experiences in College, University and beyond. The most exciting aspect of this all is that you, as a Make:able participant, can easily develop and harness amazing skills from a prosthetic end user project, as part of the Make:able competition. It is the dynamic, hands-on design projects that makes Handprints (or any e-NABLE end user cause) an exciting and dynamic experience!
For those who are relatively new to 3D printing and assistive technology, the thought of designing and customising an e-NABLE hand can be quite daunting. What tips and advice could you give to people to who are in this position?
We completely agree! Kicking off an e-NABLE end user project can certainly seem like a daunting task. The most important idea to have in mind is the key design process for an e-NABLE prosthetic. The phrase ‘iterative design’ will become your best friend throughout your Make:able project! Iterative design is a cycle of design, production, testing and improving. When creating an e-NABLE device, you will often go through this cycle to ensure that your design is relevant to your challenge and more importantly brings positive results for your end user.
Throughout a Handprints end user project, we use iterative design to ensure that our prosthetic fits comfortably to our end user’s limb. This involves the cycle of scaling a prosthetic for the recipient using computer software, followed by 3D printing the device, and then allowing our end user to test the hand in day-to-day life and give us feedback for model improvement. Before kicking off any e-NABLE project, it is key to understand the key steps and goals of iterative design.
Whether you are a newbie or 3D printing veteran, it is always great to know someone who has been there and completed an e-NABLE end user project. For this kind of challenge, simply reaching out to members of the e-NABLE prosthetic network or last year’s Make:able contestants can give you a great boost of motivation as well as some key knowledge on making the most of your resources and creativity for your project. At Handprints, we are always more than happy to provide any further advice.
If schools are interested in designing prosthetics but can’t find an end user, how can they still participate in Make:able?
We completely understand this obstacle and firstly, would advise you to never give up on your search for an end user! Remember that you are not alone throughout your project and we guarantee that an e-NABLE chapter in your country or state will be keen to direct you towards an end user. As said before, simply reaching out to those who have been there and done it before can make all the difference to the progress of your end user project!
If you still cannot source an end user, do not panic! We would recommend that you watch the Handprints e-NABLE Scotland end user scenario in the Make:able website’s ‘4-Find A Challenge’ section. This video details some of the methods and workarounds you can apply to simulate a residual limb and design an innovative e-NABLE device. We recommend that you focus on the scenario below if you decide to use your own hand as a template for e-NABLE device design.
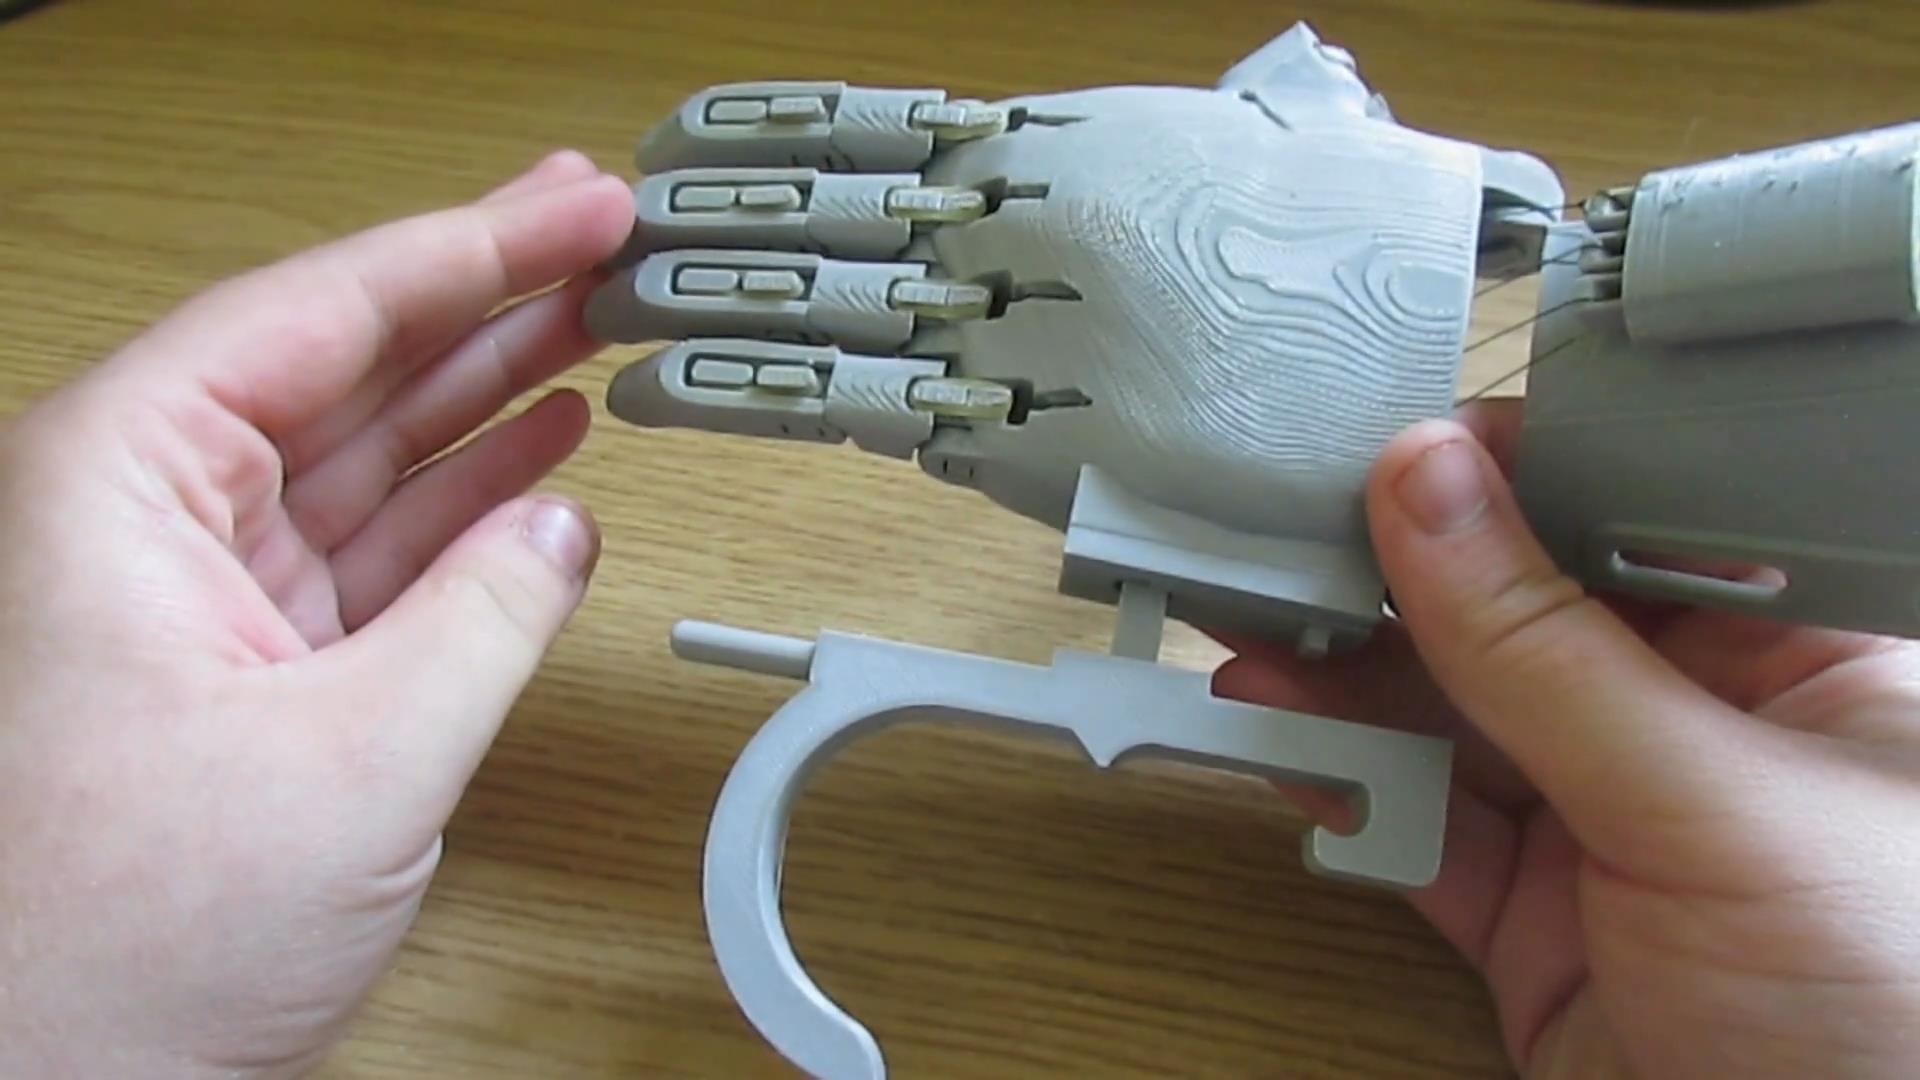
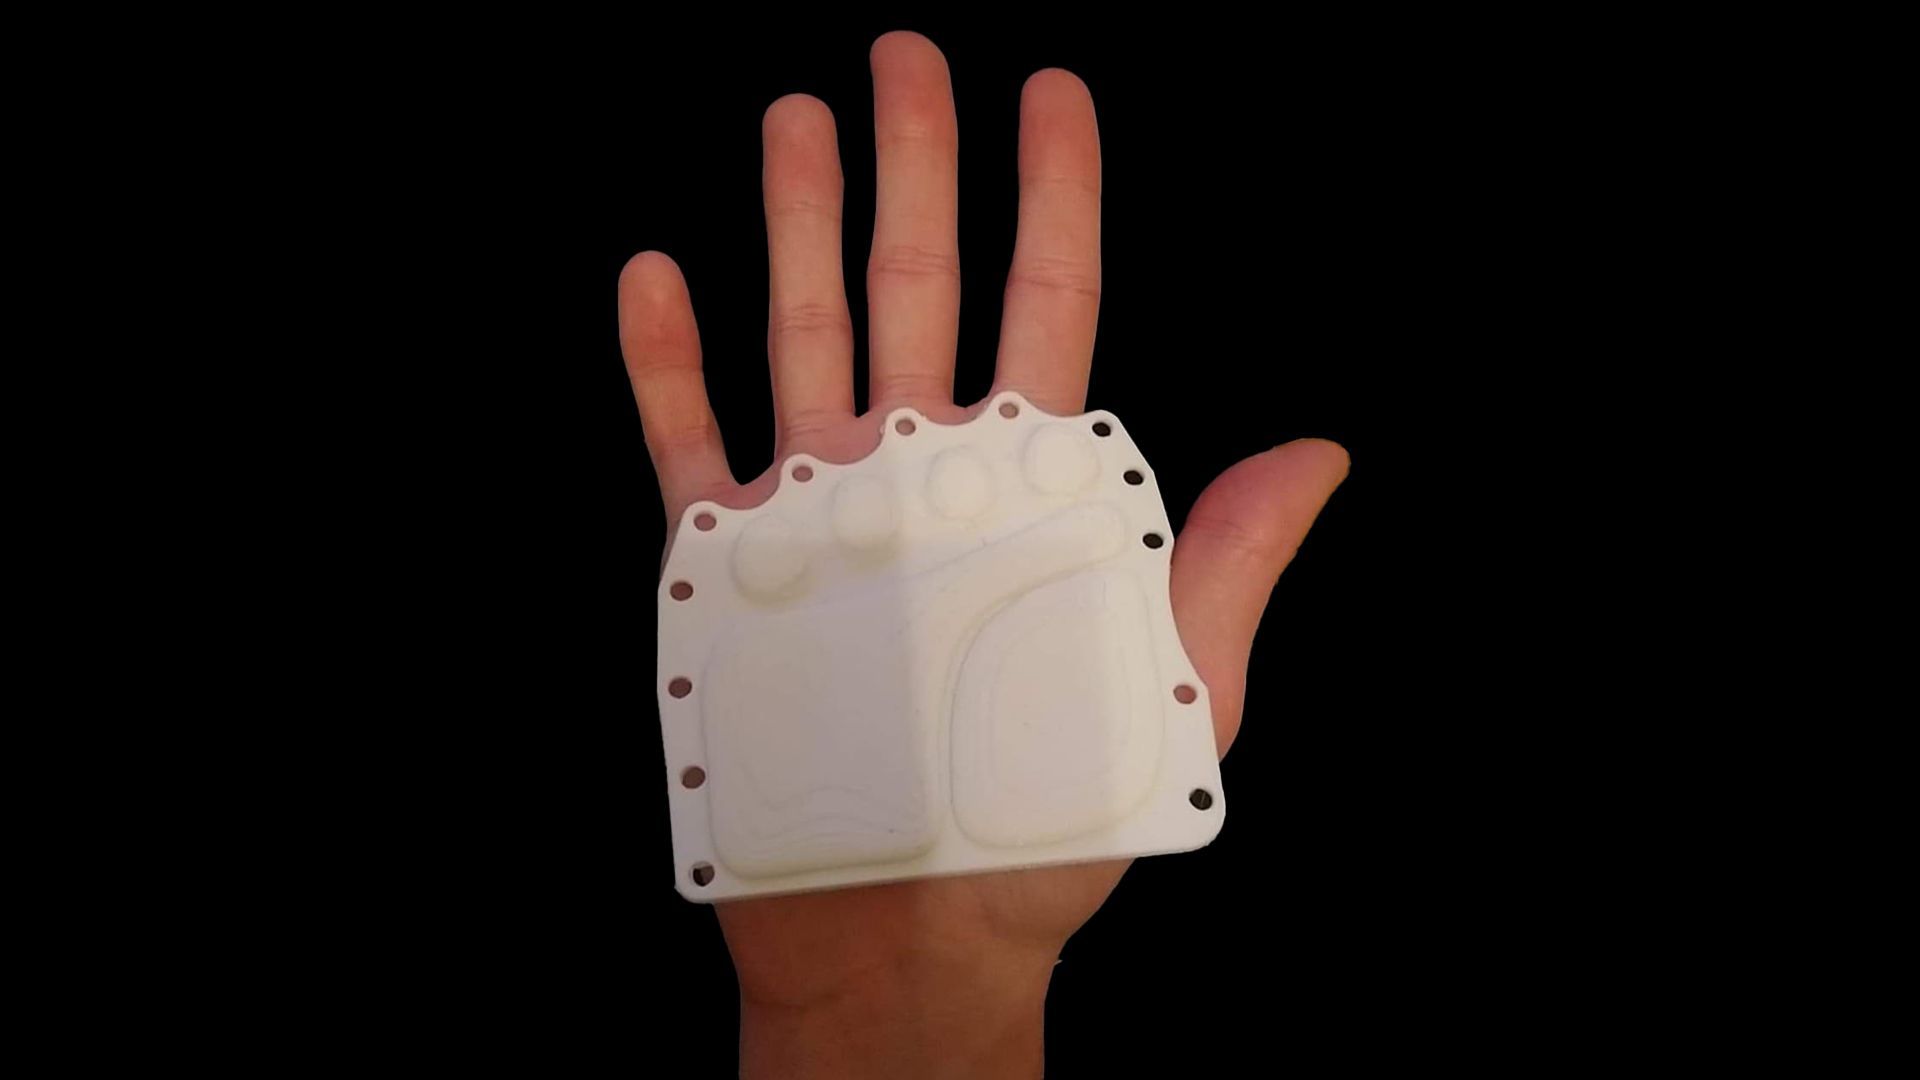
Many e-NABLE end users experience a limb deformity which causes absence of all five fingers on the affected hand. A simple way to imagine this would be to make a tight fist shape with your own hand and looking at your back palm. The recipient may have a residual palm and knuckle joints, though most if not all fingers may be absent. With this limb shape, you can take all necessary measurements to design a functional prosthetic limb. Don’t believe me? Take a look below at the functional prosthetic that our Lead Technician produced for society demonstrations!
Finally, what exciting projects are Handprints e-NABLE Scotland currently working on? And where can people follow your journey?
Innovative design projects are the backbone of our cause, and we love to share progress of our work to inspire and engage our audiences!
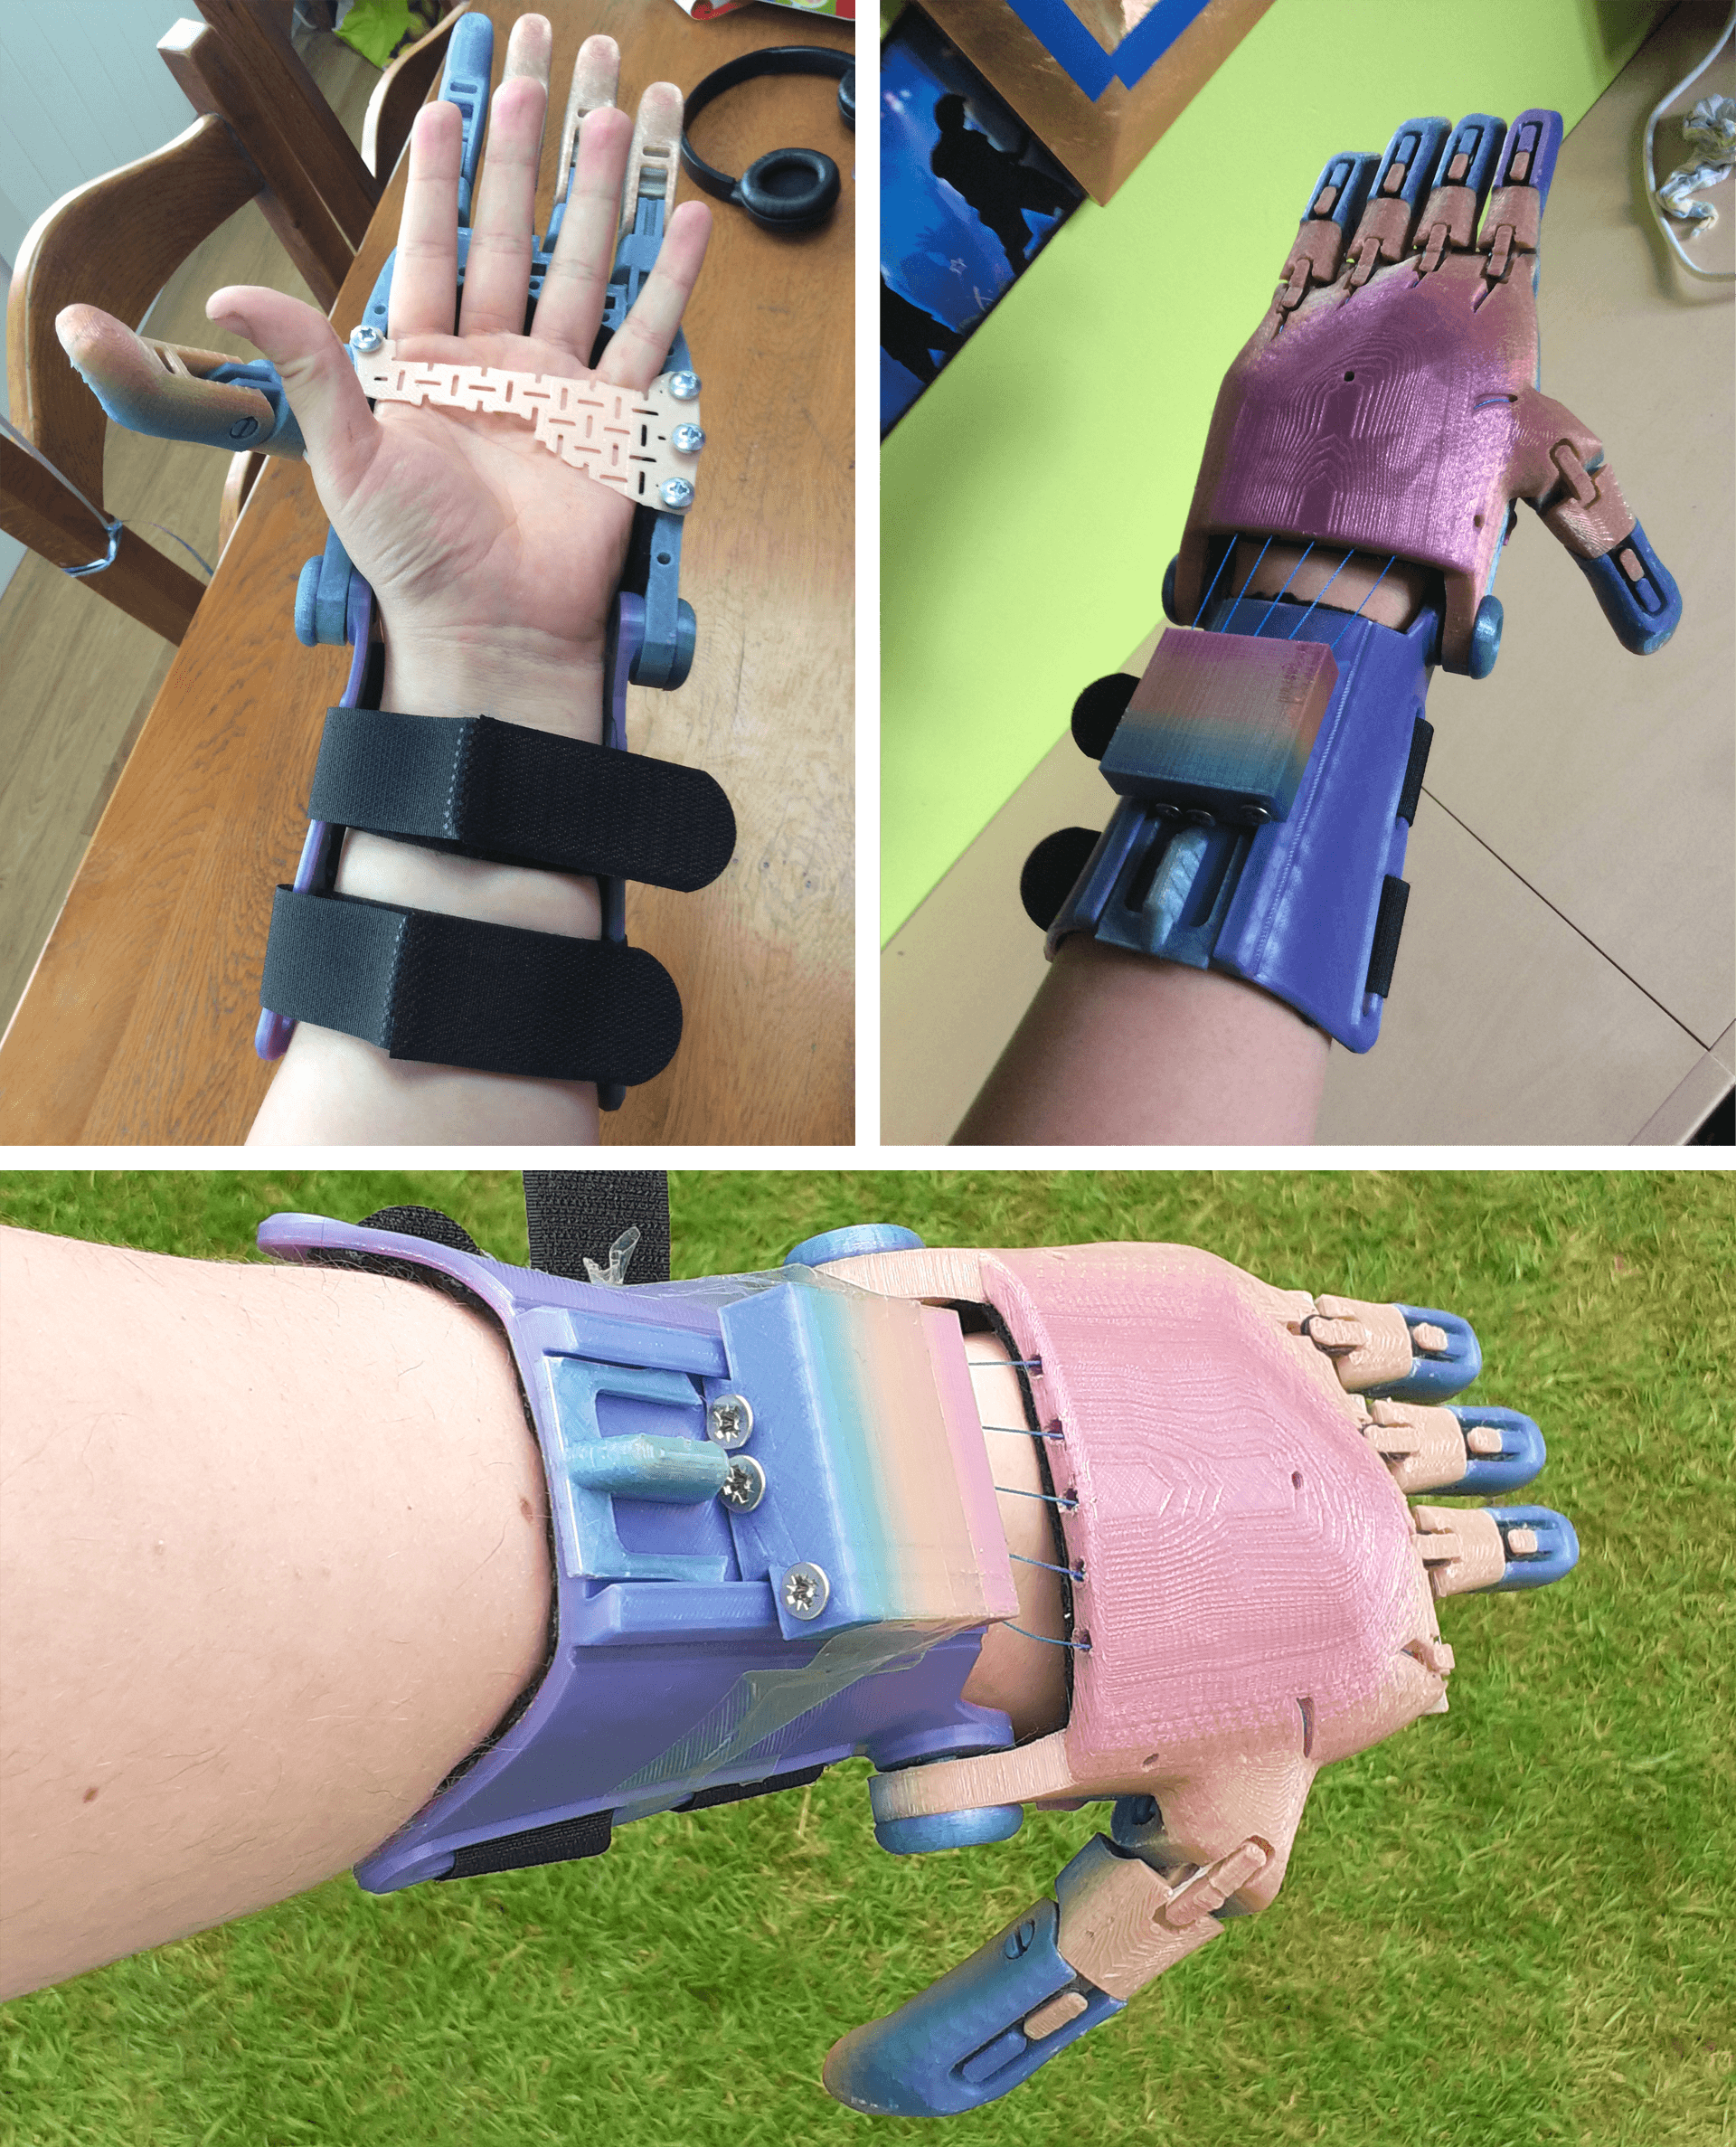
As you may have seen in our Make:able introduction video, we love to push the boundaries of our biomedical engineering projects through computer-aided design. Autodesk is our main design platform, and we focus on the use of Fusion 360 for our modelling and simulation tasks in design projects. One of our most recent Fusion 360 projects focused on the creation of flexible palm grips for our prosthetic hands. Our design team used innovative Fusion 360 T-spline software to create natural grip surfaces on our palms. This not only increased grip for our recipients, but added a more natural, comfortable feel to our prosthetics.
Throughout the coming year, we are incredibly excited to broaden our horizons in Autodesk’s Recap photogrammetry software. This software may be used as an innovative alternative to shape our prosthetic limbs. At present, Handprints uses a technique called ‘thermoforming’. This involves placement of a flat, 3D printed wrist gauntlet across the end user’s limb cast, followed by pouring hot water (over the gauntlet) to form a personalised prosthetic shape for the end user. Instead of producing a Plaster of Paris cast of an end user limb, we could instead scan the limb and use the results to produce a comfortable, personalised prosthetic hand on Fusion 360, ready to be printed and assembled straight way!
Be sure to follow us on our social media pages to stay updated! You can use the Linktree link below to view our social media pages and current work:
https://linktr.ee/handprints.enable
—
A big thank you to Alistair and the Handprints e-NABLE Scotland team for supporting both this blog and the make:able challenge. If anyone is interested in designing a 3D printed prosthetic as part of the make:able challenge, you can sign up here. Upon signing up, you’ll gain access to a whole range of tutorials and resources to support your journey. And feel free to send any questions to hello@weareprintlab.com and we (or Handprints) will get back to you!
** Before making and adapting e-NABLE hands, it’s very important to understand that they are experimental devices, which aren’t safe for heavy operations. Their purpose is to support the use of light activities and working with qualified clinicians/medical professionals is highly recommended. For further information, see their safety guidelines here.