Designing Urban Installations at Twenhofel Middle School
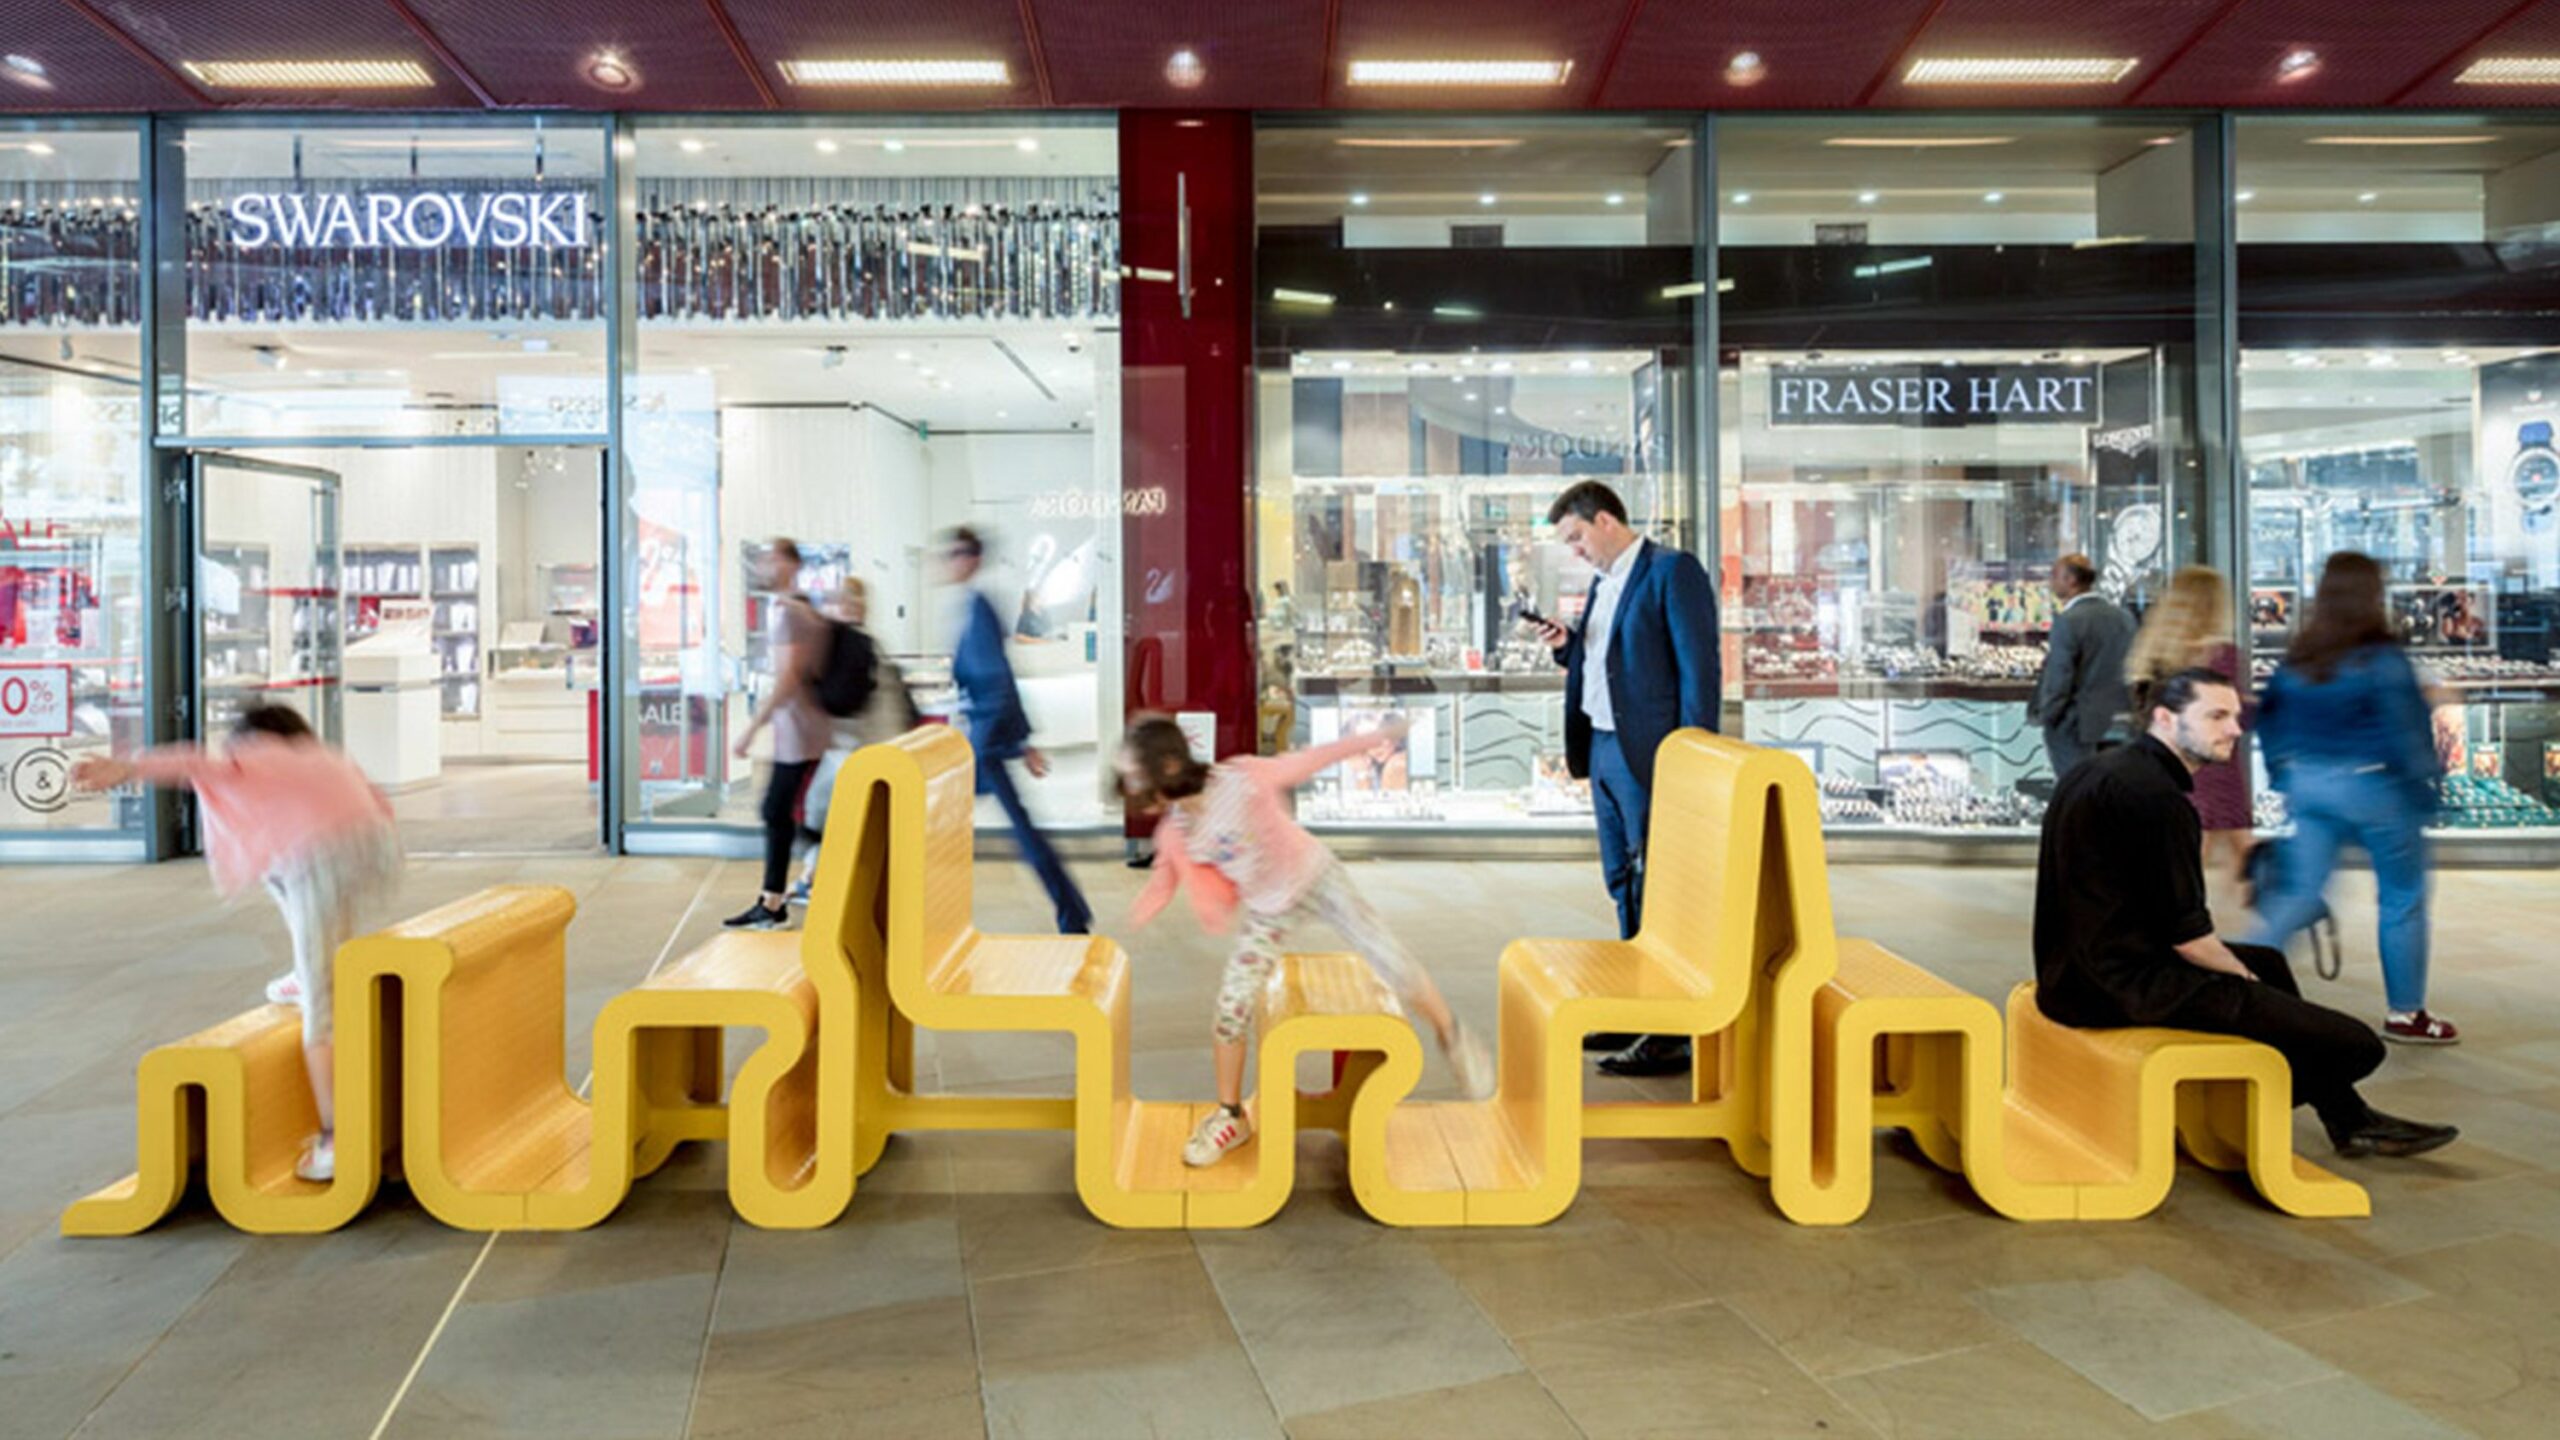
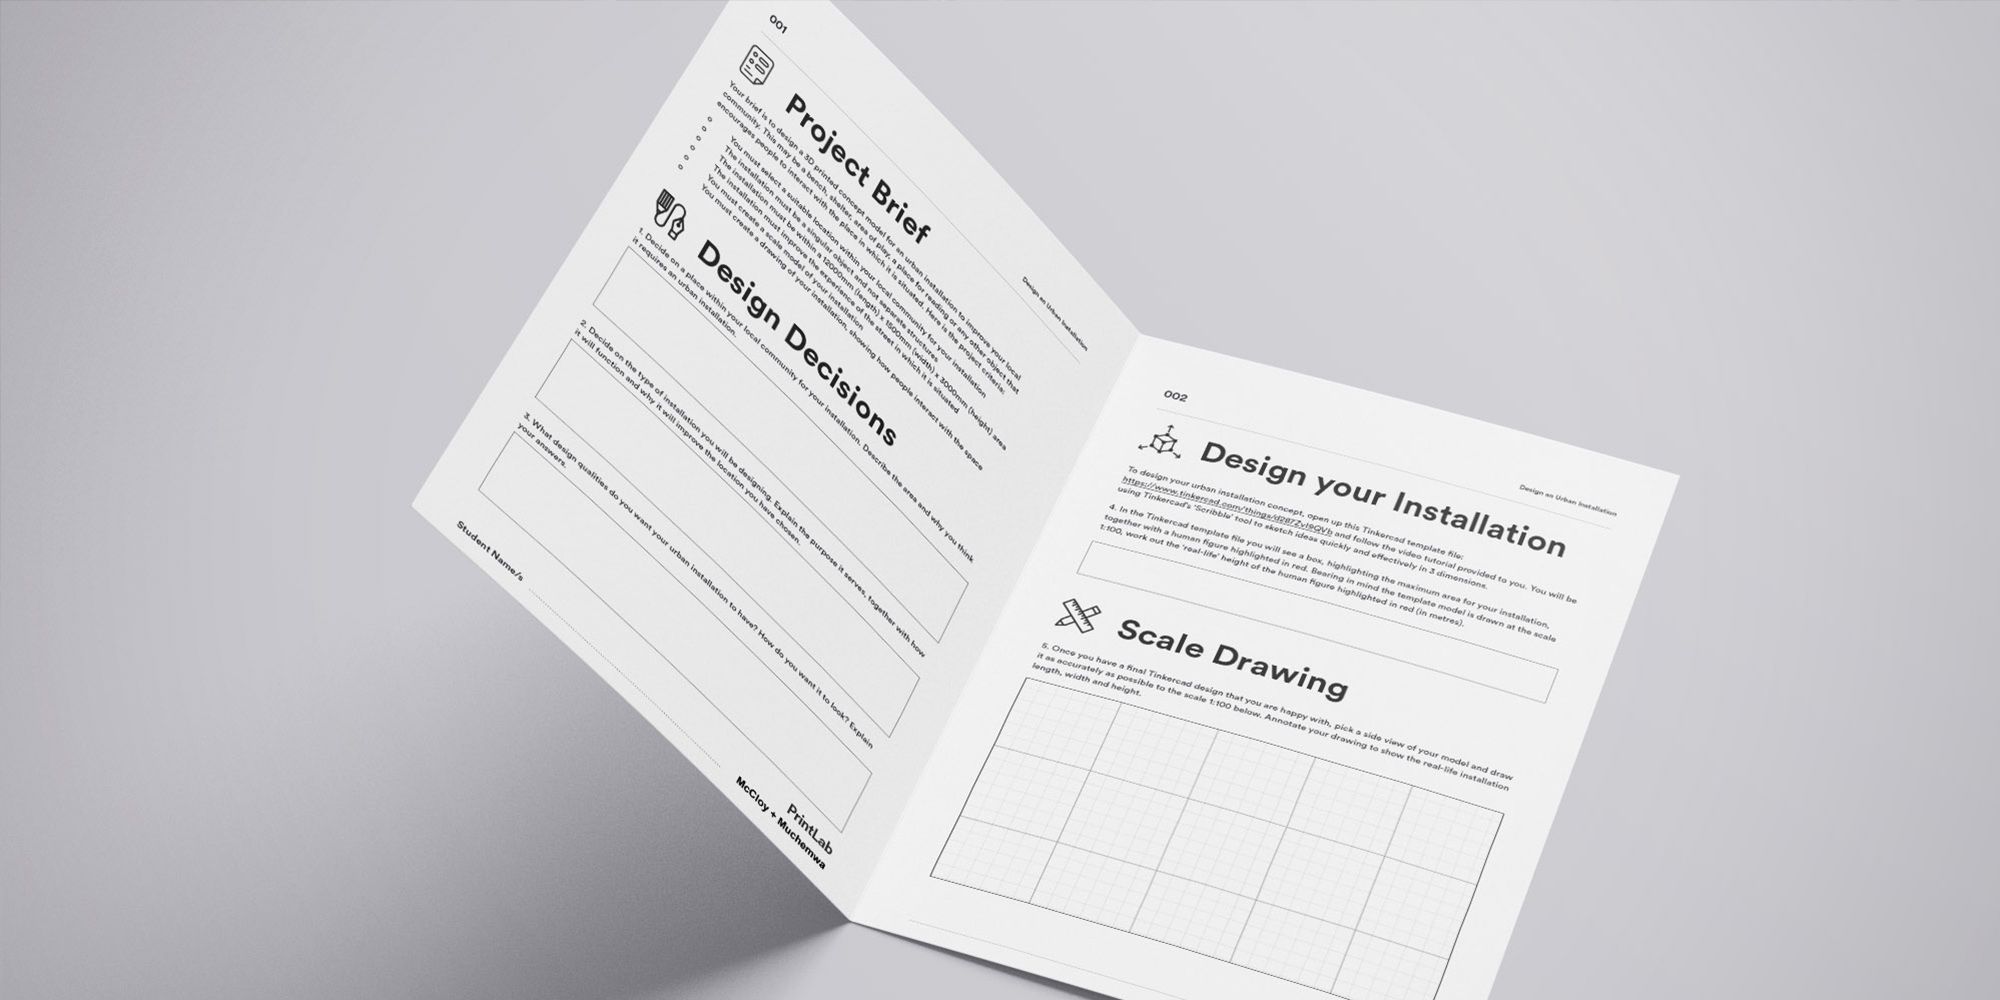
In a recent upload to PrintLab, we collaborated with McCloy + Muchemwa Architects, in a project where students design and 3D print a 1:100 scale model of an urban installation. The lesson involves students learning about an artistic urban installation called 'A Bench for Everyone', before they go on to define their own brief for an urban installation concept for their local community.
19th December 2018 • Case Studies
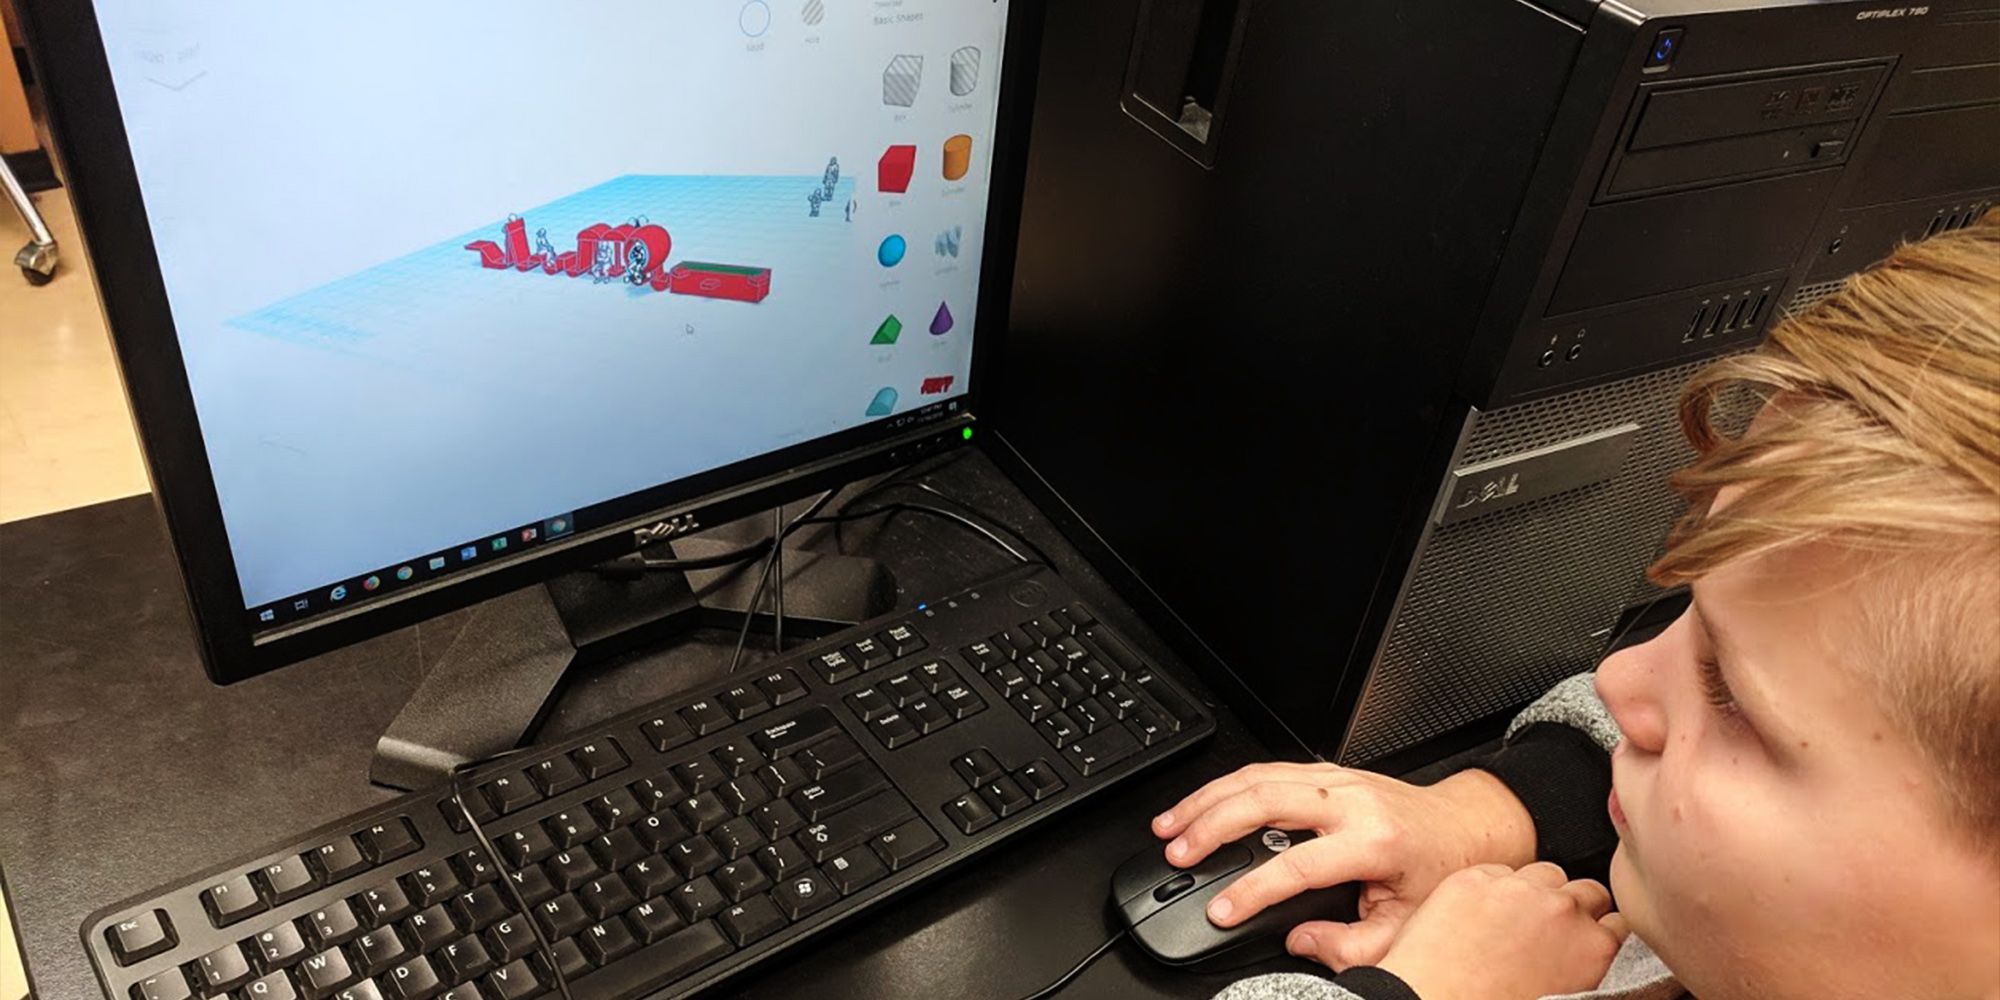
The beauty of this project is that it links education with industry and complete beginners can participate by quickly drawing ideas in 3D using Tinkercad’s scribble tool, which automatically extrudes a 3D shape from a 2D scribble.
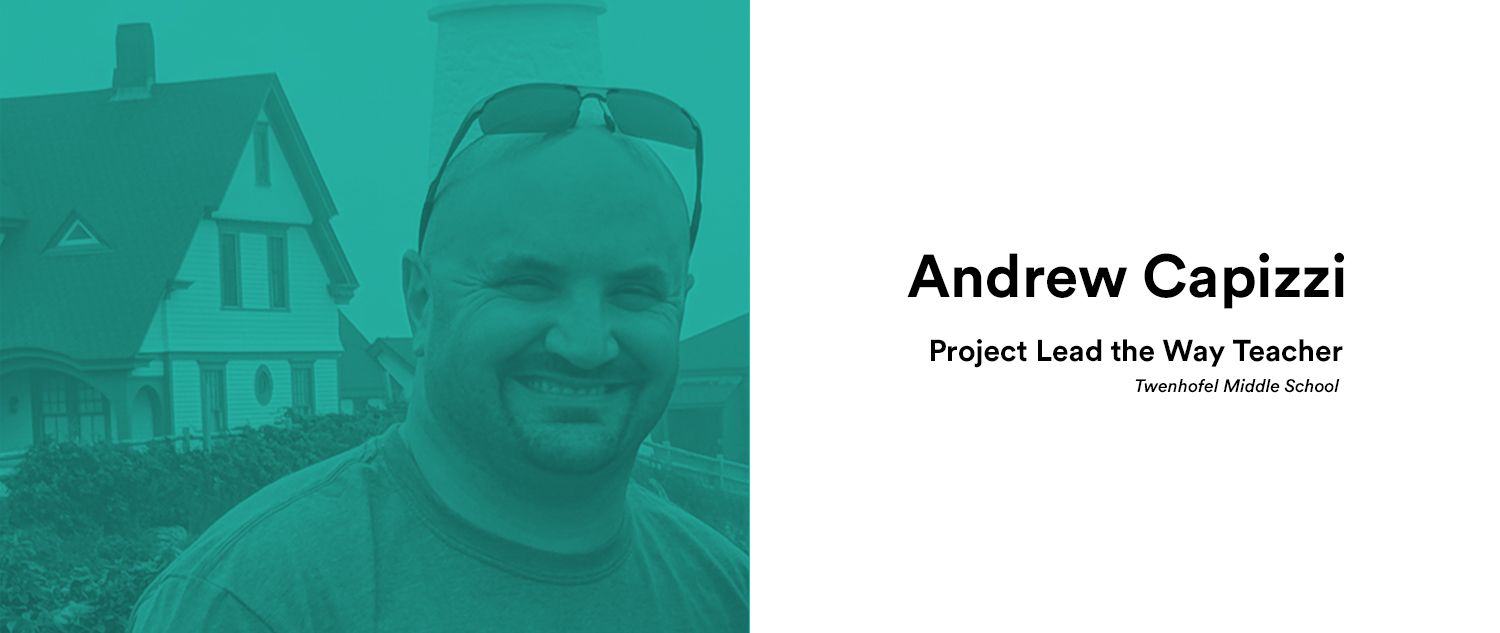
Today we are delighted to share with you an interview with our Pioneer teacher, Andrew Capizzi, who is a Project Lead the Way Teacher at Twenhofel Middle School in the US. Andrew recently taught the urban installation lesson to his 6th Graders and in the interview, we talk about their experience. Check it out below!
—
Hi Andrew, first of all can you provide us with some information about yourself and how 3D printing is used at your school?
I teach Project Lead The Way to 6-8th grade students using the Design & Modeling curriculum. We received our first 3D printer 3 years ago and currently have 2 printers. Prior to this year, I had my students design key chains, classroom hallpasses, and trinkety-type items on either AutoDesk Inventor or TinkerCAD. I found PrintLab over the summer and it matched up with my desire to include more content-specific design elements to my engineering class.
Can you tell us why you chose the urban installation project for your 6th grade class?
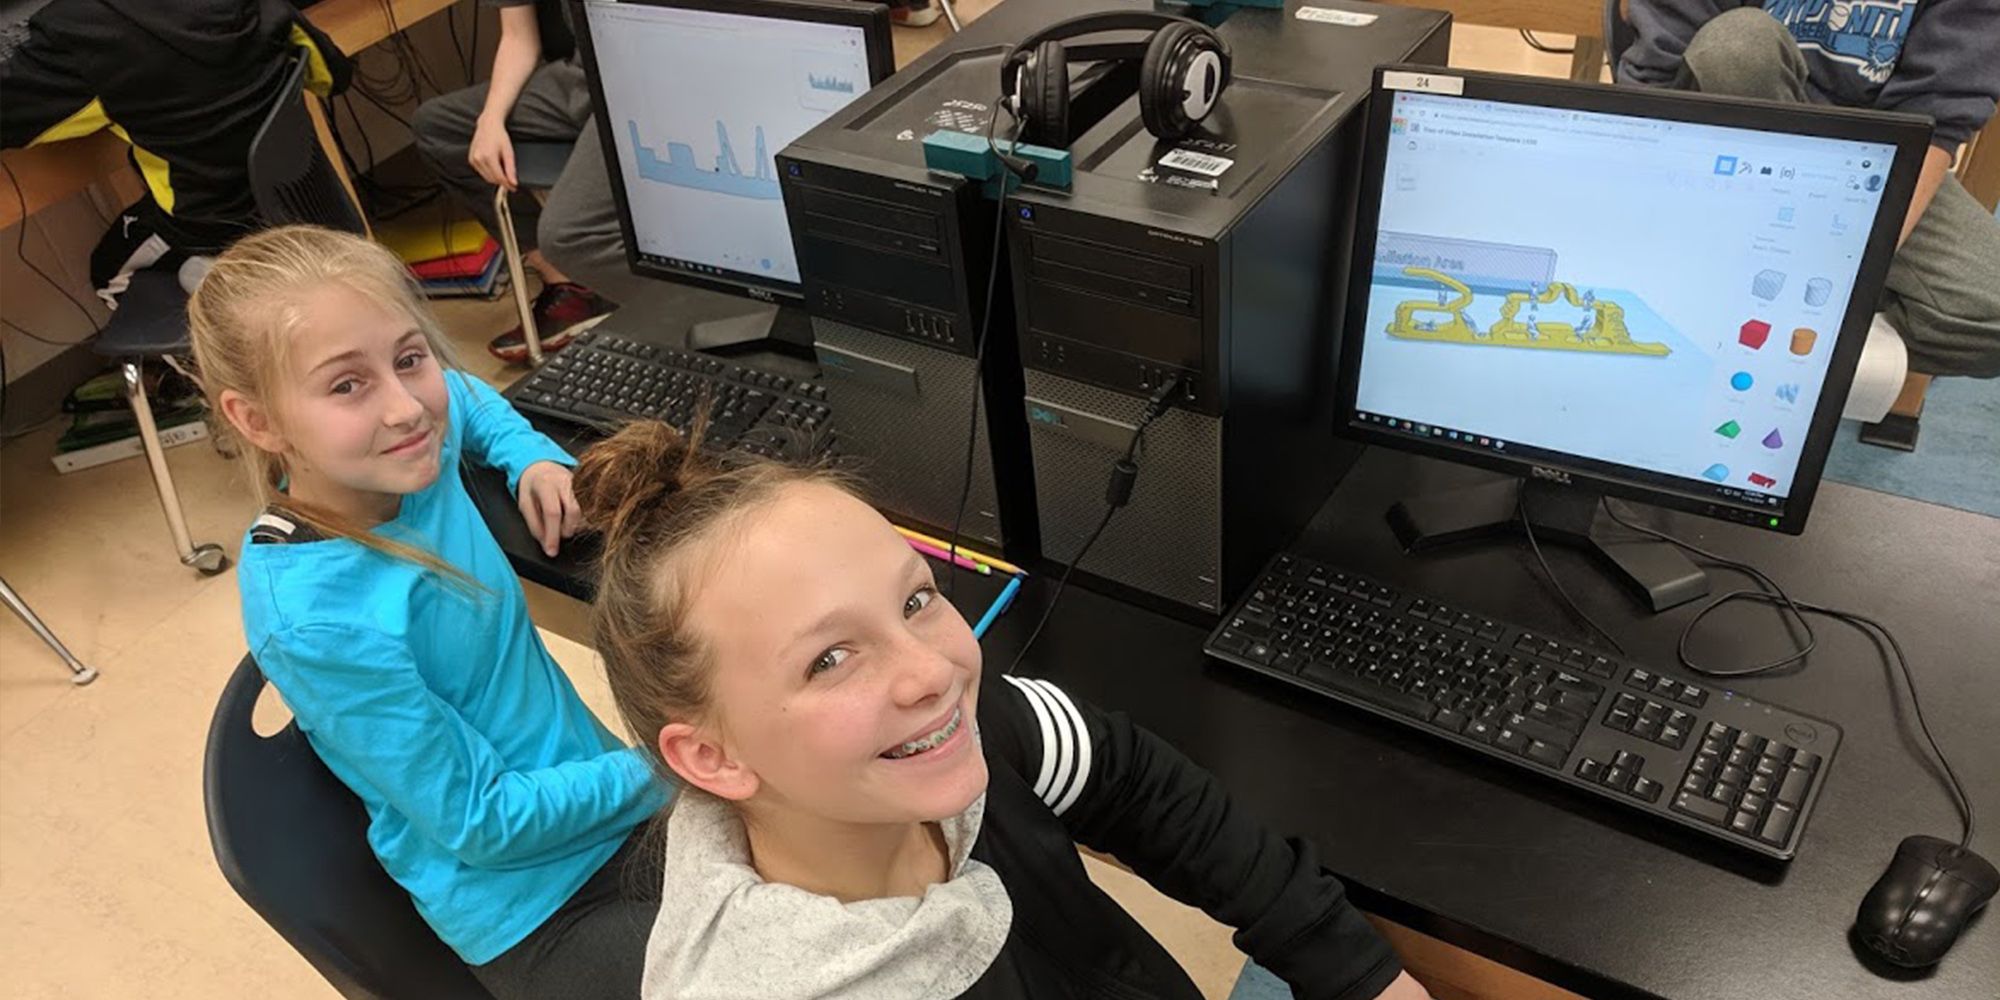
I was looking for a quick/simple lesson for my 6th graders to use TinkerCAD and be able to be able to 3D print before we moved onto coding. They had been playing around with the Scribble tool already, and figured that it would be an easy introduction. Our school is suburban/rural, but we are very close to several large downtown areas that an “Urban Installation” design would fit in with the current architecture style as well as serve a functional purpose to its citizens.
How did the students find the project and what did they learn?
What was supposed to be a quick two-day design project turned into a week. Students were interested in the different “modern”-style designs in and around larger cities. We discussed art, function, architecture, photo and selfie-worthy landmarks that these types of structures created. Some of my students wanted to design an Urban Installation outside of our school building by the car pick-up waiting area. Some wanted to include a structure at a nearby park. Others wanted to design a structure for locations that they have visited with family (New York City, overlooking the Statue of Liberty, etc.).
How did you find the project as a teacher?
The written directions and student workbooks, along with the step-by-step video tutorials using TinkerCAD to create the parts for the project are extremely helpful for both myself as the teacher and my students. I started 3D modeling using AutoDesk Inventor, but have forced myself to dive into TinkerCAD.
What can we expect to see next from your school in terms of 3D printing?
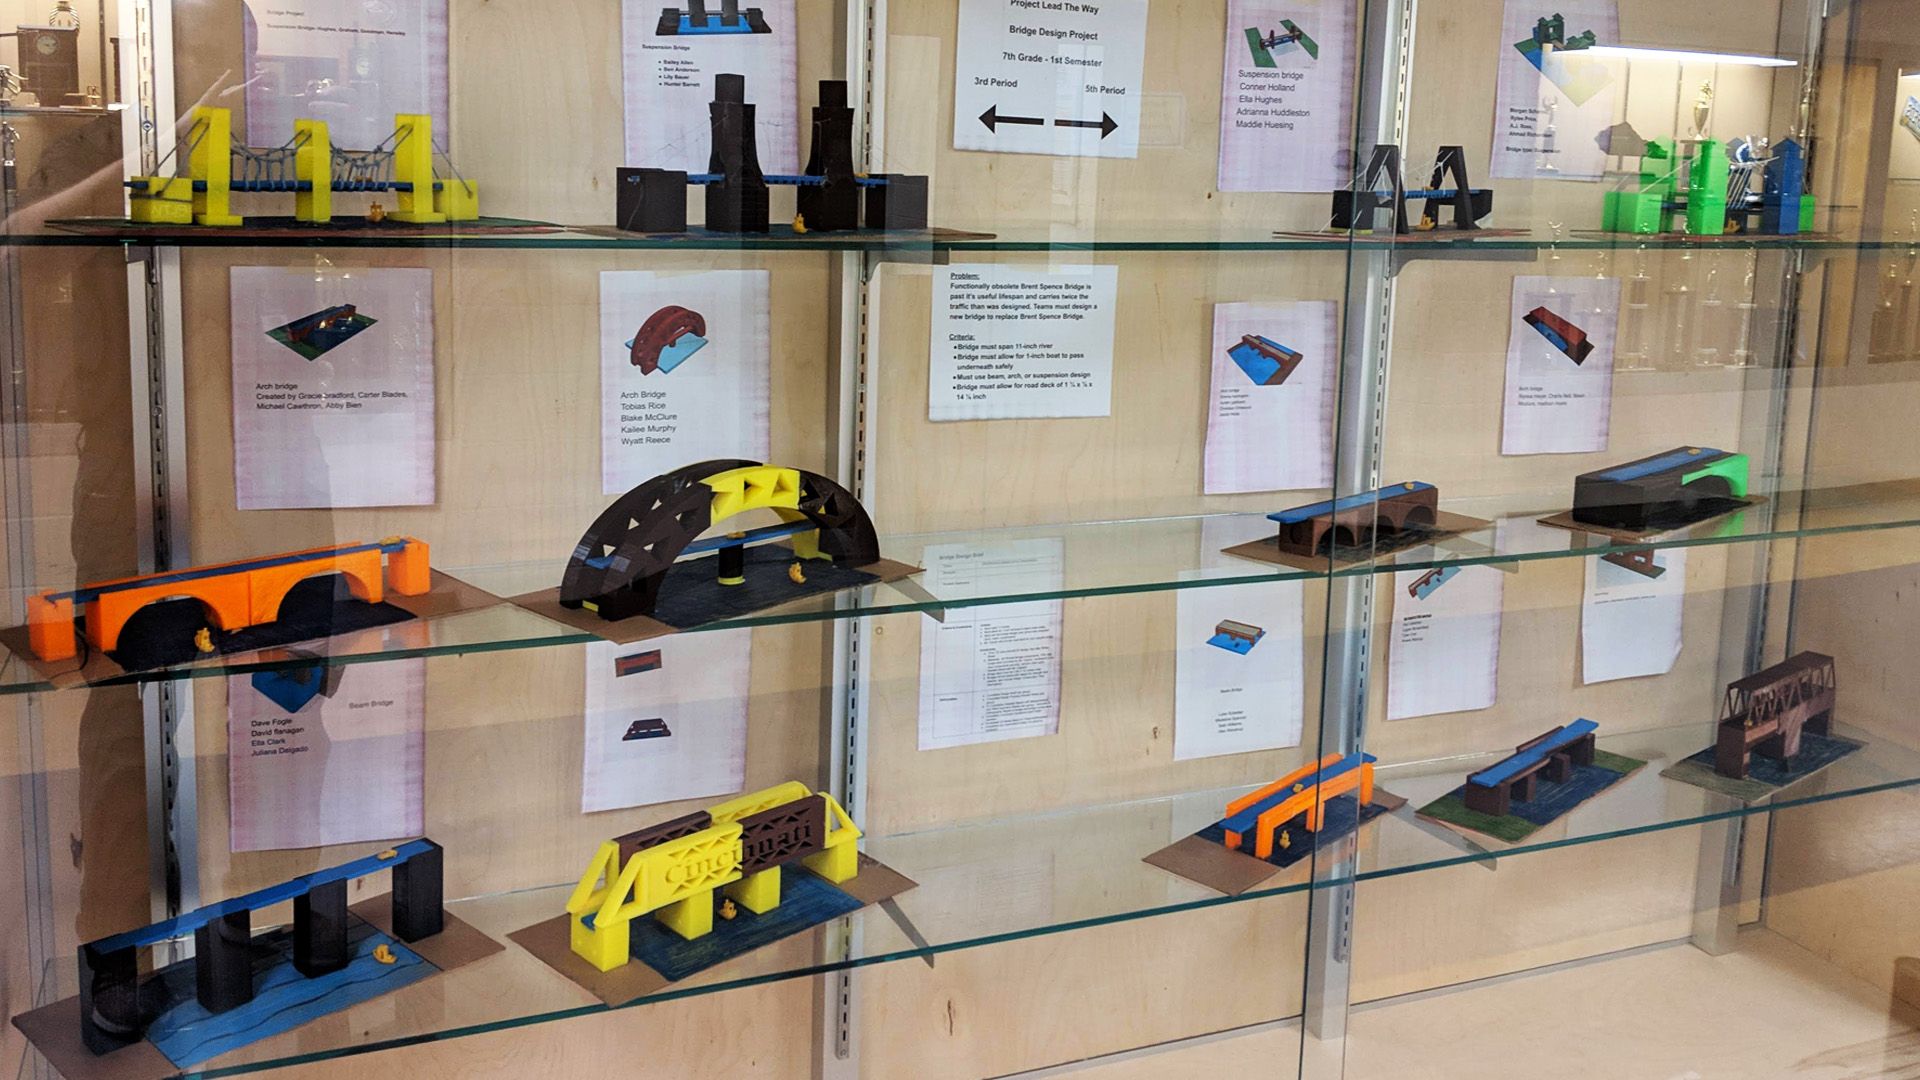
I am currently using the PrintLab bridge lesson and modifying it to include a suspension bridge, arch bridge, and beam bridge. My students are working in groups of four and were assigned a bridge type. Their goal is to design a bridge to replace an existing, deteriorating bridge that crosses the Ohio River from Covington, KY to Cincinnati, OH.
—
A big thank you to Andrew and his students for sharing their experience with us. We look forward to following their journey throughout 2019! We’ll finish up with a short video about the ‘Design an Urban Installation’ project and if you’d like to learn more about PrintLab, check out our free trial here!