Designing Whistles at The Anglo-American School of Sofia
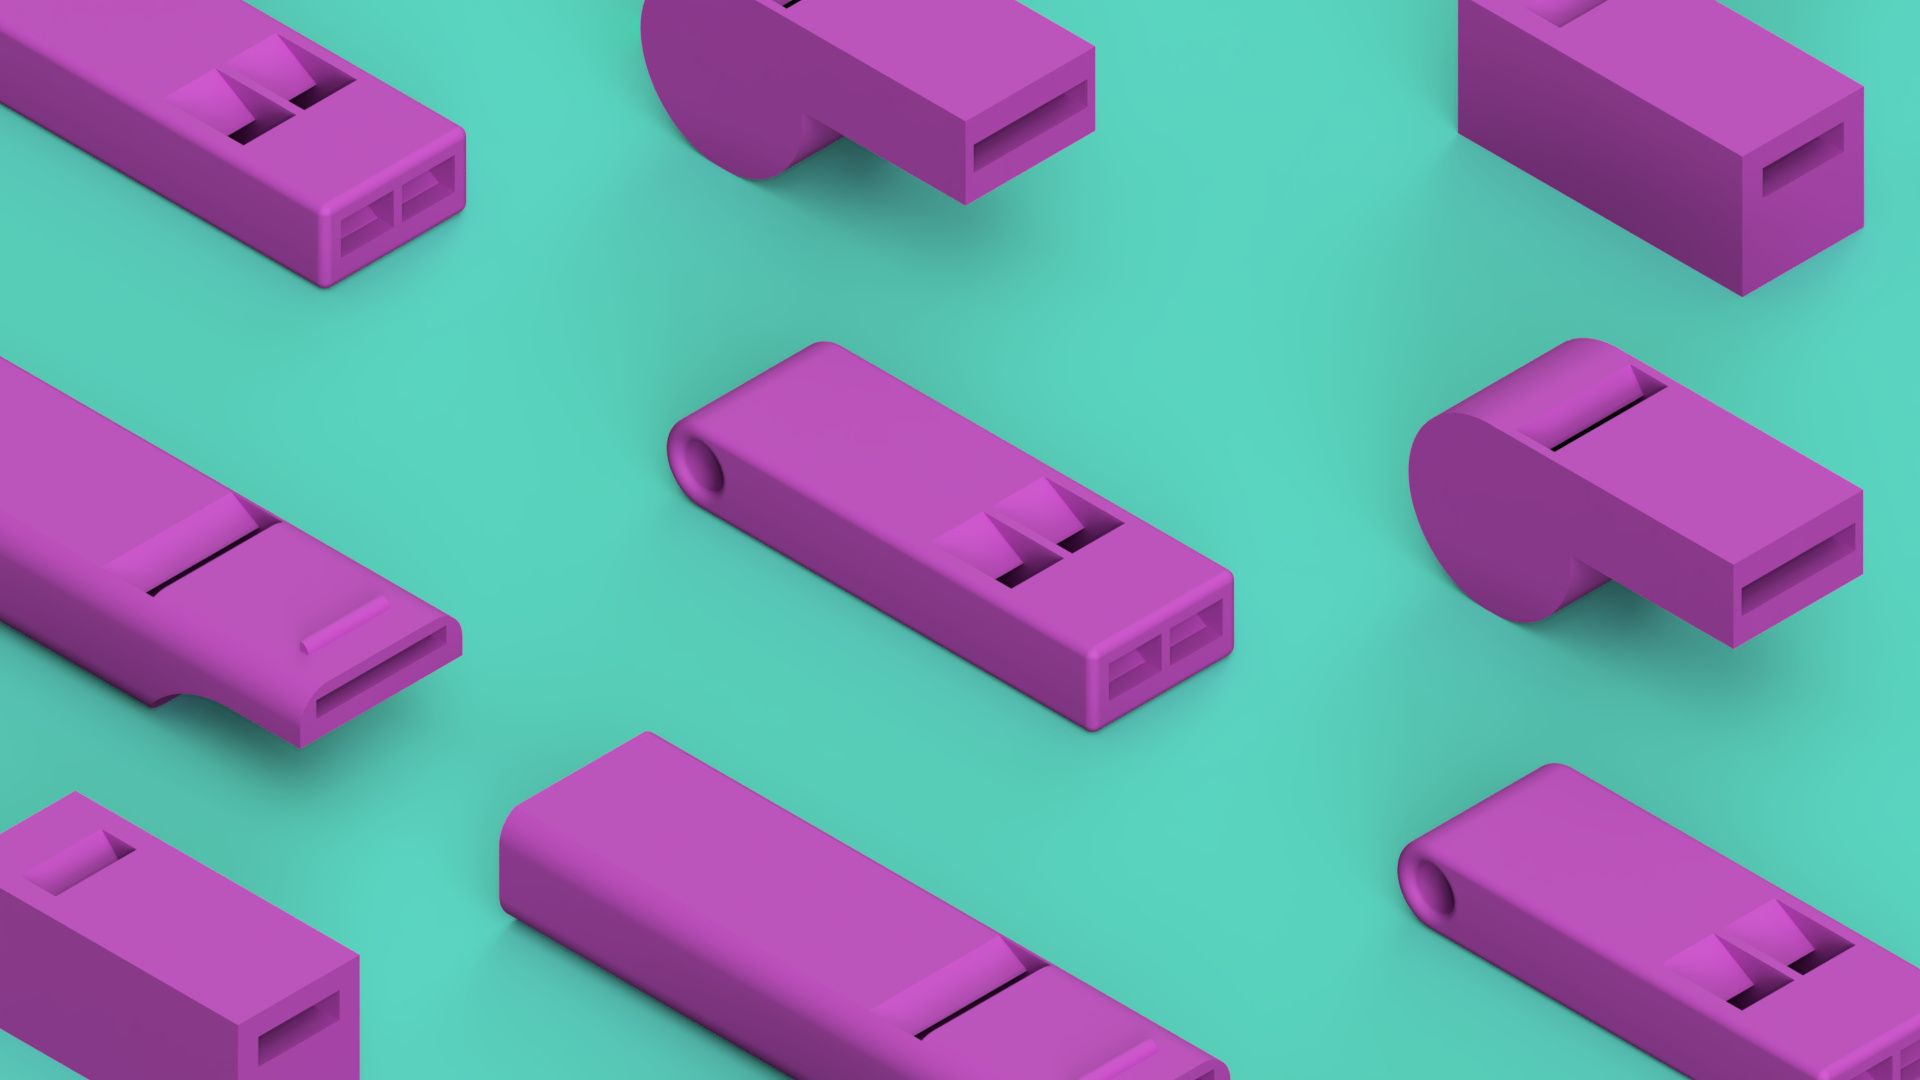
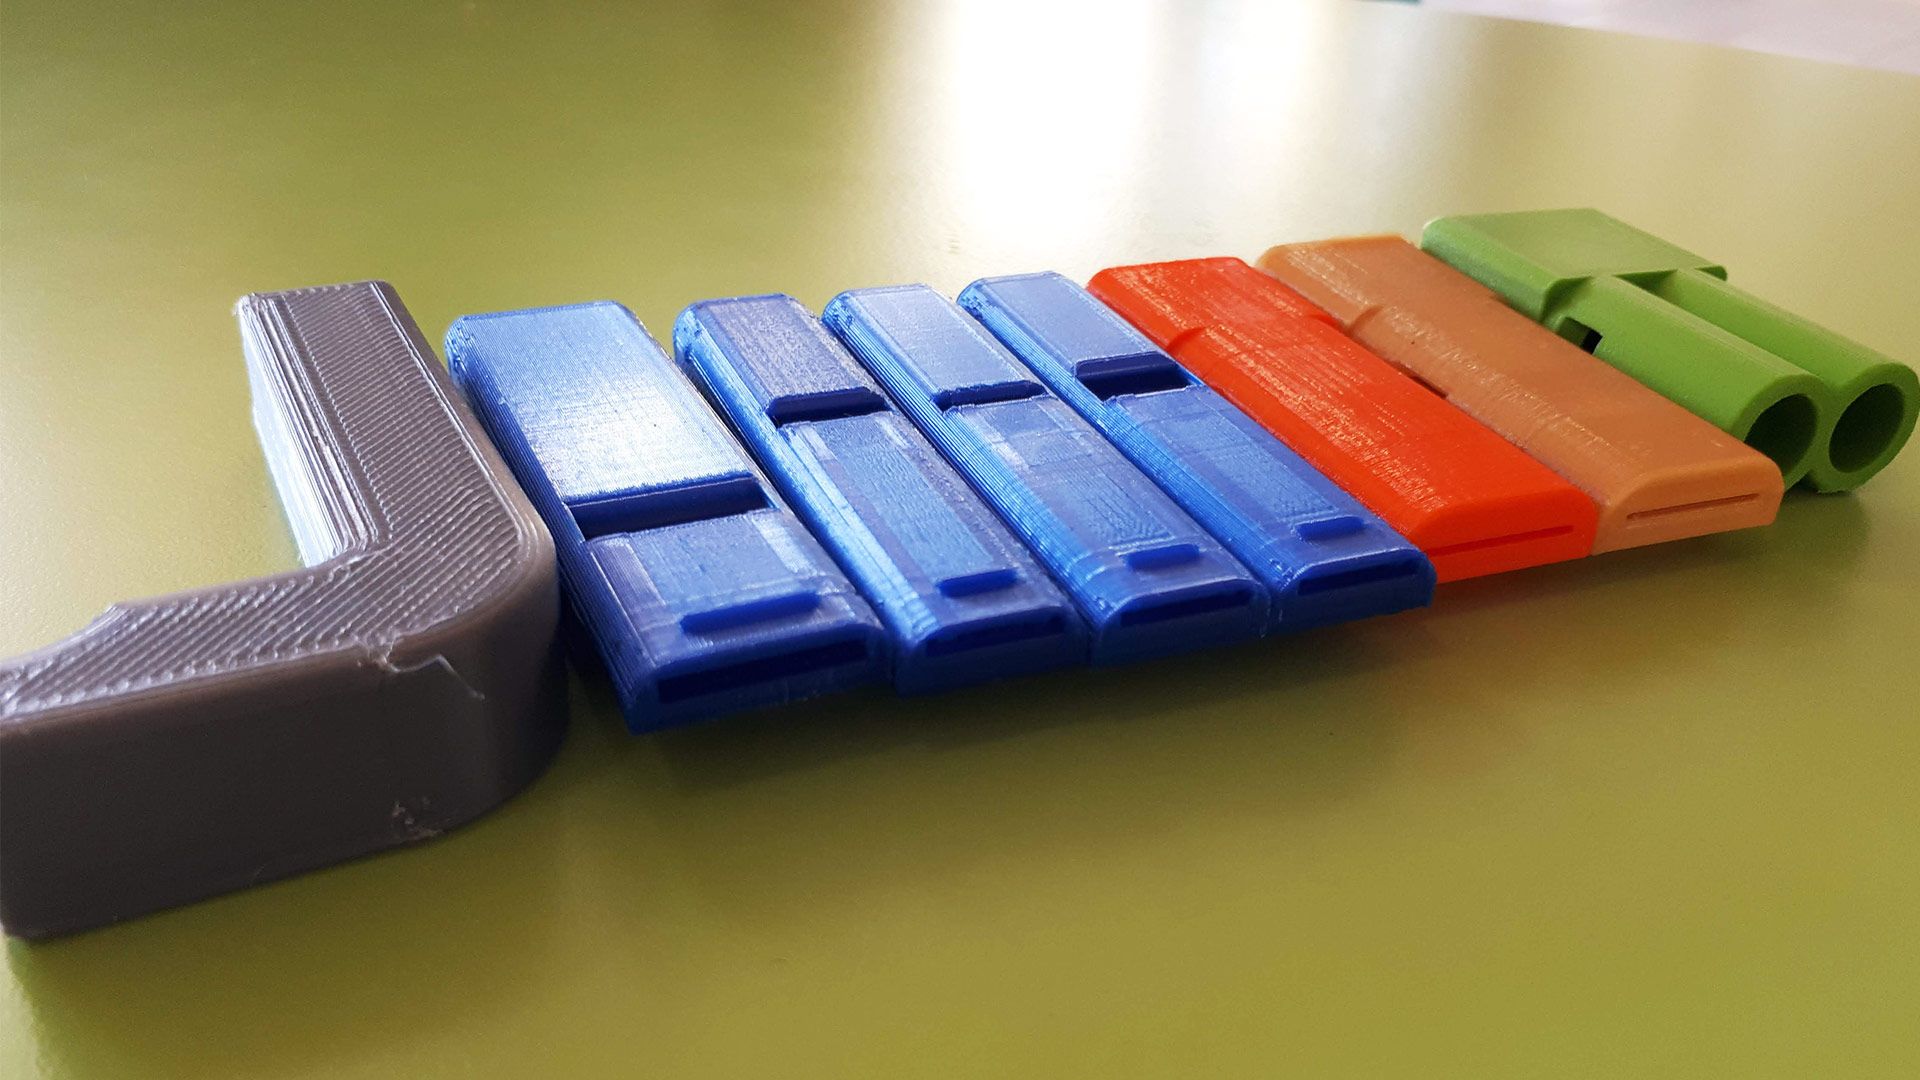
Since integrating Fusion 360 tutorials into our platform, we've had some amazing feedback and today we'd like to share a fantastic case study with you! Students from The Anglo-American School of Sofia, Bulgaria, recently participated in our 'Design your own Whistle' lesson and we sat down with teacher Linda Dimitrov to discuss her experience. The project is based on students designing and 3D printing a functional whistle for the sports department of their school. Check out the interview with Linda below.

30th January 2020 • Case Studies
Hi Linda, thank you for taking the time to speak with us today. Firstly, could you tell everyone a little about yourself and how you got involved with 3D printing?
Over the past thirty years I have continuously found myself engaged in technology use in the classroom – but most of that work had been flat or 2D. Over the past five years I’ve felt the call of the maker movement. Moving into 3D was exciting as students design something on a screen and the printer creates it. I got involved with 3D printing as part of a Makerspace elective that I taught. This course has now evolved into a developing Design & Technology program at our school.

How is 3D printing used at your school? And why do you think it is important for young people to be learning about 3D printing?
Currently 3D printing is used as part of the Design & Technology electives and also as part of project work with the science department. I believe that learning about 3D printing is valuable as students see a direct connection between what they have designed and what is built. Mathematics suddenly becomes very real and tangible. Additionally students are able to explore and prototype quite easily and employ those solutions to the challenges they are grappling with.
It was great to see that you chose our ‘Design your own Whistle’ project to teach recently. Can you tell us how this project fits into your curriculum and why you chose it?
Basically the Design your own Whistle project was an introductory unit. It appealed to me to use with my students as there was a direct link to hands on exploration of some physics while learning the Fusion 360 software and also the basics of printing and slicing. The layer of aesthetics and usefulness in design was another tangent that some students chose to explore.

We were extremely impressed with the work of your students. How did they find the project and what did they learn?
In the classes that engaged in this project, there is a wide range of experience with 3D design and printing so in addition to learning some basic Fusion 360 skills and some information about how whistles work, each student took away something slightly different. Many students had never touched Fusion 360 before so they really benefited from the videos that they could replay until they learned the technique.

How did you find the project as a teacher? If you ran the project again, what would you do differently?
The lessons you provided were extremely easy to use and as a result I was able to spend most of my time consulting and coaching the students through their explorations. Next year, I will endeavour to provide a more structured approach to getting the PE department to testing and giving feedback about prototypes. One important facet to consider here is that to do so, the testing and feedback giving needs to be easy for the PE teachers. The whistles will need to be connected to a lanyard or cord – that is design factor I would spend more time on.

What can we expect to see next from your school in terms of 3D printing?
Currently the students are engaged in a compressed air rocket project where they are designing nose cones and fins. The fins caught student interest and we learned a few things about the various shapes of fins and air foils which prompted some great experimentation with champfering, filleting and finally lofting.
What advice would you give to teachers looking to get started with 3D printing?
Dive in and play. Watch the PrintLab 3D printing basics course. Print the sample .STL files provided in the course to get a feel for how your printer works. I found that the first year, I spent a lot of time learning how to manage the printer to work really well and that just meant having fun with the problem solving aspect (and patience). Let kids who have experience lead some of the way. I learned loads from my students who have printers at home. I’d also suggest planning your software pathway. I start younger students and beginners with TinkerCad and then move them on to Fusion 360.
—
A huge thank you to Linda and her students for sharing their experience with us. If you’re a teacher interested in 3D printing and Fusion 360, we’re offering a free trial to PrintLab that can be accessed here.
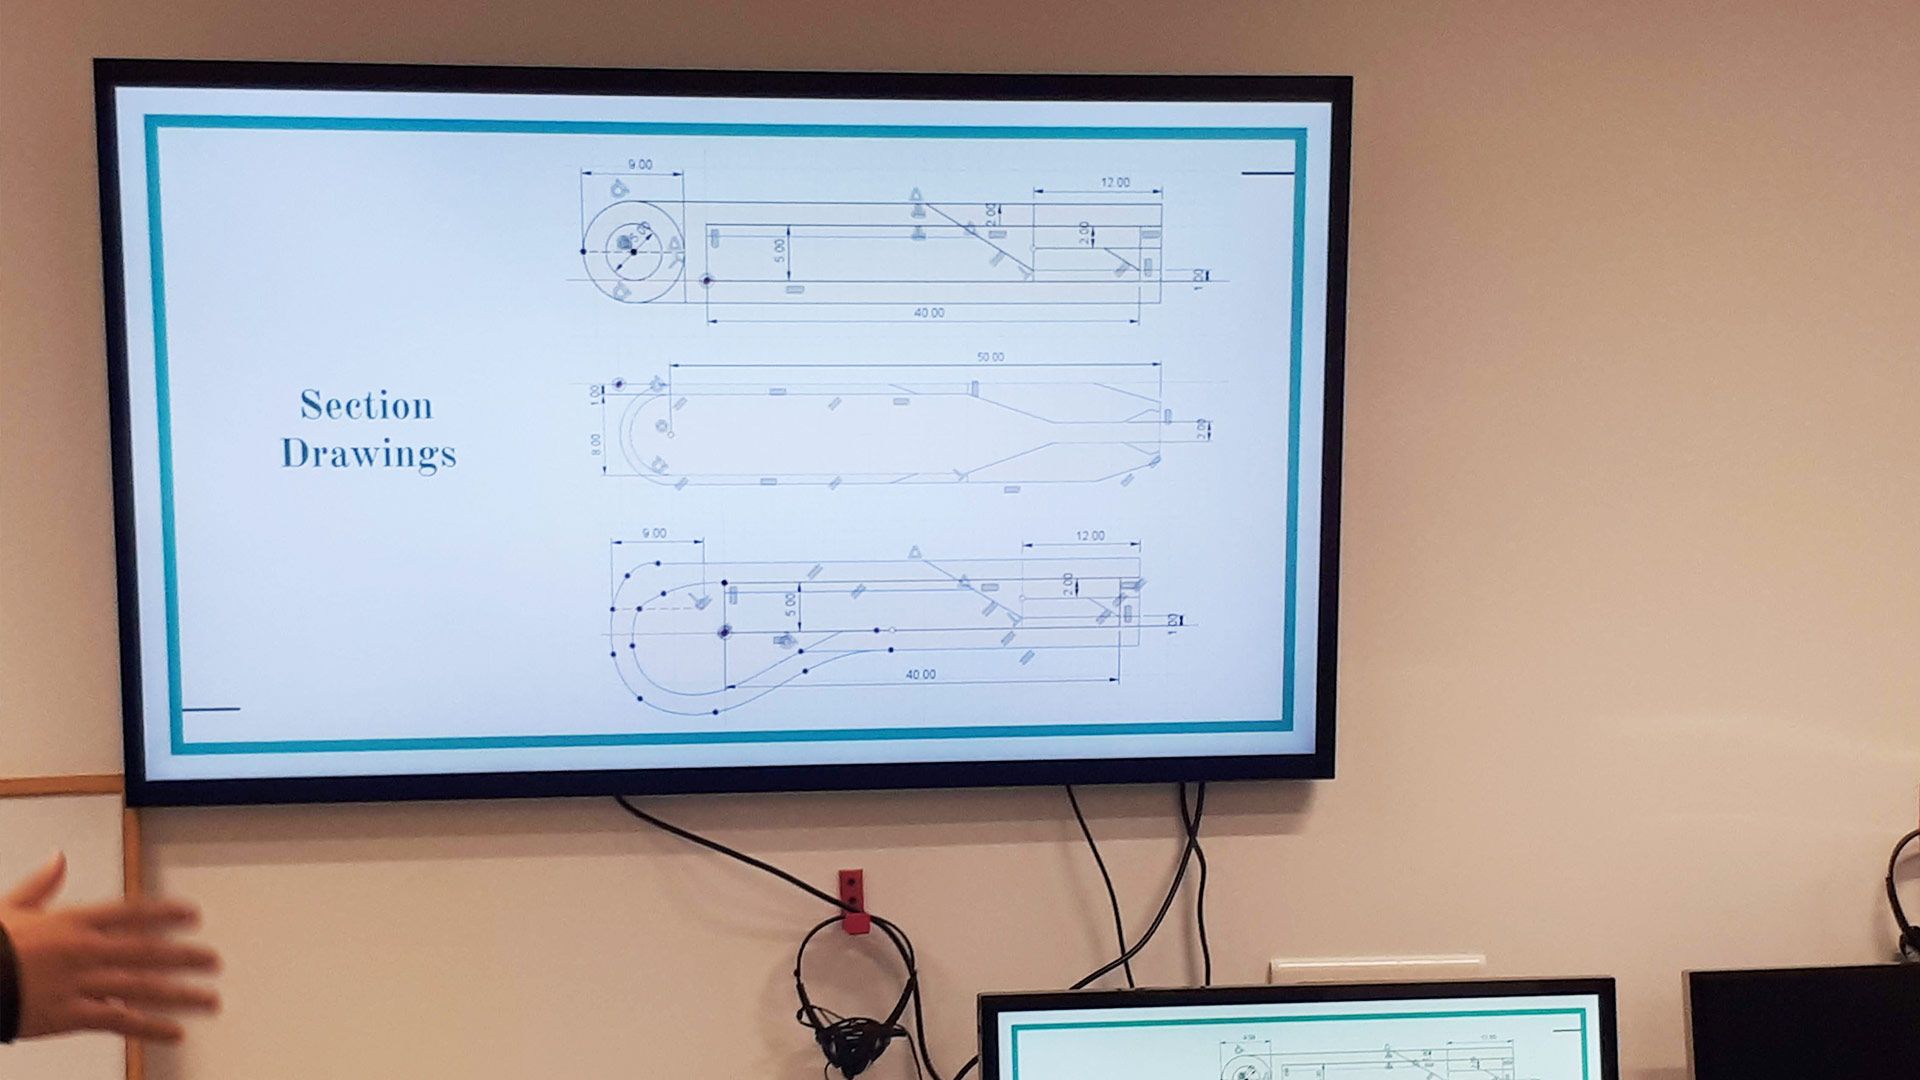
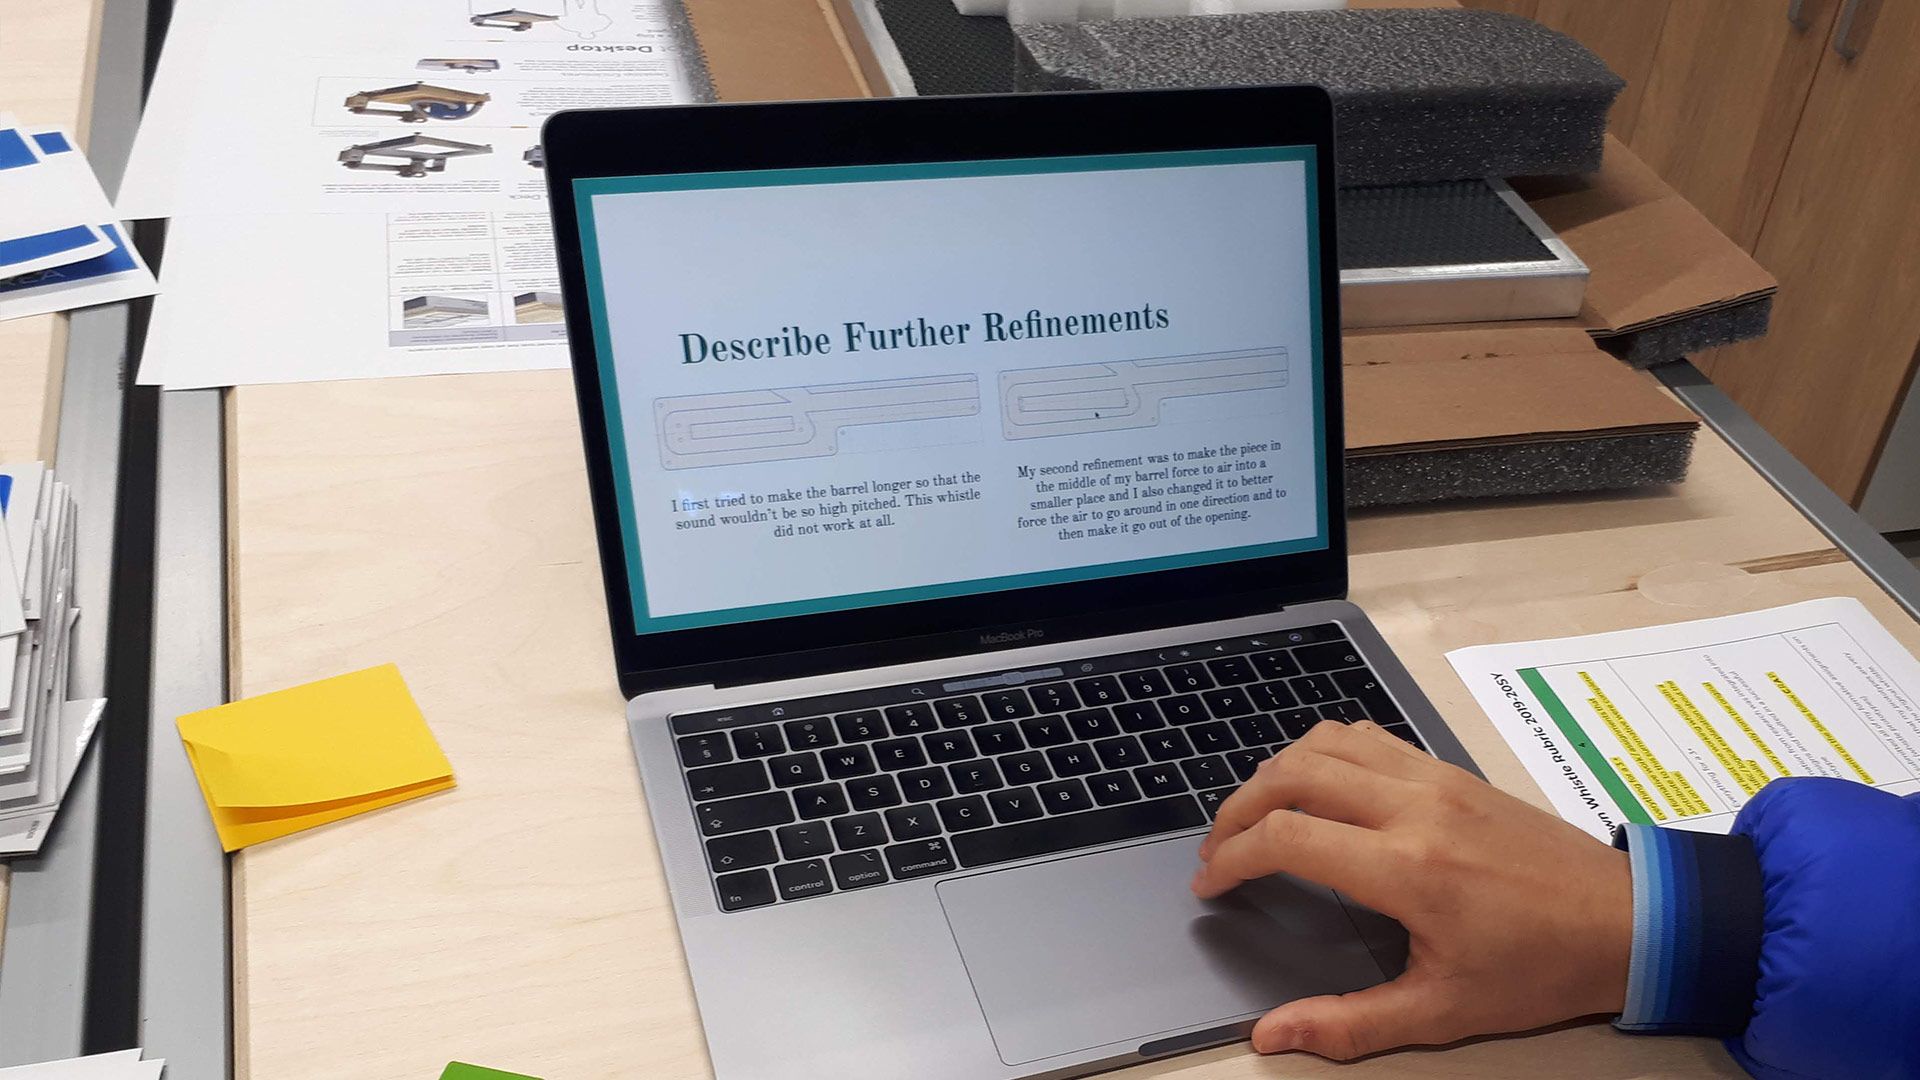
And finally, we’d like to finish up by showing you a series of student presentations from the project: