Exploring Mars with Tinkercad and 3D Printing
At PrintLab, we don’t just love seeing teachers use our curriculum—we especially love when they adapt and build on it, bringing their own creativity to shape meaningful learning experiences for students. Today, we’re thrilled to welcome Ron Nober to the blog. Ron recently guided his students through an exciting Mars exploration project using Tinkercad and 3D printing, and he’s kindly offered to share the journey with the PrintLab community. Over to Ron!
26th March 2025 • Case Studies
Mars has fascinated people for thousands of years and for centuries, people have written stories, imagined life beyond Earth, and dreamed of exploring the Red Planet. Now, that dream is closer than ever to becoming reality.
Hi, I’m Ron Nober, a Technology/STEAM teacher from Southampton, New Jersey, USA. I teach grades 3-8 and have been incorporating 3D printing into my classroom since 2017. I’ve found it to be one of the most effective ways to engage students in engineering, design thinking, and embracing failure as part of the learning process.

Printlab has invited me to share a 5th-grade unit I teach on Mars exploration, where students use Tinkercad and 3D printing to bring their ideas to life.
The Spark of an Idea
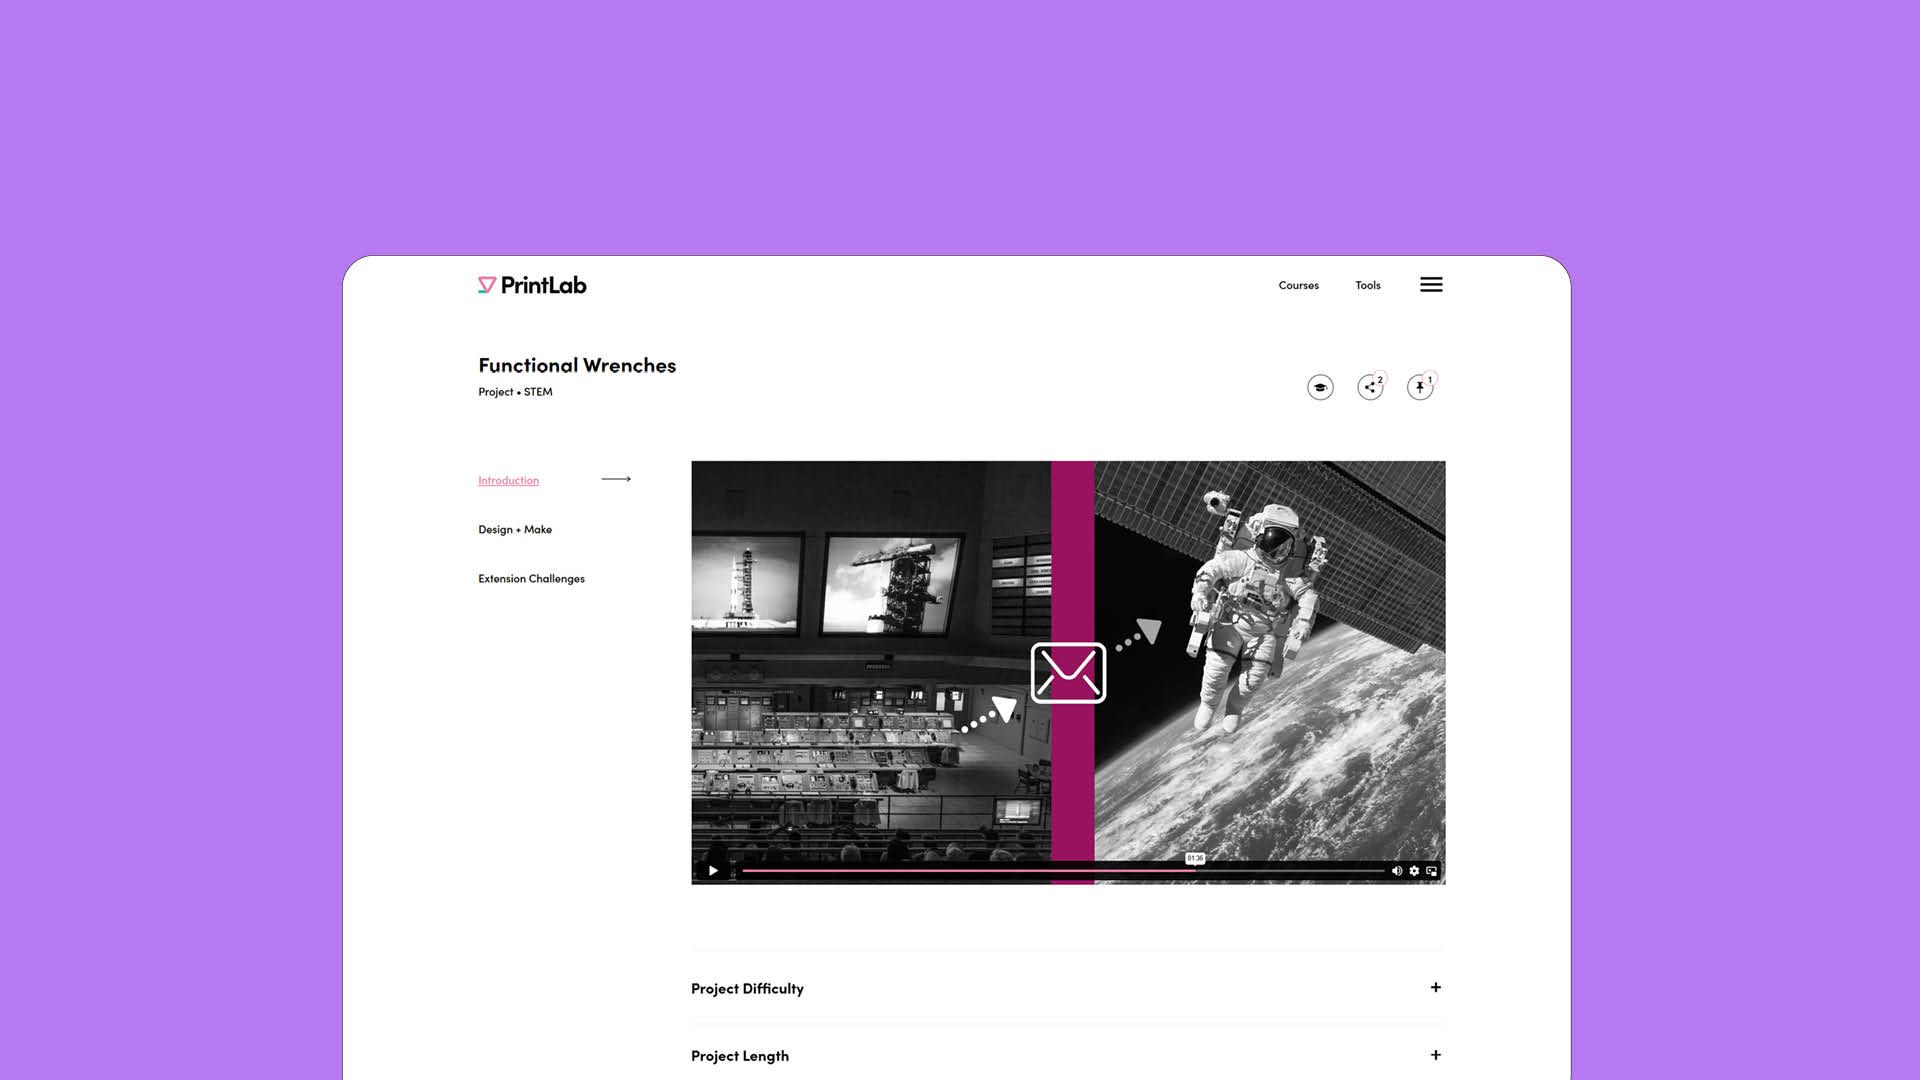
While looking for a way to bring 3D printing into my 5th-grade classroom, I came across PrintLab’s lesson on designing a functional 3D-printed wrench. It immediately caught my attention because it incorporates all aspects of STEAM. But what really sparked an idea for a larger unit was a discussion at the end of the introduction video about NASA using 3D printers in space exploration.
That led me to design an entire unit centered around Mars exploration and 3D printing. In this unit, students are introduced to Mars, tackle the challenges of packing for a mission, explore what it takes to land safely on the Red Planet, and discover how and why 3D printing can be used to create essential tools for space travel.
Phase 1: Learning About Mars
In the first phase of the project, students dive into learning about Mars—its distance from Earth, why it’s called the Red Planet, its extreme temperatures, rugged terrain, gravity, and atmosphere. To make this lesson engaging, I use Curipod along with videos and interesting facts to bring Mars to life.
One of the highlights of this phase is when students calculate their weight on Mars. Then they discuss the challenges astronauts would face, from the harsh environment to the length of the journey which leads to a lively debate about whether the cost and risks of Mars exploration are truly worth it—always an interesting conversation!
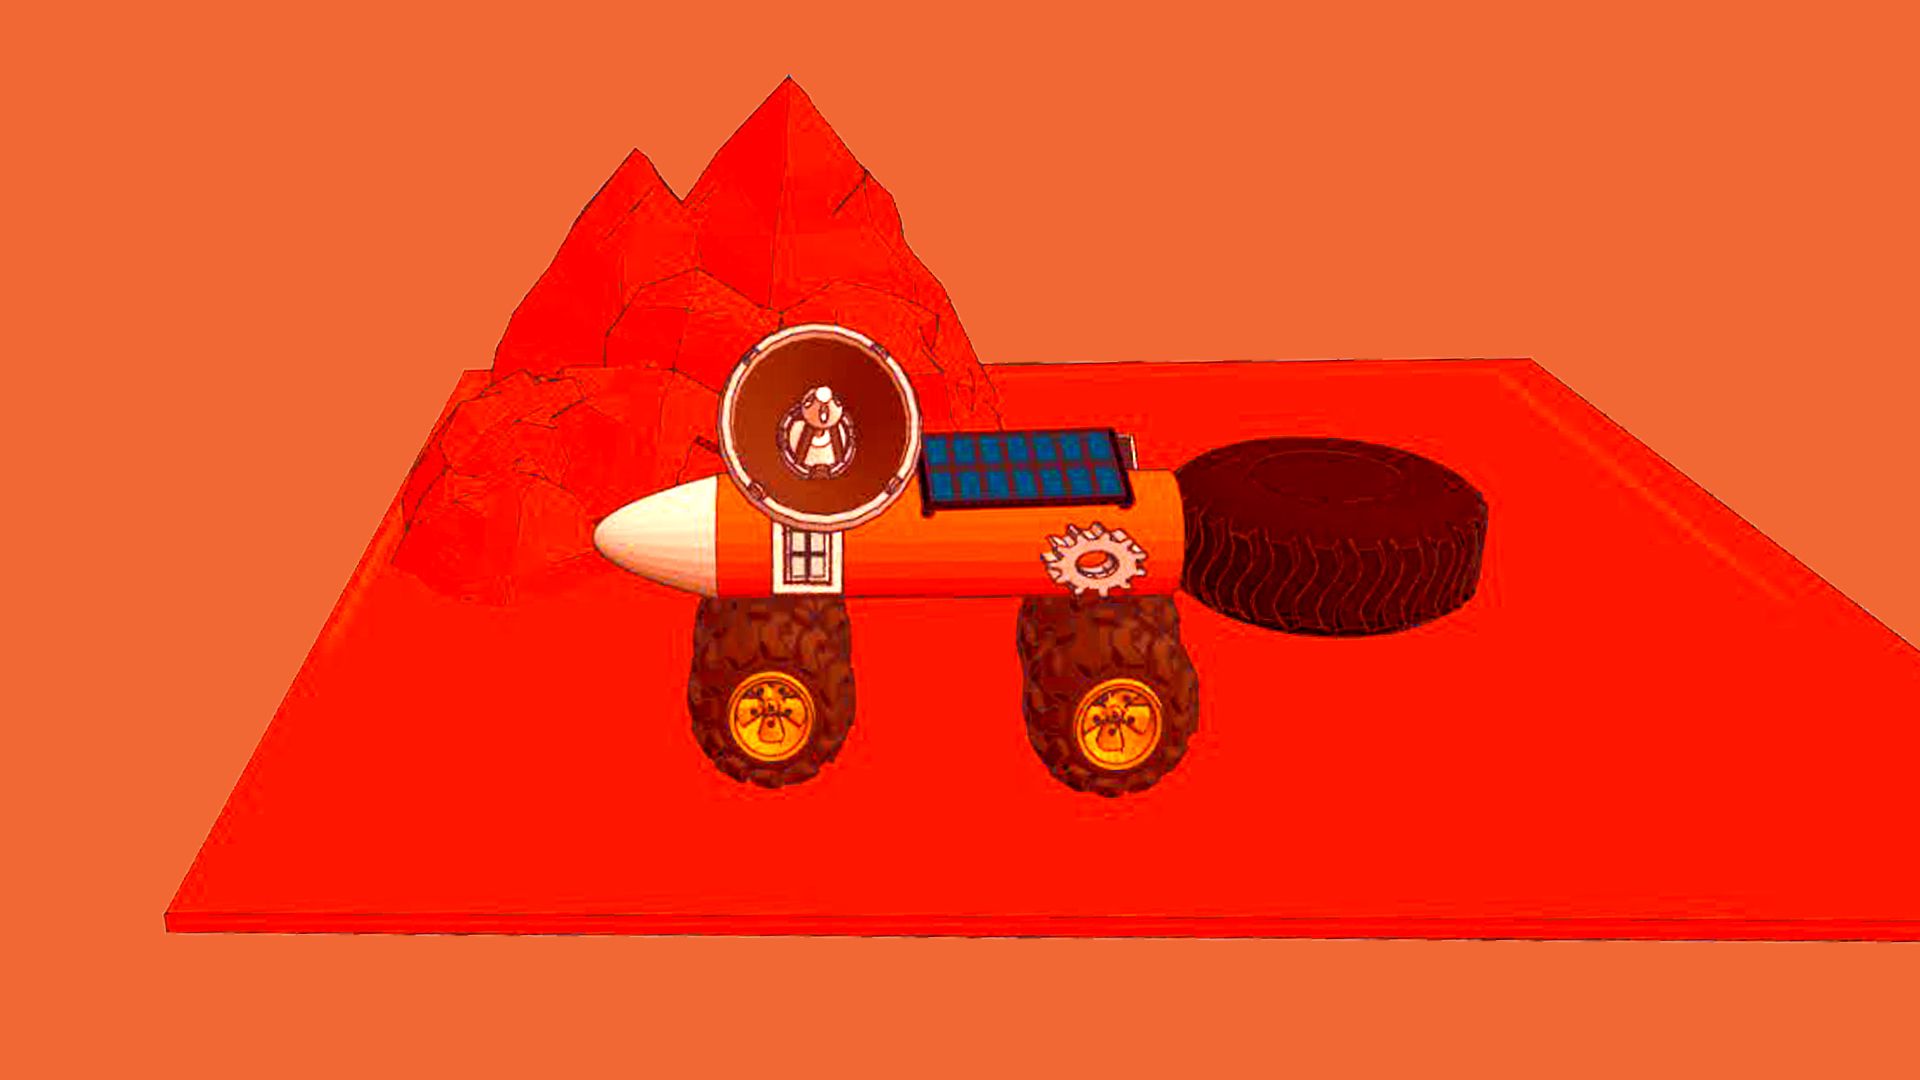
Finally, students take on their first design challenge: using Tinkercad to create a habitat or vehicle for Mars. This activity not only introduces them to 3D design but also reinforces that Tinkercad can be a powerful tool for conceptualizing ideas—even when nothing is physically printed.
Phase 2: Packing for Mars
During the packing phase, I adapted NASA’s “Humans Landing on the Moon” project to fit our Mars exploration. The challenge begins with students identifying some critical supplies for their mission, they’re given a list of 12 possible items and, using their understanding of human needs and the Martian environment, they must individually select the seven they believe to be most essential. Once individual selections have been made, they come together in a team to negotiate and finalize their choices. This sparks great discussions, strategy-building, and active listening as they justify their selections. To wrap up this portion, teams are scored based on how well their final choices align with NASA’s suggested priority items.
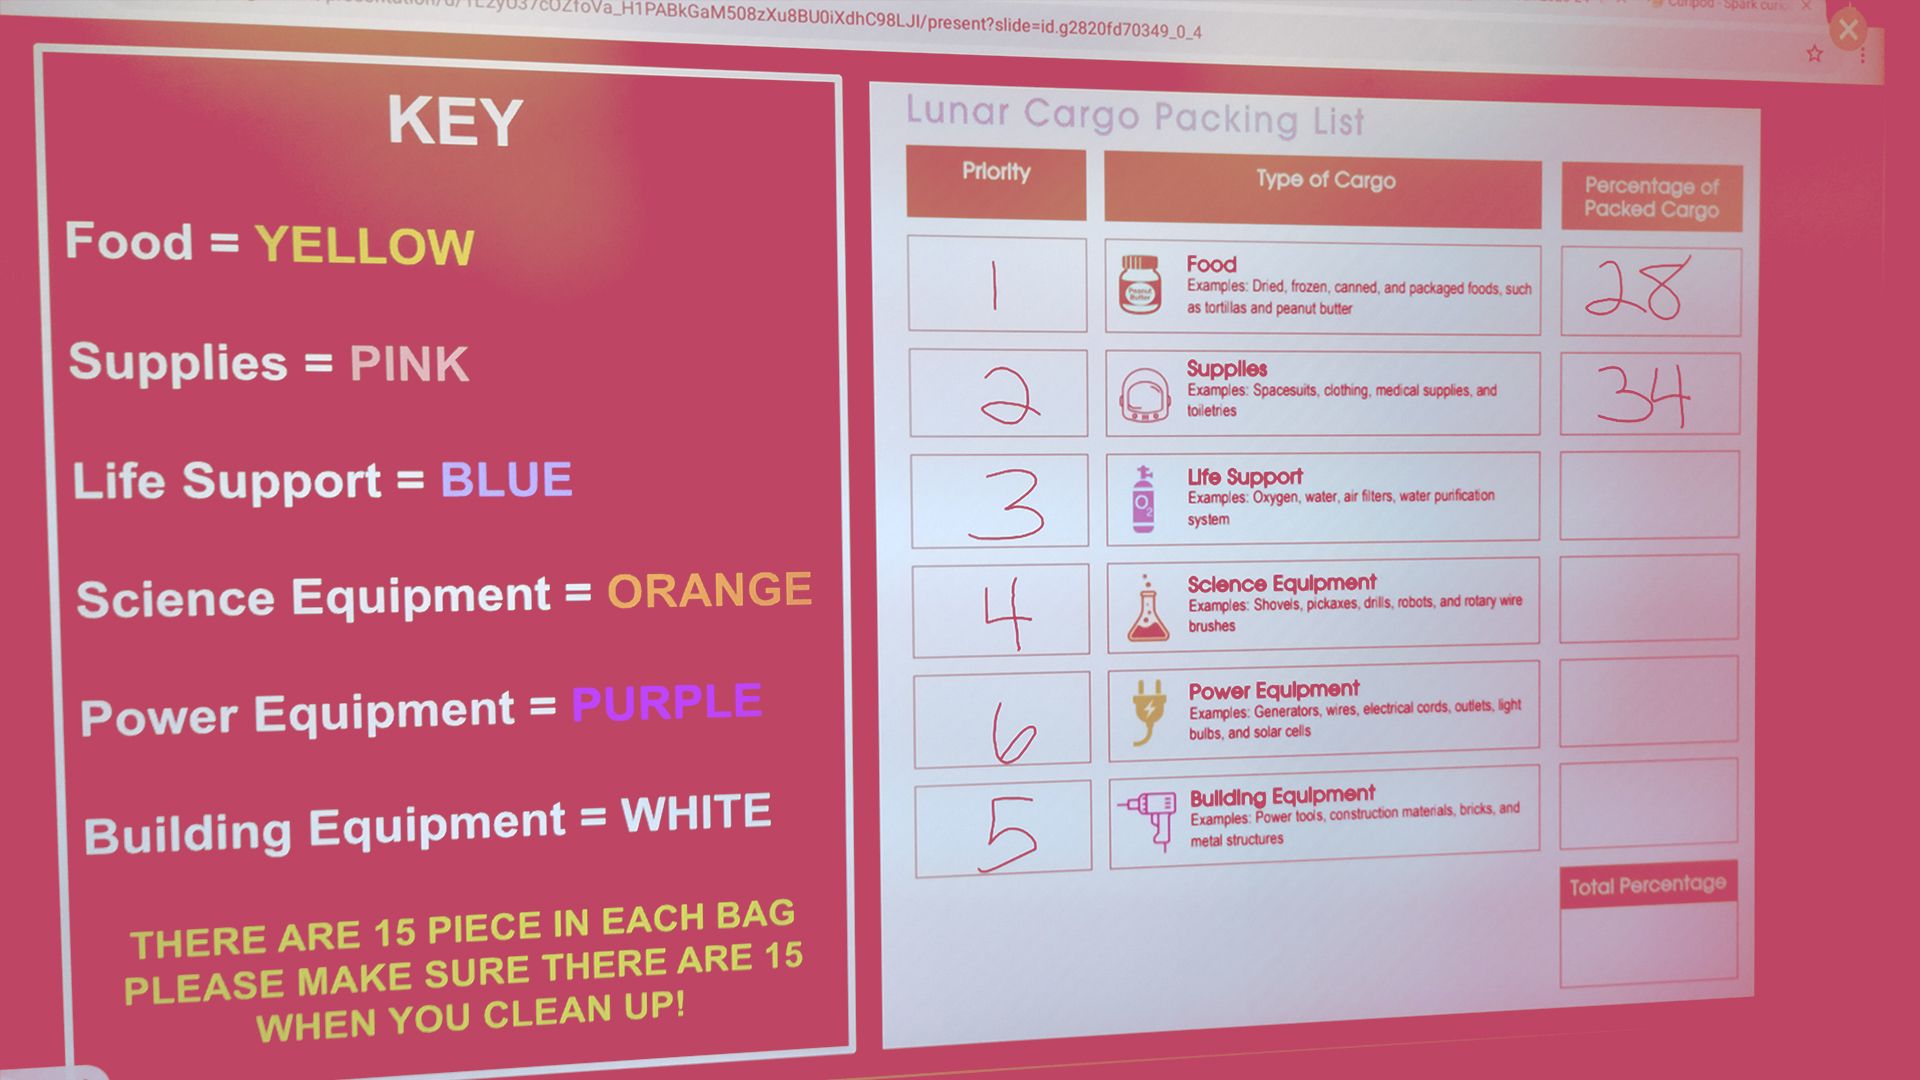
With supplies chosen, it’s time to figure out how to pack everything efficiently. In their teams, students determine what percentage of their cargo hold will be allocated to different categories—food, supplies, life support, science equipment, power equipment, and building materials and plan out what percentage of the cargo hold will be allocated to each.
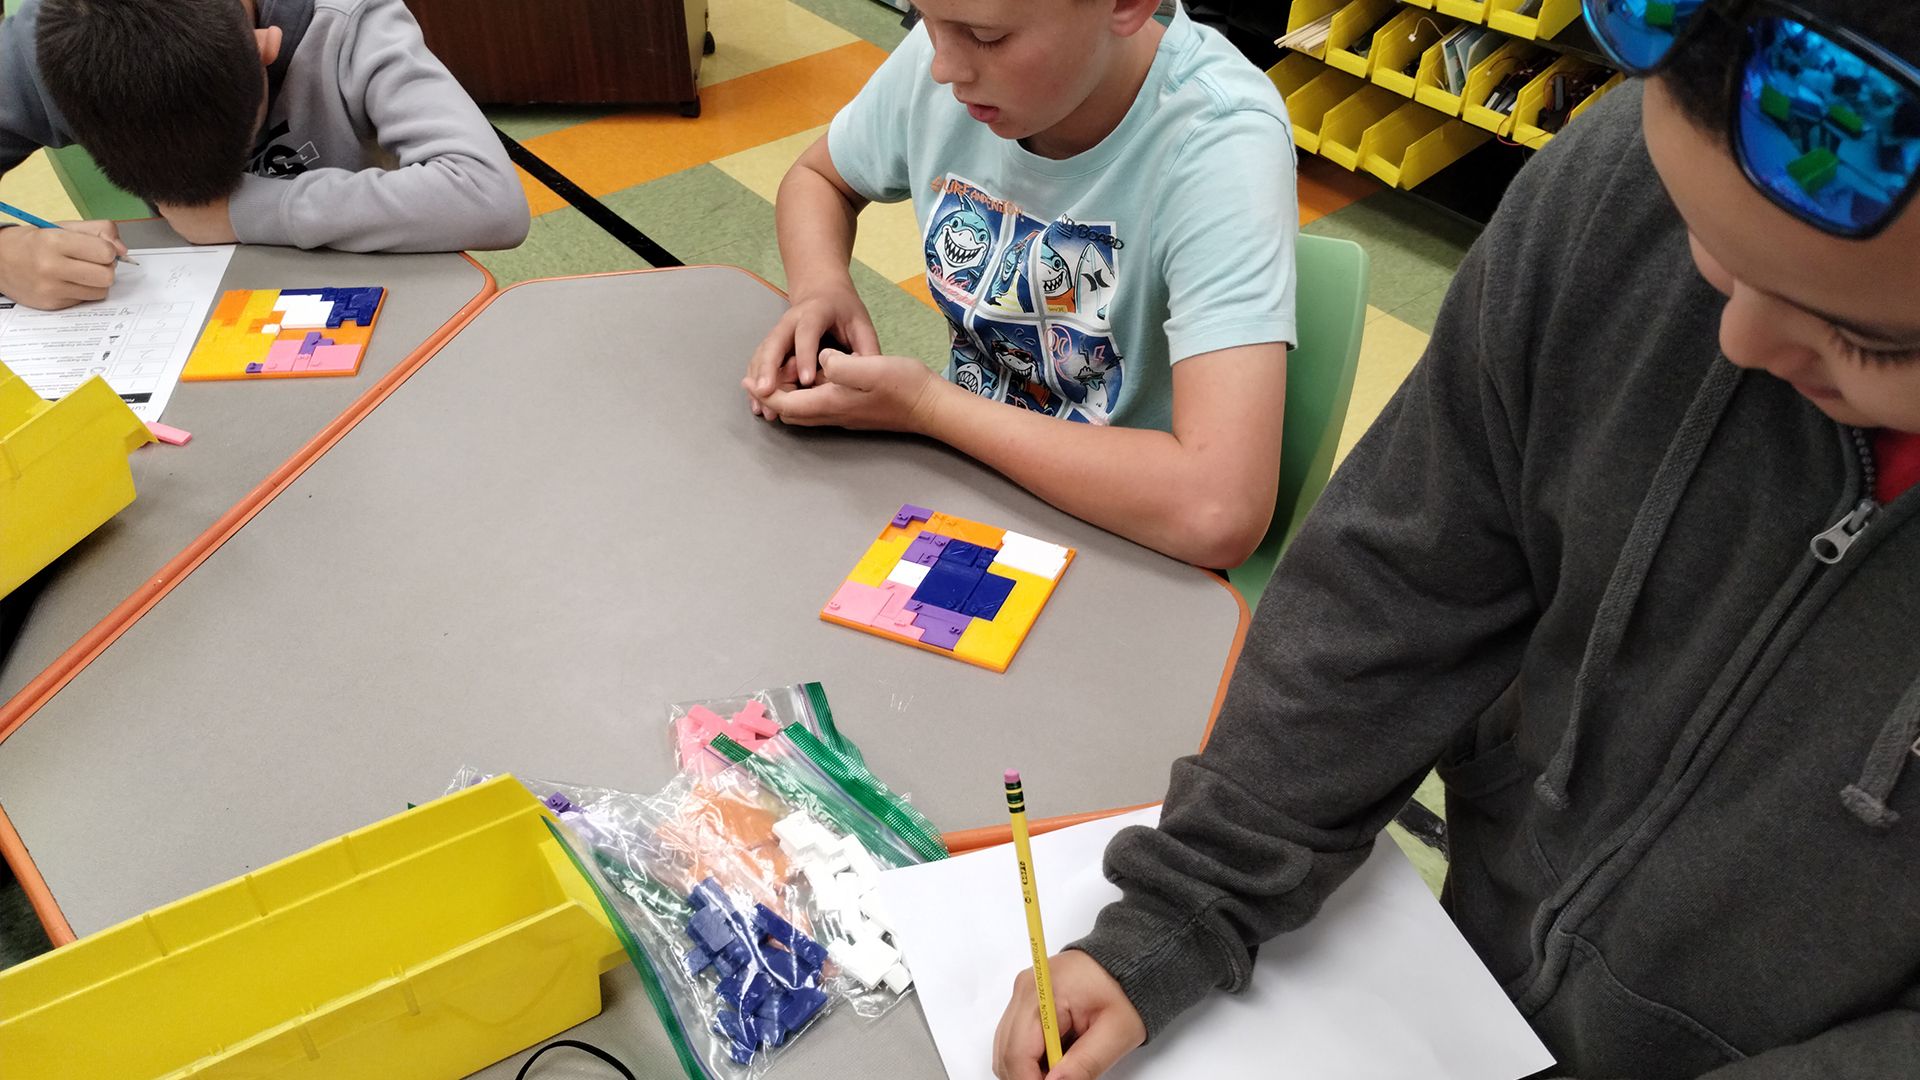
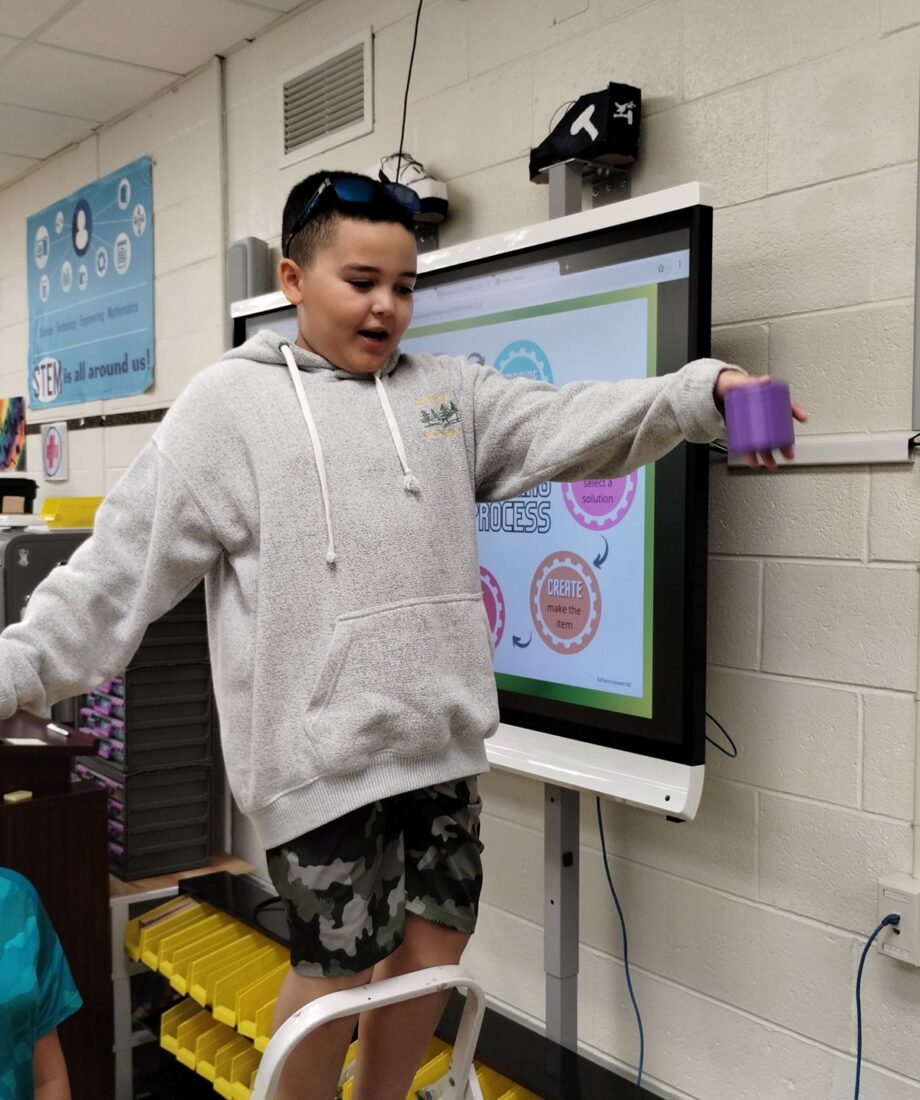
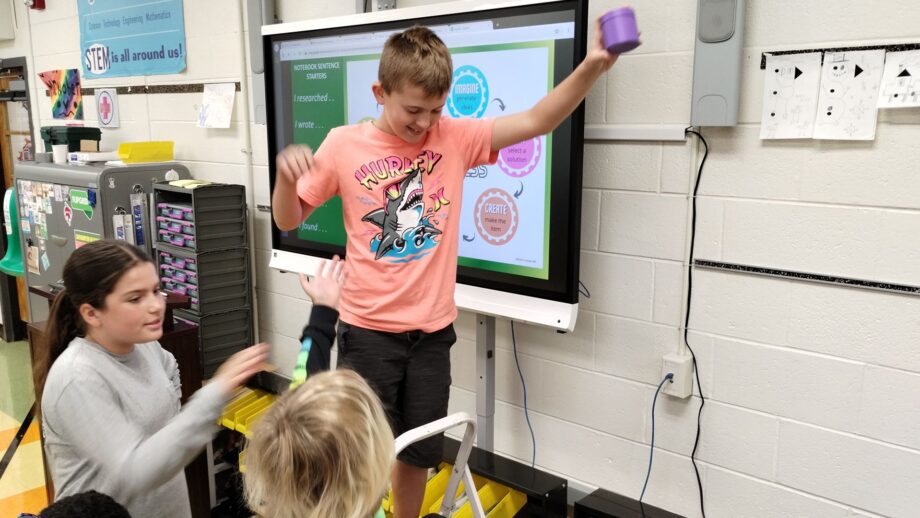
The plan is then put to the test with a hands-on challenge: using a 3D-printed Polyominoes puzzle to simulate packing their cargo. The catch? Their packing must match the percentages they planned and everything must fit within the limited space available. This phase of the project helps reinforce key skills for our Mars explorers, critical thinking, teamwork, and spatial reasoning!
Phase 3: Launch and Landing
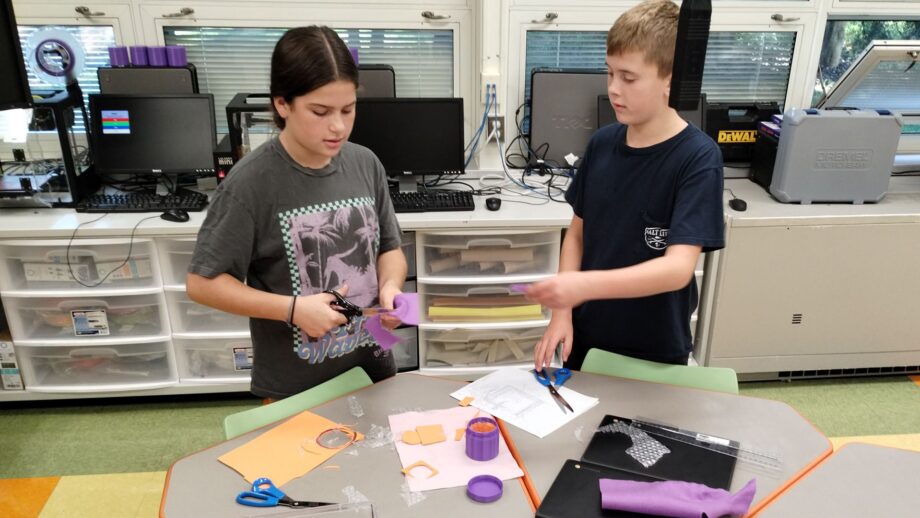
This was one of the most exciting phases of the unit—launching and safely landing an astronaut (in this case, a single Pringle potato chip)! Working in collaborative teams, students designed a safe and cushioned interior for their landing capsule. Due to time constraints, I provided all teams with a 3D-printed capsule, but in a longer version of the project, I would have students design their own. That would open up even more discussions on aerodynamics, threading for the lids, precision in measurement, and additional features they could add for stability. Given the creativity they’ve already shown, I can only imagine the incredible designs they would come up with.
To test their interior designs, teams first dropped their capsules from a step ladder in the classroom, seeing if the astronaut survived the small drop. Many iterations happen during this phase. Students switch out materials bubble wrap, felt, craft foam, cotton batting, and paper trying to improve their designs.
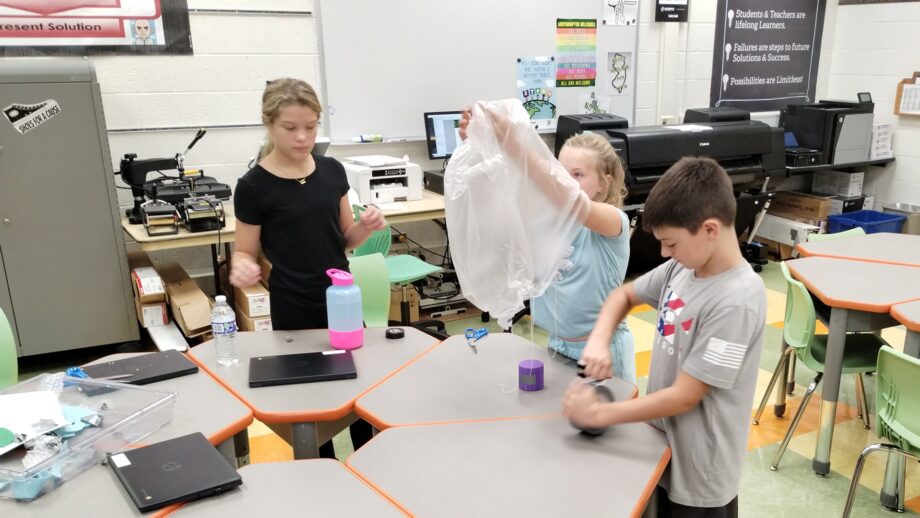
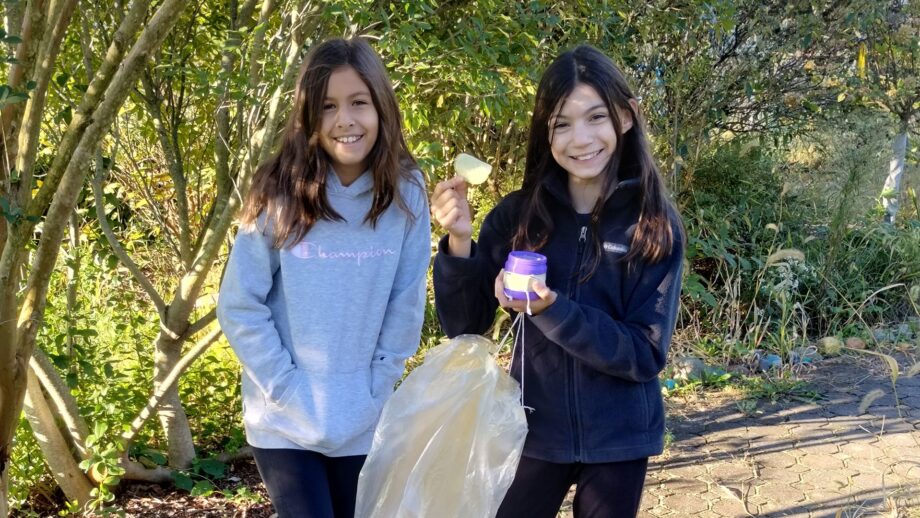
But something more is needed to slow down their capsules. Before the final launch, students also explored how NASA engineers may tackle Mars landings, using parachutes. They researched different parachute designs, tested how they function, and then created their own using small plastic garbage bin liners. To evaluate their effectiveness, students conducted initial tests by dropping their parachutes from a step ladder.
Finally, it was launch time! Using an air cannon I built (similar to this), we headed outside and sent each capsule soaring. If the “Pringle astronaut” survived the landing without any damage, the mission was a success! If not, students had the opportunity to refine their design and launch again.
Phase 4: Designing a Wrench
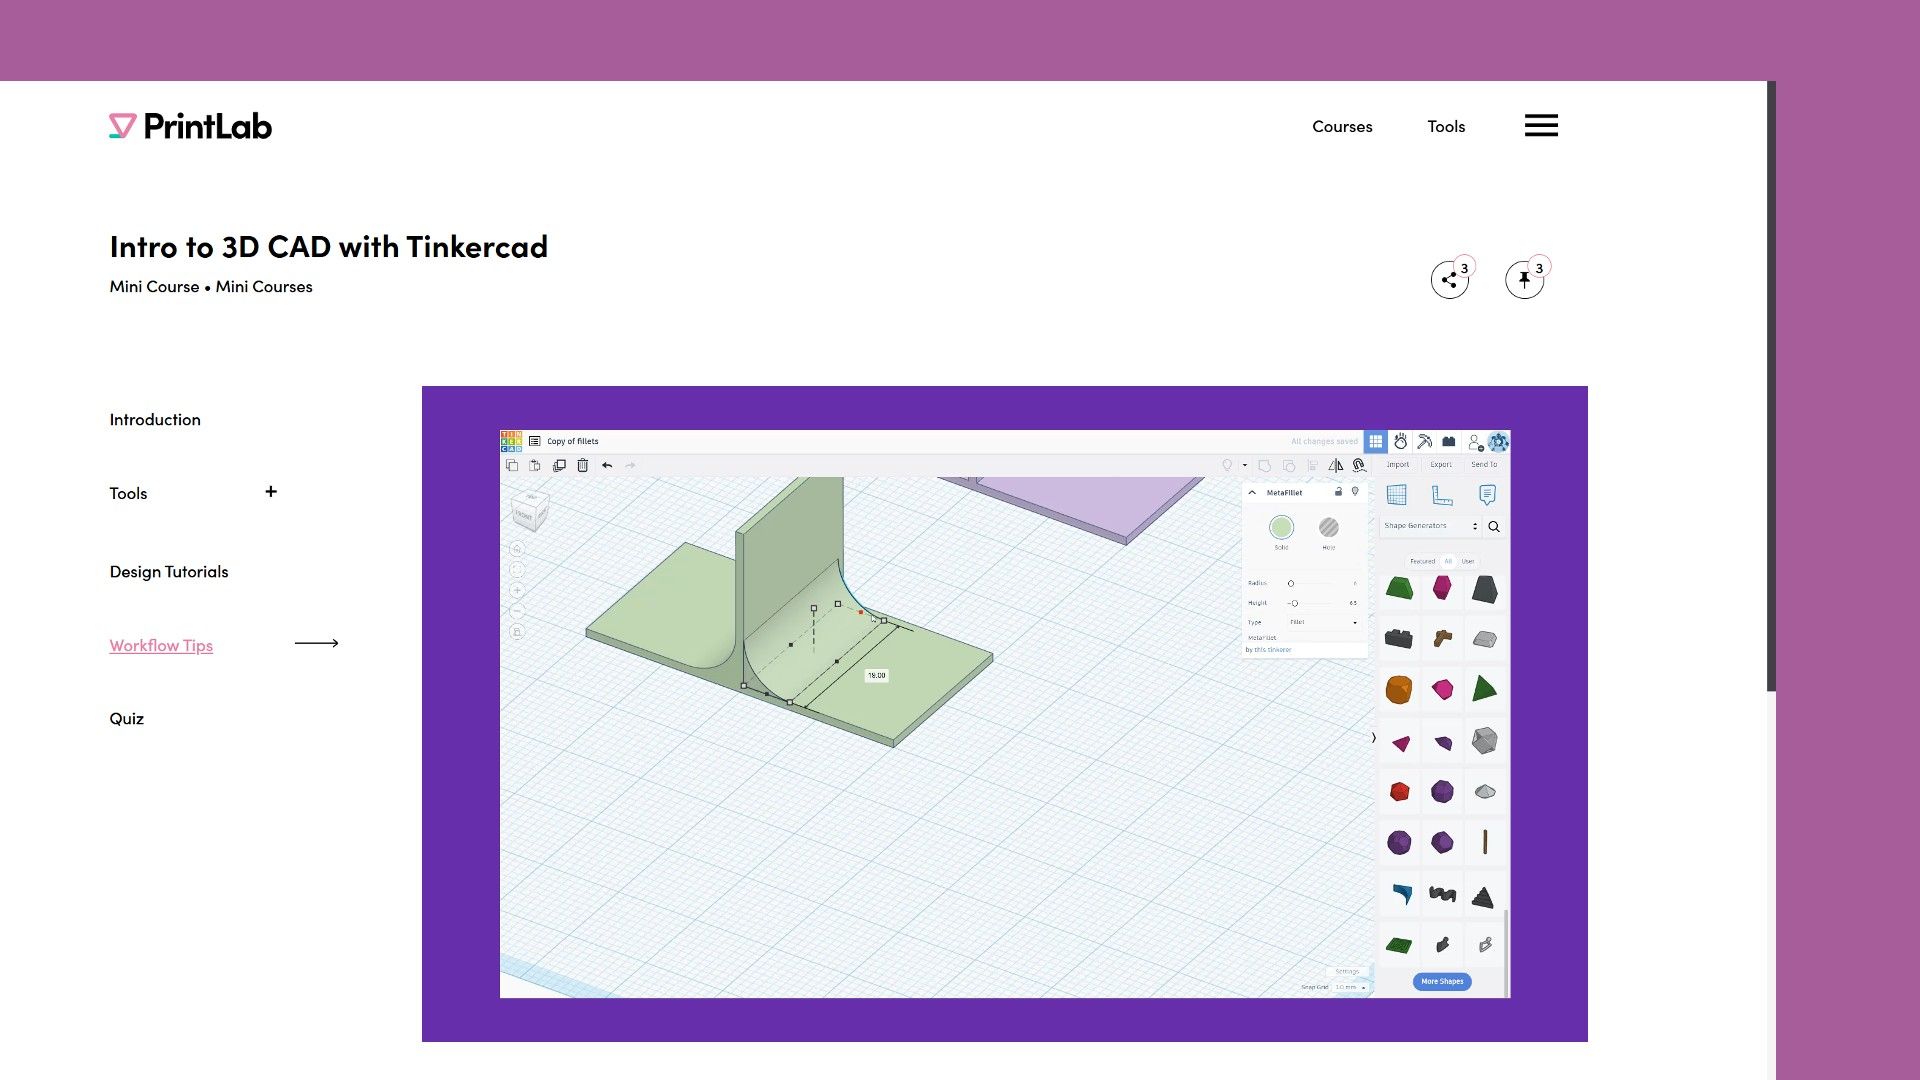
In the final phase of the unit, students entered the world of 3D printing. They started by completing the PrintLab Introduction to Tinkercad course which was a great way to build foundational skills. The course was just the right level of challenge and the certificate at the end was a big motivator (students love certificates!).
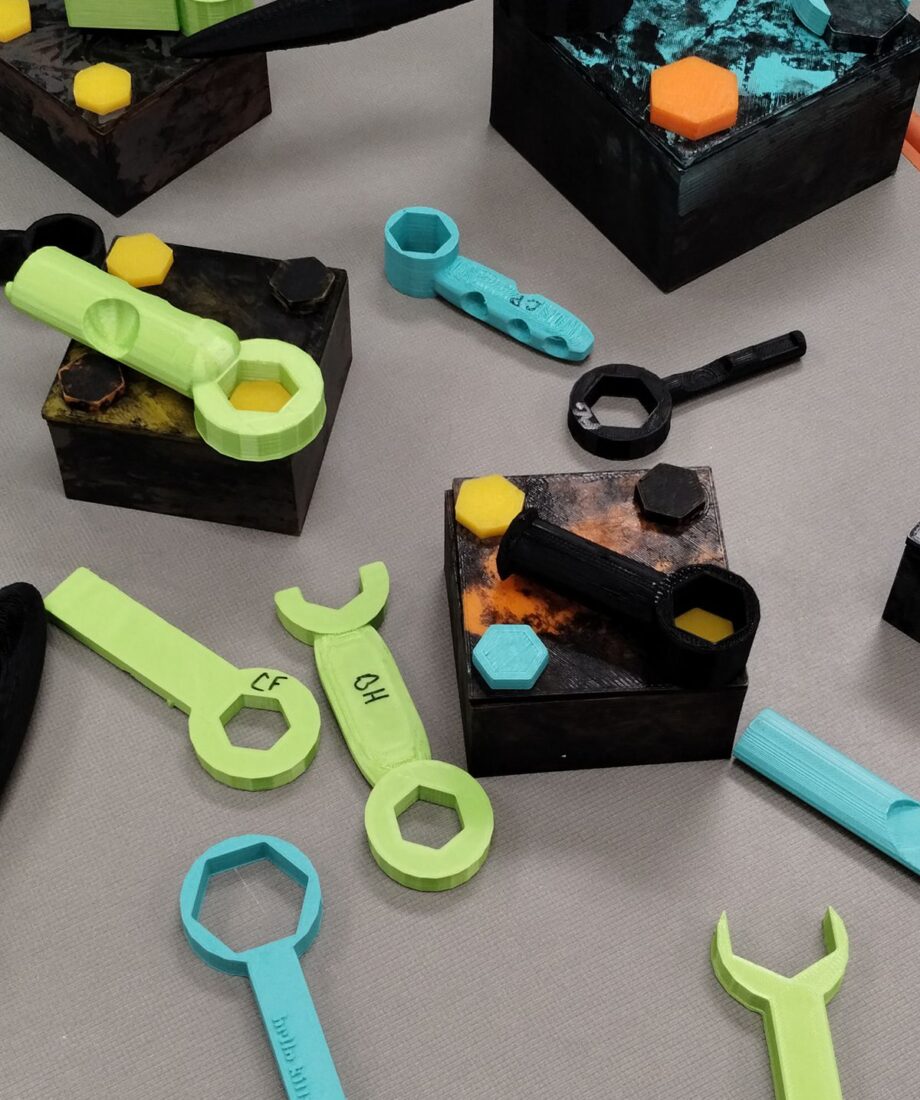
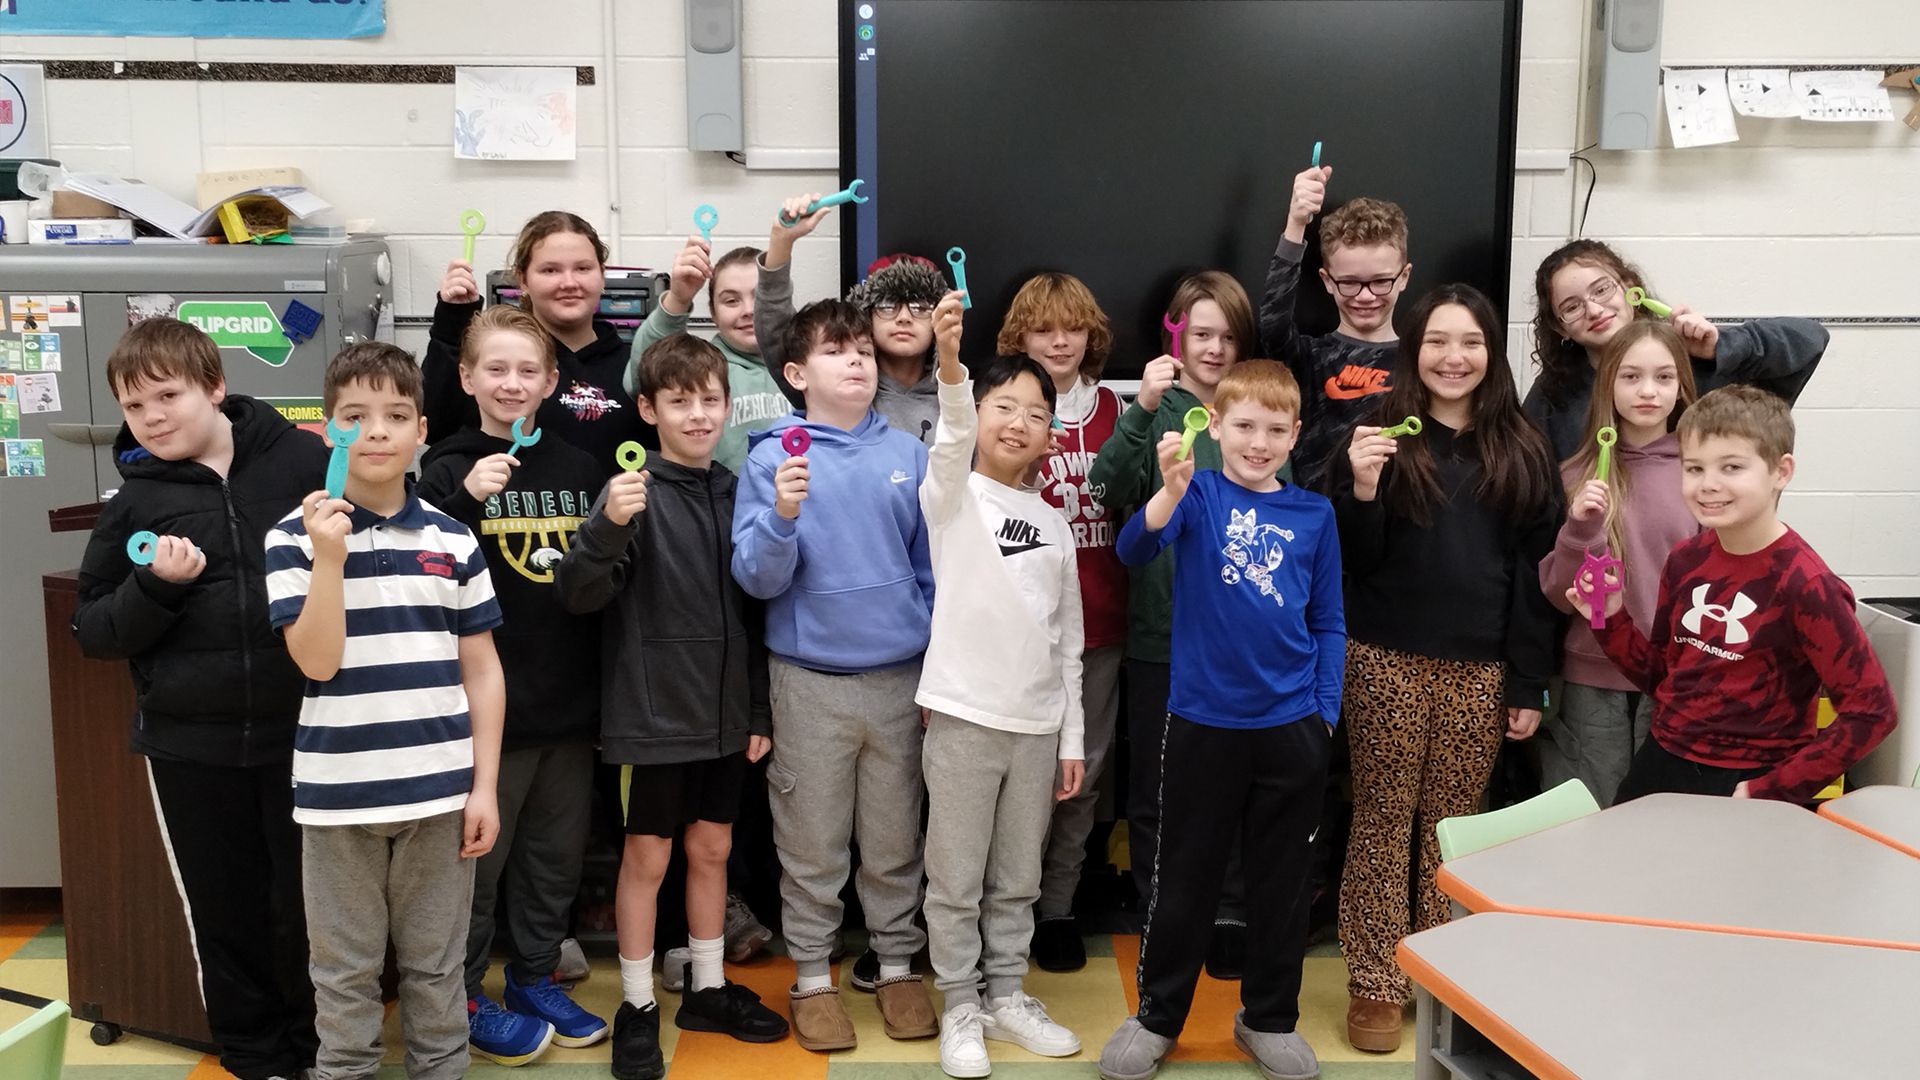
Next, students worked in teams with 3D-printed boxes, which were bolted shut using 3D-printed bolts. For this challenge, I used a modified version of PrintLab’s functional 3D-printed wrench project. Students began by working in teams to take precise measurements of the bolt heads using dial calipers. Then, they decided whether to design an open-ended or closed wrench head, before printing the full wrench. They only printed the wrench head to test the fit—a perfect opportunity to discuss why prototyping is important and how it saves time and material.
Once students successfully designed a wrench head, they researched ergonomic handle designs and examined real ergonomic tools in the classroom. They then attached their wrench head to an ergonomic handle in Tinkercad and submitted their final print—with a catch! Each student was limited to two final prints to introduce the concept of cost and resource management.
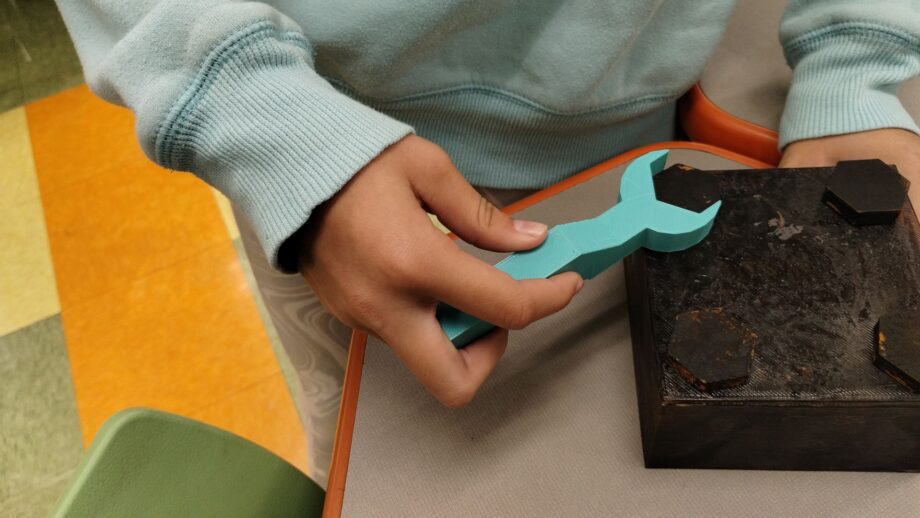
Once their wrenches were complete, students used them to open their 3D-printed boxes and solve a word puzzle to earn a class prize. To tie everything back to space exploration, we usually celebrated with a freeze-dried treat, sparking a discussion on weight considerations for space travel. If possible, I also brought the regular version of the treat so students could compare the weight difference—an eye-opening moment when thinking about mission design for Mars!
The Impact of the Project
One of the reasons I love this project is seeing what students gain from it, not just in terms of engineering skills but in the resilience and creativity they develop along the way. One of the most valuable lessons they learn is grit. Precision is tough, and many students have had to print their wrench head over five times to get it just right. Measuring with dial calipers, aligning those measurements, and ensuring their design actually fits takes patience and persistence. Yet, failure is never discouraging. Because we normalize iteration in our classroom, students approach setbacks as just another step in the process and they carefully review their notes in their online engineering notebooks, reassess their measurements, and make adjustments with a problem-solving mindset.
There’s also something incredible about watching students interact with their designs. The moment they hold a 3D-printed object they created—especially when it works—is priceless. Their excitement builds as they realize, I made this. This works. I can take this home and show my family. Some students even push beyond the lesson’s expectations, like the one who designed a wrench with an open head on one end and a closed head on the other. Those moments of innovation are what make this project so meaningful.
Launch day is another unforgettable highlight. The energy in the outdoor classroom is electric, students are cheering, running to retrieve their capsules, and yelling out whether their astronaut has survived. They take turns eagerly turning the valve to send their capsule soaring, watching anxiously to see if their parachute deploys in time. Some add too much padding and accidentally crush their astronaut before the launch even happens, while others don’t add enough tape to secure their parachute and watch helplessly as it shoots off in the wrong direction. These unexpected mishaps spark laughter, learning, and a deeper understanding of physics and engineering principles.
Final Thoughts
As you may have been able to tell, the Mars Exploration unit is one of my favorite projects. This project immerses students in hands-on problem-solving, engineering, and introduces the real-world applications of 3D printing. From the moment students open Tinkercad and begin to design, to the launch of their Pringle astronauts, to iterating, printing, and using their wrench designs, students experience the excitement of creation and the grit and resilience needed to refine their work. When students see their ideas come to life and I see their enthusiasm grow during each phase of the project it reminds me why I love teaching STEAM and why I love project-based learning.
I also want to give a huge thank you to PrintLab for the work they do creating engaging 3D printing curricula and for giving me the opportunity to share this project through their platform. PrintLab resources have been invaluable in helping my students develop 3D design skills, design thinking skills, creativity, and a problem-solving mindset.
If you’re an educator and looking to bring more 3D printing, STEAM, or project-based learning into your classroom, I’d love to connect! You can find me on Instagram @nober_techclass and on BlueSky @nober-techclass. I also co-host The TeacherNerdz Podcast, where we chat with educators making an impact in education and beyond. I’d also love to hear from you if you try this Mars Exploration Unit.
Check out PrintLab’s Functional Wrenches course and more by signing up to a free trial today