Fusion 360 Rendering | Creating Context
In today's blog we'll be providing some useful tips for rendering your designs in Fusion 360. The key topic we will be focusing on is creating context to give your designs a clear and engaging visual narrative. Before we begin, we want to mention that these tips cover just one aspect of rendering and we will not be delving into the topics of lighting/shadows, custom materials or more advanced areas of the rendering workspace. Our goal is to get you thinking about the environment of your designs, to create quick and easy visuals that help you communicate your ideas.
17th December 2021 • Tips
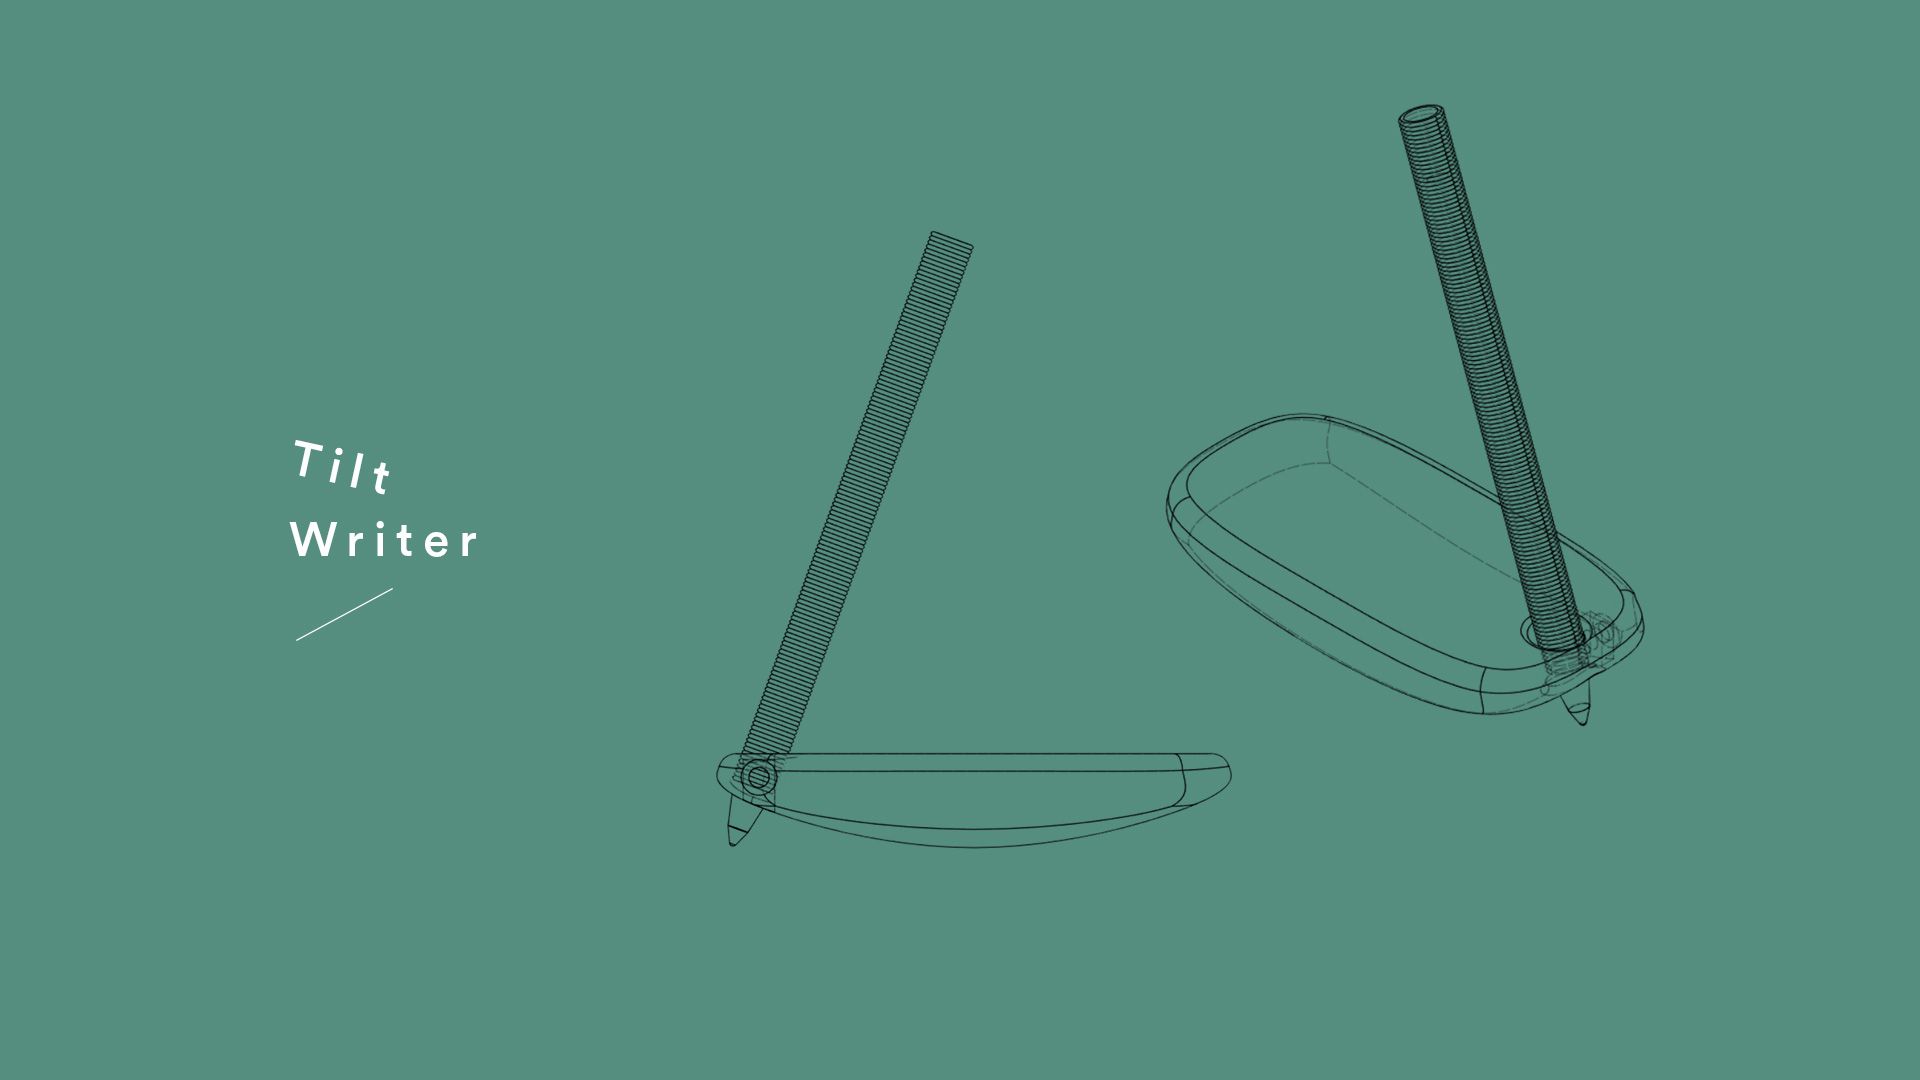
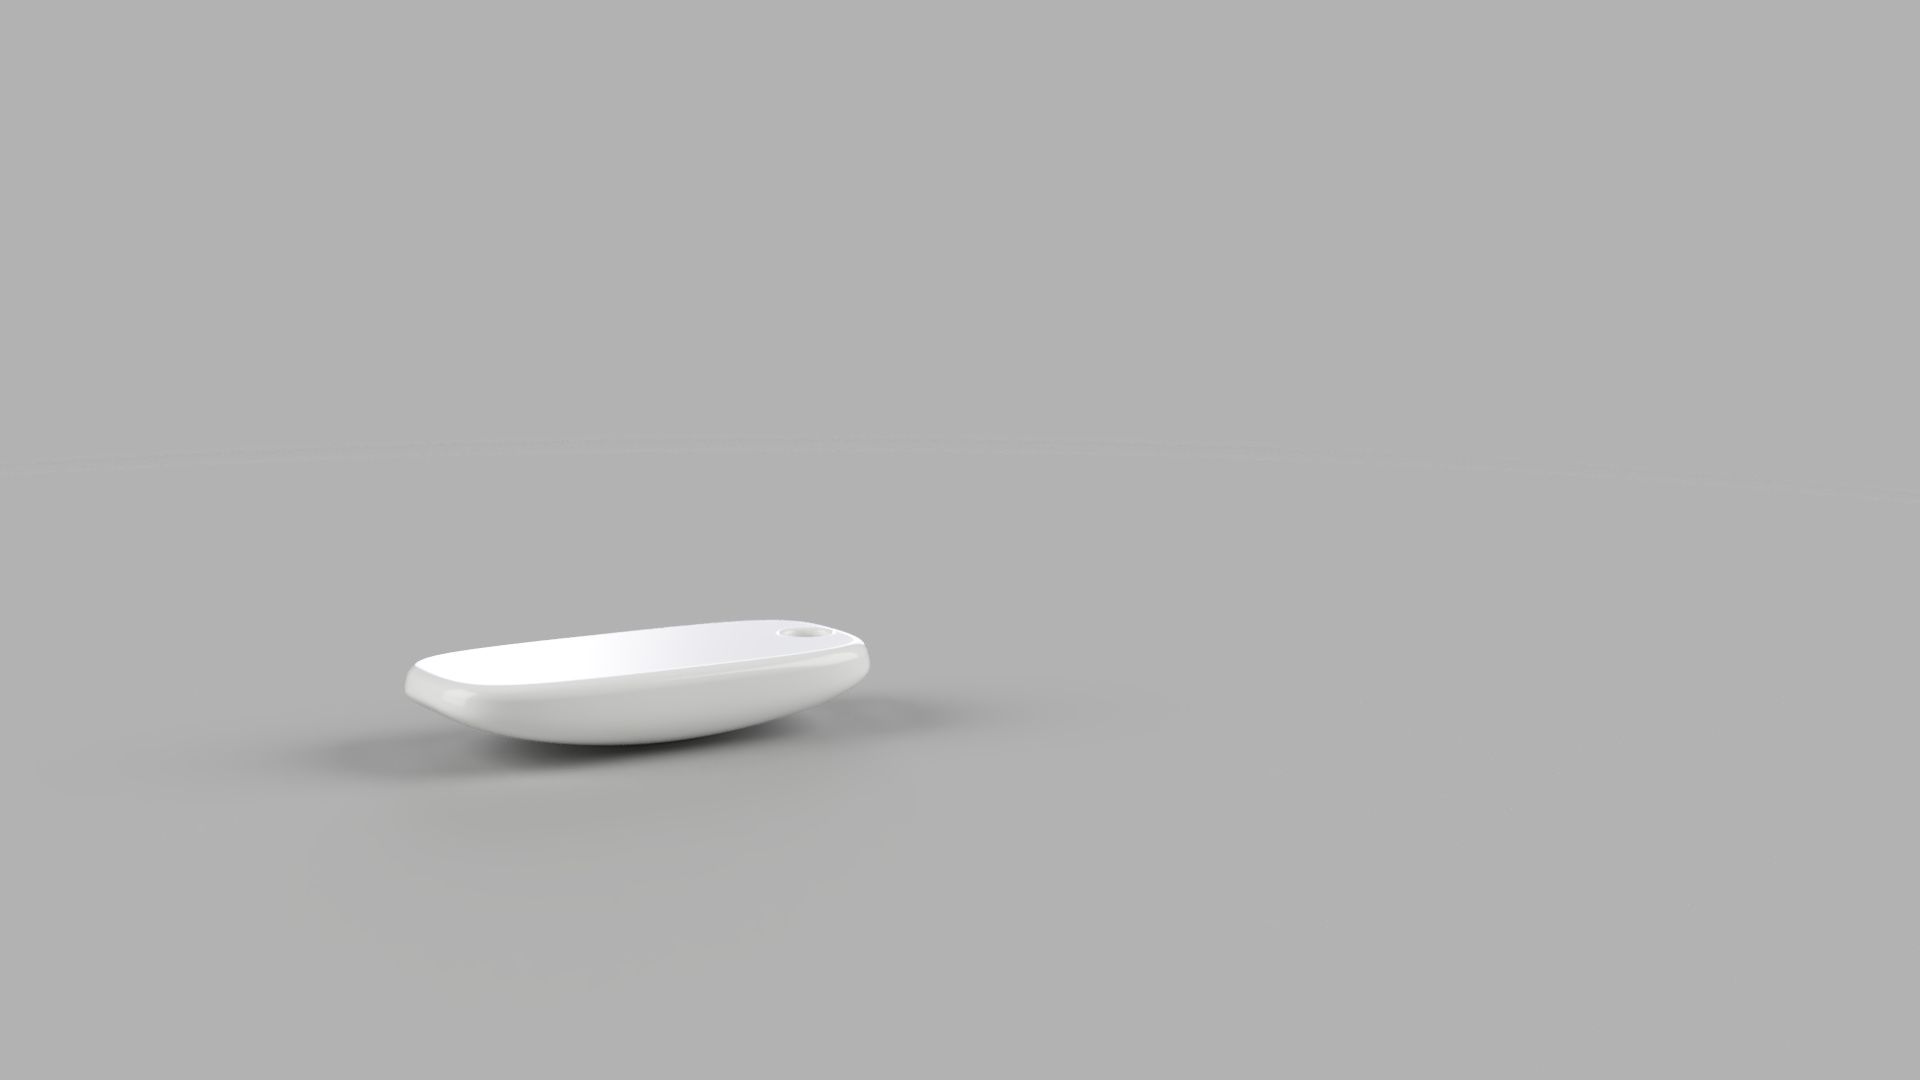
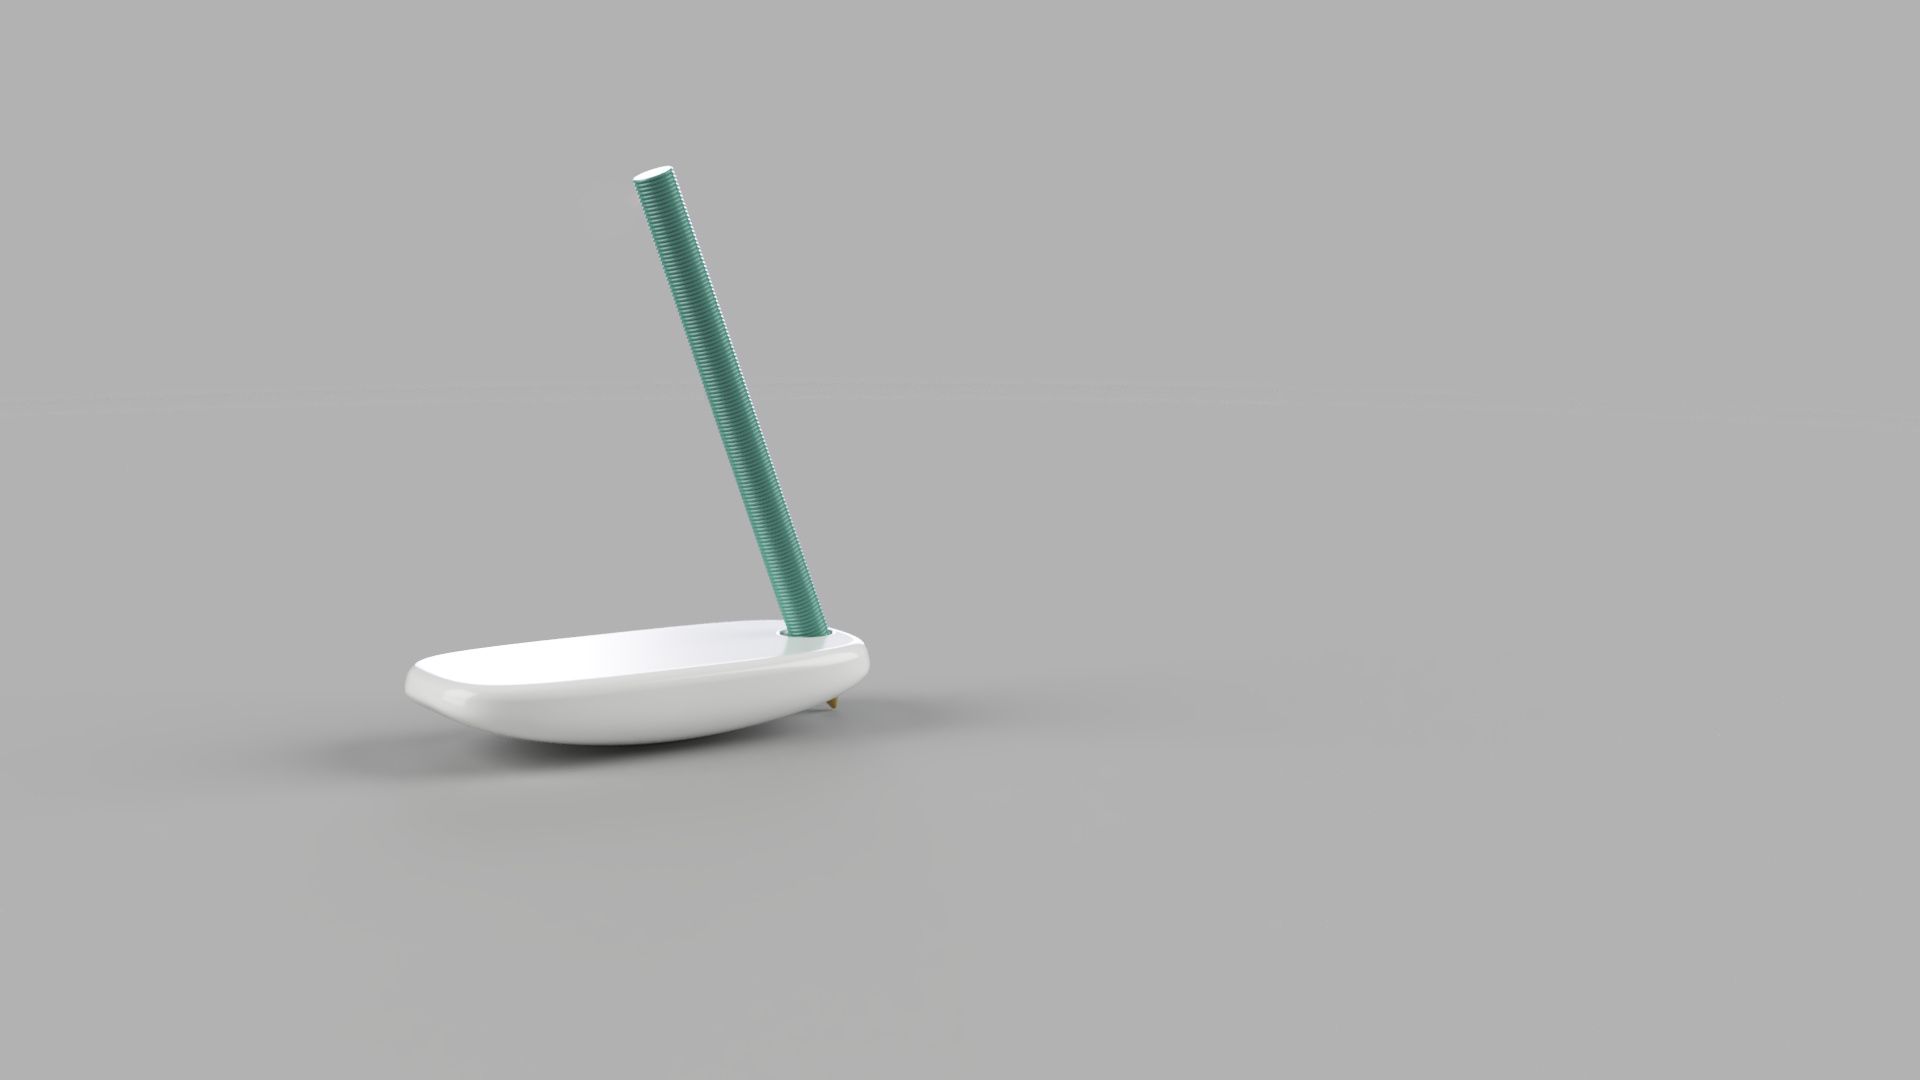
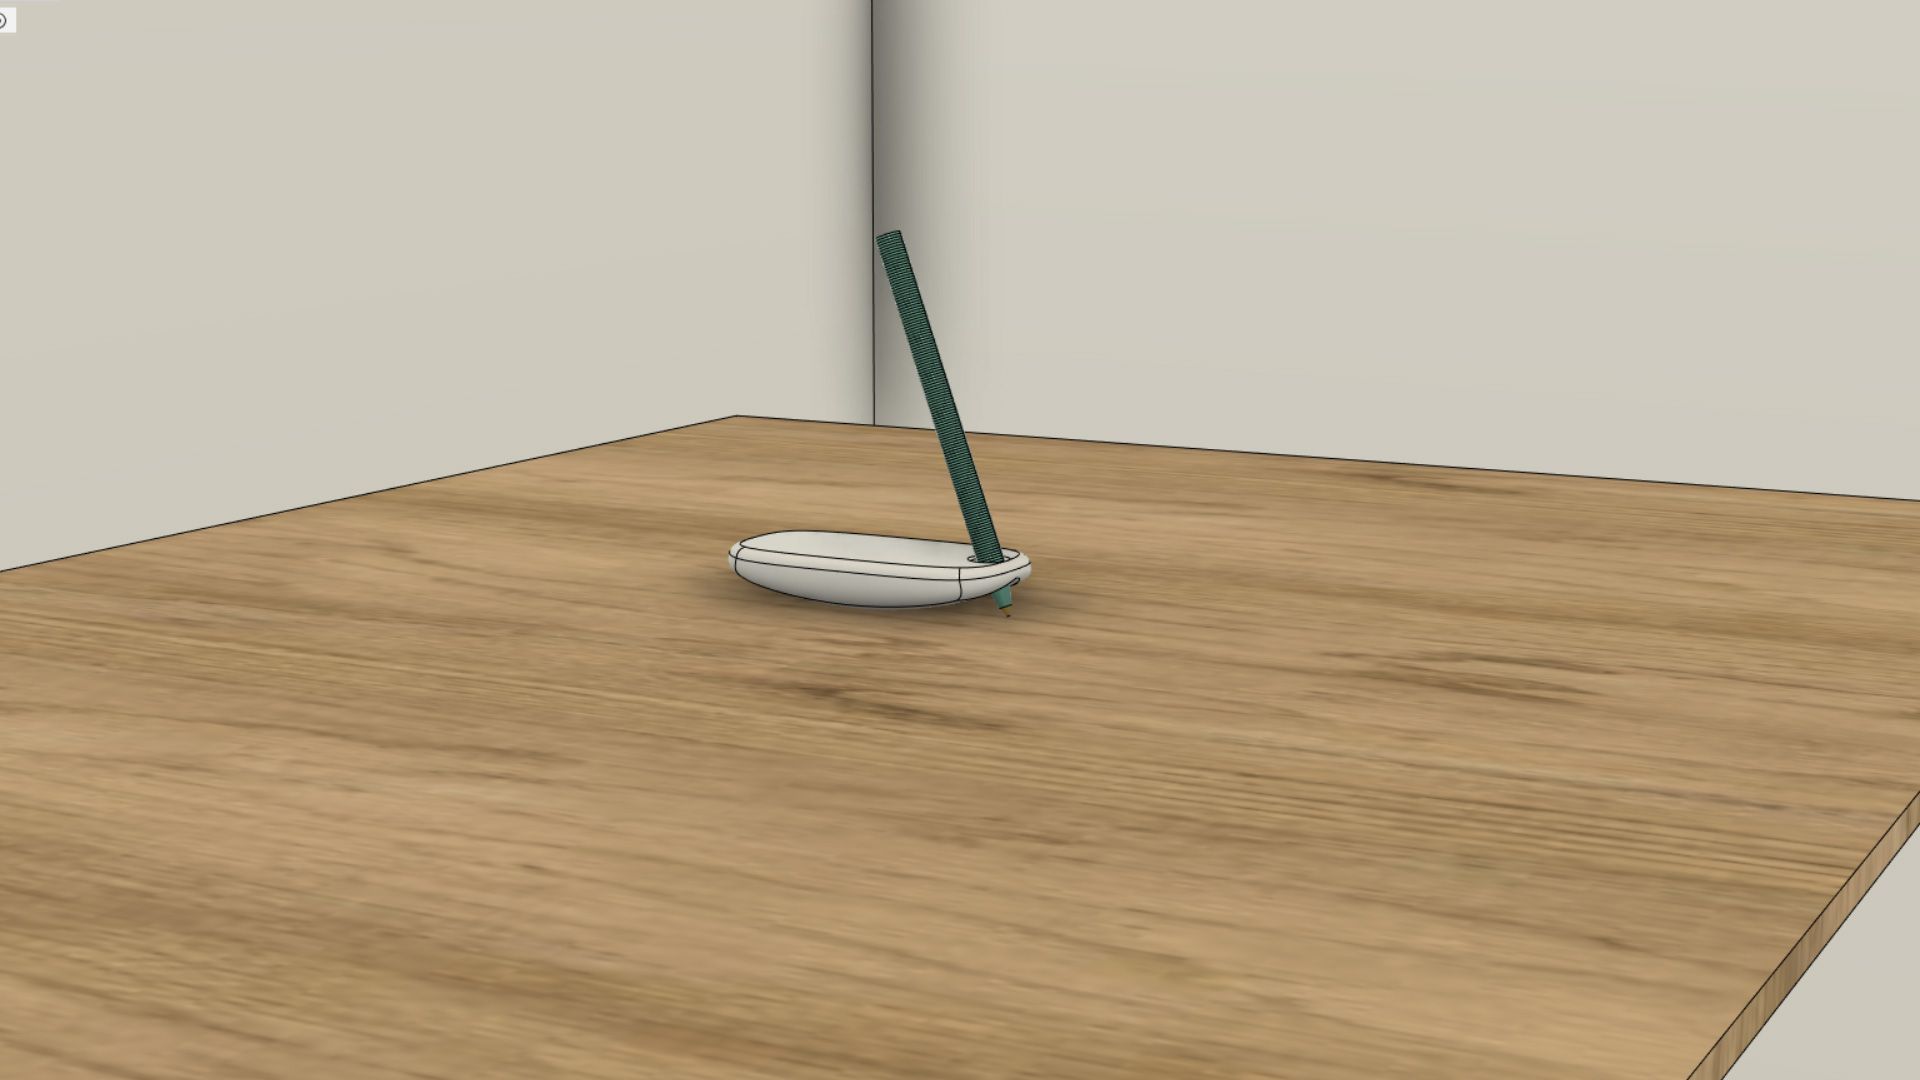
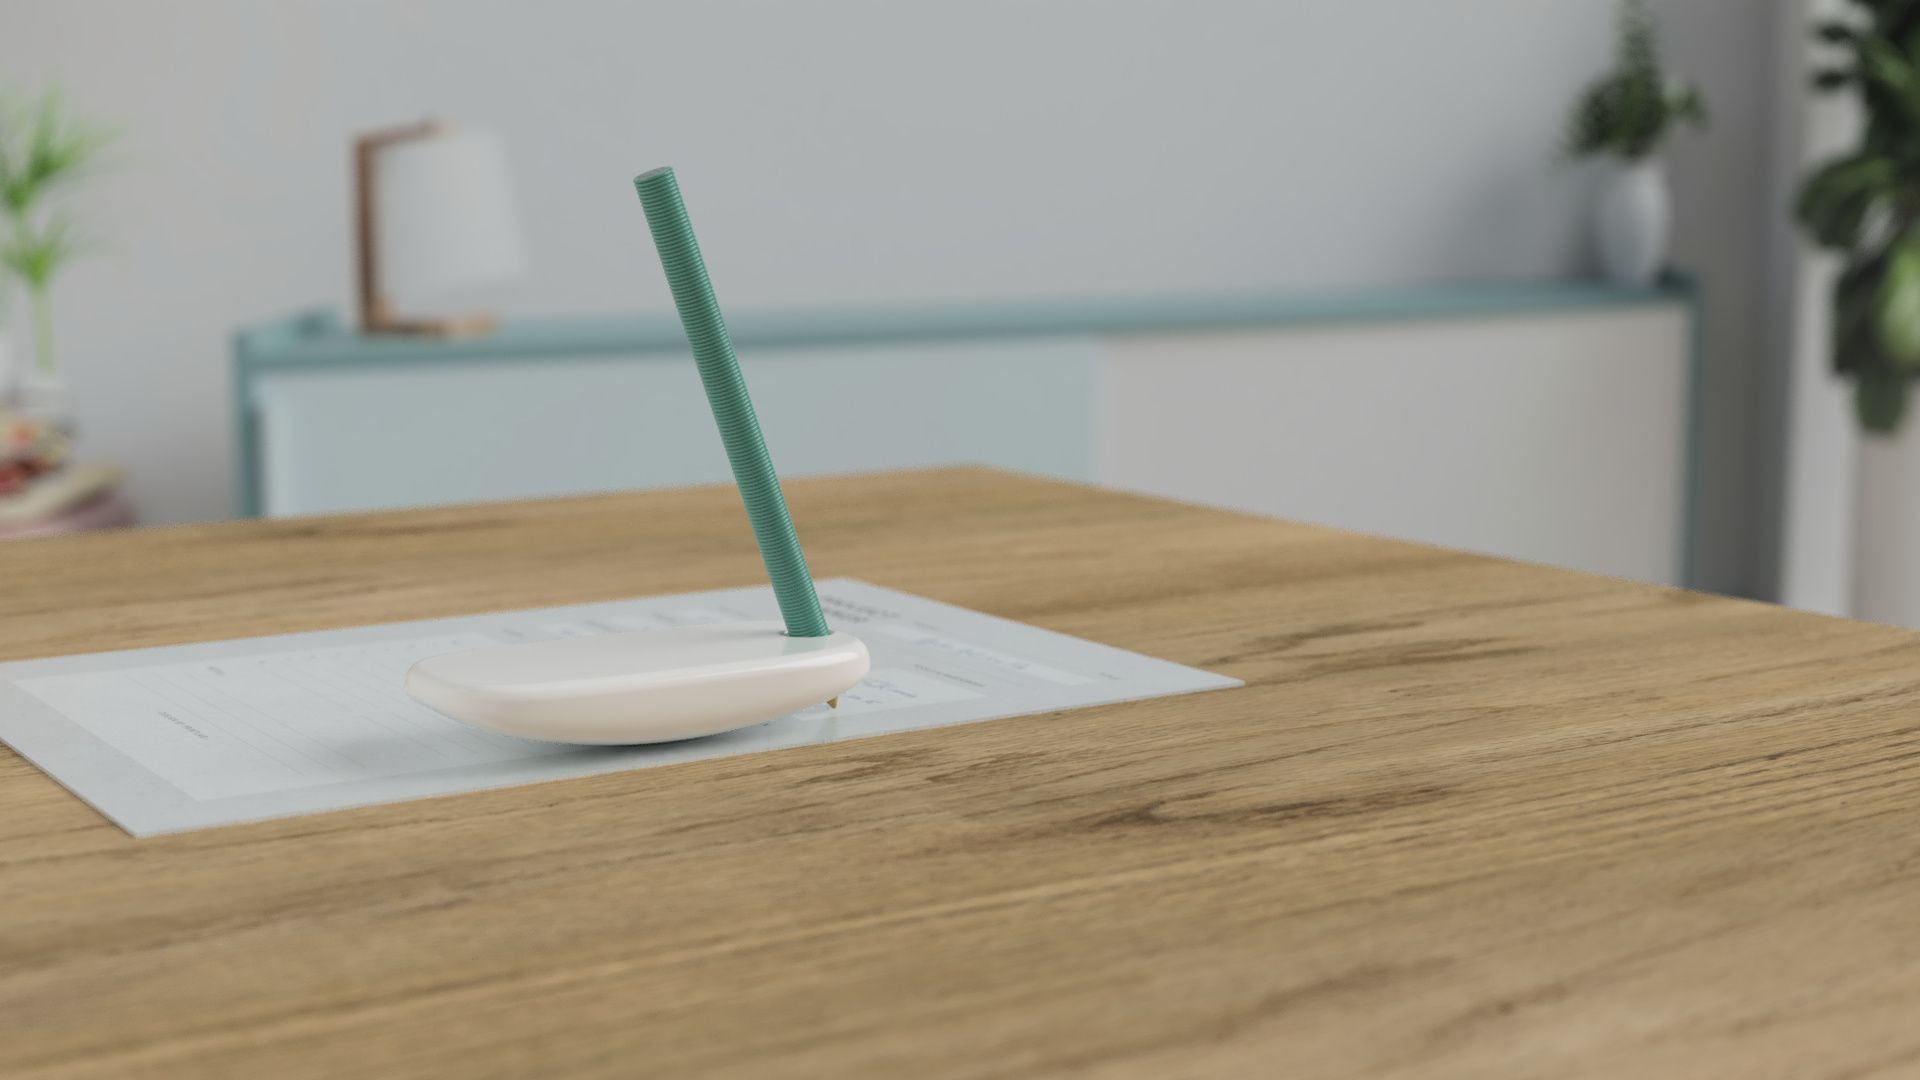
To guide you through our tips, we’ll be using an assistive writing design we created called the Tilt Writer. Shaped like an inverted mouse, the device is ‘rocked’ forward to write, which eliminates the need to form a strong closed grip. The below renders show the model in its simplest form with very little context other than the pen, which is necessary to let viewers know the device is for writing. As you can see, the visuals are relatively dull and the objects appear to be a floating mass.
Step 1: Modelling the Basic Environment
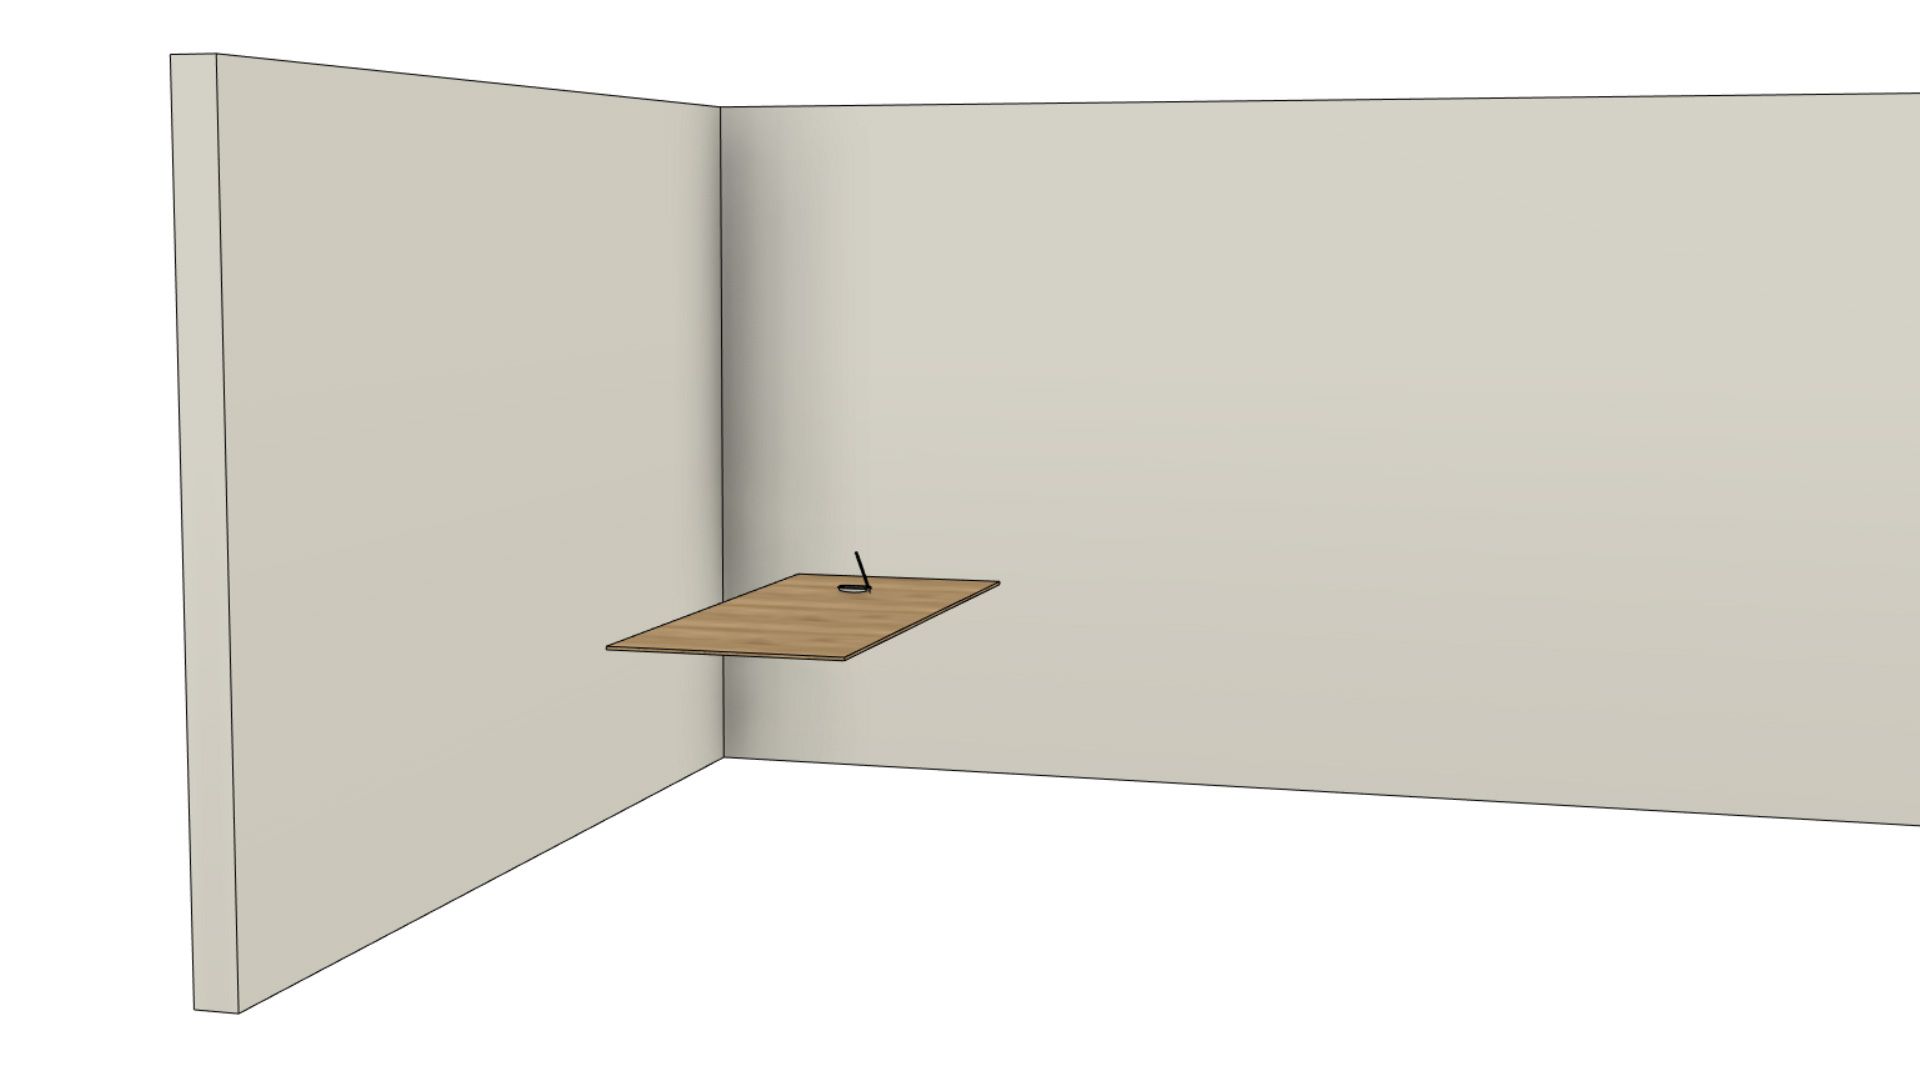
The first step in bringing the visual to life is modelling the basic environment. In our case, we drew out some shapes to represent a table and walls. Prior to doing this step, we’d recommend creating a copy of your design. This will allow you to have a copy that is solely dedicated to your exploratory render, where you don’t need to worry about parameters, the timeline, or anything other than the scene you’re creating. As you can see from the images below, we paid very little attention to dimensions and accuracy. The biggest tip we can provide at this stage is to decide roughly where you want your final view to be and draw only the things that will affect this view. For example, we decided our view will be looking slightly down on to the device with the wall as the background. Therefore we did not draw any table legs, ceiling features etc.

Step 2: Decal Features
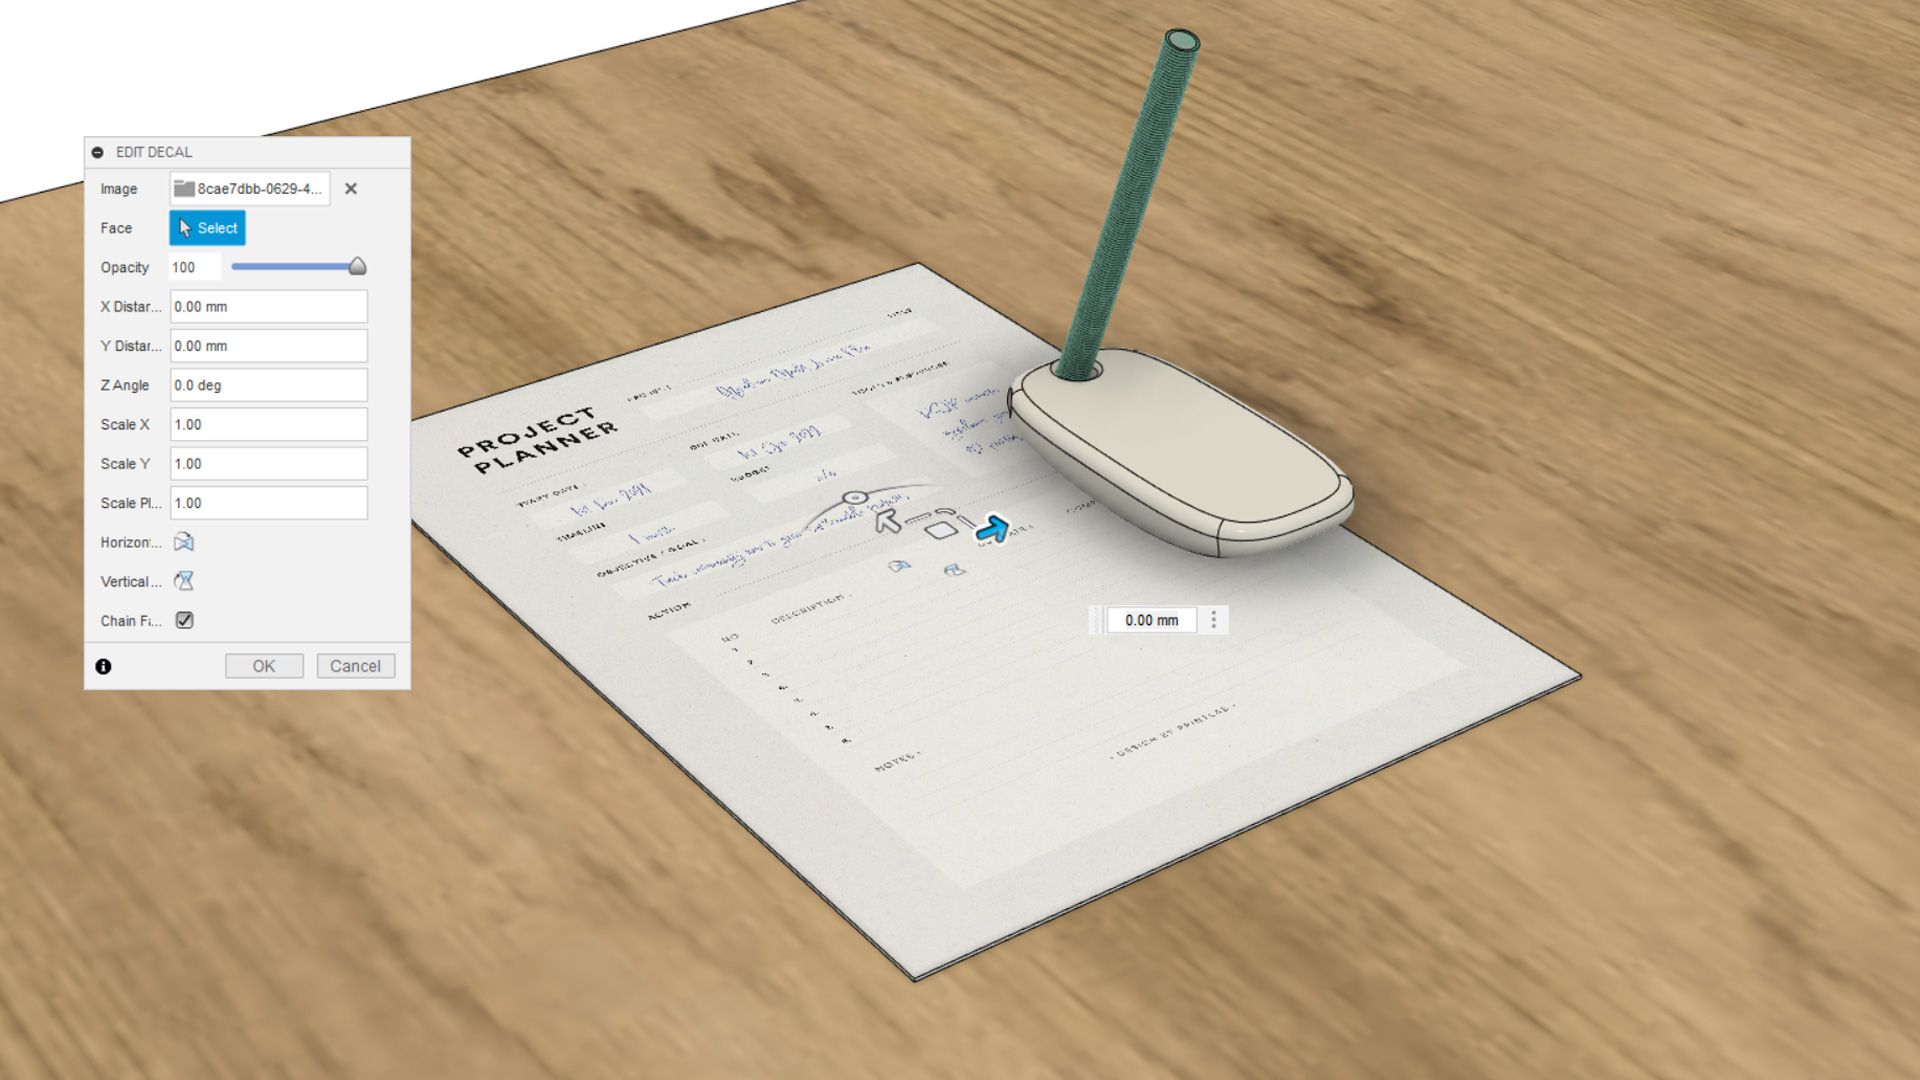
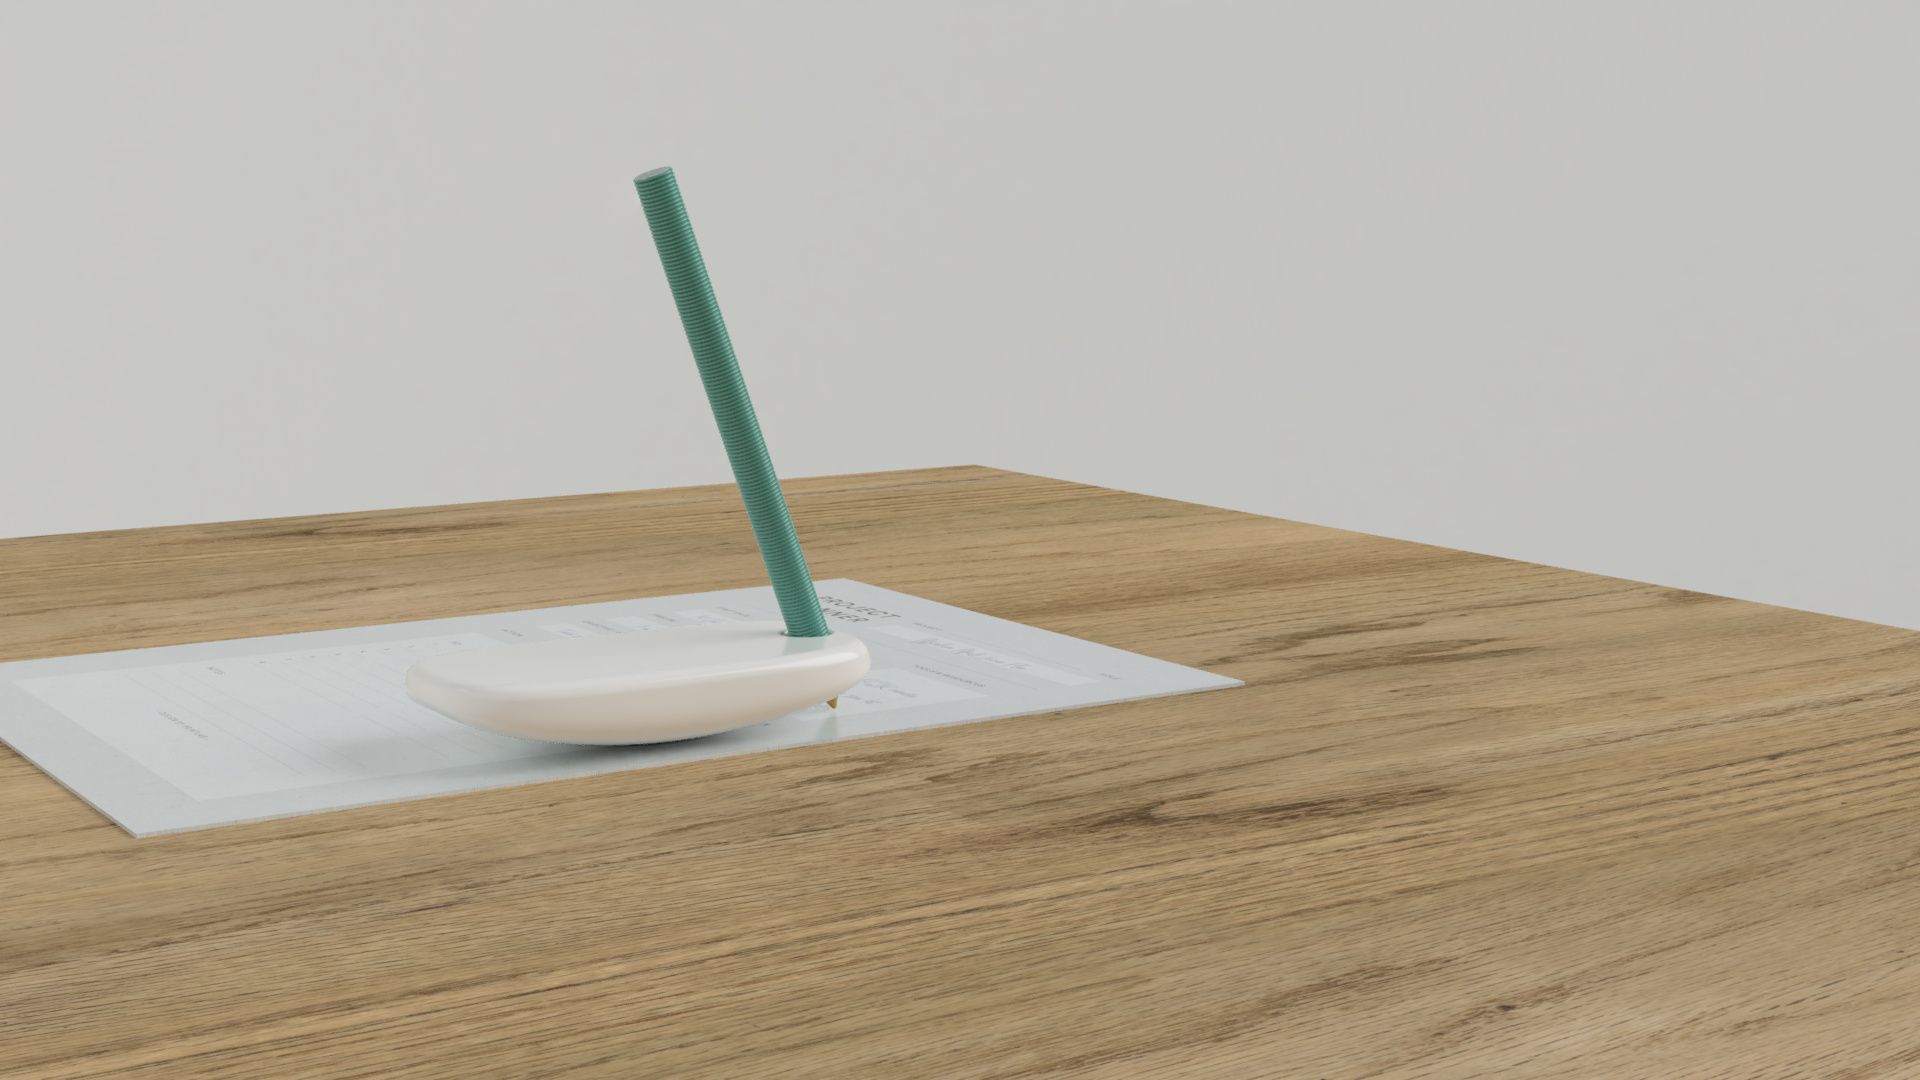
With the larger parts of the environment created, you can now begin to think about the smaller features. As our device is for writing, we decided to create a thin extruded rectangle to represent a sheet of paper. We then used a jpeg image of a project planning document and added this as a decal on to the top face of the shape. You can find the decal tool under the Insert menu within Fusion 360. Once we selected the decal, we simply scaled it to fit the rectangle we drew.
Step 3: Decal Background
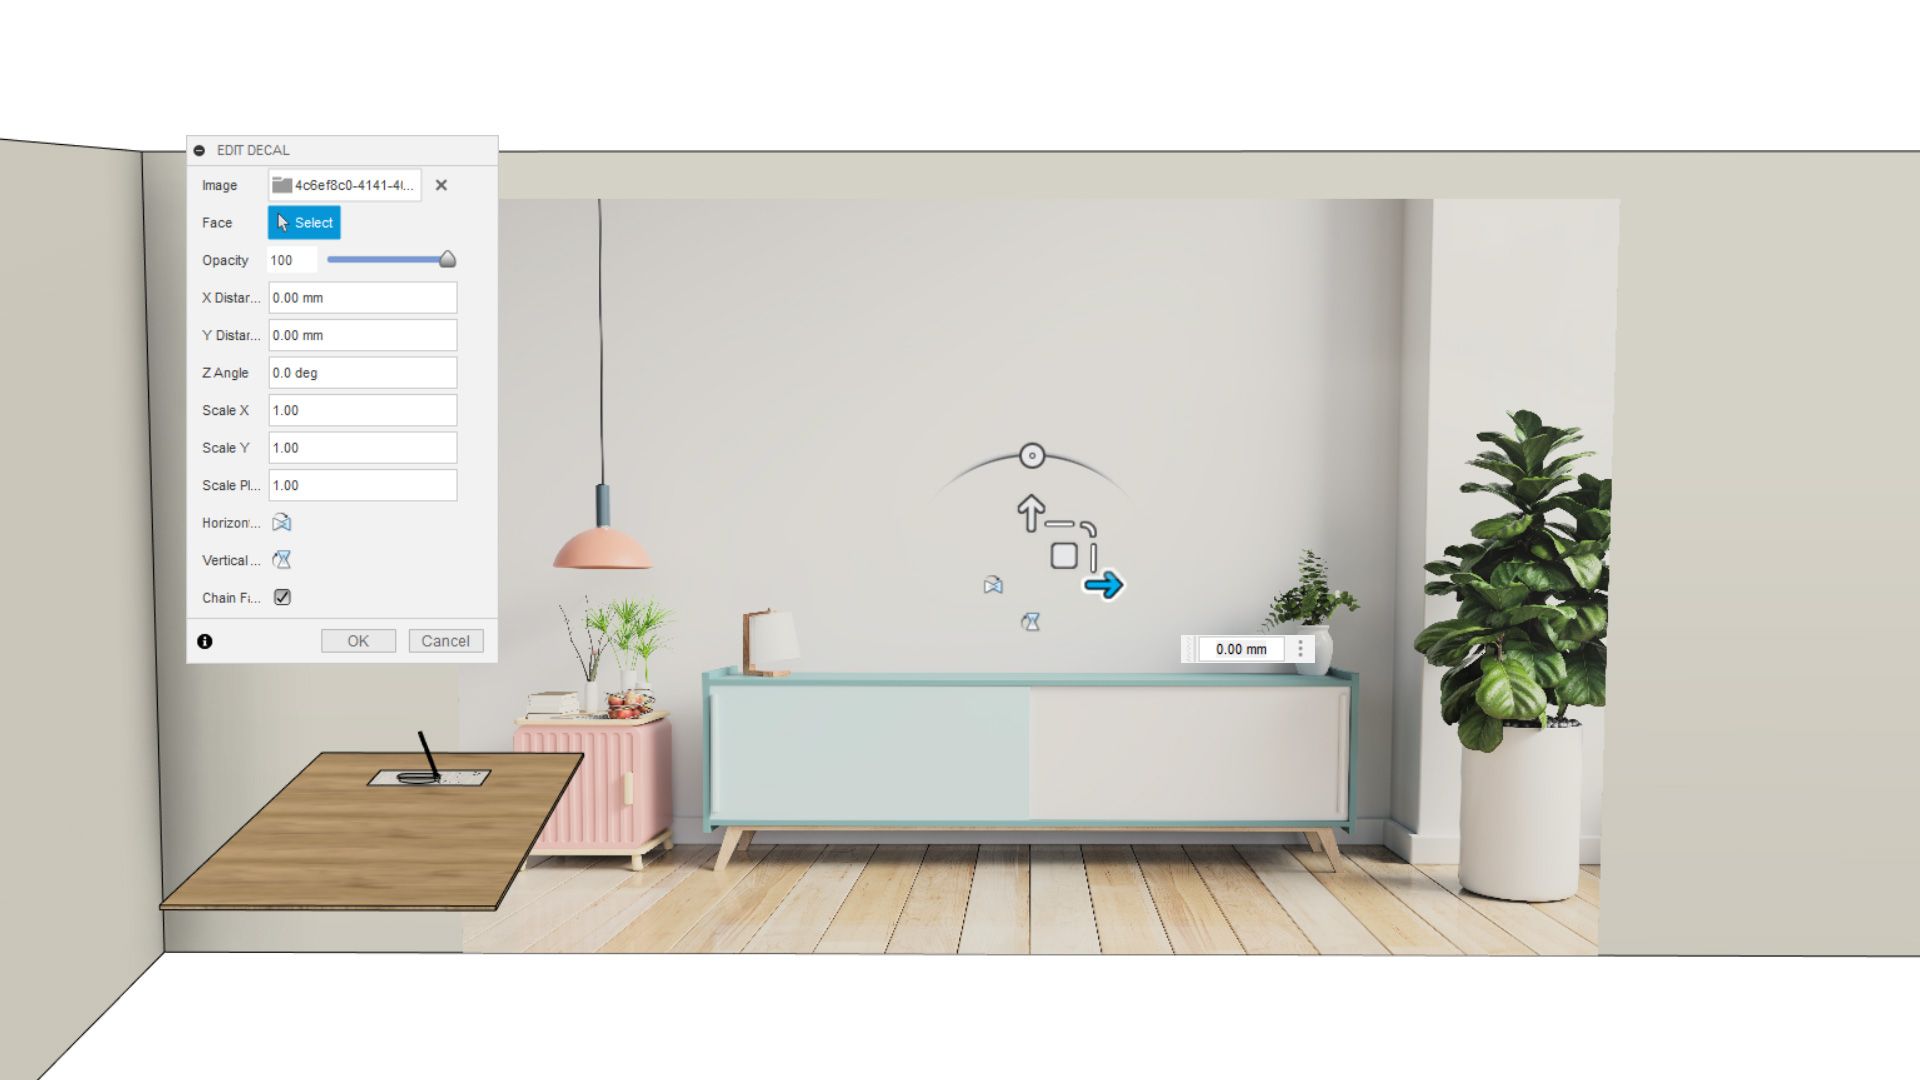
The render is now looking much better but the dull background wall can be much improved. There are several ways we can bring this background to life. One option is to 3D model items of furniture, artwork and other objects – adding some depth and complexity to the scene. However, this can be very time consuming, which is why we are going to look at option 2 – using a decal image of an interior space. Similarly to the previous step, we picked out a jpeg image and applied it to the face of the wall. By lining up the top of the storage unit with our table surface and playing around with scale, we identified a position that looked suitable for our render. To place the focus on the tilt writer, we also rendered the scene out with the ‘depth of field’ option switched on. This allows you to pick a point of focus, with other areas of the scene being blurred out.
Step 4: Post-Render Editing (Optional)
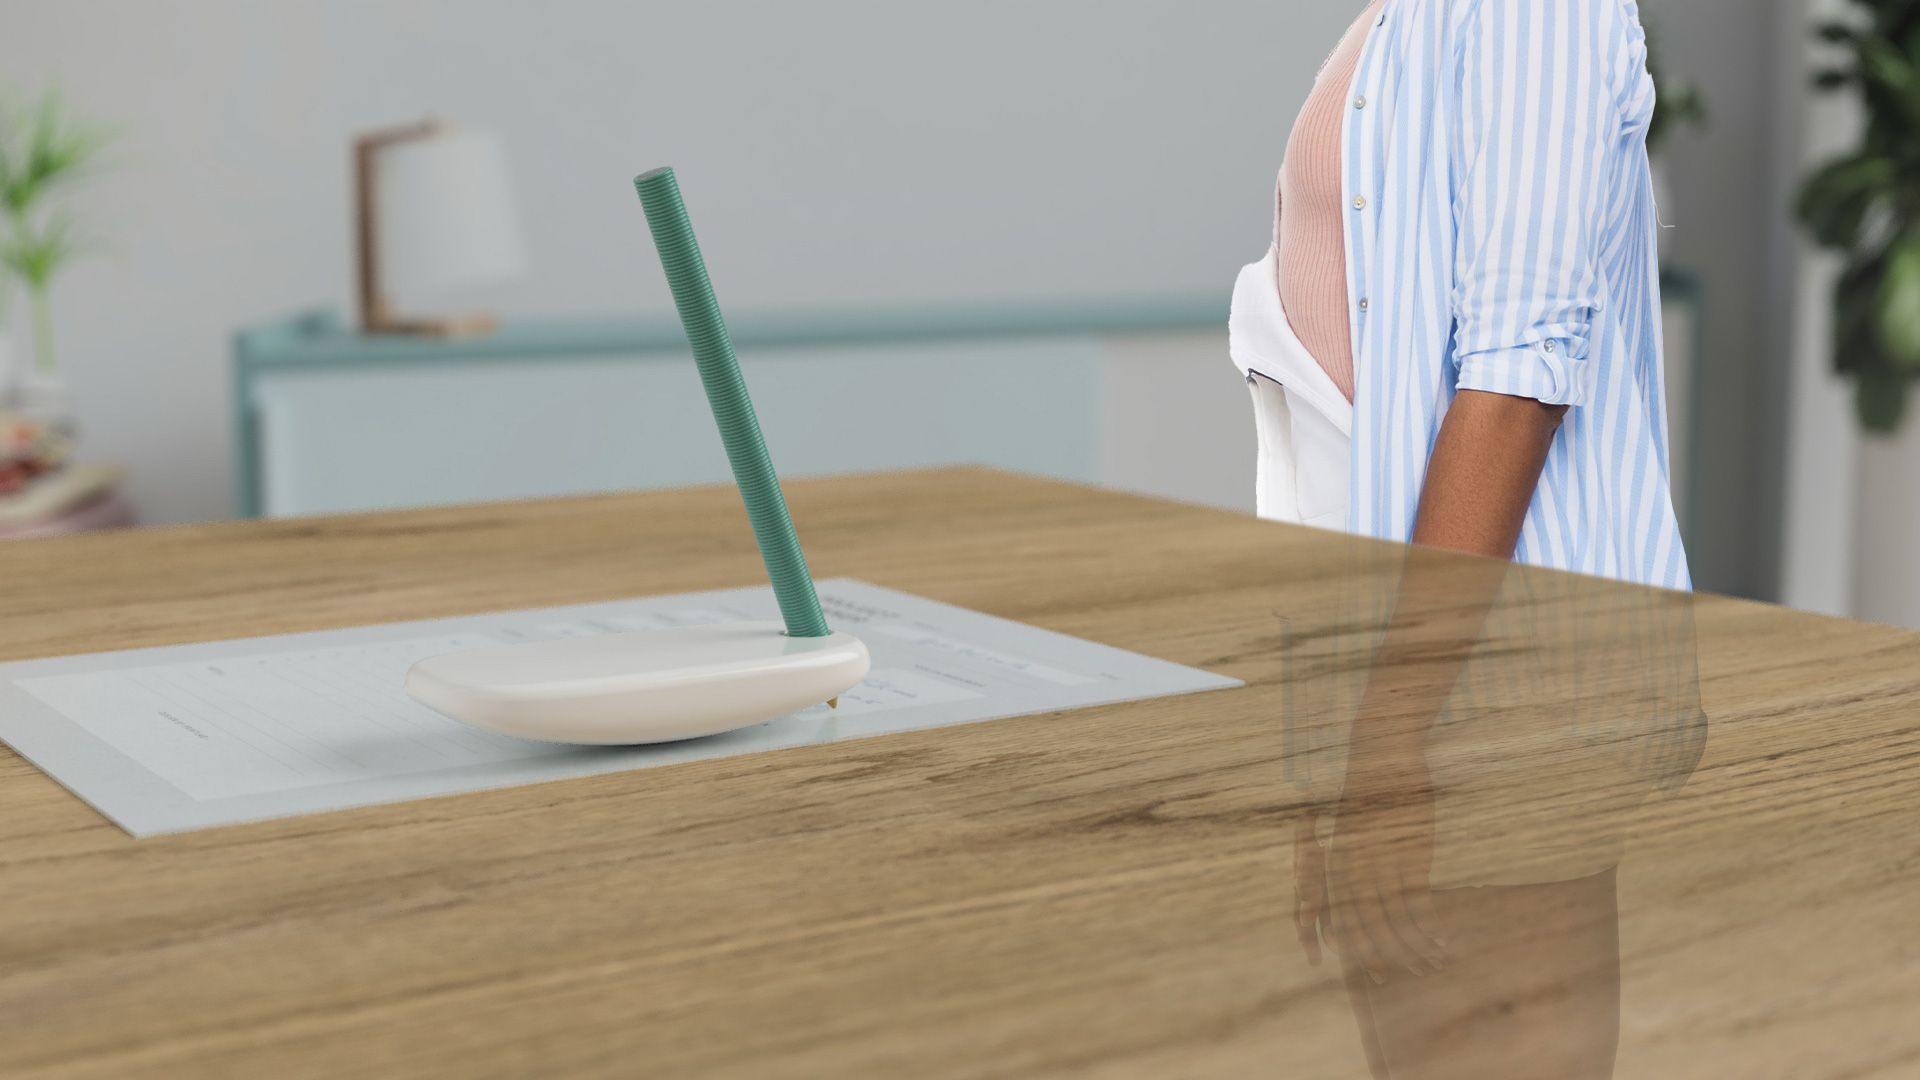
The final step we took was actually a little bit of editing in Photoshop, which is completely optional. Our initial idea was to use a stock image of a hand to make it look as though someone was holding the device. However, we soon realised that although this would be ideal to show the functionality of the device, it also covered up a lot of the tilt writer. We therefore opted to simply place an image of a person standing behind the table. We achieved this with a few simple photo editing techniques, before blurring the person out to produce a similar effect as the background. The person may not be an essential part of the visual narrative but adding people into renders certainly brings them to life and we recommend doing this as much as possible. The final tweaks we made were some simple colour/level adjustments in Photoshop and this led us to the render below.
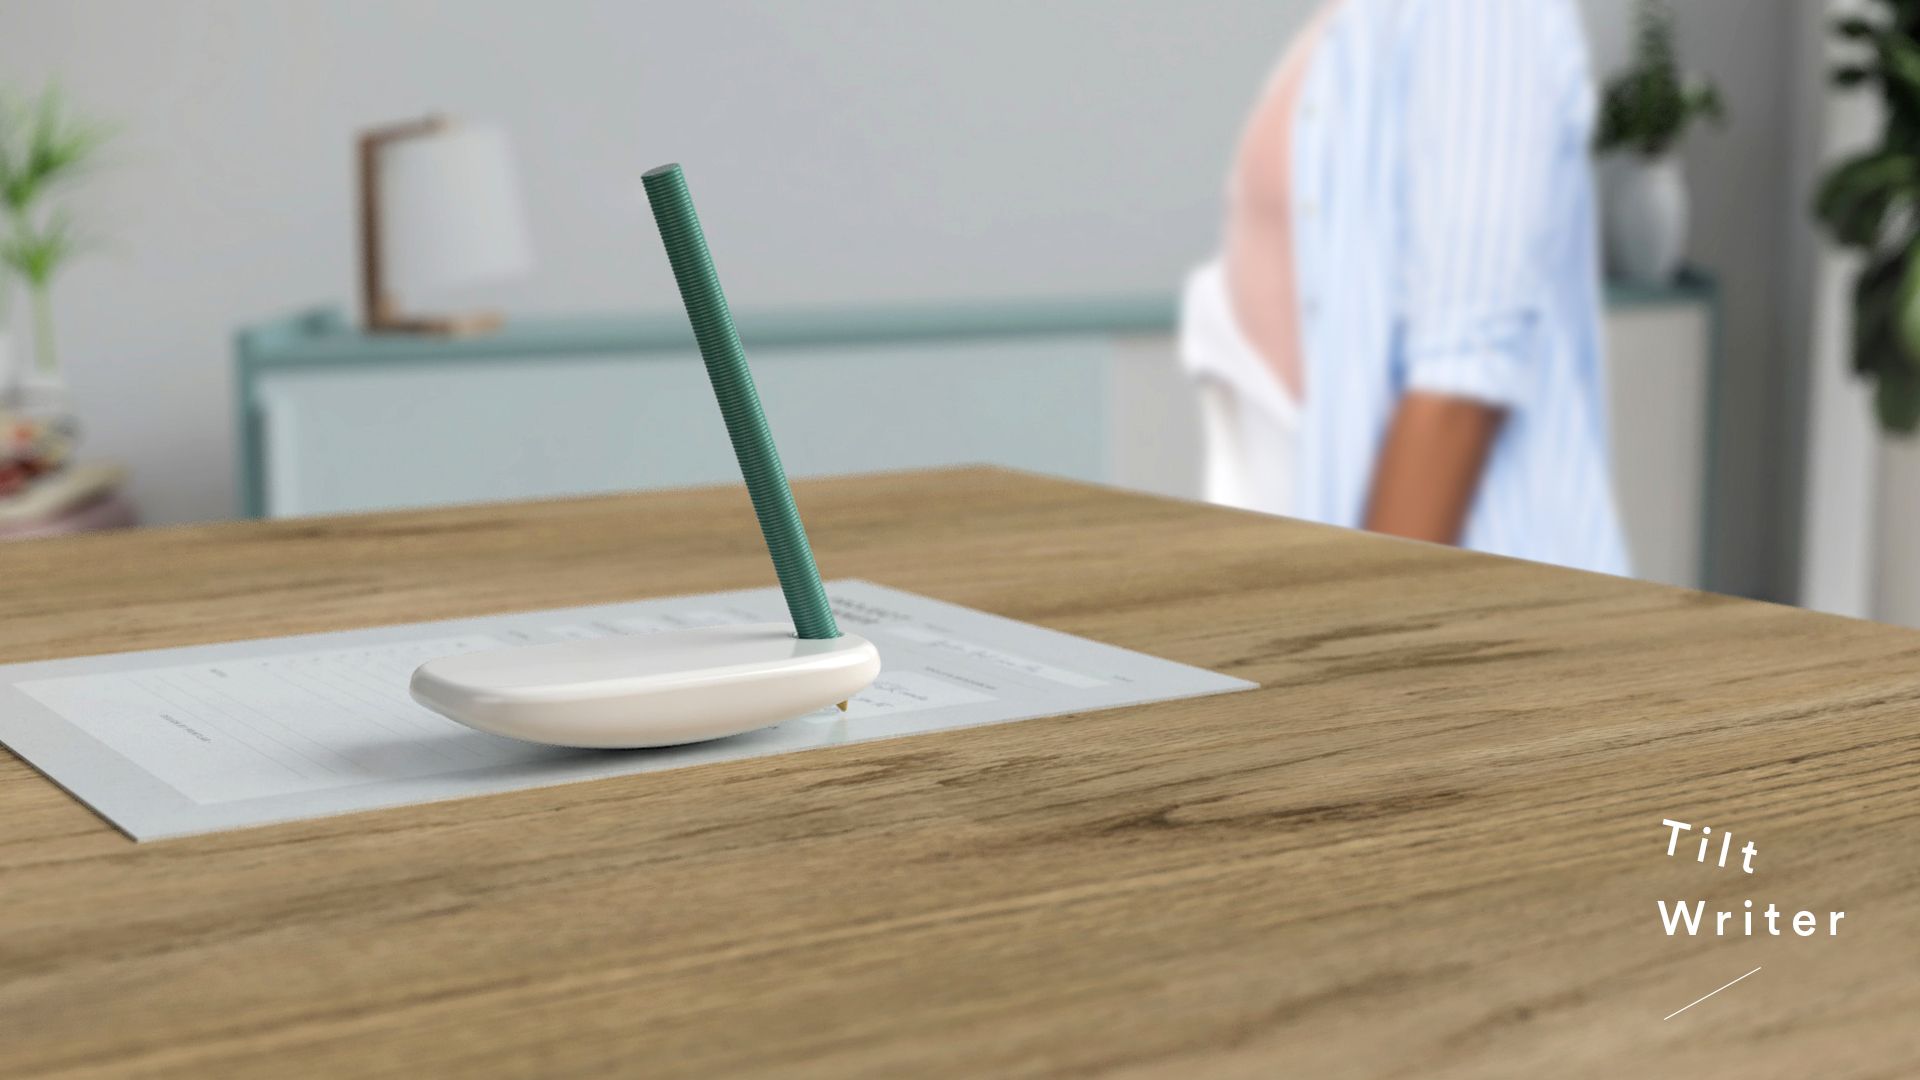
With this being a quick and simple process, we would not describe the render as being ‘hyper-realistic’ but this isn’t always necessary when communicating and presenting ideas. We hope you enjoyed these tips and if you have any questions, feel free to reach out to us at hello@weareprintlab.com. We look forward to sharing more rendering tips with you in the future!