Guest Blog: CREATE Education’s First Experiences with the EinScan-S 3D Scanner
Written by Sonya Horton. Last week I was fortunate enough to participate in a training session with our friends at PrintLab for the EinScan range of 3D scanners. I had a really fun morning, learning the technology, the software and the process of 3D scanning and decided to share my experiences in this blog.
15th June 2017 • News
Upon entering the room, I was met with a block of modelling clay and tasked with producing a clay model, scanning and then 3D printing the model. My practical skills in working with clay are let’s just say “limited”. Consequently I didn’t have very high expectations of a good output, but decided to give it a shot.
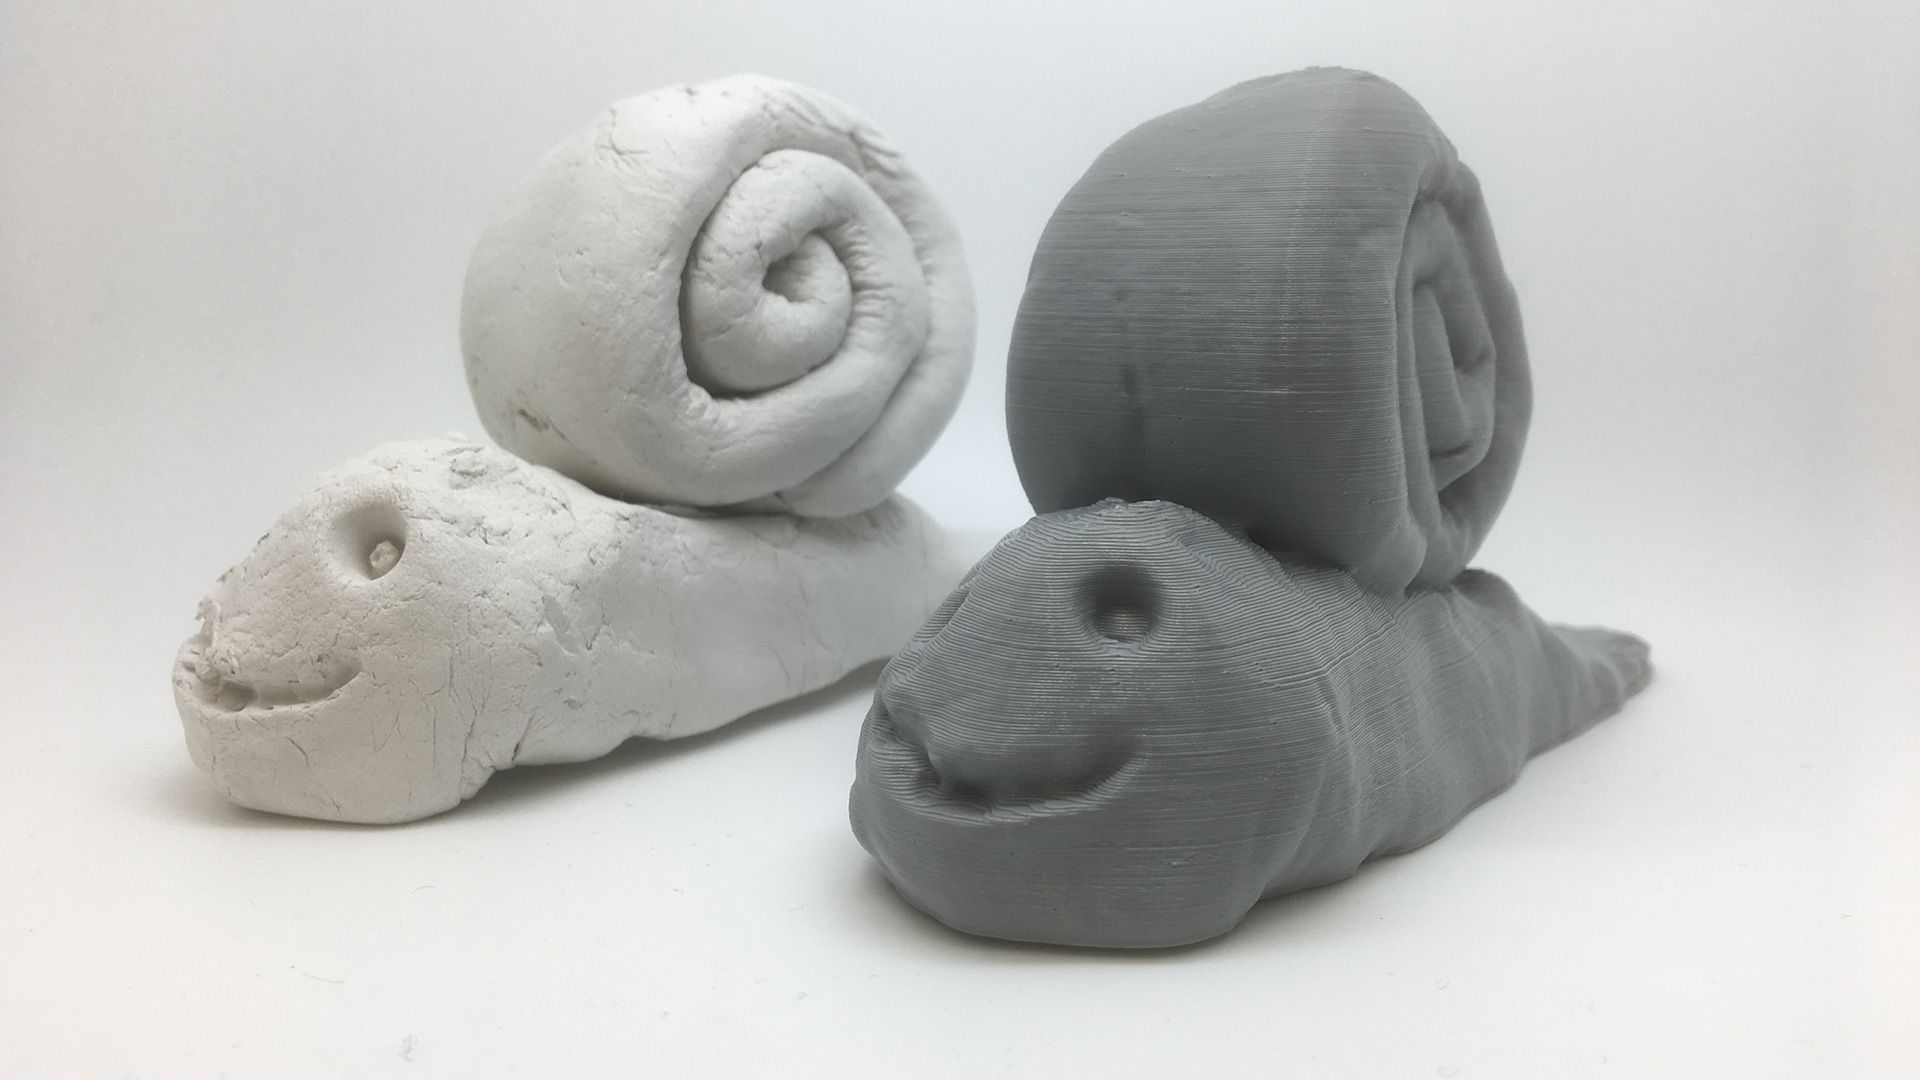
I decided to design a doorstop, and after fashioning a simple wedge shape from the clay, I gave it eyes and a mouth then rolled another piece of clay into a simple shell to make a snail shaped doorstop. After a bit of surface smoothing to get rid of the most obvious lumps, the snail was ready to scan.
We used the entry level EinScan-S desktop scanner with turntable to perform the scanning. When the scanner is first set up in a new location, or if it has been moved at all between uses, it needs to be calibrated prior to use. This is the point at which I was introduced to the EinScan Desktop Software which is available as a free download. The software seamlessly guided me through the calibration process, with simple step-by-step instructions, calibration took less than five minutes and then I was ready to scan.
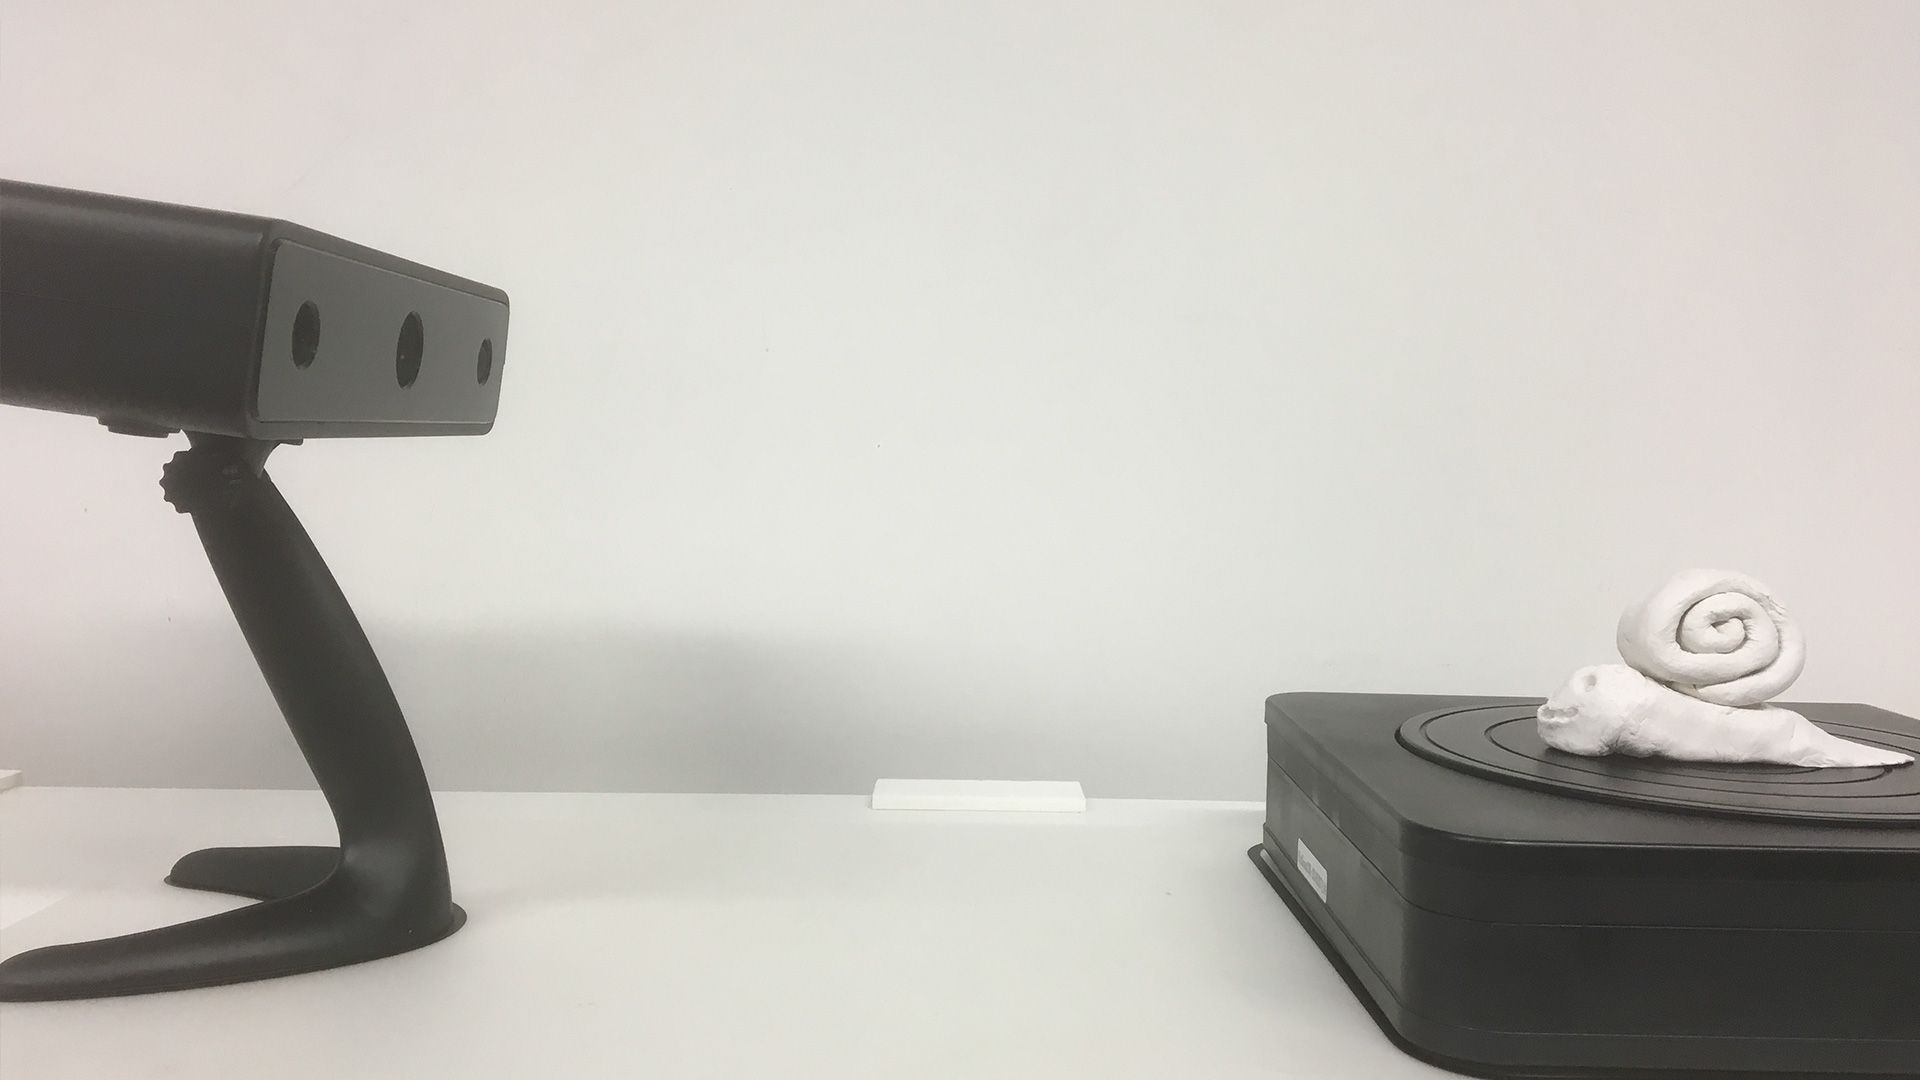
Simon Snail was positioned in the centre of the turntable and by following the prompts in the software, the scan was started. As the scan progressed a 3D image of the model appeared in the software and more details were added to this image as the clay model was rotated on the turntable and more details were captured. Overall the scan took around 3 minutes to complete and I was amazed at the quality and level of detail of the scanned image. If the model is complex and some areas can not be scanned you can re-orientate the model and do another scan to capture any missing details.

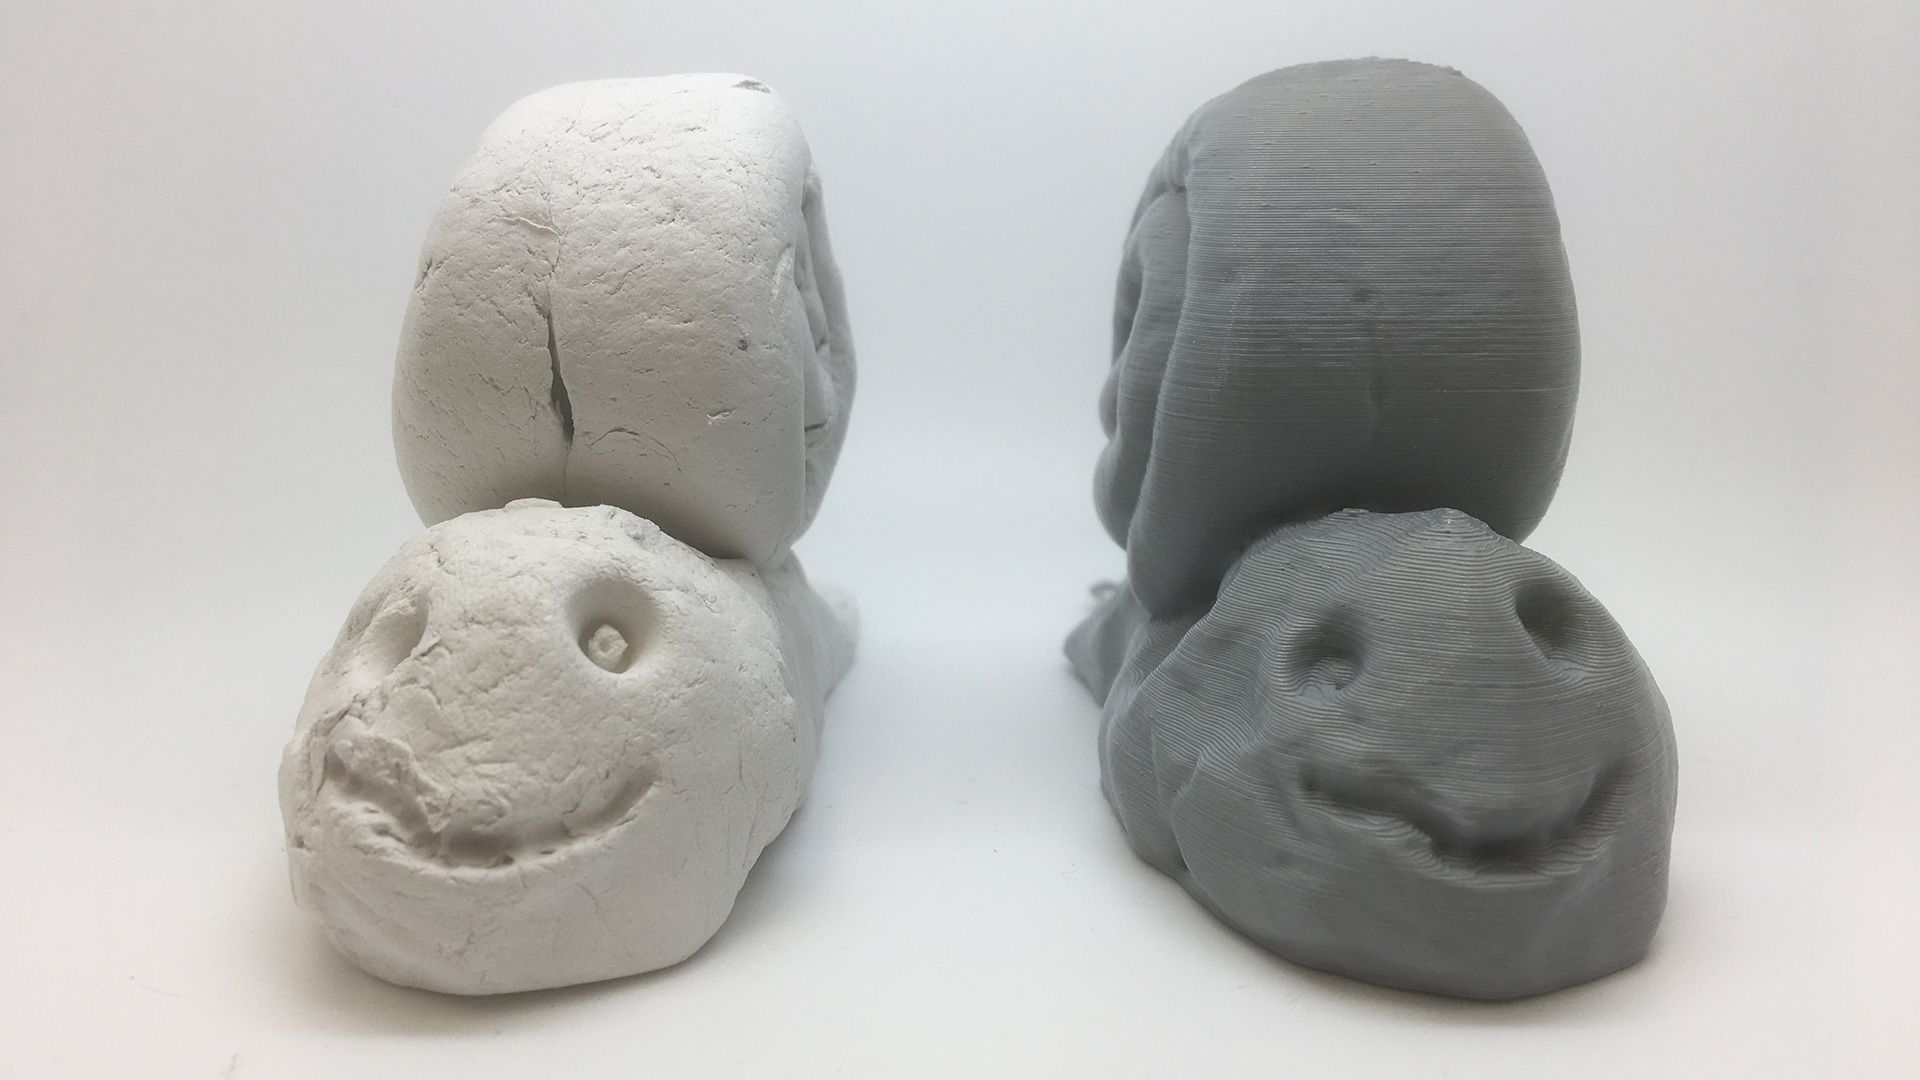
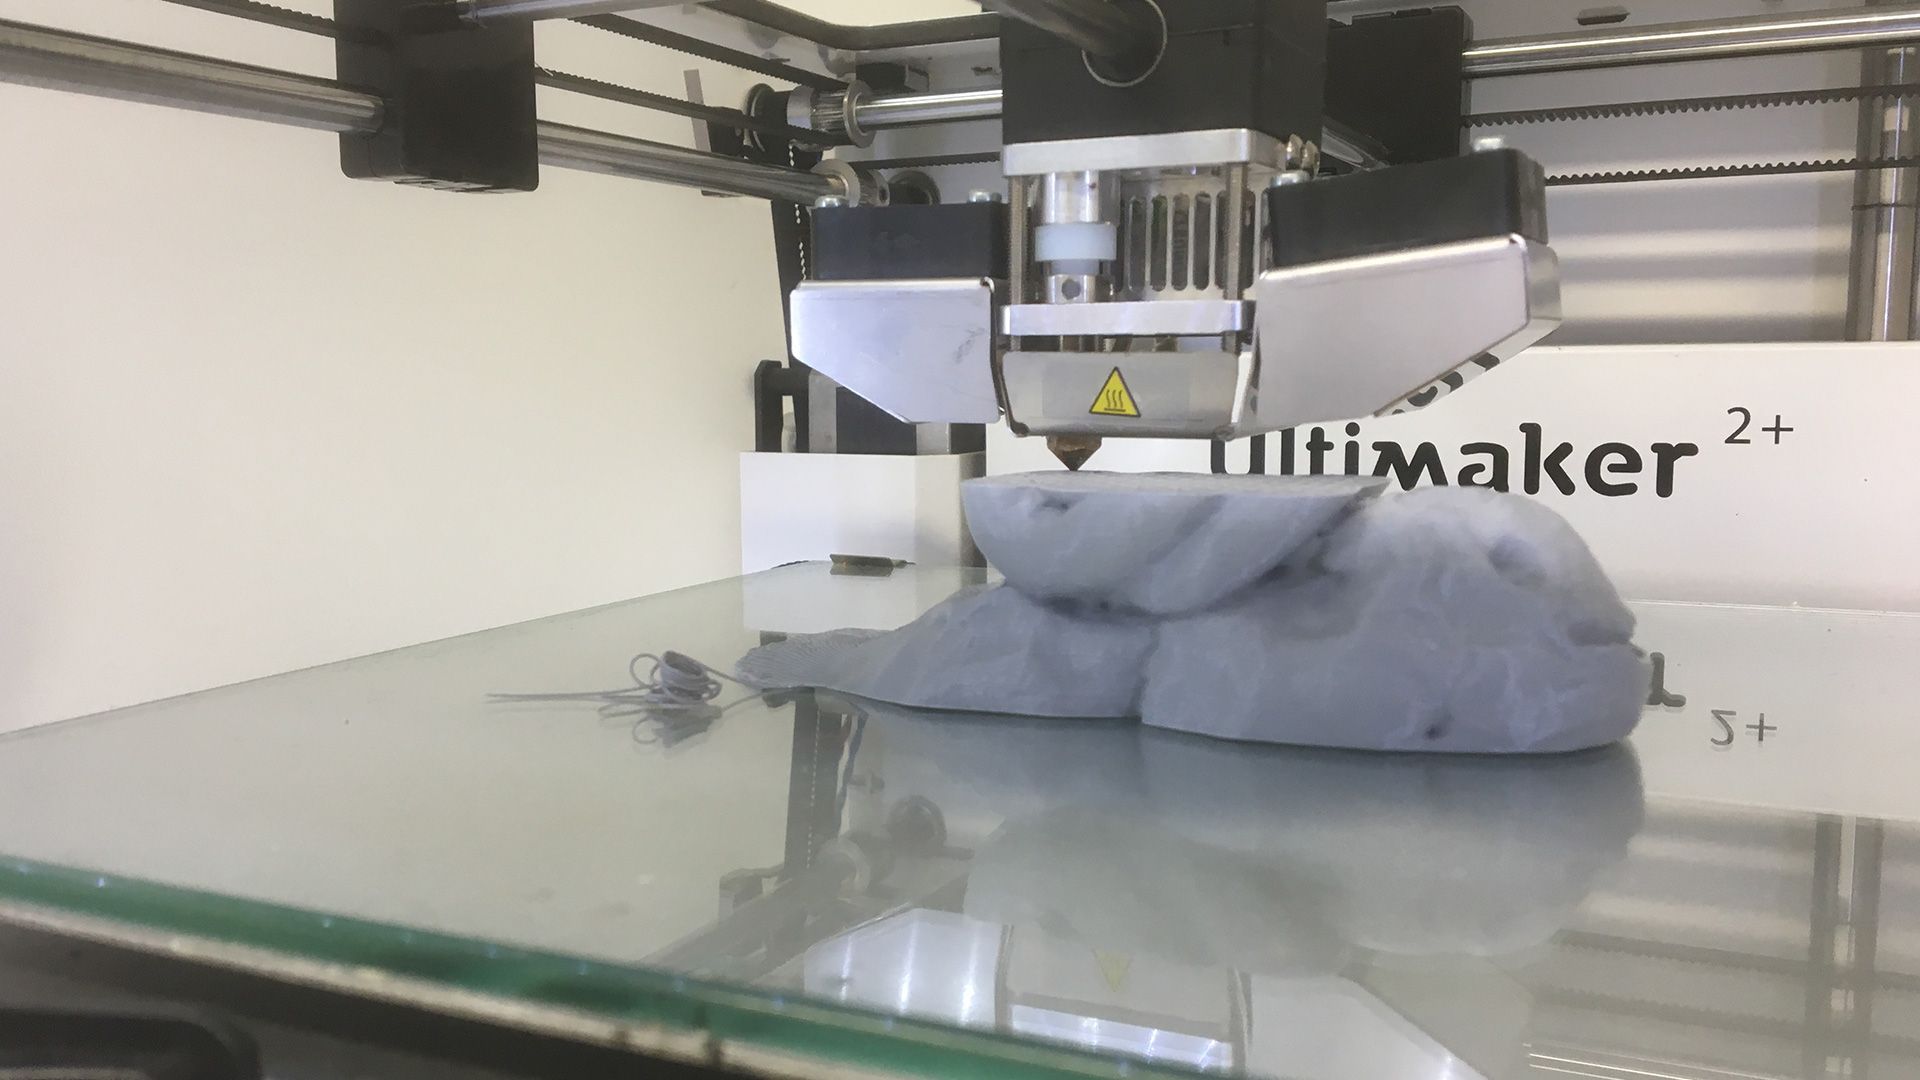
The scan was so detailed that it showed up every imperfection in my model, but I soon learnt that you can use the software to smooth out some of the imperfections (phew!) and also to make a surface mesh that “waterproofs” the 3D model. This means that the entire surface outline will print, even if there are some deep or awkward crevices that have not been captured on the surface scan. The final steps were to save the scan as an .STL file, import it into Cura, adjust any printer settings, save and then 3D print the model.
First Impressions
There were two main things I took away from this initial experience. First of all I was amazed at the quality of the finished scan, the EinScan-S is the lower cost entry level scanner which scans at 0.1mm resolution which is very precise for a scanner with such a low price point.
Secondly, I was very impressed with simplicity of the scanning process and in particular the software. The EinScan software has a simple interface and is very intuitive and straightforward to use, students would be able to use the software independently with minimal initial teacher input and support, even primary aged students could learn to use it quickly.
Many thanks to Jason at PrintLab for taking the time to show us how to use this great technology, we can’t wait to start demonstrating and offering this to the CREATE community.
In The Classroom – Educational Benefits and Applications
I am really excited about the potential for combining 3D scanning with 3D printing. It provides up a number of applications and educational benefits for students. Immediately it allows students with limited 3D CAD modelling skills to create 3D models that would be very difficult or impossible for them to produce using software only. In particular I can envisage many projects within art and design for creating 3D printed sculptures and within design technology for developing ergonomic products with more of a sculpted form that can be more easily rendered than using traditional 3D CAD modelling.
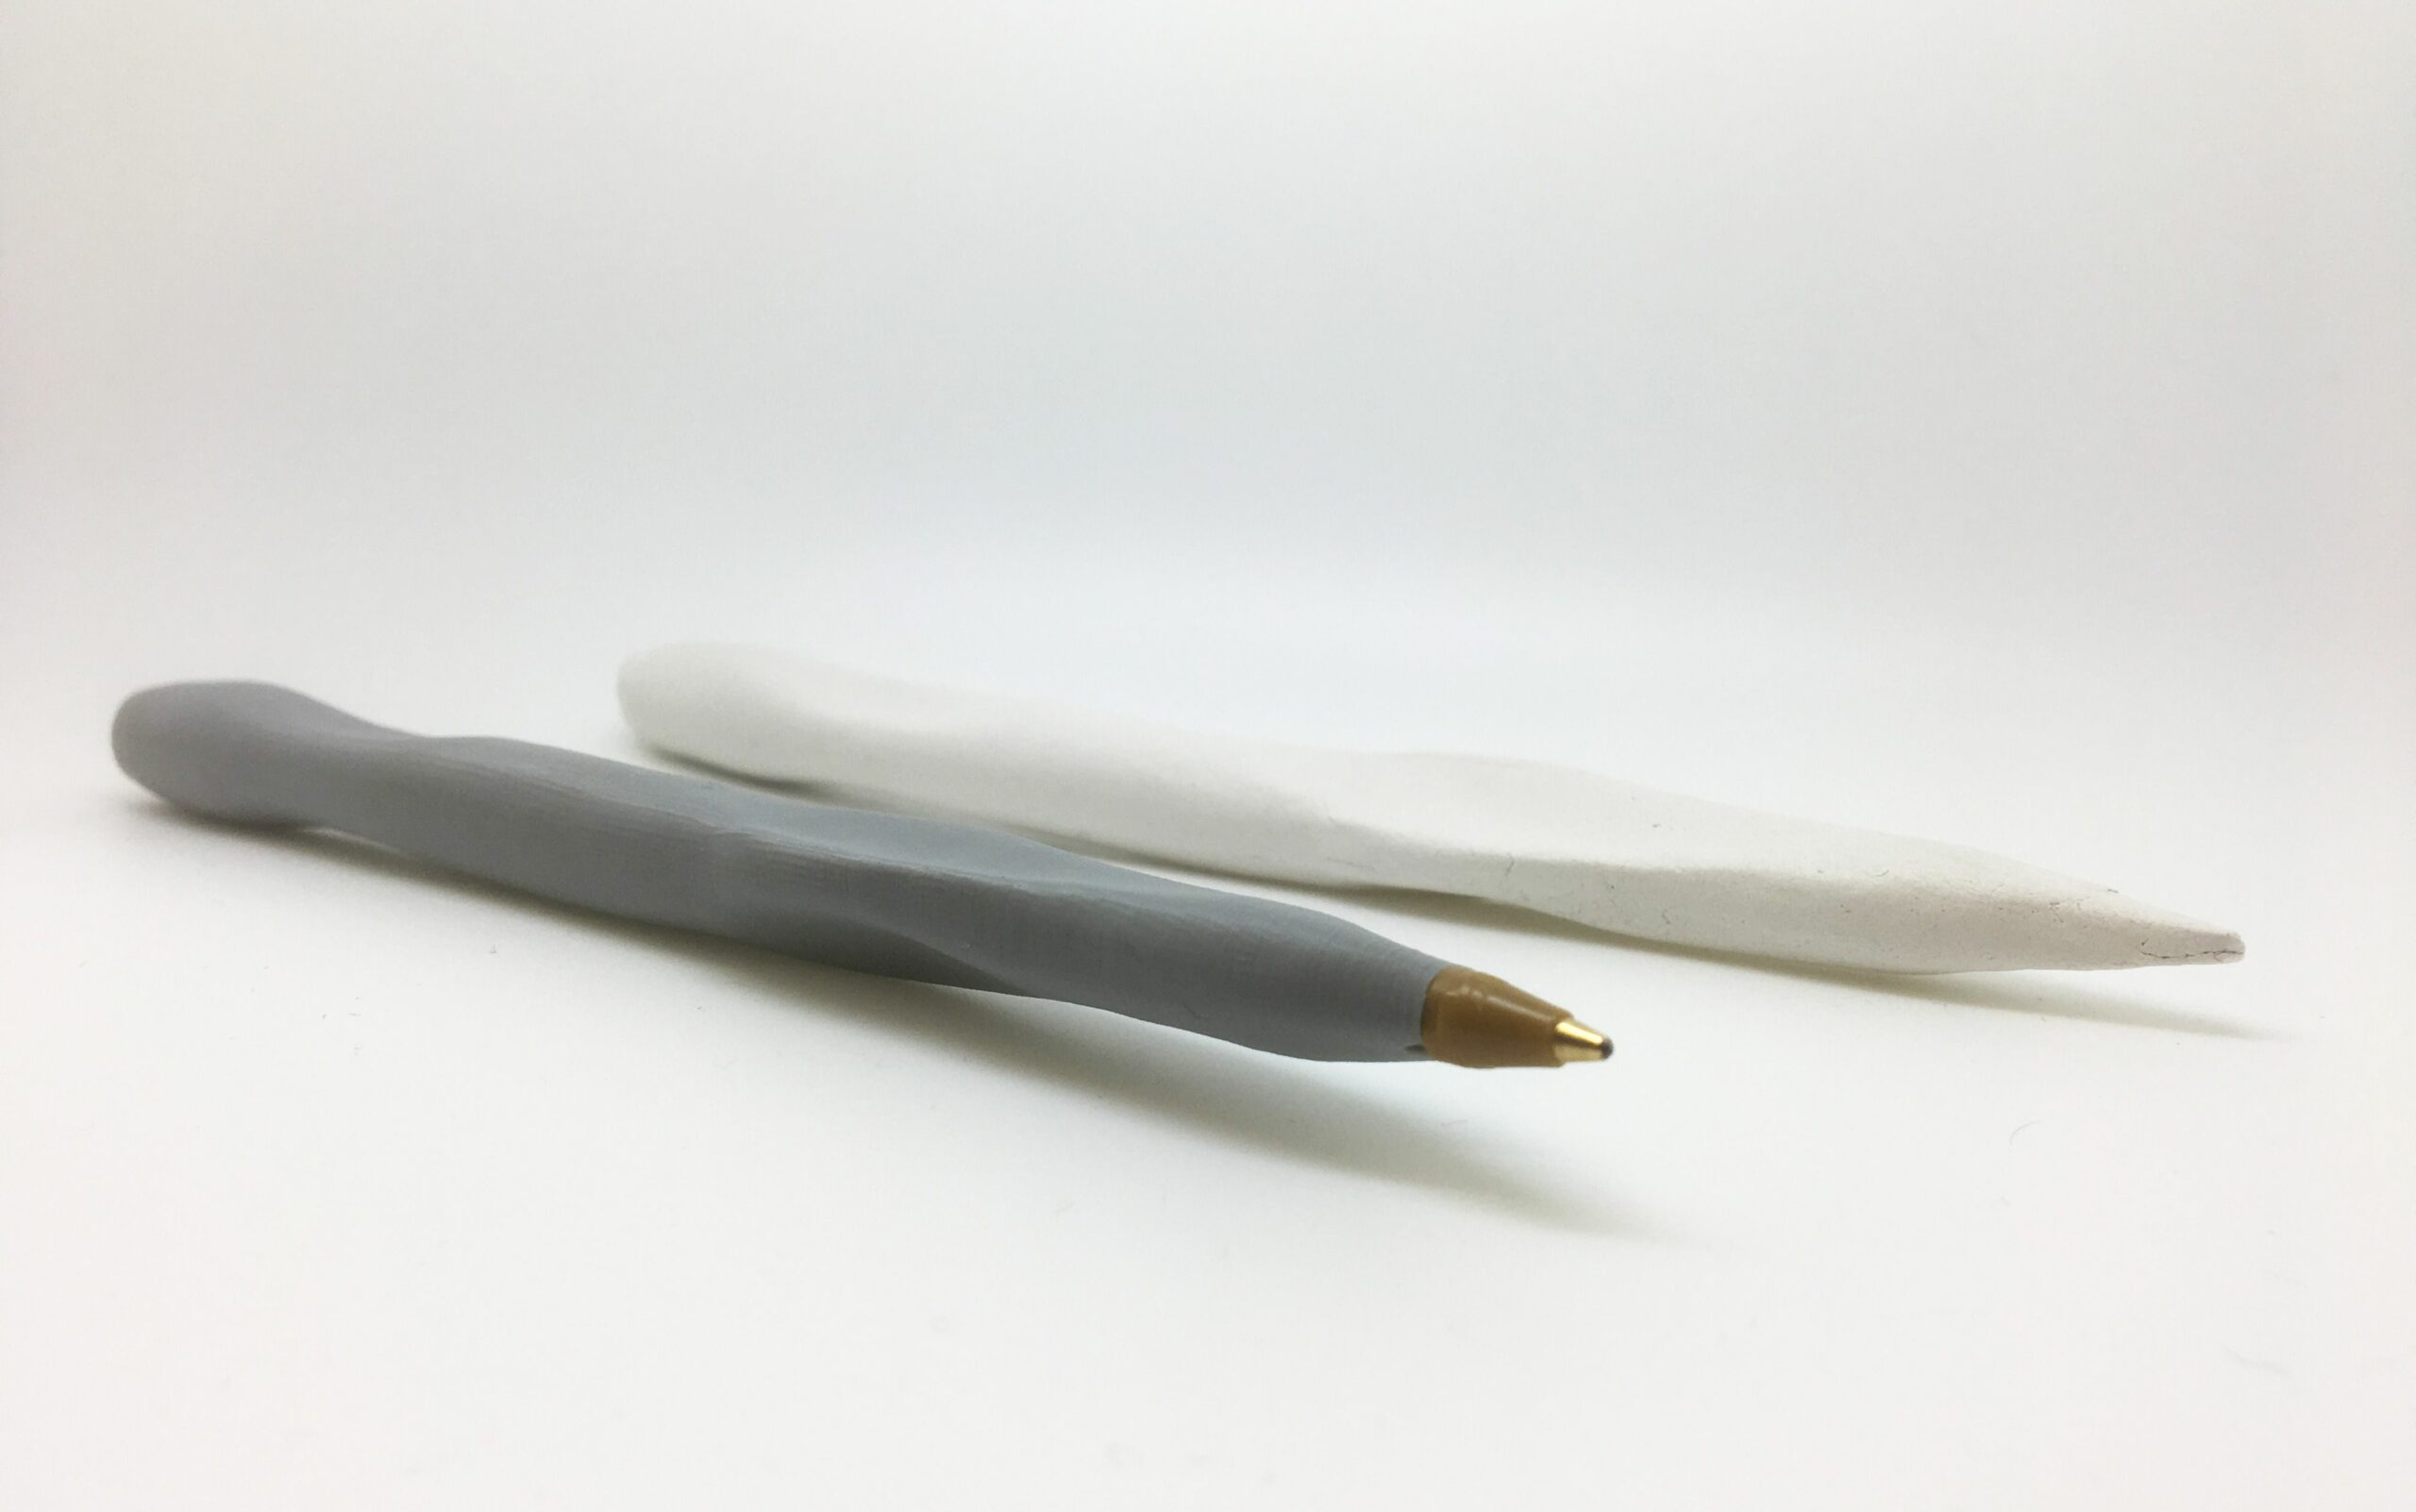
Example product design projects could include designing ergonomic pens, kitchen implements/tools, handheld technology controllers or designing adaptations of common products to enable people with poor motor skills, grip or missing digits the independence to use them.
Scanning can also be of benefit to schools by providing a way to renew or replace educational resources. For example if part of a set of a physical classroom resources is lost or broken, the part can be scanned and replacement parts can be 3D printed. This will save schools from having to purchase complete new sets.
And to finish up here’s a video of the scan to print process: