Solderless Electronics for 3D Printed Products | Inside the MakerTrack Course
Electronics is most powerful when it becomes part of something real. Too often, learning stops at a working circuit on a board. An LED lights up. A buzzer sounds. Then it’s dismantled and forgotten. The MakerTrack course takes a different approach. Today, we're taking a deep dive into what actually happens inside the course.

16th February 2026 • News
The MakerTrack Concept
Instead of treating electronics and product design as separate skills, MakerTrack brings them together in one structured journey. You’ll 3D print a modular, solderless system for building clean, low-voltage circuits. You’ll experiment, test, and iterate. Then you’ll apply that knowledge to design a fully presentable 3D printed product, starting with a working LED flashlight.
Whether you’re a student developing technical confidence, an educator introducing practical electronics, or a maker exploring new workflows, MakerTrack provides a clear pathway from first circuit to finished device.
Here’s how the course unfolds.
STEP 1: Preparing the MakerTrack System
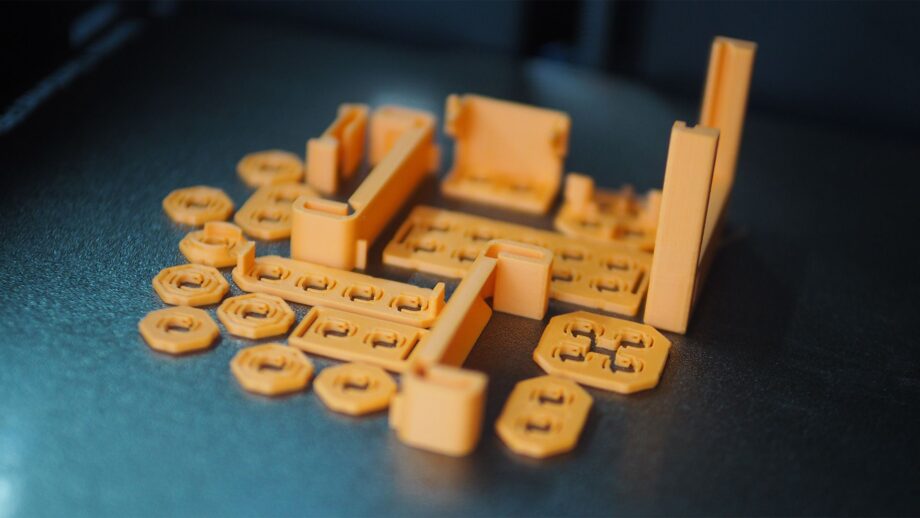
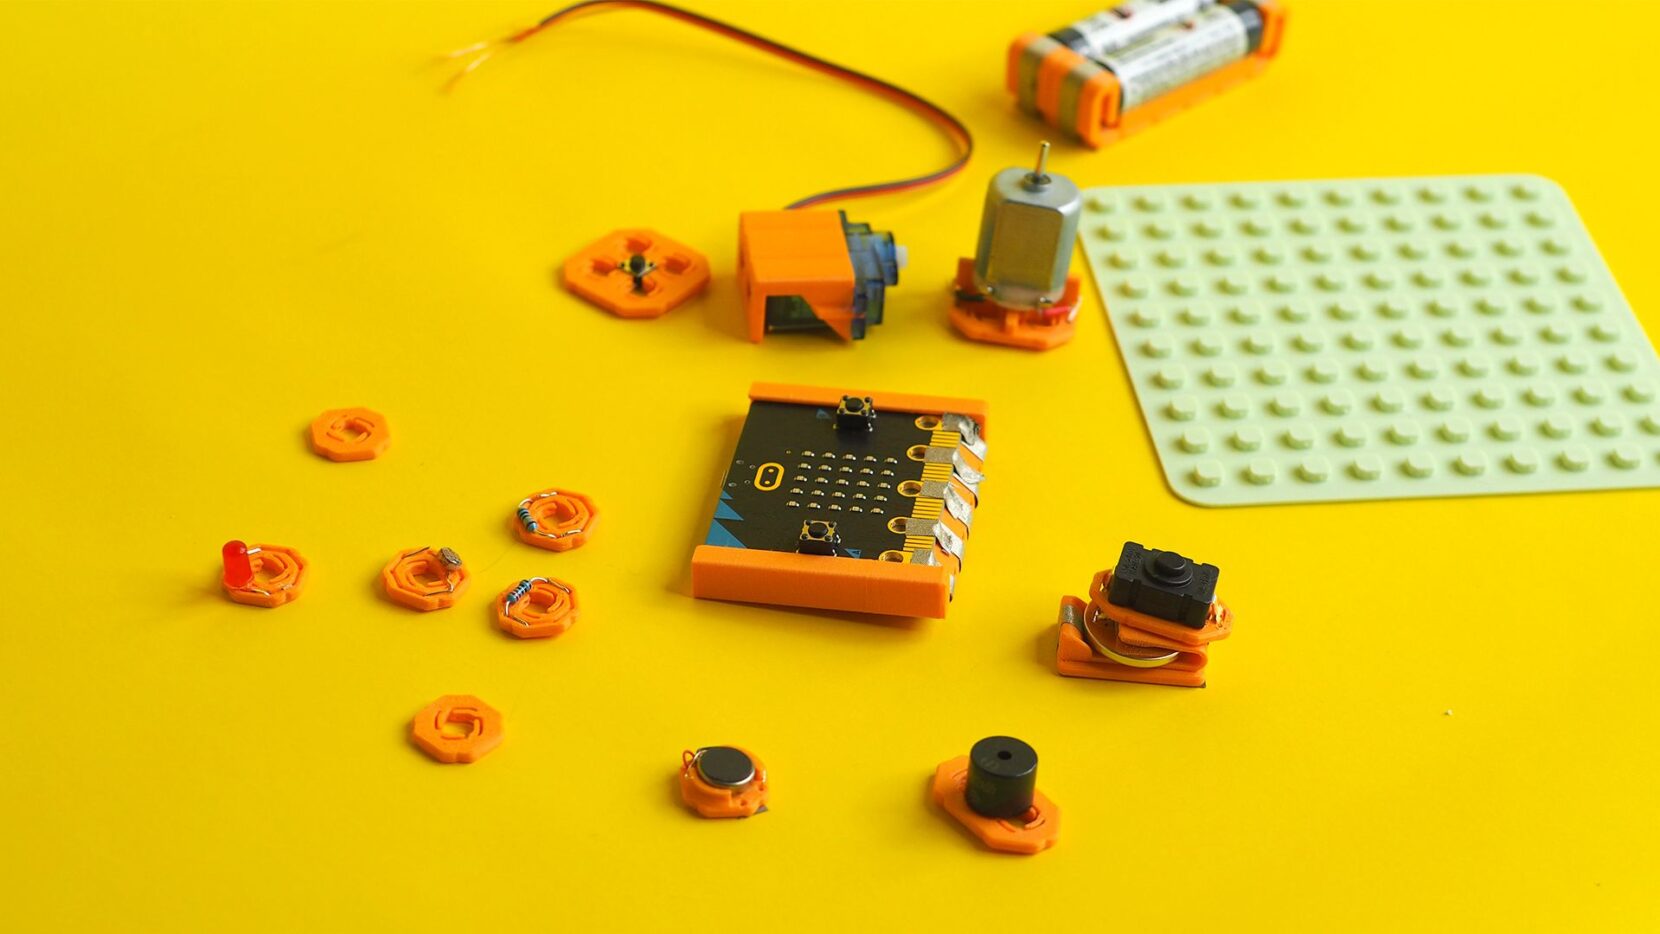
Before building any circuits, you prepare the system itself. MakerTrack begins with 3D printing the grid board and component mounts that form the foundation of every build. Each electrical component, from LEDs and resistors to motors and the Micro:bit, sits securely inside its own dedicated mount. This keeps everything organised, visible, and easy to reposition during testing.
Once printed, you source the required low-voltage components and insert them into their mounts using the step by step assembly videos provided in the course. This stage is more than simple setup. It builds familiarity with each component and introduces key ideas such as polarity, current flow, and safe power use. By the time you start prototyping, you are not just placing parts on a board. You understand what each one does and how it behaves.
The result is a clean, modular, solderless system that makes experimentation structured rather than chaotic. With the kit assembled, it is time to start experimenting.
STEP 2: Circuit Experiments
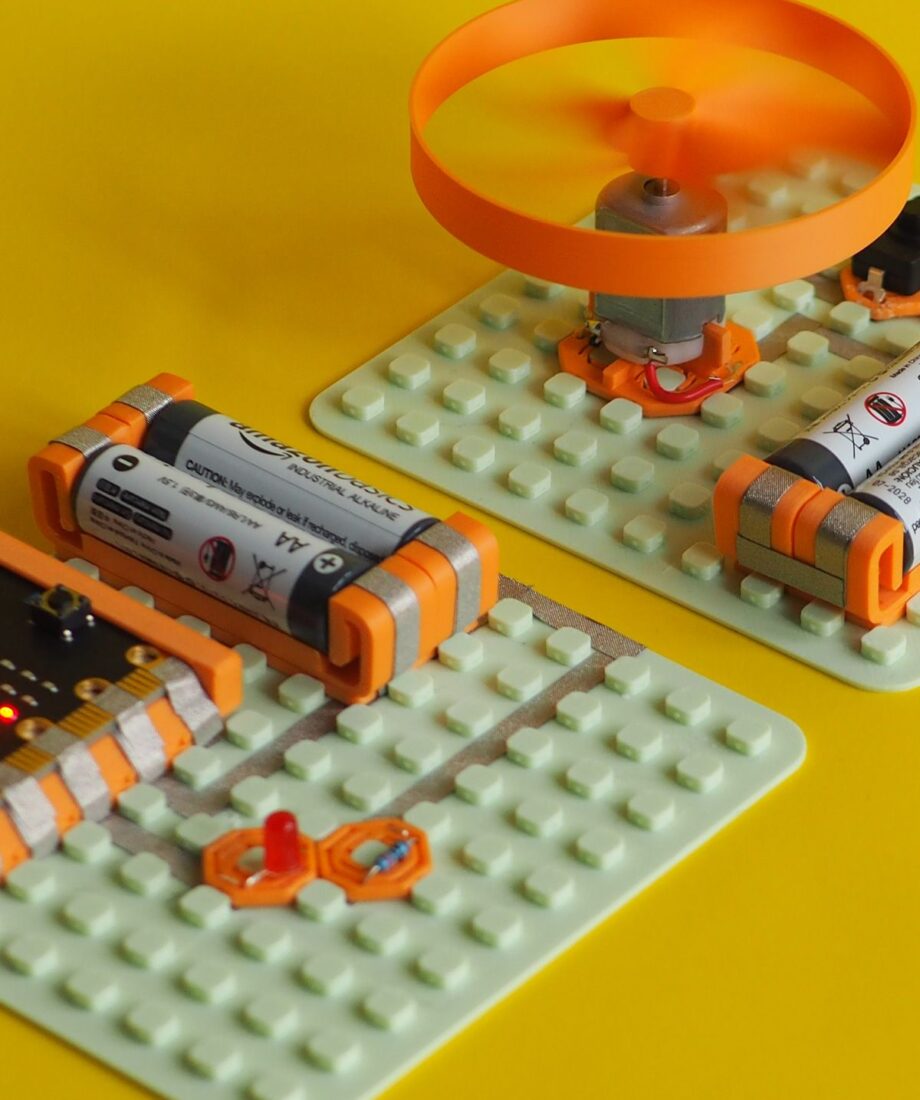
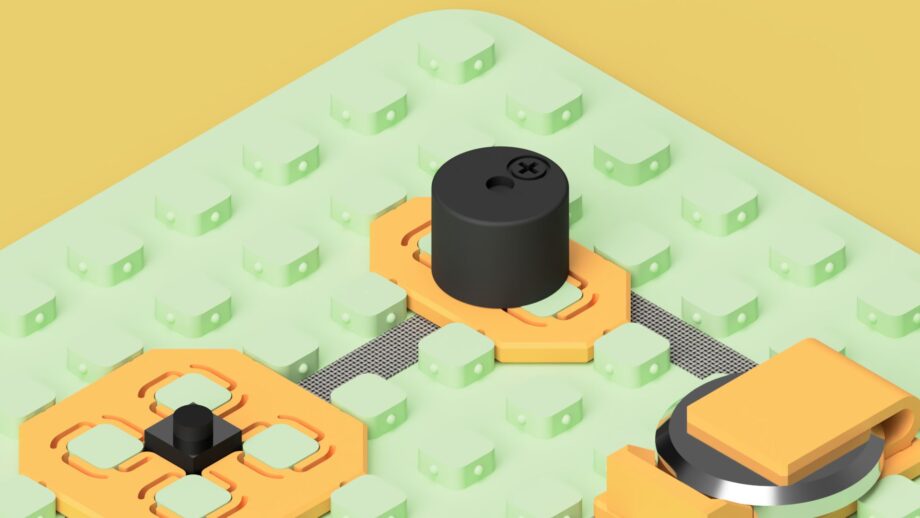
With the system assembled, experimentation begins. A dedicated prototyping video walks you through how to build circuits using the MakerTrack grid and conductive tape. From there, you can explore a range of structured circuit experiments directly on the board.
You might start with a latching LED circuit, then move into sound with a buzzer, motion with a motor, or sensing with an LDR. The course also introduces programmable builds using the Micro:bit, where you can create flashing patterns, tilt alarms, sensor-based reactions, and servo movement using drag and drop coding.
You can follow the full pathway or pick and mix experiments based on your goals. Once you understand the system, you can even create your own variations. Because the system is modular and solderless, adjustments are quick and easy to see. If something does not work, you can trace the pathway and test again. This is where understanding deepens. Not just whether a circuit works, but why it works.
STEP 3: Designing Finished Products
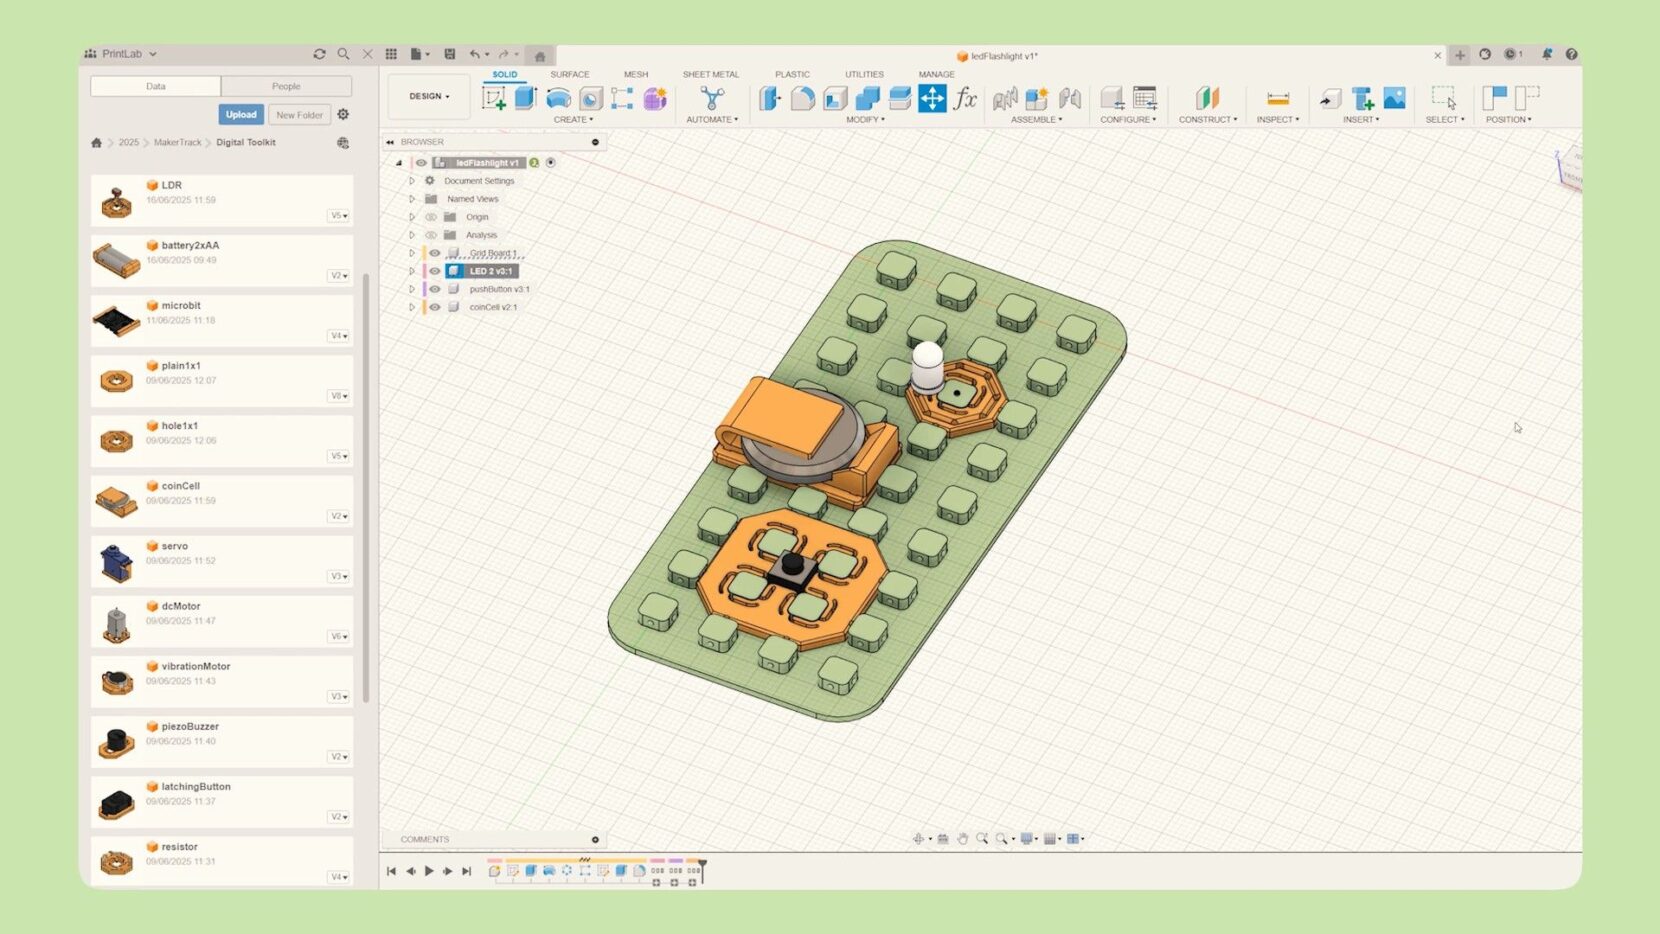
Once you are confident building and testing circuits, the course moves into 3D CAD. Instead of stopping at a working prototype, you design a custom enclosure to turn a simple LED circuit into a fully presentable product. In the core tutorial, this takes the form of a handheld flashlight.
Using either Tinkercad or Autodesk Fusion, you use the digital toolkit to design the outer casing, position the mounts, consider battery placement, and think carefully about assembly. The electronic system you built earlier now becomes the internal structure of a real device. This stage introduces product design thinking. You consider ergonomics, fit, access, and presentation. You are no longer just building a circuit. You are designing around it.
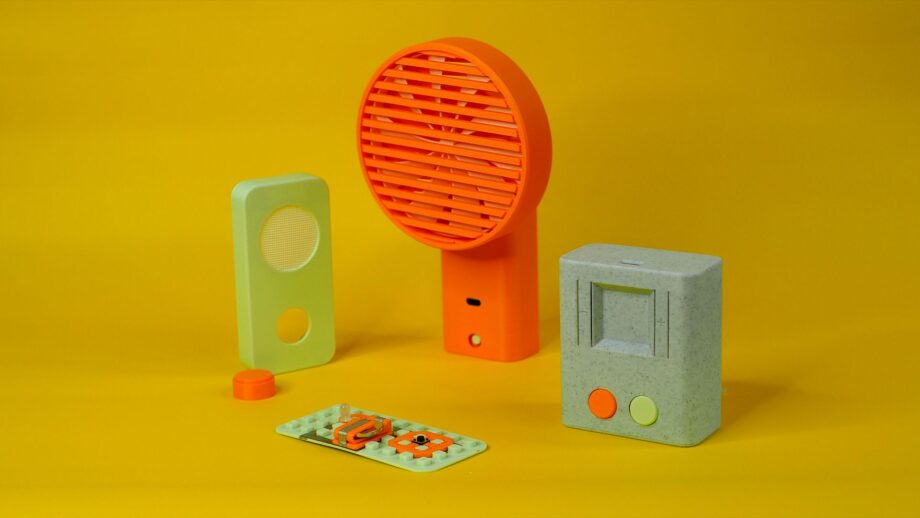
From there, the course opens up further. In the bonus section, you can learn how to design your own custom MakerTrack mounts for new components, explore example builds, and see how the system was used to prototype products such as a self watering planter. You are encouraged to invent your own ideas, whether that is a fan, gamepad, desk light, motion alarm, timer, or something entirely original.
By the end of this stage, you have moved from individual components on a grid board to complete, functional 3D printed products that you have designed yourself.
Ready to Explore MakerTrack?
MakerTrack is designed to make electronics structured, visible, and purposeful. From your first solderless circuit to designing complete 3D printed products, the course builds practical understanding while encouraging creativity and experimentation. Whether you are introducing electronics for the first time or looking for a clearer pathway from circuit to product, MakerTrack provides a step by step framework that keeps learning hands on and intentional. Check out the full course below.
Start a free trial of PrintLab to access the full MakerTrack course, including all tutorials, downloads, and supporting resources