Make:able Teacher Tips from Last Year’s Winner
*Guest blog written by Matt Zigler: Hi! I’m Matt Zigler from Bullis School, Maryland. Last year I participated in the make:able challenge with a class of high school students and one of our teams took home the 'best inspirational story' and 'best showcase of iterative design' prizes. PrintLab recently invited me to write a guest blog for them to provide my top 5 tips for teachers who are facilitating students through the make:able challenge.
24th January 2022 • Make:able
I have been teaching a class at Bullis called Making for Social Good for five years. Last year we participated in the make:able design challenge because the concept and the design thinking resources fit so well with what I had been doing in my class.
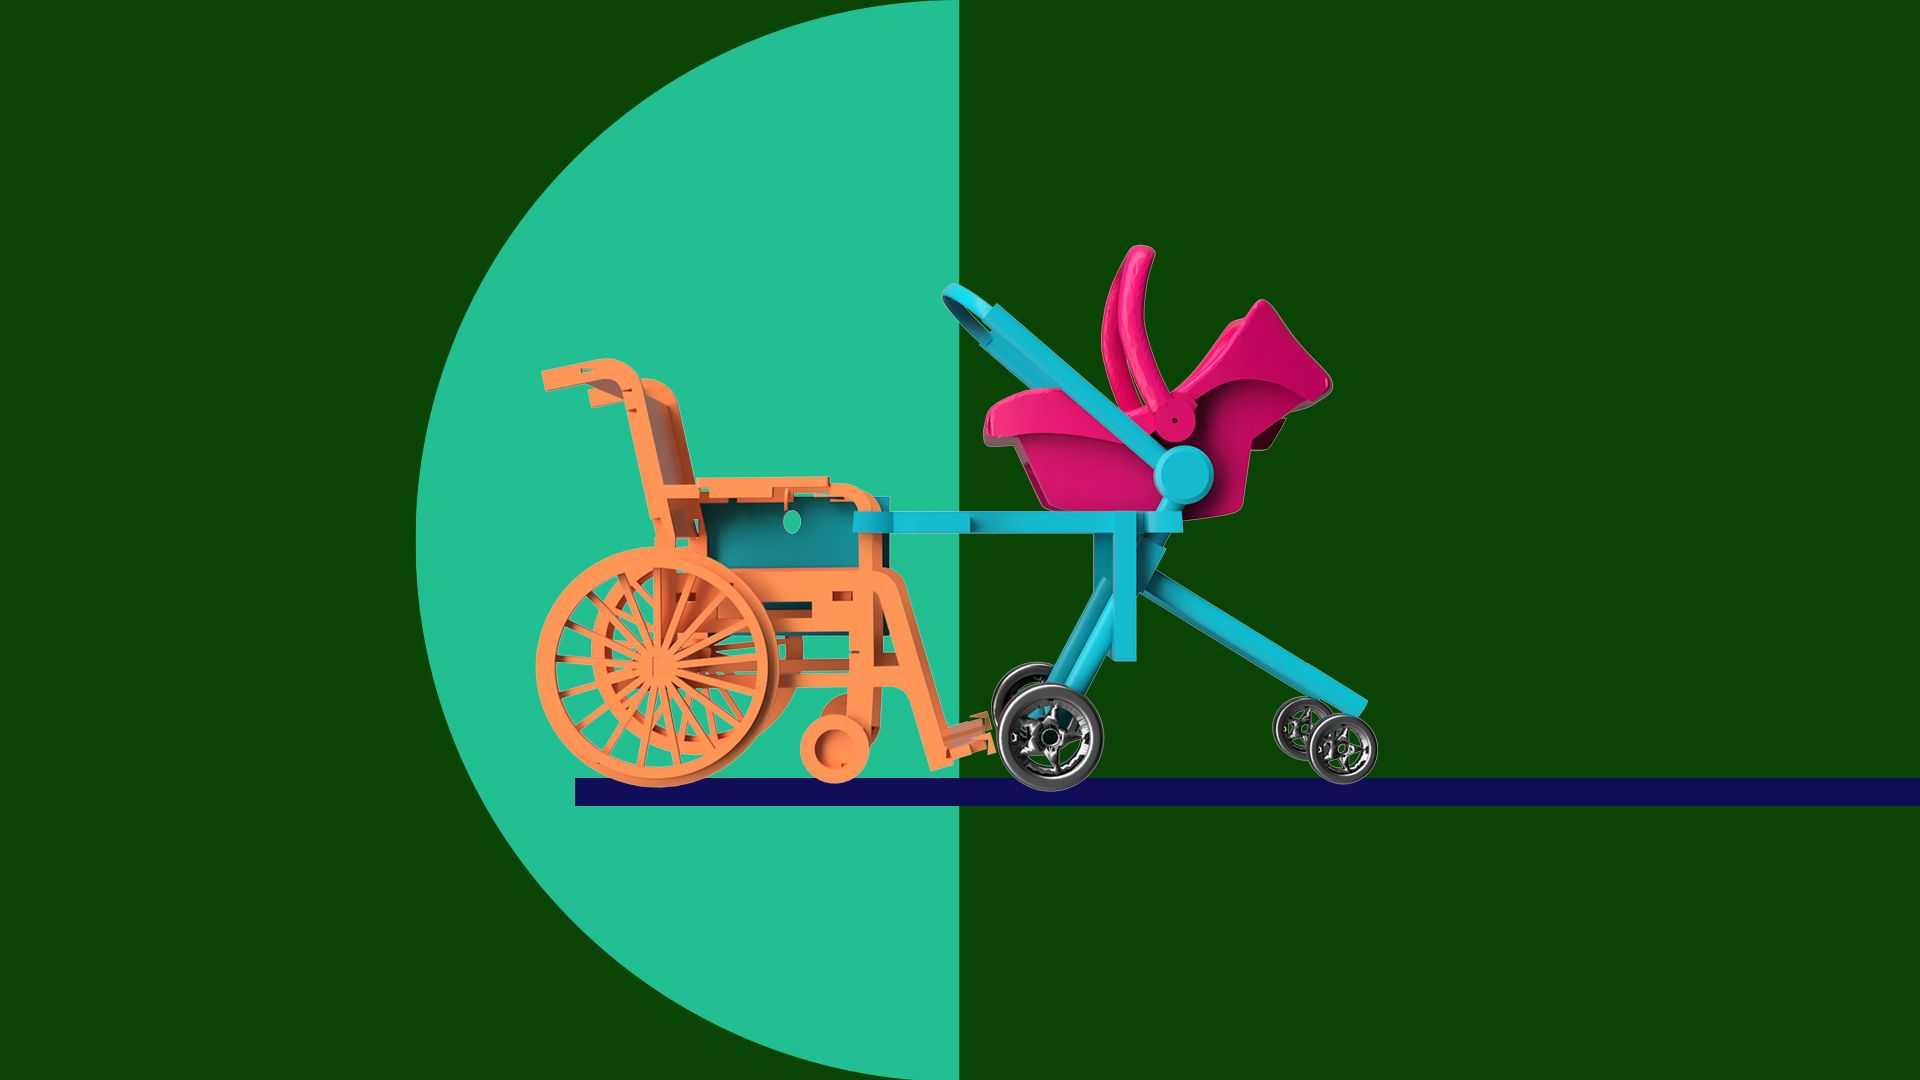
At the beginning of the year, I was approached by a fellow teacher who was about to have her first child. Her husband, who was in a wheelchair, wanted a way to be able to push a stroller to take their child for a walk. This became the challenge that my students worked to solve. In small groups, and through a series of iterations, they successfully designed two solutions to the problem. In addition to winning two of the competition categories, the Wheestroll project got picked up on national and international media and several of the students participated in interviews about the project. The best thing about the experience is that if you talked to any of my students they would tell you that the most important thing was that they made the life of one of our community members a little bit better and were able to share their idea with the world.
And now on to my top 5 teacher tips…
Work with a client connected to your local or school community. No matter how you do it, the make:able challenge is meaningful, but for kids, it will be even more meaningful if they know that someone in their own community will directly benefit from their work. This could be a member of your school community, a family member of someone on the team, or someone from an organization connected to your school. The make:able users present great challenges and a way to get started, but if at all possible, find someone you can work directly with or connect the make:able user challenges to organizations in your area.
Practice interviewing skills. The heart of the class that I teach, and the make:able design challenge, is empathy-based design. This means that solutions are based on the needs of people, not just solutions to problems. It’s impossible for a person with perfect vision to truly understand the day-to-day challenges of someone who has a vision impairment. Through good interviewing, it is possible to get a sense of these challenges, however, and to hear someone describe them in their own words. Interviews should be conducted for understanding, not just for the approval of an idea. I use interviewing resources from YPAR Hub (yparhub.berkeley.edu) to talk to students about open-ended questions, making interviewees feel comfortable, keeping a neutral tone, and asking good follow-up questions. I have students practice on each other to get used to conversational interviews rather than running down a list of questions.
Challenge assumptions; your students’, and your own. It’s impossible to go into the interview without at least some ideas for a design, but usually, these initial ideas come out of our assumptions about others’ experiences. It’s also hard as a teacher not to intentionally, or unintentionally, guide students towards particular ideas. While making a functional object is a part of the challenge, teaching students the process of empathy-based design is best done by guiding them through the process, letting them learn how to deal with designs that don’t quite work, and encouraging them to be persistent. Keeping your own ideas out of the mix until the students have solid ideas of their own is an important part of this process, but making them challenge their own first idea is also a part of it, even if that idea ends up being the most successful.
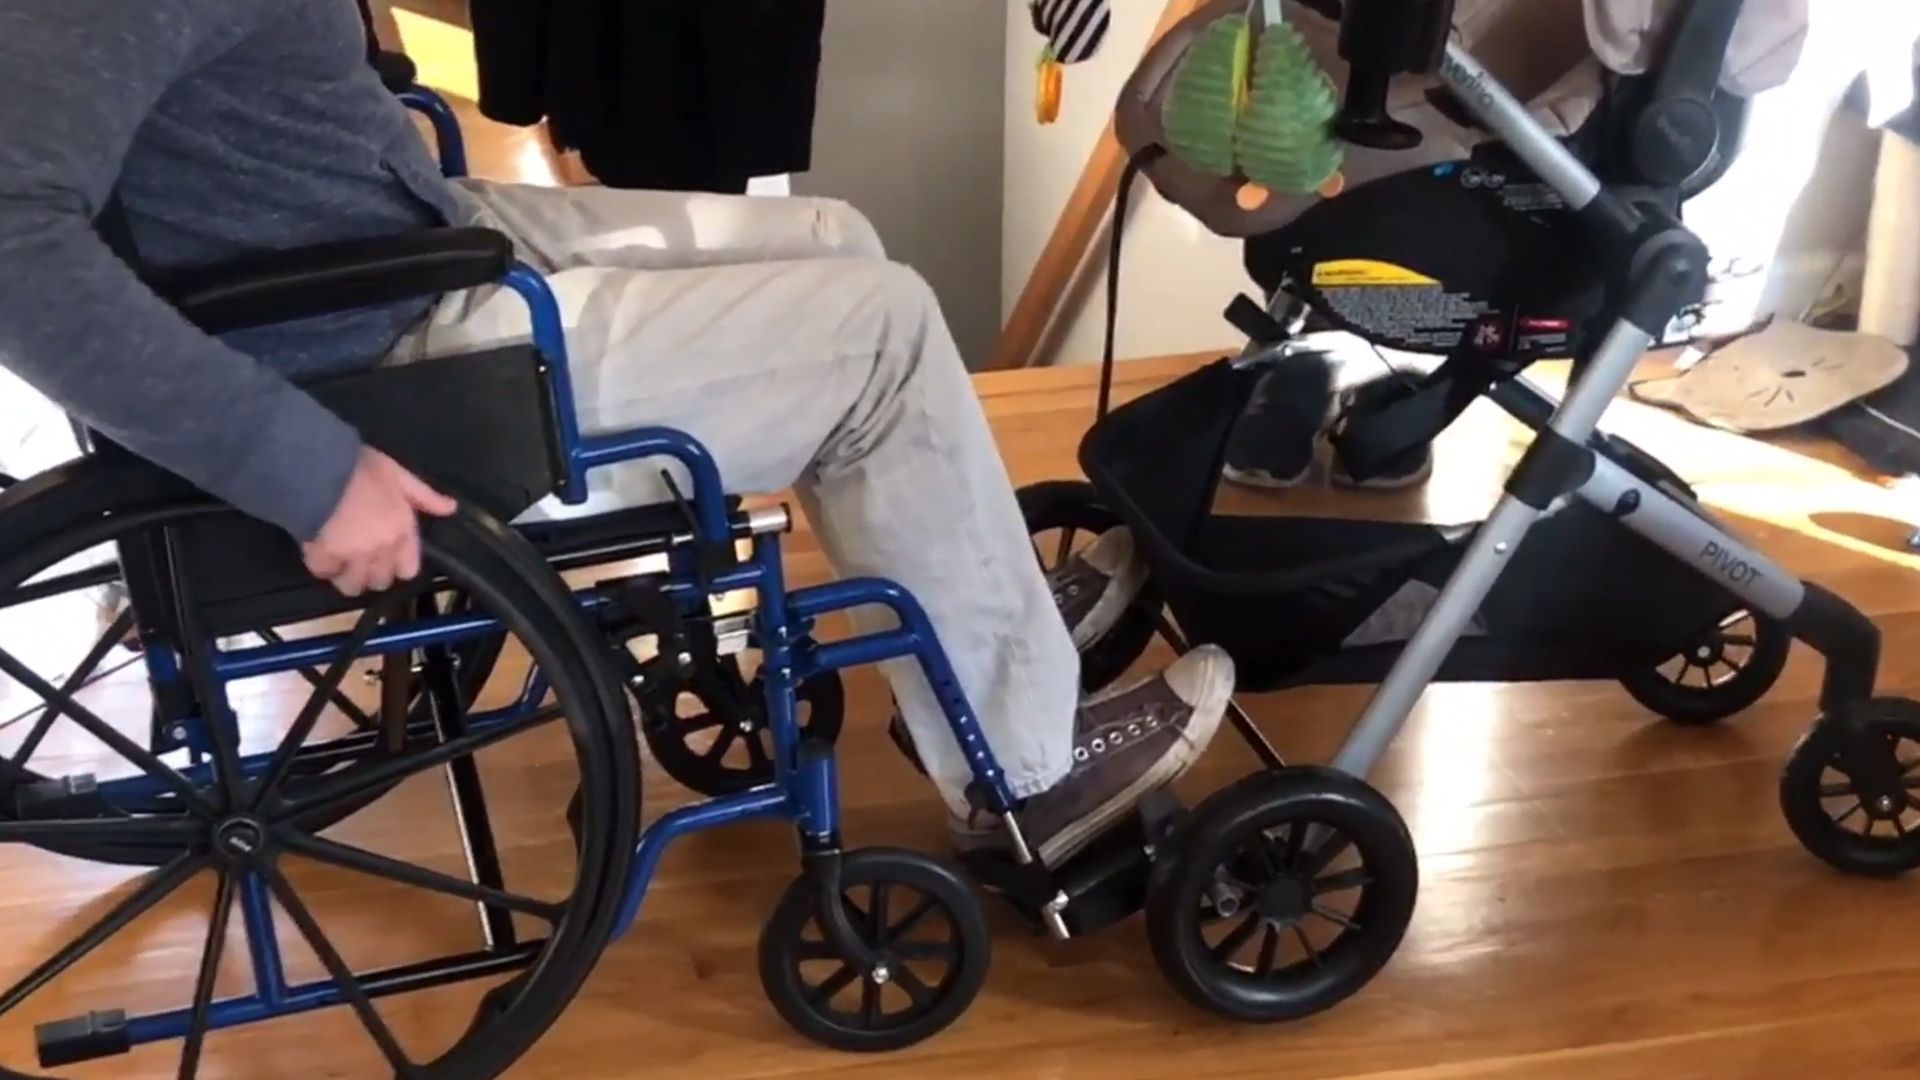
Encourage a bias towards action. Some of the projects that groups might want to do are quite complex and extensive. There are two common responses to this; being daunted by the complexity of the project or being unrealistic about what can be accomplished. The solution to both of these responses is the same; quickly accomplish the simplest possible version of the project; just a hand-drawn sketch on paper or a cardboard cutout will do. The very first version of the Wheestroll adapter was essentially two 3D printed blocks with holes in them. They didn’t even fit very well on the wheelchair, but having something quickly made that we could manipulate and discuss got the process started and clarified what was possible with the project.
Finally; Iterate, iterate, iterate. After that first physical object has been created it is simply a matter of testing it, designing an improved version, and fabricating it over and over again. If you’ve done your interviewing well and truly know what your client needs, if you’ve thought of a variety of solutions and compared them against those needs, and you’ve kicked off the creative process with a simple first step, it just becomes a matter of progressively redesigning the object to get closer and closer to the goal of meeting the needs. Whether it takes three versions or a dozen, the challenge is simply to make each one a little better than the last. It’s good to remember that this is not the typical student experience in school, where often they get one chance to ace the test or quiz. If students see that their chance of success is limited only by the number of times they are willing to improve their design, their motivation to keep at it will be almost endless!
Thank you for taking the time to read my guest blog today. We’ll be participating in make:able again this year so if you’d like to follow our journey and keep up to date with other projects we work on, you can follow us on Twitter – @BullisBITlab.