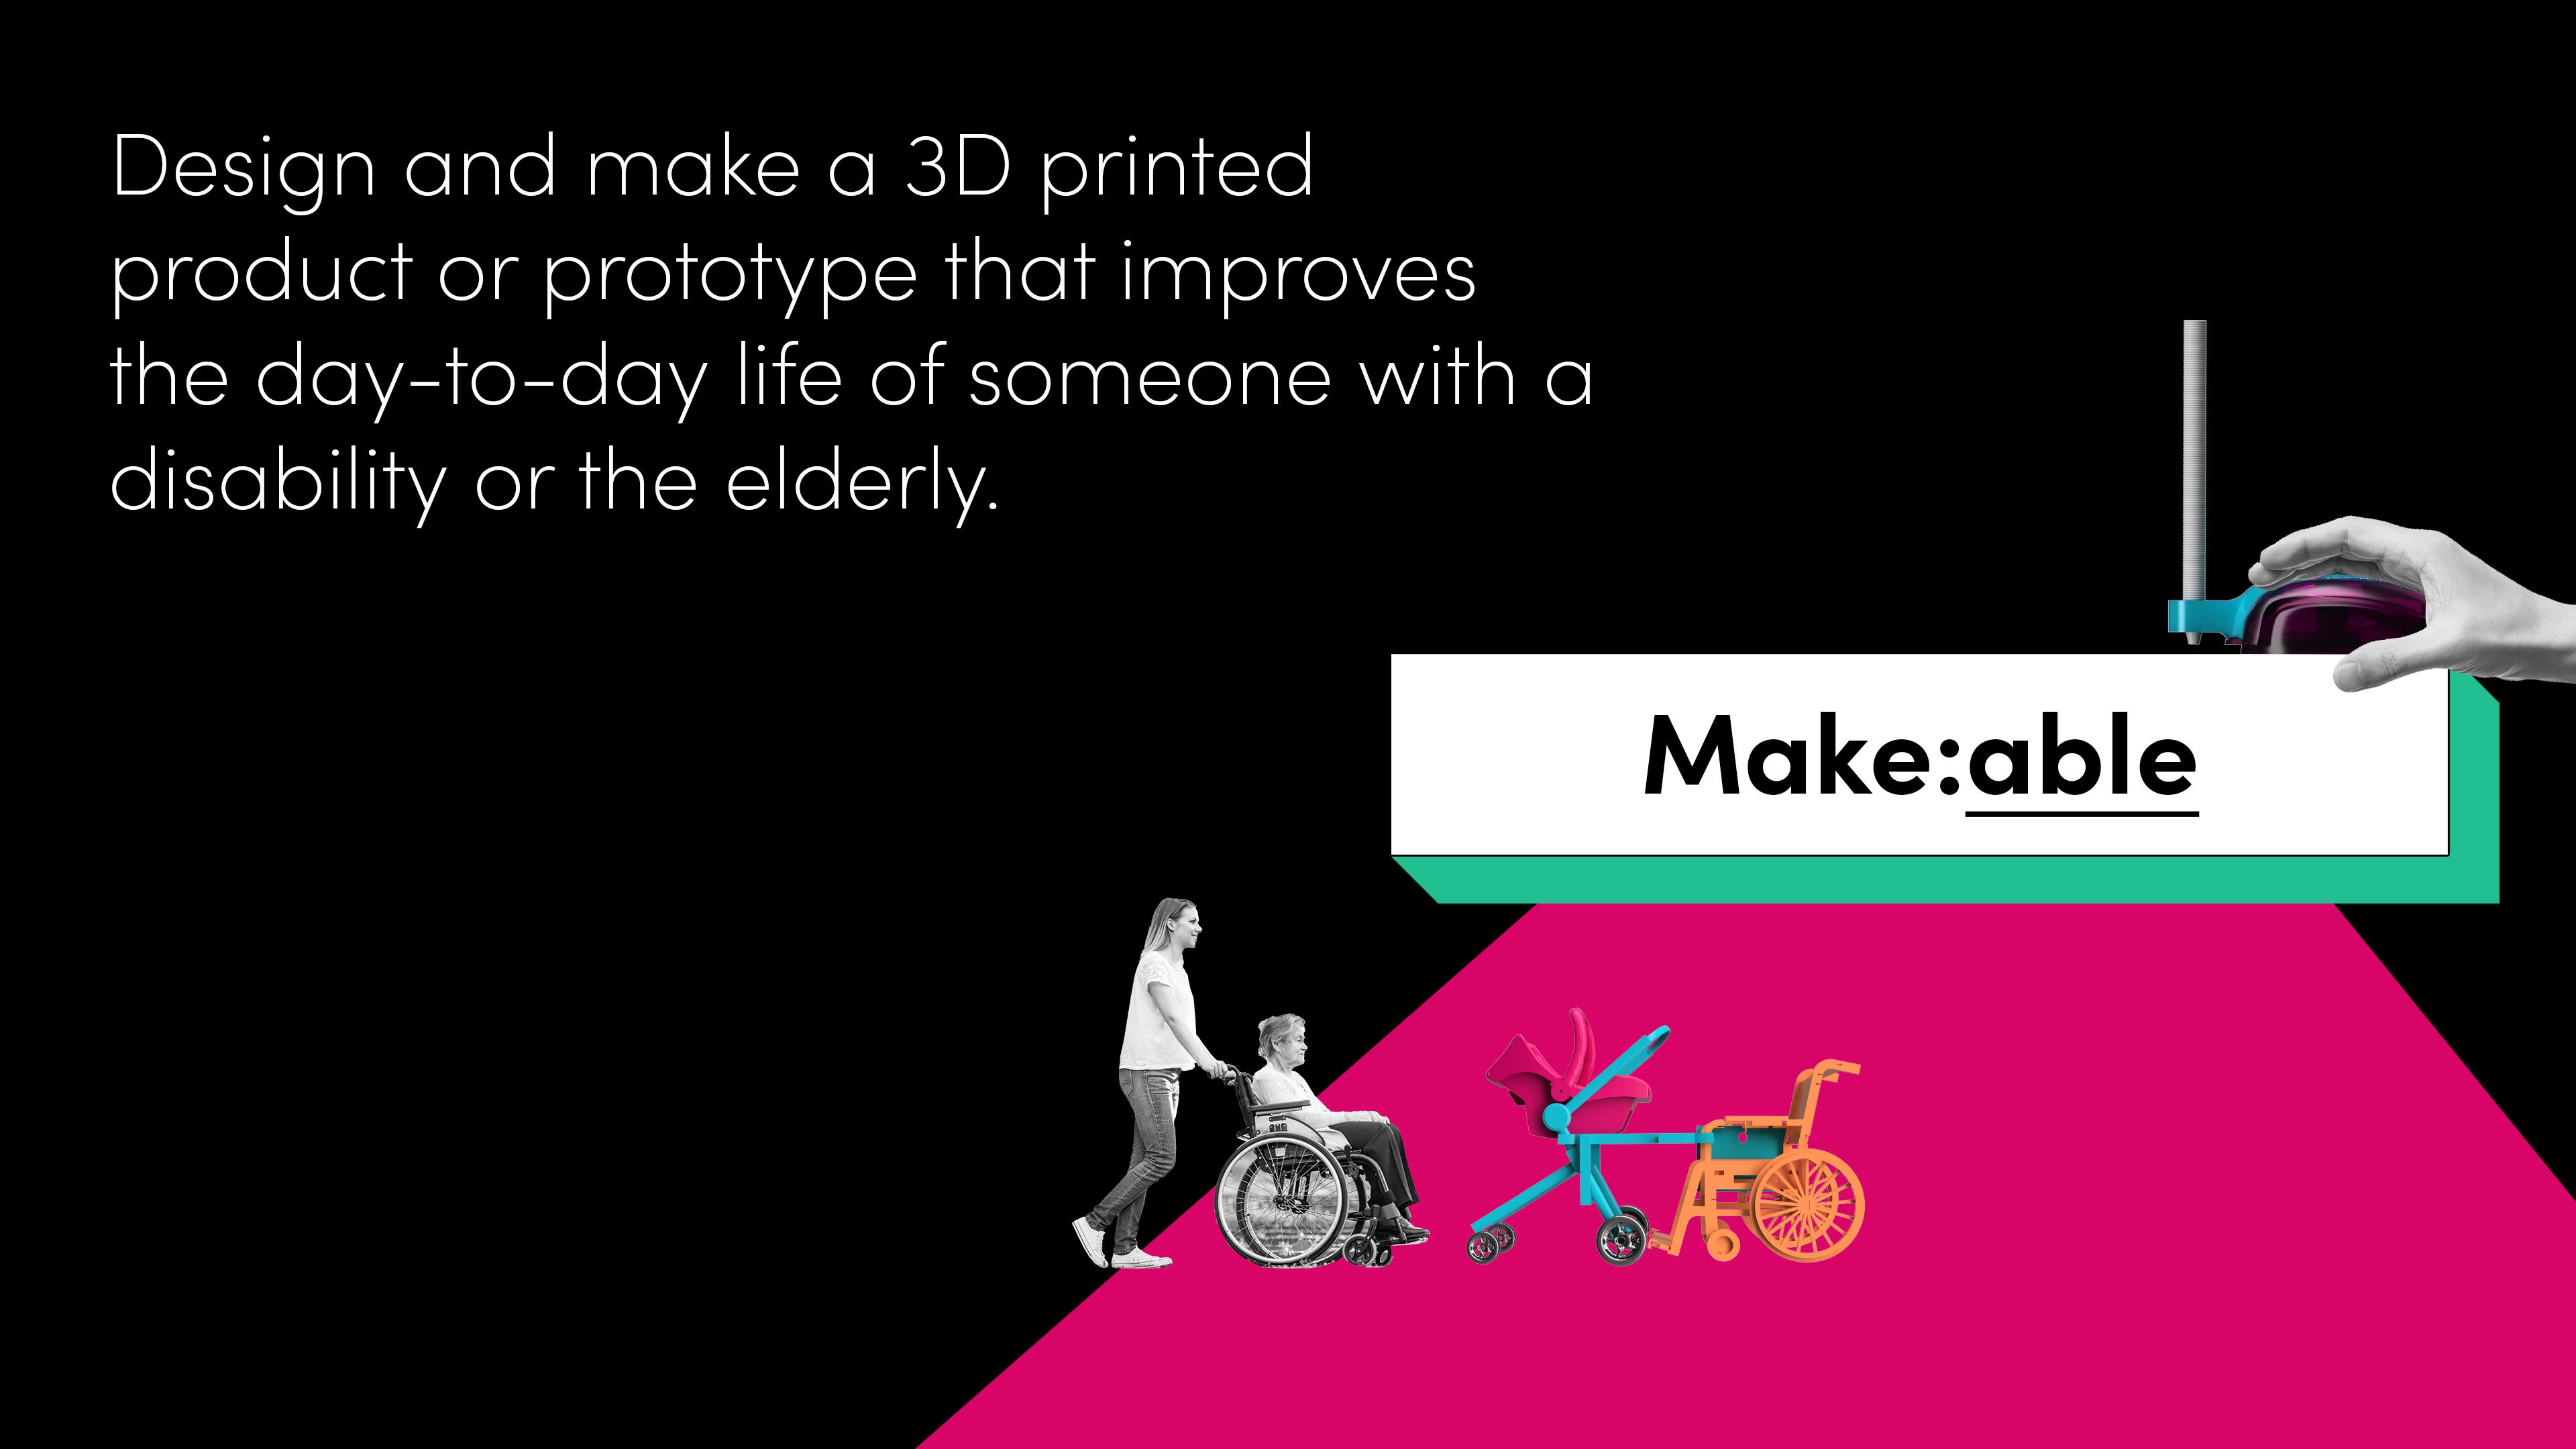
PrintLab and Make:able at Calavera Hills Middle School
*Guest blog by Aaron Sottile. Hello! My name is Aaron Sottile, and I get to teach 8th Grade Science and Project Lead the Way STEM electives Design & Modeling and Medical Detectives at Calavera Hills Middle School in Carlsbad, California. This year, my Design & Modeling students took on the Make:able Assistive Technology Challenge as the capstone of this design class, and I am excited to share what I learned about this incredible experience here as a guest blogger!
20th June 2023 • Make:able
Why Make:able
Our school went through a refresh a few years ago and we decided to offer a STEM elective pathway, utilizing curriculum from Project Lead the Way to help drive this pathway. Our team (teachers and students) really enjoy the activity → problem → project based approach utilized in these classes. The Design and Modeling curriculum had a solid grounding in using the design process to help others, and I love finding ways to help students flex their empathy muscles whilst honing their design skills.
The Make:able challenge was a perfect fit with the capstone project of the course, which initially was designed to have students use their design skills to create a therapy toy for a patient with Cerebral Palsy. When I heard about the Make:able challenge while exploring Printlab resources, I knew this was something my students would want to take on.
I really enjoyed the Make:able challenge because of its authenticity. Students were challenged to identify and solve a real world problem for a real person using the skills they learned in my course. I think using empathy to drive the design process makes the project failsafe in a way – even if a group doesn’t quite perfect their design, spending time walking a mile in another’s shoes and working as a team to make the world a better place for another human is a huge win for our designers.
Make:able Preparation
Preparing for the Make:able challenge involved a number of layers. I had an advantage because the students were engaged in a design focused class, which is another reason why the Make:able challenge was so relevant.
This challenge led to some incredible partnerships with professionals that work in the assistive community, which is actually one of my biggest tips to anyone interested in trying the Make:able challenge with students – get connected with your local (and global) community! I was fortunate to be introduced to Cody Jones, a US paralympic athlete who came to tell his story of challenge and resilience. I also annually partner with our local special education consortium to create an Ability Awareness Day, in which my students interact with Physical Therapists, Adaptive Physical Education experts, Occupational Therapists, and Assistive Technologists. Our focus with this team is to help students learn about how each of these fields use the design process to help others and get ideas for their own entry in the Make:able challenge.
In fact, it was one of our Physical Therapists who helped me have a lightbulb moment when she saw our 3d printers and told me that we had to do something “cool” with them. That “cool” thing has been through many iterations, including participating with Enabling the Future and now partnering with Printlab and the Make:able challenge!

Team C.A.R – Switch Adapted Toy Car
Finding people in your community that are involved in similar work can help serve as a valuable resource, an inspiration for teachers and students, in providing local heroes to design for, and feedback on student designs. If you are interested in more information on how I organized ability awareness day, check out this design brief I wrote this year to share with my guest presenters on Ability Awareness day.
I also utilized PrintLab’s intro to 3d design course materials prior to the makeable challenge to supplement the PLTW CAD design curriculum. I liked that the PrintLab curriculum was fresh, clean and offered a novel approach to learning Tinkercad. In this learning exercise, I leveraged students taking screenshots of their work, as well as the classrooms feature of Tinkercad to monitor student progress and explore student designs in class.
The Make:able Experience
As a teacher, the Make:able challenge was a very positive experience. I enjoy taking on new challenges with students. Working on such an open-ended project can be a bit daunting at first, but I believe the steps we took before launching the Make:able challenge itself to provide inspiration, background knowledge, and skill development were critical to getting 100% of my groups having a successful Make:able challenge submission this year.
Team Orangutang – Braille Stencils
I also found a lot of value in setting up morning meetings with the class before we launched into group work time on Make:able projects. I would start these meetings with the class in a circle, facing one another, and ask student teams to share what their focus was for the day, any project needs they had, and sometimes a challenge they were facing. There were some incredible moments in these meetings when students would problem solve across groups and I was able to step back. I felt that these moments helped normalize struggles in the design process for their projects but also emphasized interdependence and a sense of classroom community engaged in problem solving for a greater good.
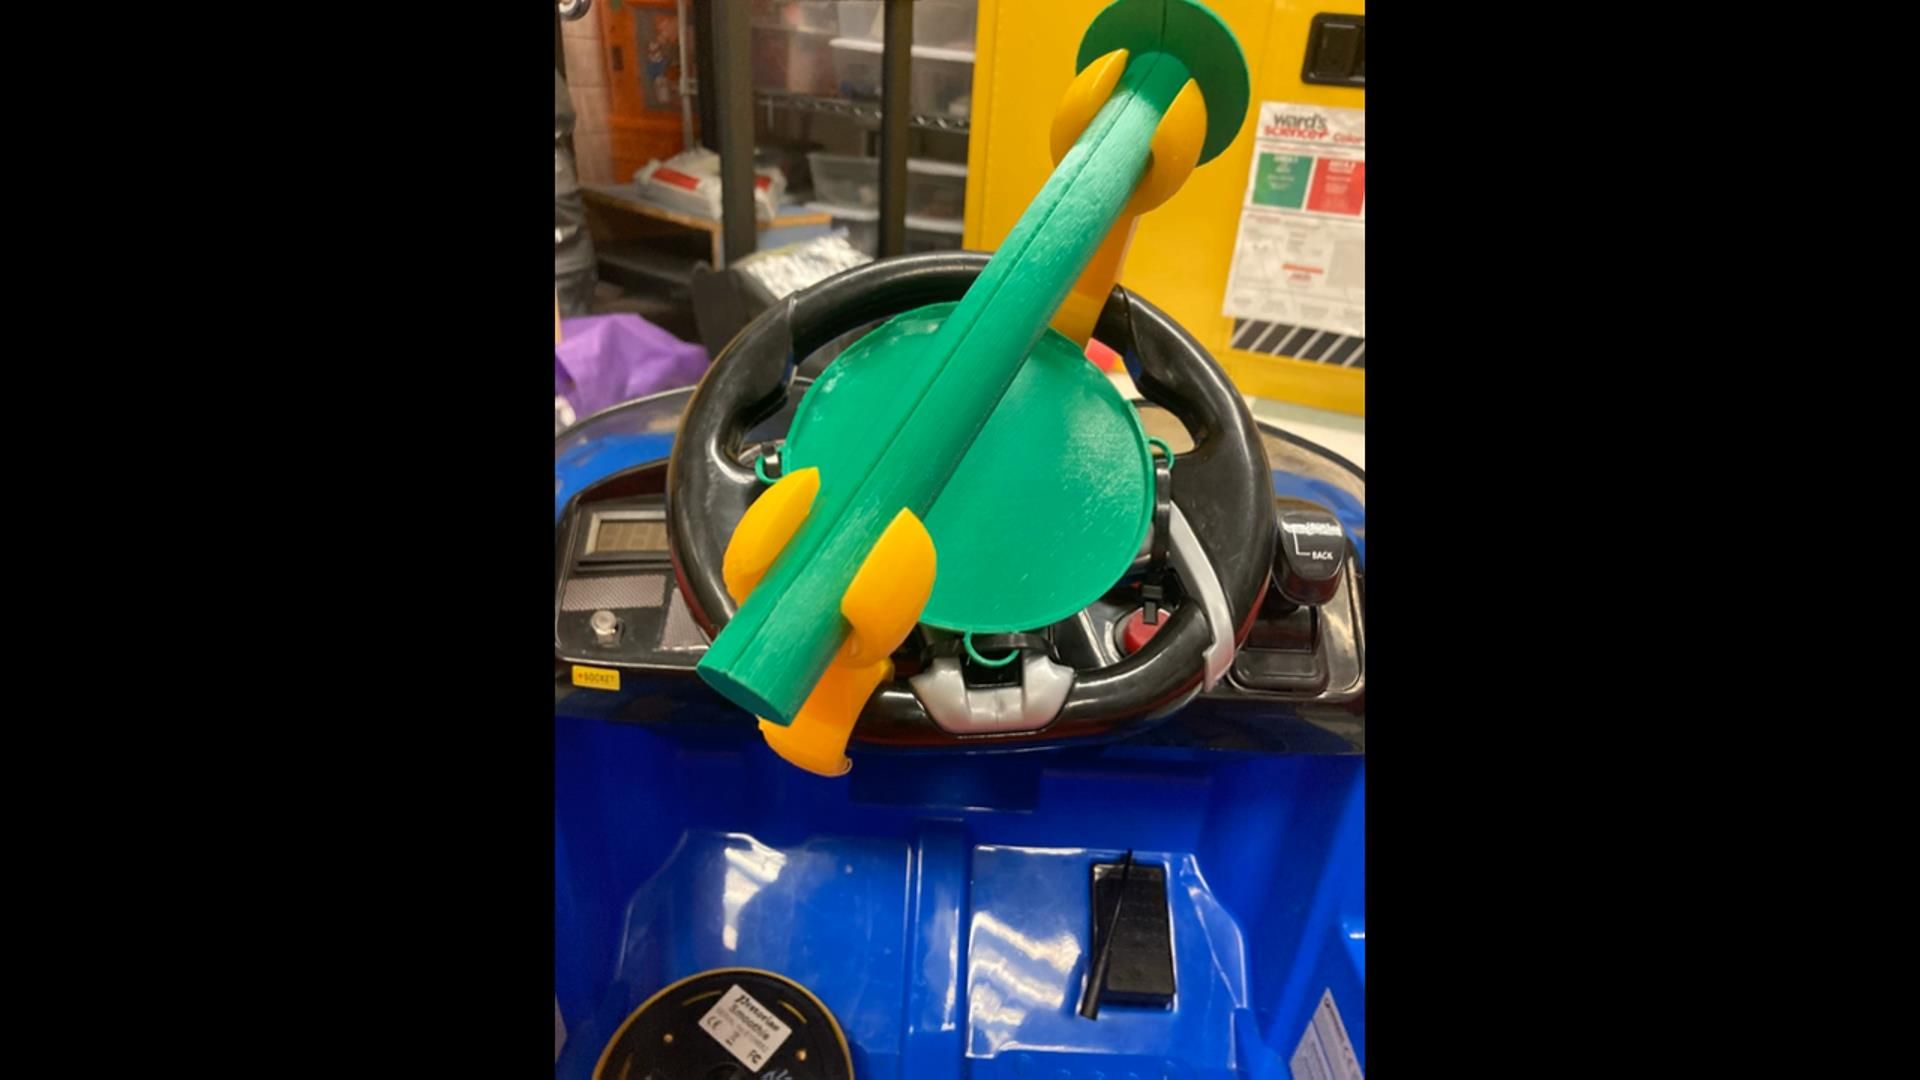
Team Metallic Dragons – Steering Wheel Accessory
The group nature of the Make:able challenge was essential for a number of reasons. I firmly believe that students need to develop collaborative skills and design projects like these are great opportunities to learn to work together, to listen to the ideas and feedback of one another, and to grow as an individual capable of working with other students with a variety of skills, backgrounds, perspectives and experiences. I created the groups for the Make:able challenge, as well as group roles, based on student feedback in an interest survey (google form) I created where I asked students about their preferred group role (Project Manager, CAD lead, Spokesperson & Graphic Designer) as well as their area of interest for the Make:able challenge.
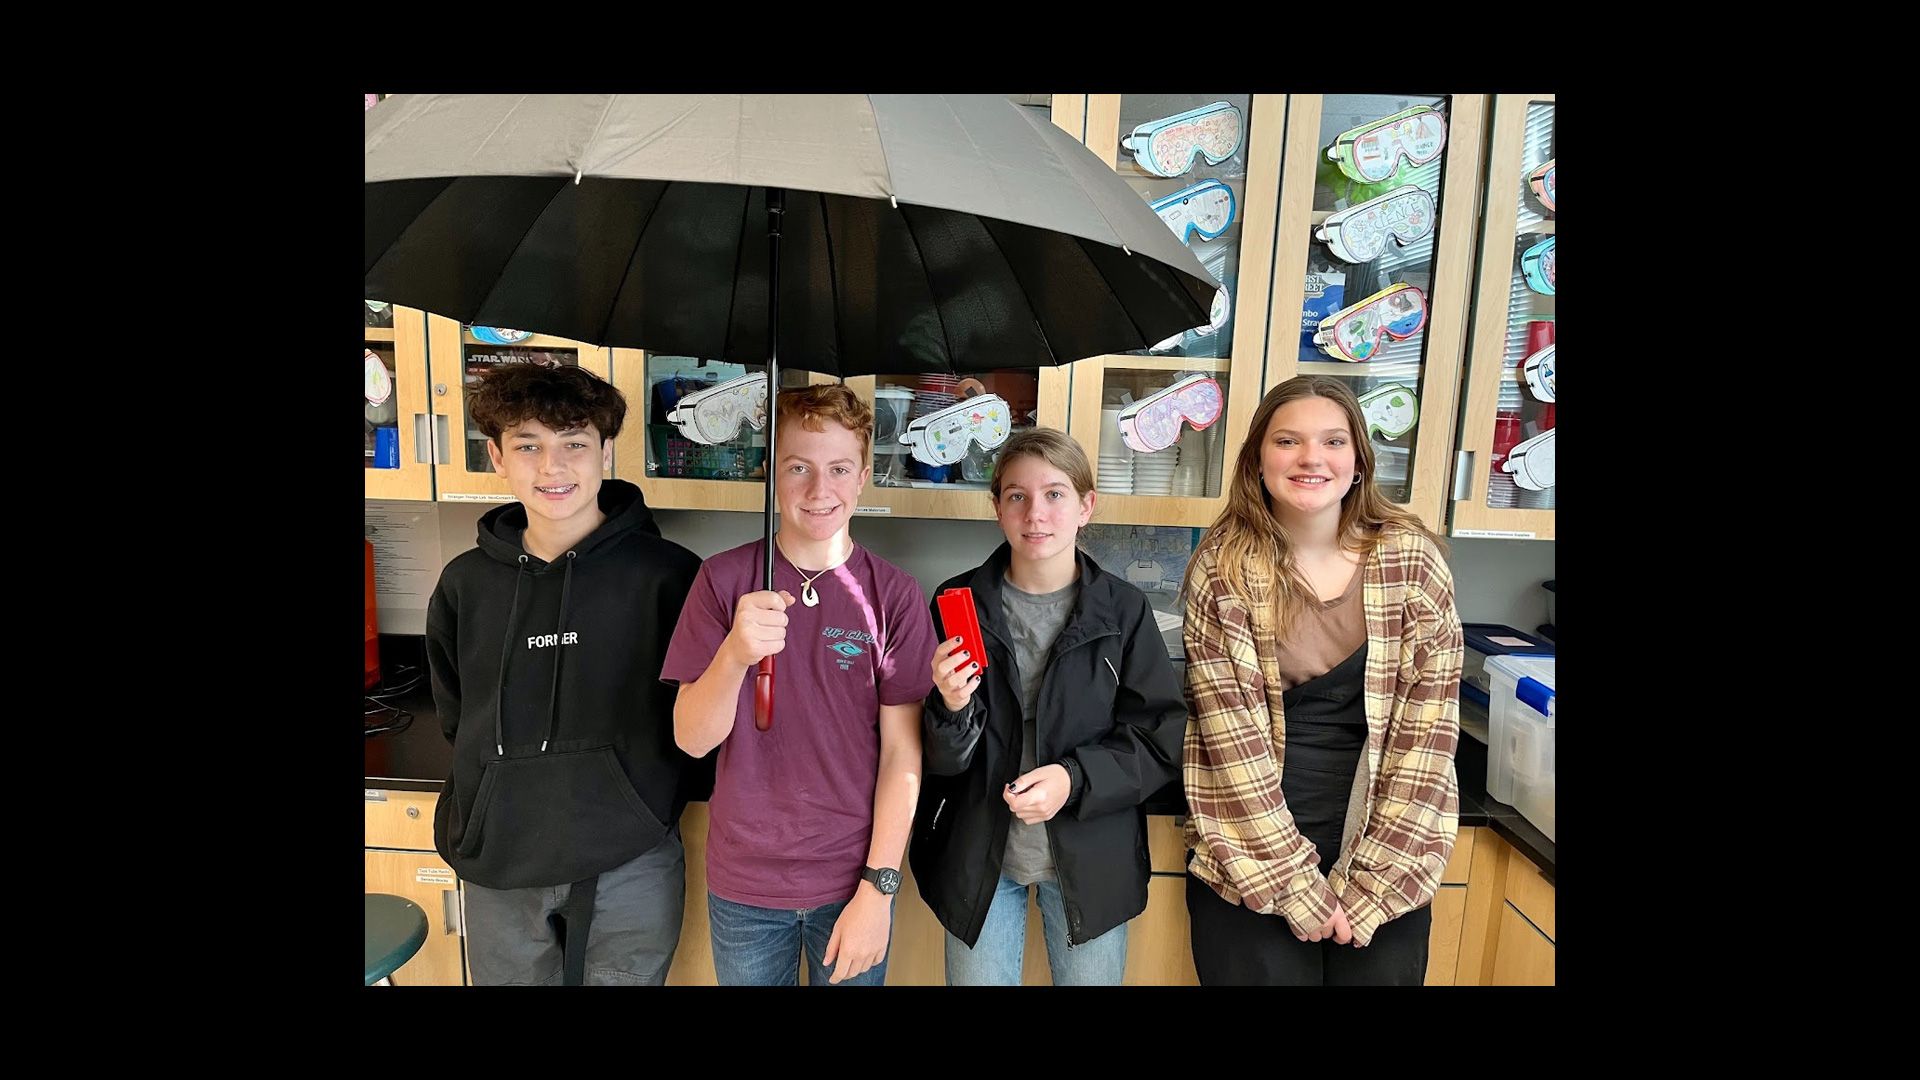
Team Fantastic 4 – Wheelchair Umbrella Holder
We did a class brainstorm and came up with 3 main categories of interests for the projects: Switch Adapted Toys, 3D Printed Assistive Devices and 3D printed for the visually impaired. I added an “other” category as well to allow students to make suggestions for projects that our class brainstorm may not have captured. We have a school site co-created collaboration rubric that I implement to guide students in developing effective collaboration skills and students earn a collaboration grade for the project based upon their self reflections about their group experience and contribution to their team’s project.

Team Ramen & Co. – Bag Carriers
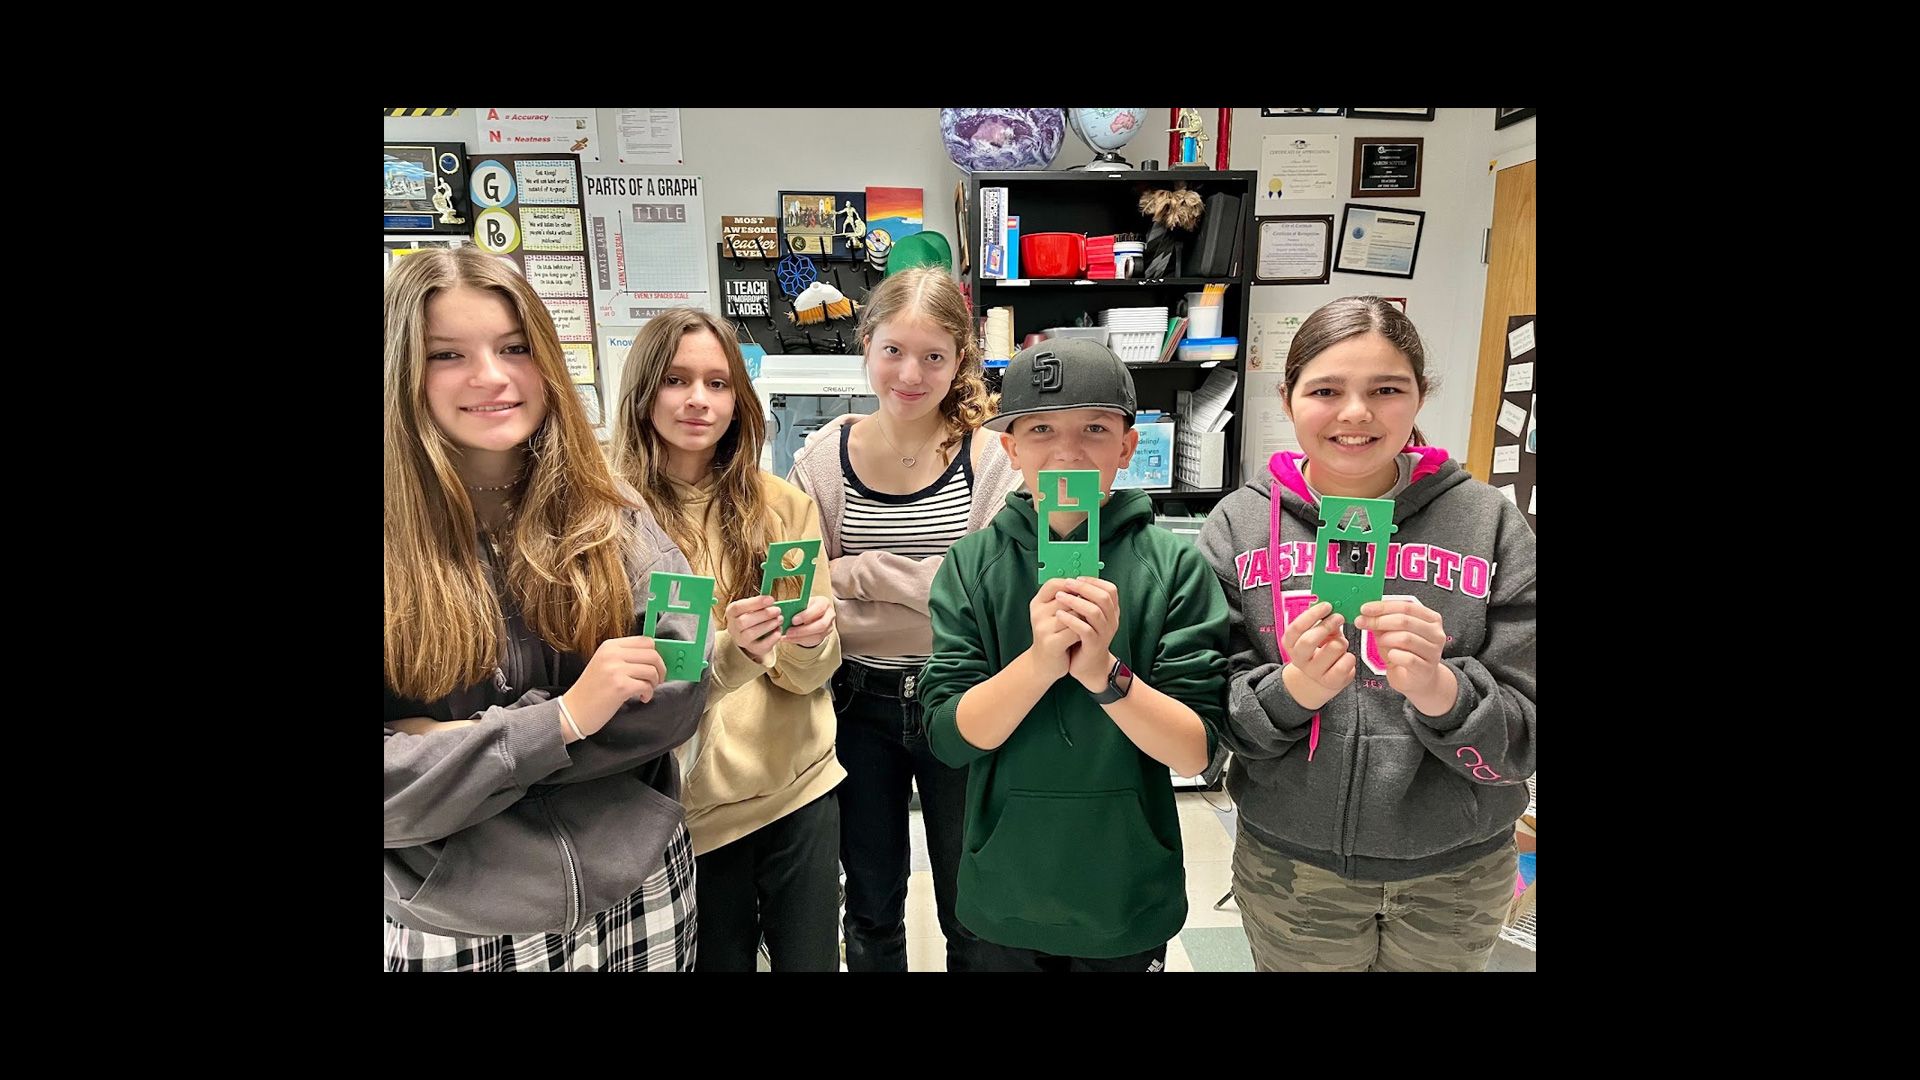
When students are working on their projects, I intentionally rotate between groups to monitor progress and offer solutions. We would also assign groups printing times on our 3d printers when we reached that stage, facilitated by a student TA alumni of the course. We are fortunate to have about 4 functional 3d printers in class so students could print and iterate on their designs. Students definitely benefited from time to prototype, test and improve their designs as they worked towards their final submissions. I am hoping to grow this 3d printer “farm” in the coming years, with a final goal of having 8 total printers so each team of 4 students can be assigned to their own printer. A teacher can dream!
Many of my student’s reflections on the project centered around a theme of working together towards a common goal. I think students grew a lot in terms of their ability to work in teams on a project that challenges them to develop a meaningful solution to an authentic problem.
Make:able Teacher Tips
If you are looking to get your students involved in the Make:able challenge, I would encourage you to sign up for the toolkit and explore the rich set of resources that the team at Printlab has created.
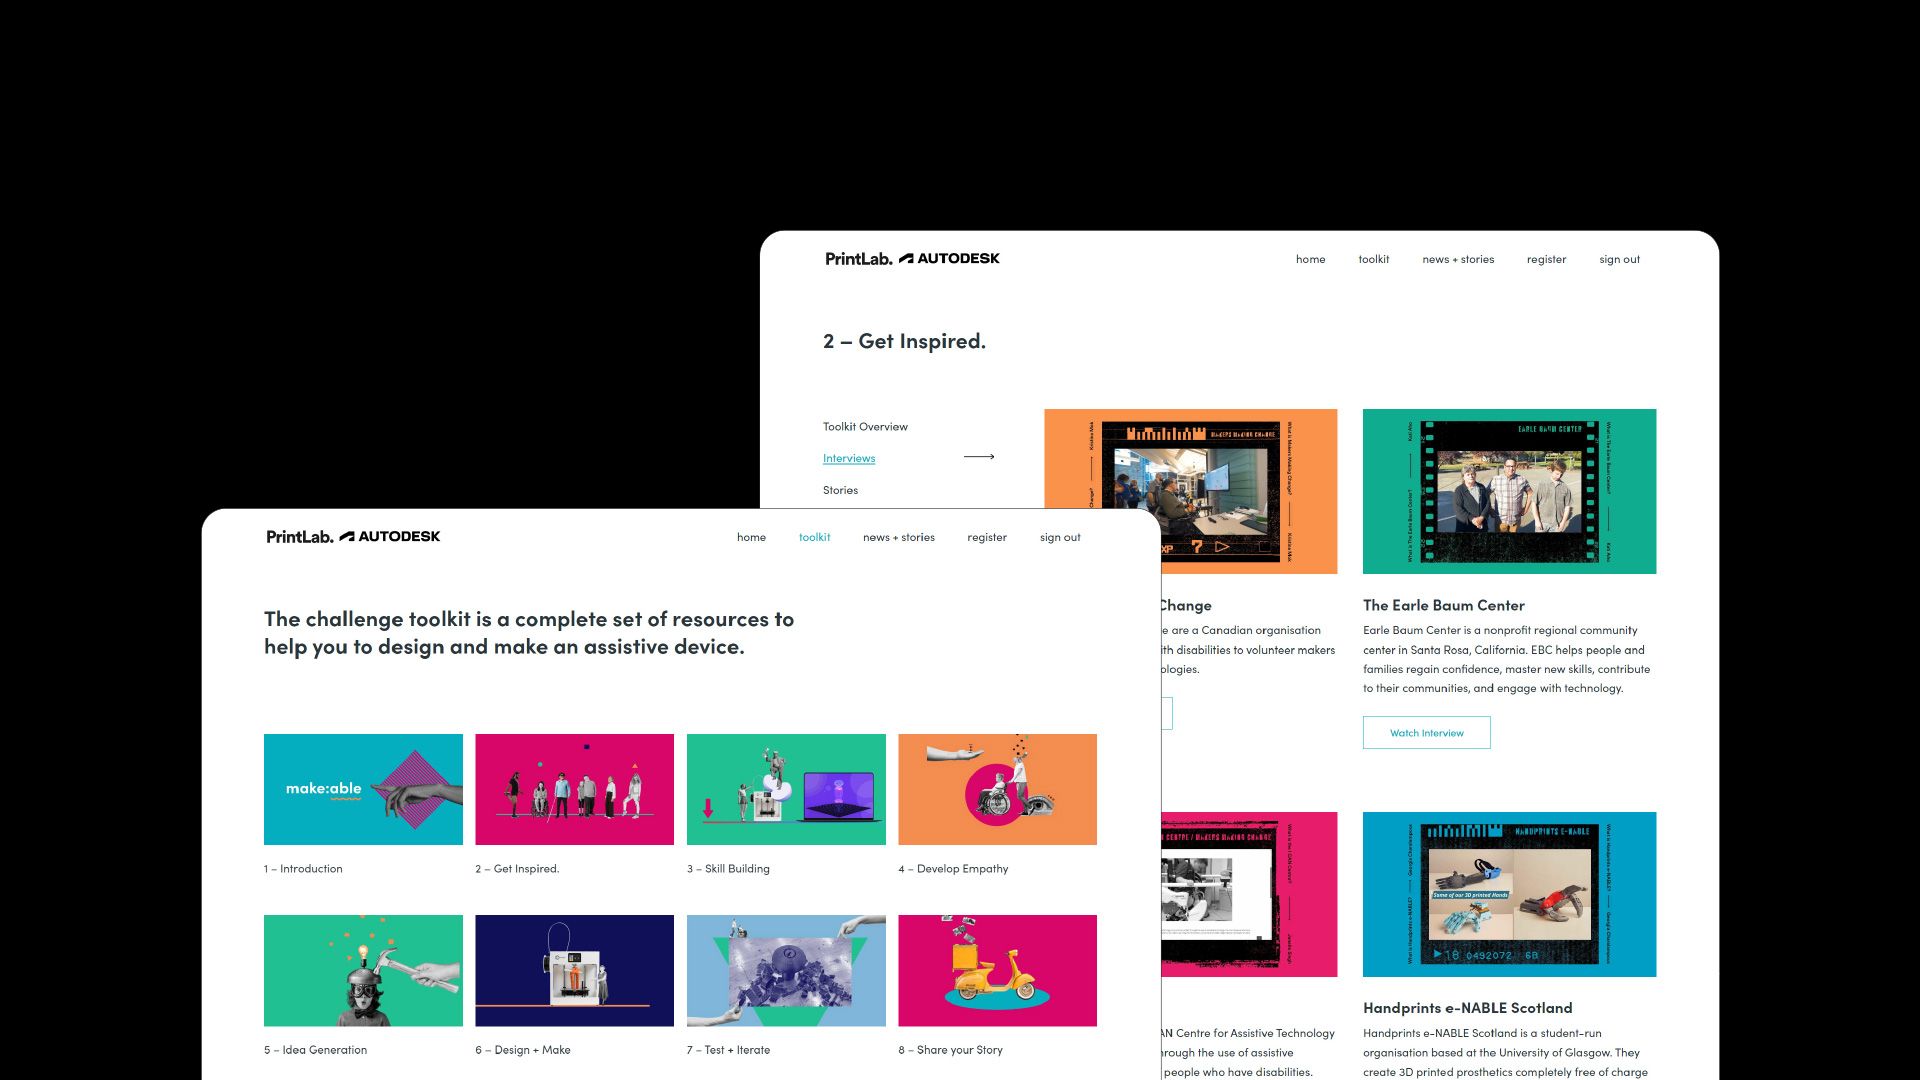
The toolkit is very well put together and can help you get oriented with how the Make:able challenge may fit into your teaching context. This was my first year taking on the challenge, and while at times it felt like we were in the midst of the “building the plane while we are flying it” analogy, the authenticity of the challenge and the support provided by Printlab makes this a very approachable adventure. There is an excitement that comes from trying something new with your students as you co-create expertise and learn together.
Thanks to Printlab for creating such awesome resources to inspire my students to develop their CAD skills and use them to make a positive change in the world. I was honored this year to have my class and students featured in a video production called “The Next Engineers” produced by Groundmaking Media and the Carlsbad Educational Foundation. Check it out for a glimpse of the Make:able challenge in action in my class and how this type of learning articulates with our Engineering Pathway in Carlsbad. Thank you for reading my guest blog entry, and best of luck with your own Make:able journey!
—
A huge thank you to Aaron for sharing his experience with us today! Check out one of Aaron’s finalist submissions below and learn more about Make:able here.