Tinkercad and Assistive Devices at Plymouth South Middle School
Guest Blog by Allison DeBellis - Teacher at Plymouth South Middle School, Massachusetts.
10th May 2021 • Case Studies
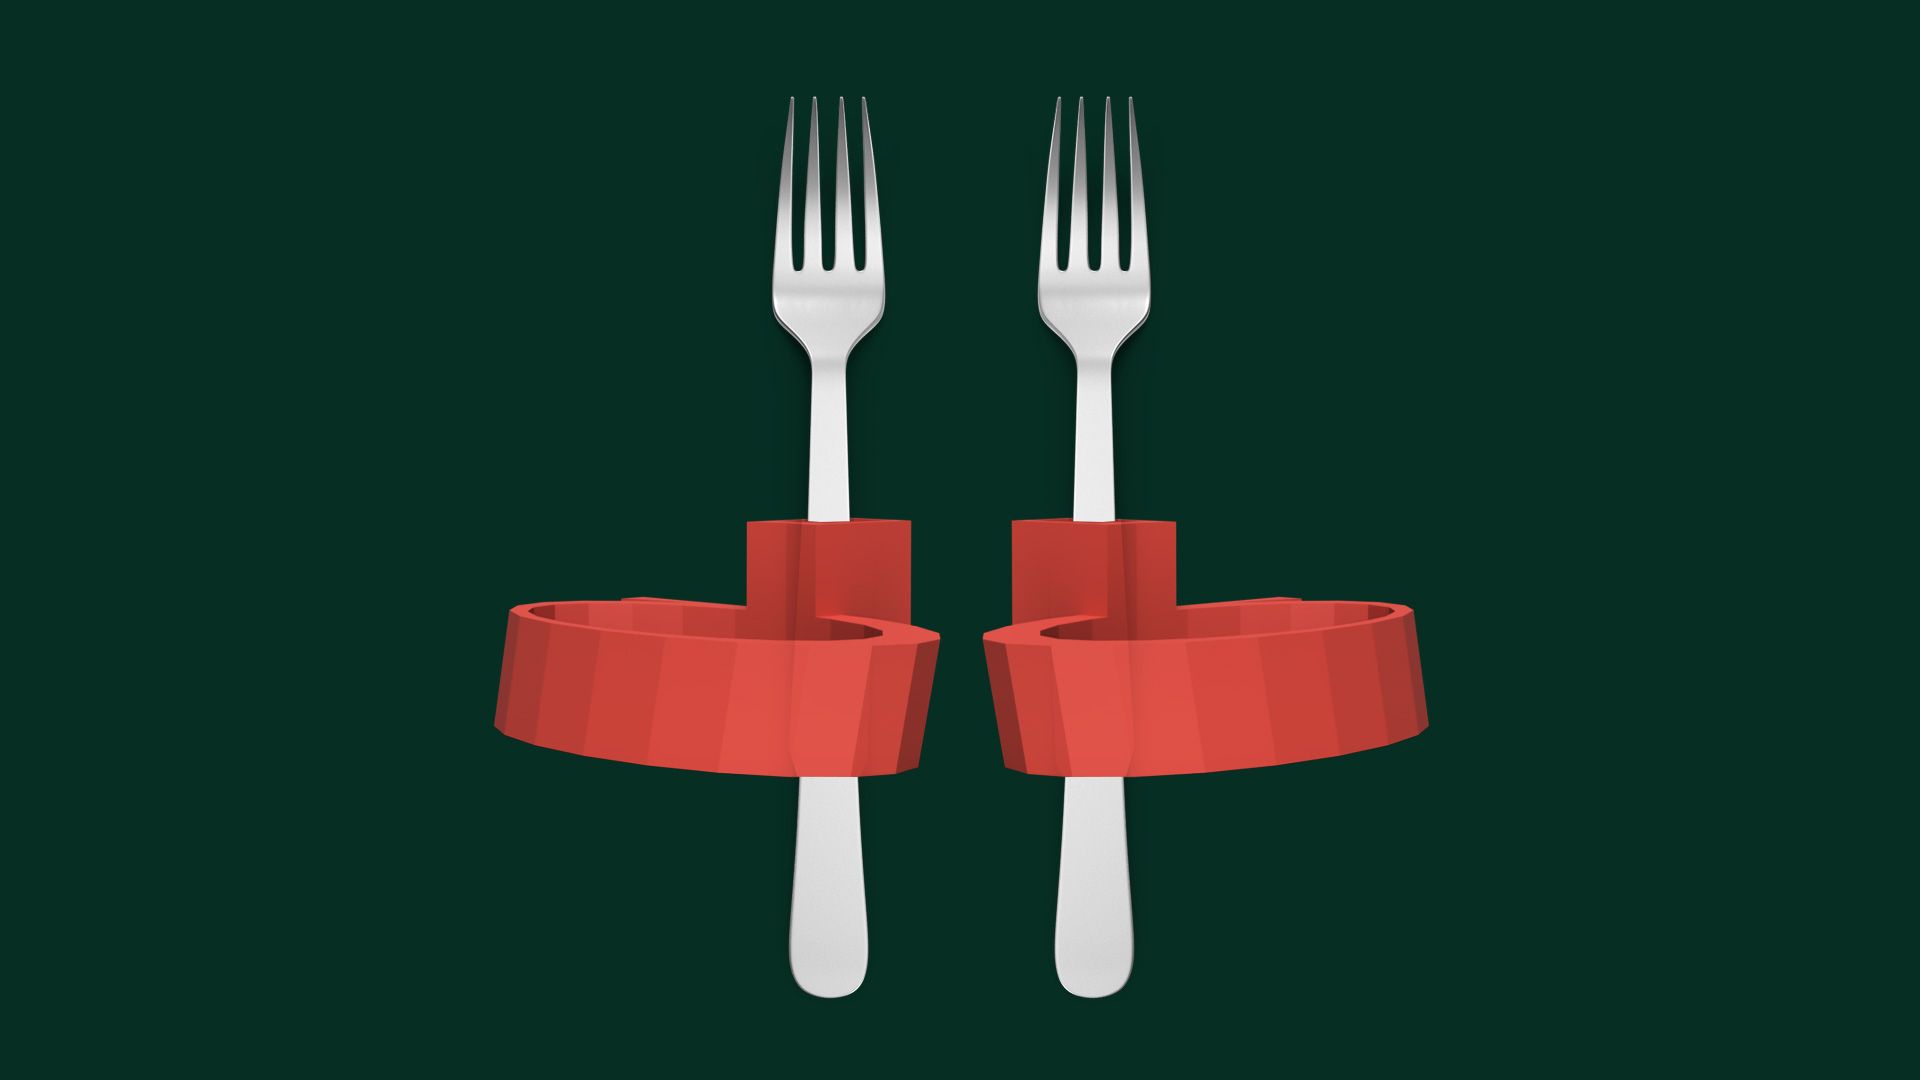
Hello everyone, my name is Allison DeBellis and I am a teacher at Plymouth South Middle school in Plymouth, Massachusetts. I teach Technology Engineering to sixth, seventh and eighth grade students. I am grateful to have two 3D printers in my middle school classroom. The first 3D printer showed up 3 years ago and a second printer last year. I continue to incorporate 3D printing into many projects such as the Ear buddies Challenge where 7th grade students design and print a device to keep their earbuds secure and untangled and 8th grade students participate in the Make:able Challenge where they design a device to help someone perform a task that would otherwise be difficult for them to perform on their own. My colleague also has two 3D printers in her classroom and she uses her printers to test boat hull designs and wind turbine blade designs. All projects require students to use Engineering Design to solve a problem by designing a solution and being able to print their prototype in the 3D printer has proven to be an exciting opportunity for my students. Today I have been invited to write a guest blog about my experience with the Make:able challenge-an assistive technology competition hosted by Printlab and Autodesk and I am happy to share my rewarding experience.
Why Make: able?
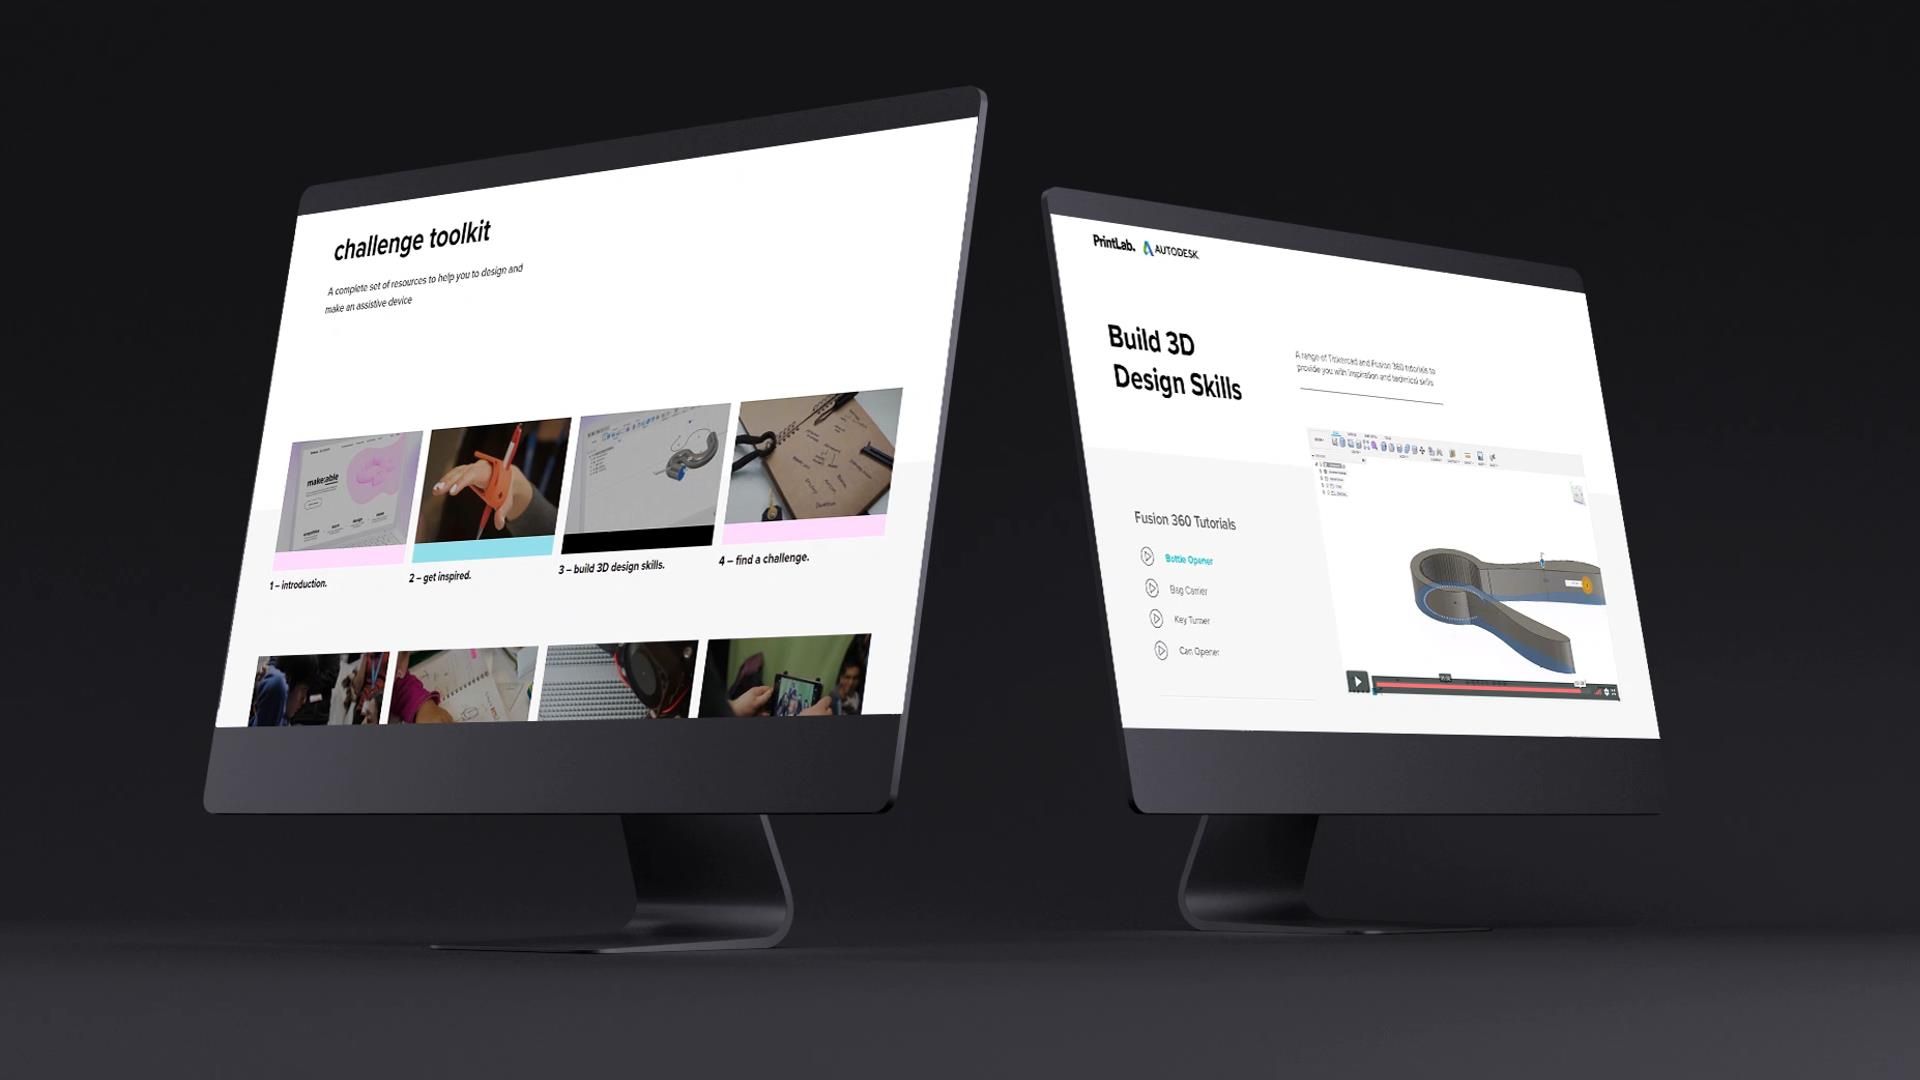
I found Printlab soon after I received my first 3D printer and found many good lesson ideas in Printlab’s library. Last year I chose to try the Assistive Device lesson as I was looking for a project that would allow my students to work through and experience a human centered design project and have a real world experience. I loved how much was packed into this project and enjoyed watching my students develop empathy, practice teamwork, and build their creative confidence and TinkerCAD skills. I was looking forward to trying this lesson again this year and was pleasantly surprised when I found the Make:able Challenge. Printlab has become probably the most valuable resource to support me in teaching 3D printing and TinkerCAD to my middle school students. Printlab supports teachers in so many ways and offers an impressive library of lesson plans. In these lessons you will find pretty much all of the resources you would need to engage and inspire your students. You will find tools such as TinkerCAD video tutorials and resources that can be downloaded, modified to allow for differentiation. And finally the way Printlab has set their lessons, you can assign to students and allow them to work at a pace that is comfortable. It was through these TinkerCAD tutorials that I was able to raise the bar on what my middle school students could design and build in my 3D printer. I am so proud of the Assistive Devices that are being designed in my classroom.
The Student Experience
Make:able/Assistive Device lesson presents a real world problem to my students. This makes an incredible journey as the students know what they are doing is really meant to help others. Make:able is also designed to allow students to work at their pace, to take ownership of their own learning and puts the teacher in the role of learning facilitator. As a learning facilitator you have more time to customize lessons, work with small groups of students and offer much needed support for individual students allowing for more success in all students.
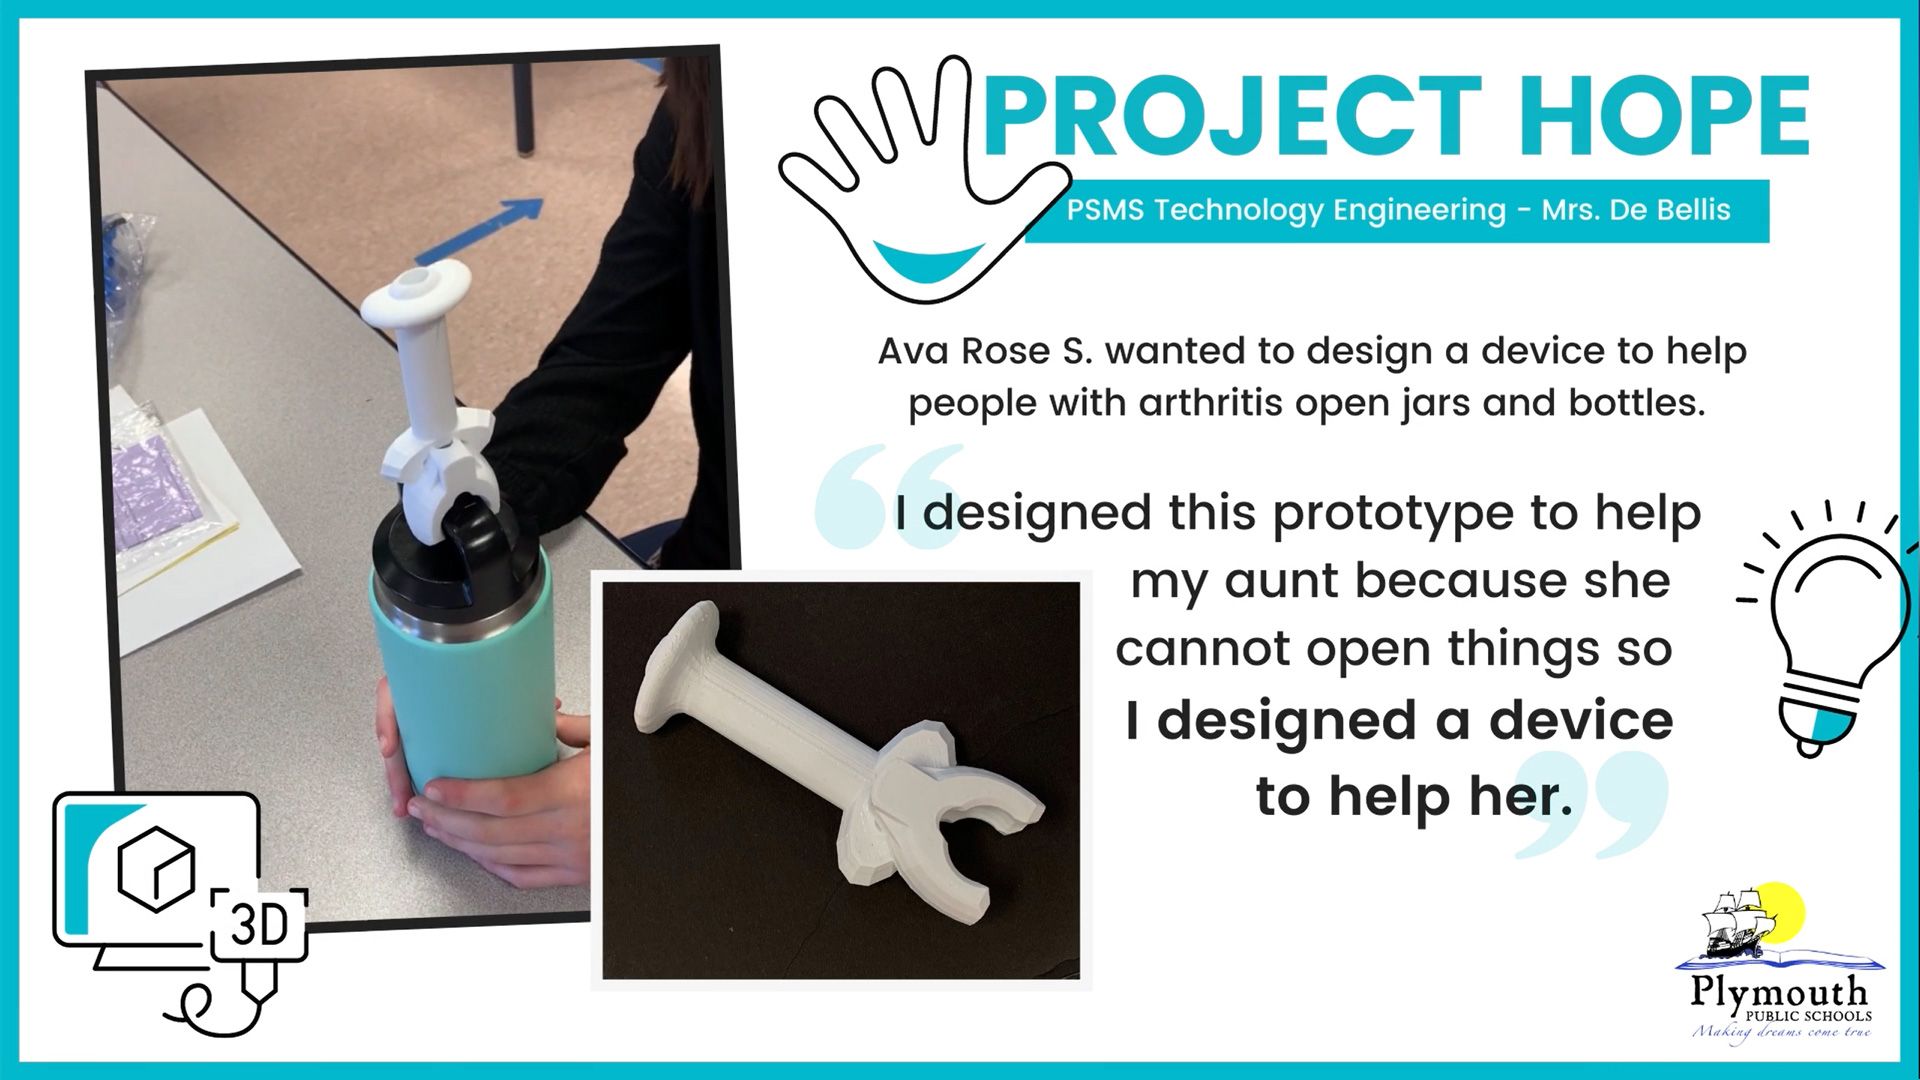
Many of my students made their journey a personal one by designing a device to help a family member and did not have a problem embracing the concept of walking in someone else’s shoes. I was impressed how students did not mind working through the research stage of engineering, spending time learning about debilitating diseases such as Parkinsons and Rheumatoid Arthritis. This human centered design challenge allowed students to create interview questions and surveys to gather important information about the individual they were designing for and how to customize the device. I was pleasantly surprised to find students self motivated and engaged pretty much throughout this project of inventing a device to help others. Students also found a new level of creativity that many thought they did not possess. Students learn that everyone is creative and that they too can use this creativity to solve problems and real world problems. There was a level of success, growth and pride that students enjoyed throughout this project.
The Teacher Experience
I love this project for many reasons, it brings the real world into the classroom, exposes students to human centered design and develops students’ creativity and creative confidence. I was happy to take the role of facilitator and watch my students be in charge of their learning. In so many aspects of this project I was pleasantly surprised to find students were engaged and working on their own. Many students wanted to make a prototype out of clay first so they could test their idea. I think many were fearful that they didn’t know TinkerCAD well enough to print out their design solution in my 3D printer. I was able to build their skills in TinkerCAD, which allowed those students afraid of failure to take risks in their design solutions and be pleasantly surprised when they saw their design coming to life in the 3D printer. Allowing students the freedom to take risks, try something new, fail and try again is the basis of engineering design and being able to iterate their designs in the end resulted in much higher success and better design solutions. I enjoyed watching students become proud of what they created. This was the most rewarding experience as a teacher.
Advice
My advice to teachers that are looking to participate in the Make:able challenge is to not wait. It may seem like a lot to manage, but it really isn’t. The students will surprise you. The Make:able challenge came with a toolkit that pretty much hit every aspect of the project and provided detailed steps, suggestions, and advice. It was carefully put together and clearly well thought out from the viewpoint of student and teacher. You can take anything from the toolkit, bits and pieces or the whole thing. You can take the resources and make it yours and work for your students. Some of the things I uncovered that made a big difference in the outcome was to not rush through teaching TinkerCAD basic skills. Take the time to allow students to watch the tutorials and practice these skills before the project begins. The last thing you want to happen is to have a student come up with a great solution only to get frustrated when they can’t design it in 3D and then never get to see their prototype come out of the printer.
The success the students feel when that device comes out of the 3D printer is incredible. I also made the mistake and rushed the research stage as students are always so anxious to get to the design stage. I found much better results when I gave students time to interview, survey or even walk in the shoes of those they are designing for, so plan to allow students the necessary time needed in this human centered design project. In order to build creative confidence I built a few days of design thinking strategies. We play games and practice a few creative exercises that build creativity and divergent thinking such as Disruptus and mashups. Students also had time to explore biomimicry as a creative strategy. Before students started to sketch their design solutions for this project they increased their confidence in their creative abilities and problem solving skills which allowed for better outcomes.
—
A big thank you to Allison for sharing her experience with us! Her students have certainly inspired us and I’m sure this will be the first of many features from Plymouth South Middle School. You can also view the winners of the make:able challenge here and we’ll finish up with a video showing some of the amazing make:able entries from Allison’s students.