Tinkercad’s Scribble Tool | 3 Creative Examples
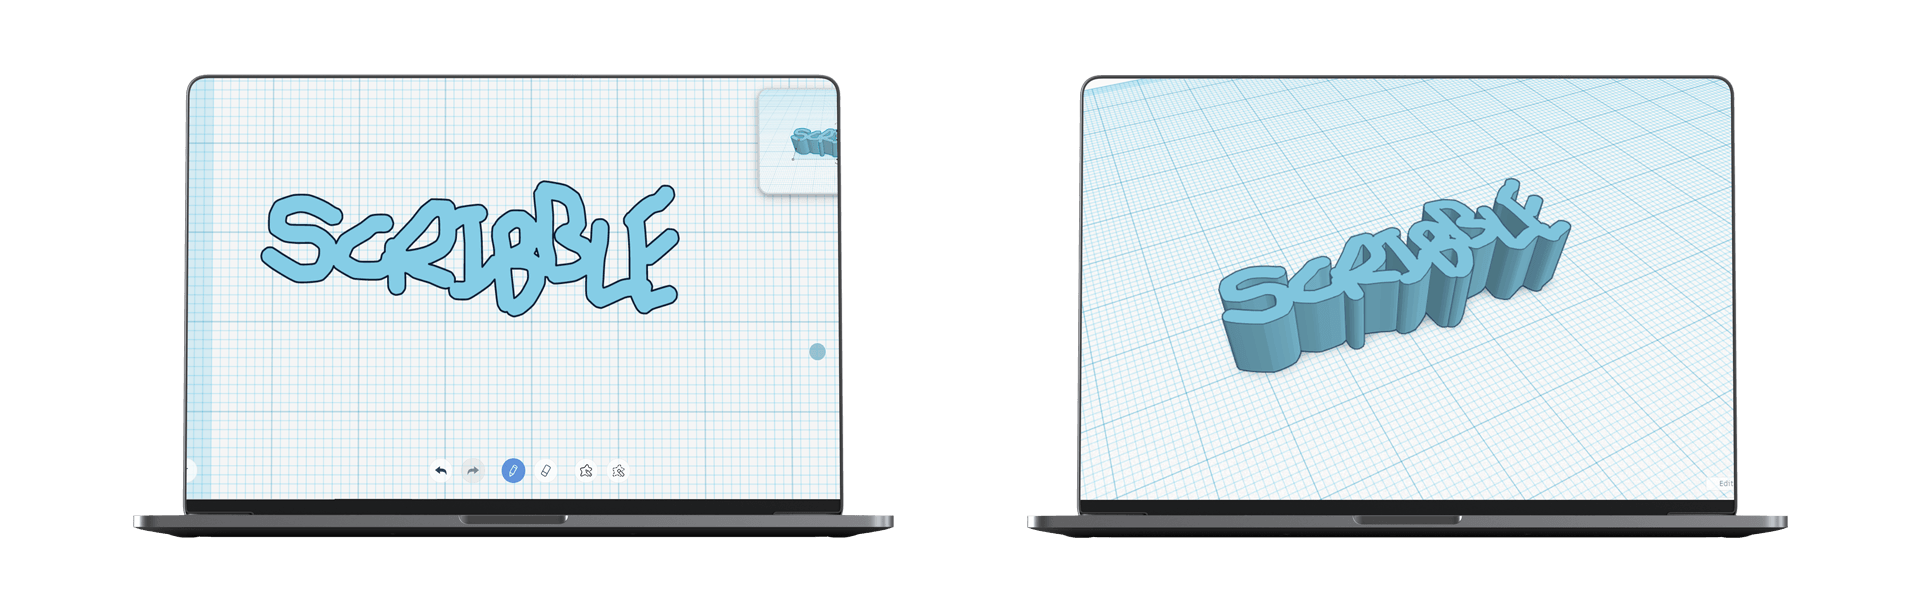
In 2018, Tinkercad released a new feature called the Scribble tool. It's the perfect way to introduce students to 3D modelling, as all you have to do is what is says in its name......scribble! You can use a touchpad, mouse or even your finger on a tablet to draw a 2D shape, which is automatically transformed into a 3D model.

30th April 2020 • Tips
We’ve seen a lot uses for the scribble tool – from embossing handwriting onto models to making simple cookie cutters. Recently, we’ve been exploring some unique ways in which you can use the Scribble tool and you might just be surprised at the beautiful designs you can achieve with such a simple tool. Before we take a look at some examples, we do just want to say that they were designed with the Scribble tool and other basic shapes in Tinkercad before being rendered in Fusion 360 (hence the realistic looking images!). OK, let’s get started!
1. Architectural Cornice Detail
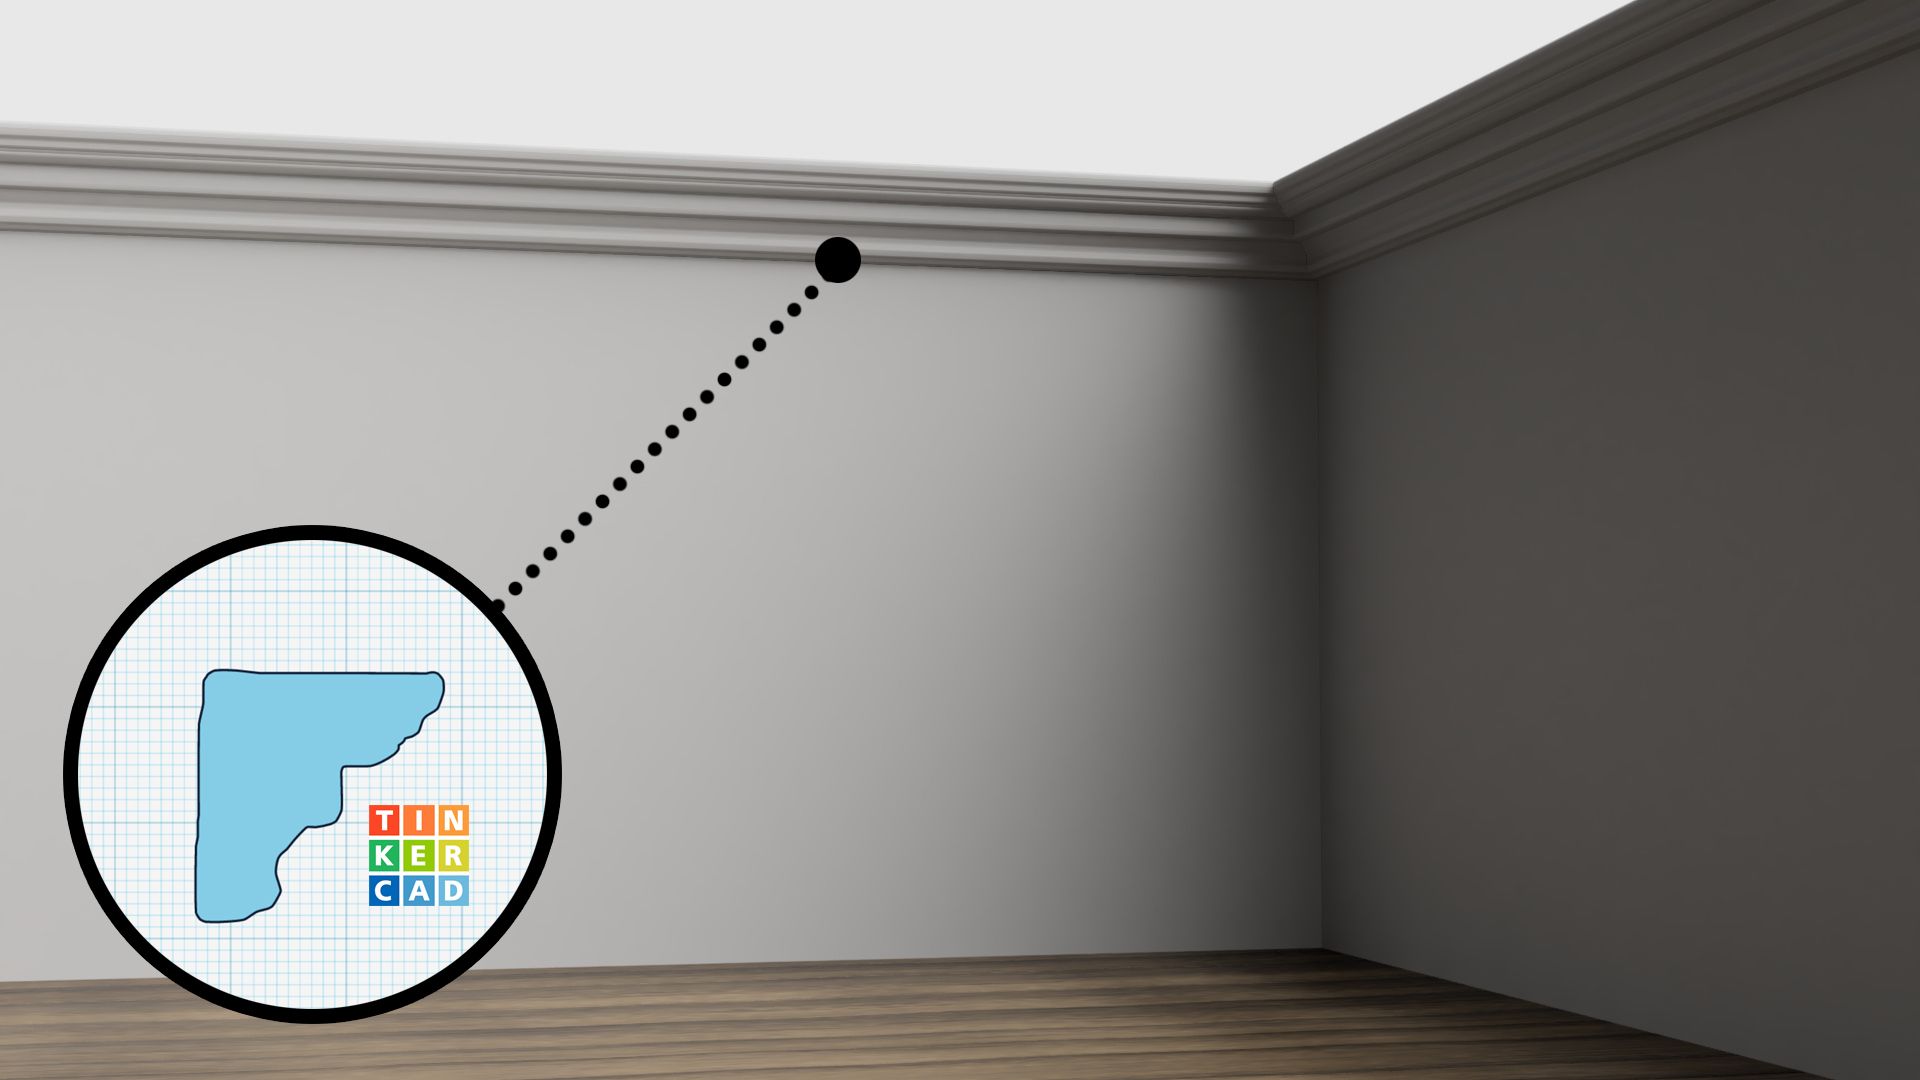
This was our first Scribble design – an architectural cornice detail, which took just 30 seconds to design! We simply scribbled a profile of a cornice and changed the depth so it was a long piece, which we positioned at the top of a box shape. Both the box and scribble were then duplicated and butted up against the initial pieces to create the corner of the room. Finally, another box shape was added to represent the floor.
2. Vase
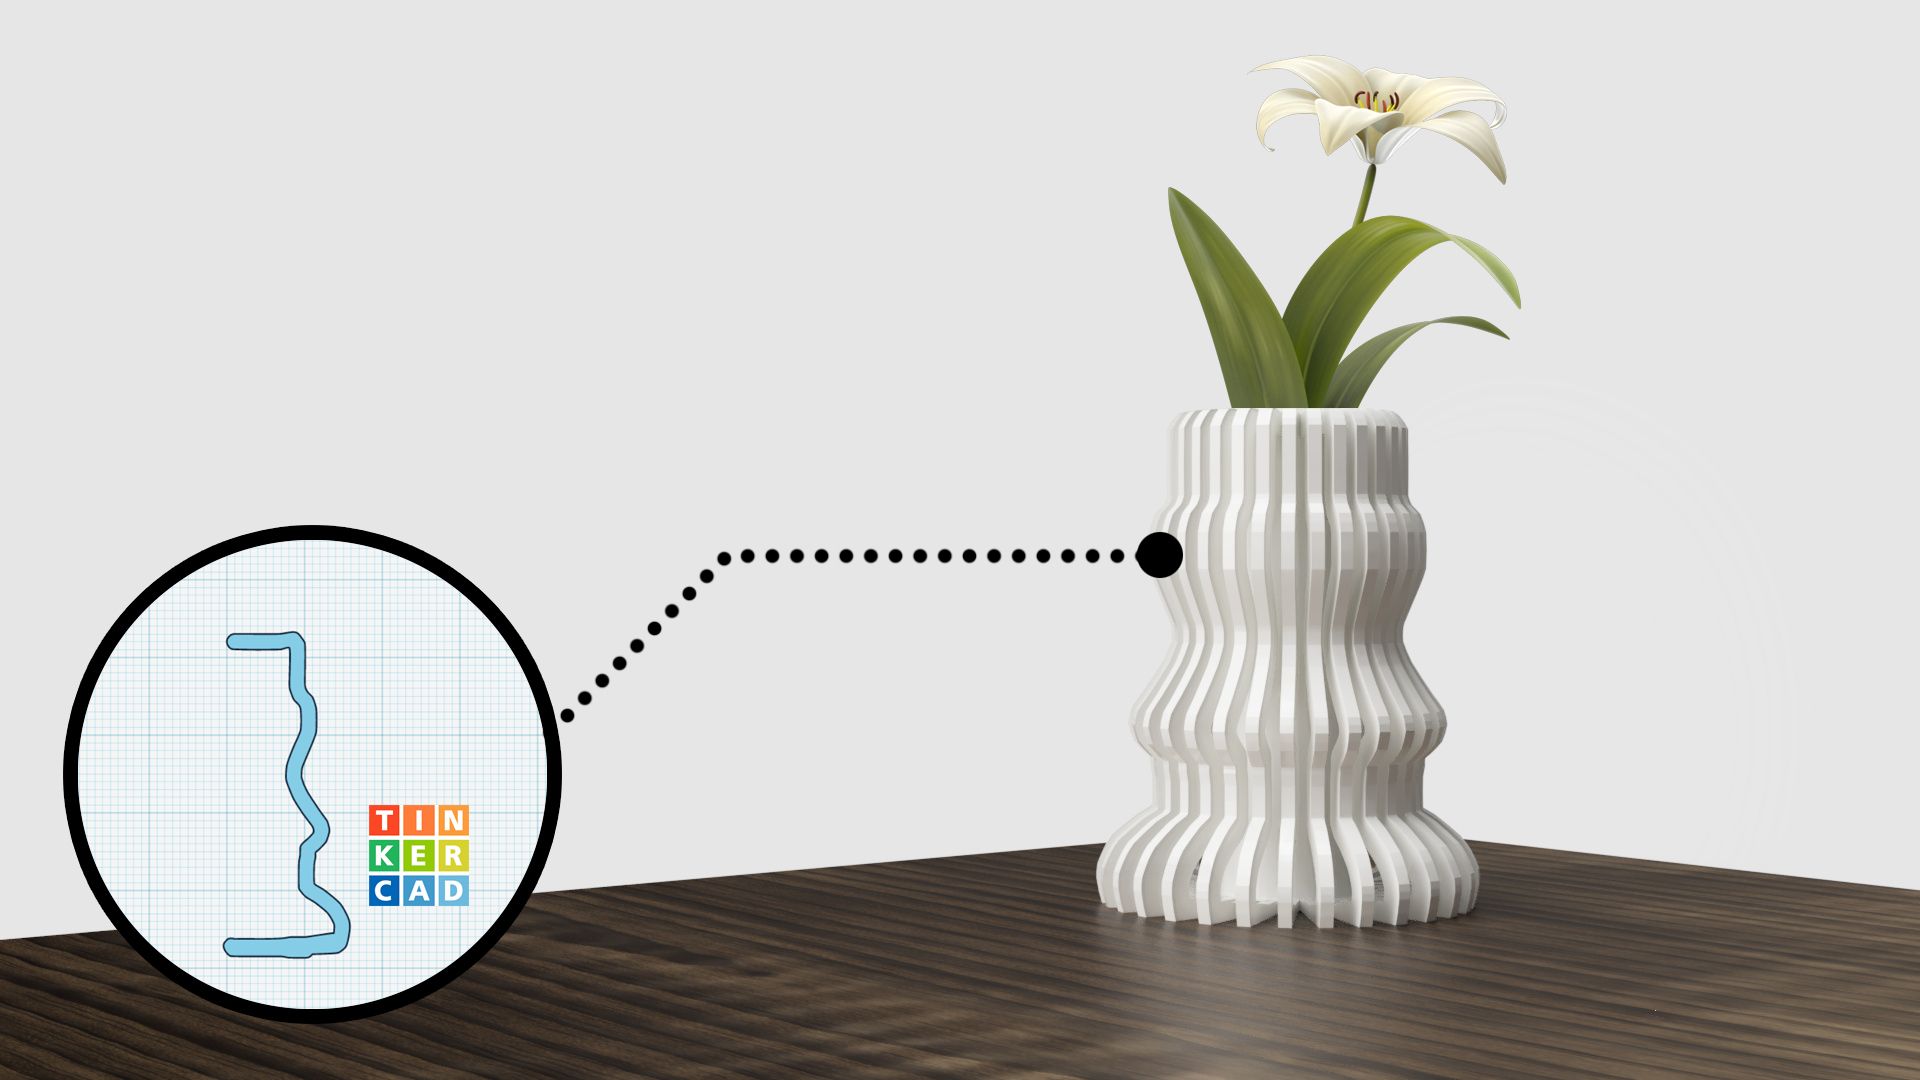
This was our second design – a vase created using the scribble tool in conjunction with Tinkercad’s smart duplicate tool. We began with a simple scribble for the outer pattern of the vase, which we made 1mm thick. This was then duplicated, rotated by 10 degrees and moved so the end point was touching the end point of the initial scribble. The great thing about Tinkercad’s duplicate tool is that it remembers your previous action, so as long as you don’t deactivate the tool (by clicking elsewhere), you can click duplicate again and this will generate a new shape that is already rotated and positioned correctly! This meant that we could continue clicking duplicate until there was a full 360 degree pattern. In the final step, we used cylinders to create a hole through the middle of the vase, where plants can sit. To learn more about Tinkercad’s smart duplicate tool, check out their blog here.
3. Stone Texture

In our final example, we made use of the uneven edges that come with scribbling to create a stone wall. We began by scribbling a horizontal row of stone-like shapes and duplicated them to create an even longer row of stones. The long row of stones was then duplicated, moved downwards and across to get the brick-like pattern we wanted. Finally, we created more rows and embedded them all into a box shape.
We’ll soon be integrating a series of projects on Tinkercad’s Scribble tool on our but for now, we hope you found some inspiration to give some of these ideas a go!