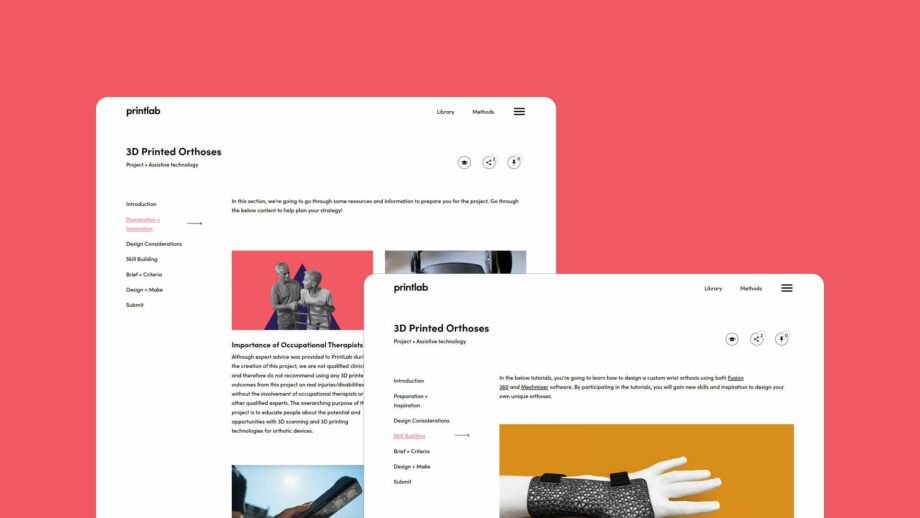
The Learning Platform
The project learning platform takes you through the full iterative design process using a variety of media - from explainer/case study videos and 3D design tutorials to design method instructions and more.
In this project, you will be using 3D scanning and 3D printing technologies to design a custom orthosis concept. The process begins by learning about the opportunities with 3D printed orthoses through informative content and case studies. You’ll then participate in a skill building tutorial to design a wrist orthosis around a 3D scan of a hand. With newly acquired skills and knowledge, you will create your own 3D scans (or use the example scan data included) and go through a journey of research, ideation and product design to develop a custom orthosis concept of your choice. View the project details below and start a free trial to PrintLab today!
This project is rated as advanced and is suitable for all those who have strong skills in 3D design and 3D printing, as well as foundational knowledge of 3D scanning.
The estimated project length is 6 hours, excluding any 3D printing time. This estimate includes designing and making an initial 3D printed orthosis plus time for evaluating and creating 1 improved version. The project can be run in shorter or longer periods of time depending on the number of iterations you choose to make. We recommend breaking the project up into multiple sessions (e.g. 6 x 1 hour sessions), which will allow you to 3D print necessary objects between sessions.
To participate in this project, you will require:
Additional materials may be required depending on the design methods you use when developing your solution.
The project learning platform takes you through the full iterative design process using a variety of media - from explainer/case study videos and 3D design tutorials to design method instructions and more.
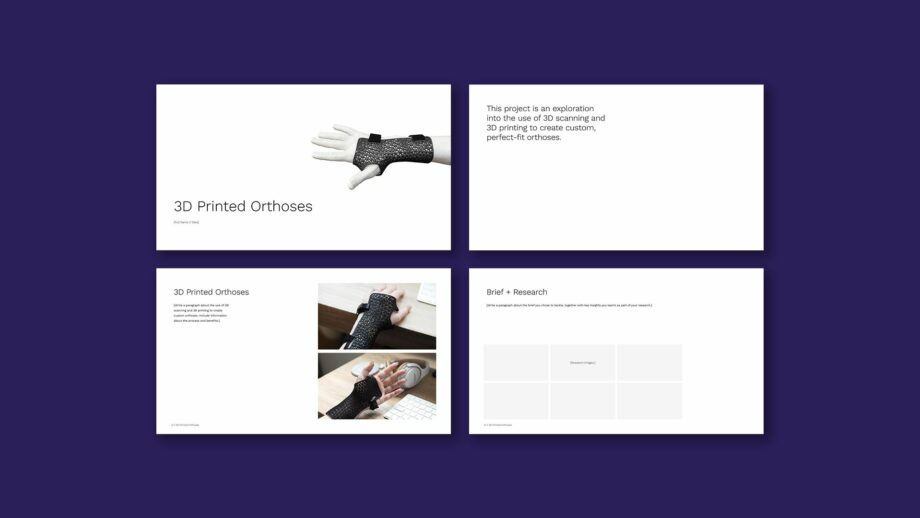
As you move through each stage of the project, we guide you in filling in a Google Slides template to document your design process - resulting in a beautiful and professional portfolio of work.
Our teaching methodology is focused around creative freedom. By using various research, design and evaluation methods, you'll learn how to create a 3D printed orthosis that's completely unique!
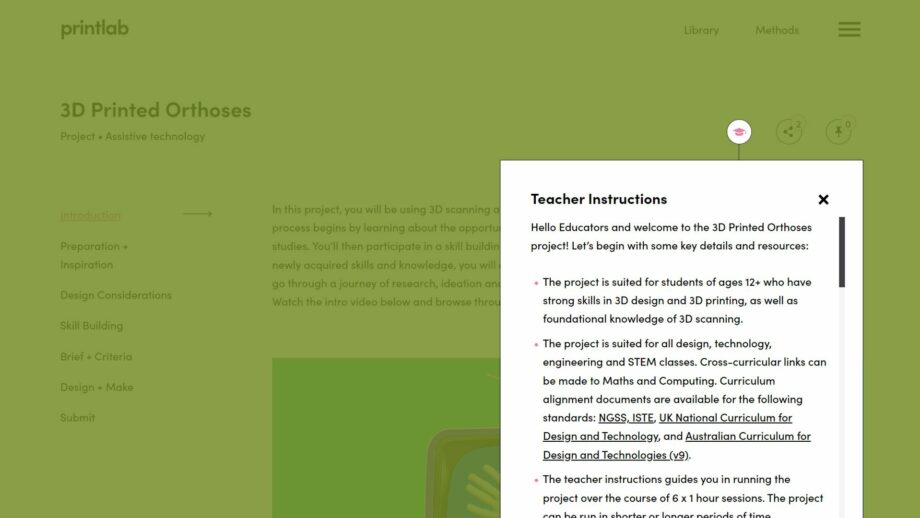
With our education licenses, you can generate a share link to give your students access to the project learning platform. Each section of the platform also has a teacher instructions tab, which provides you with step-by-step lesson plan instructions, curriculum alignment resources and an assessment rubric.
This project is available to subscribers of PrintLab. Learn more about our license options and start a free trial today to access a whole range of resources across the fields of 3D printing, 3D design, assistive technology, product design and STEM.
Start a Free Trial to PrintLab