Managing High-Volume 3D Printing for Iteration and Student Projects
After seeing the sheer number of 3D prints and iterations coming out of Jim Cairns’ classroom during last year’s Make:able Assistive Technology Challenge, we had to know more. Jim had multiple student teams (each with 4–5 members) taking part - meaning dozens of prototypes, test prints and final models all being managed in one space. Coordinating that much 3D printing is no small feat, so we caught up with Jim to learn how he made it work and what advice he has for other teachers navigating a similar scale.
2nd February 2026 • Tips
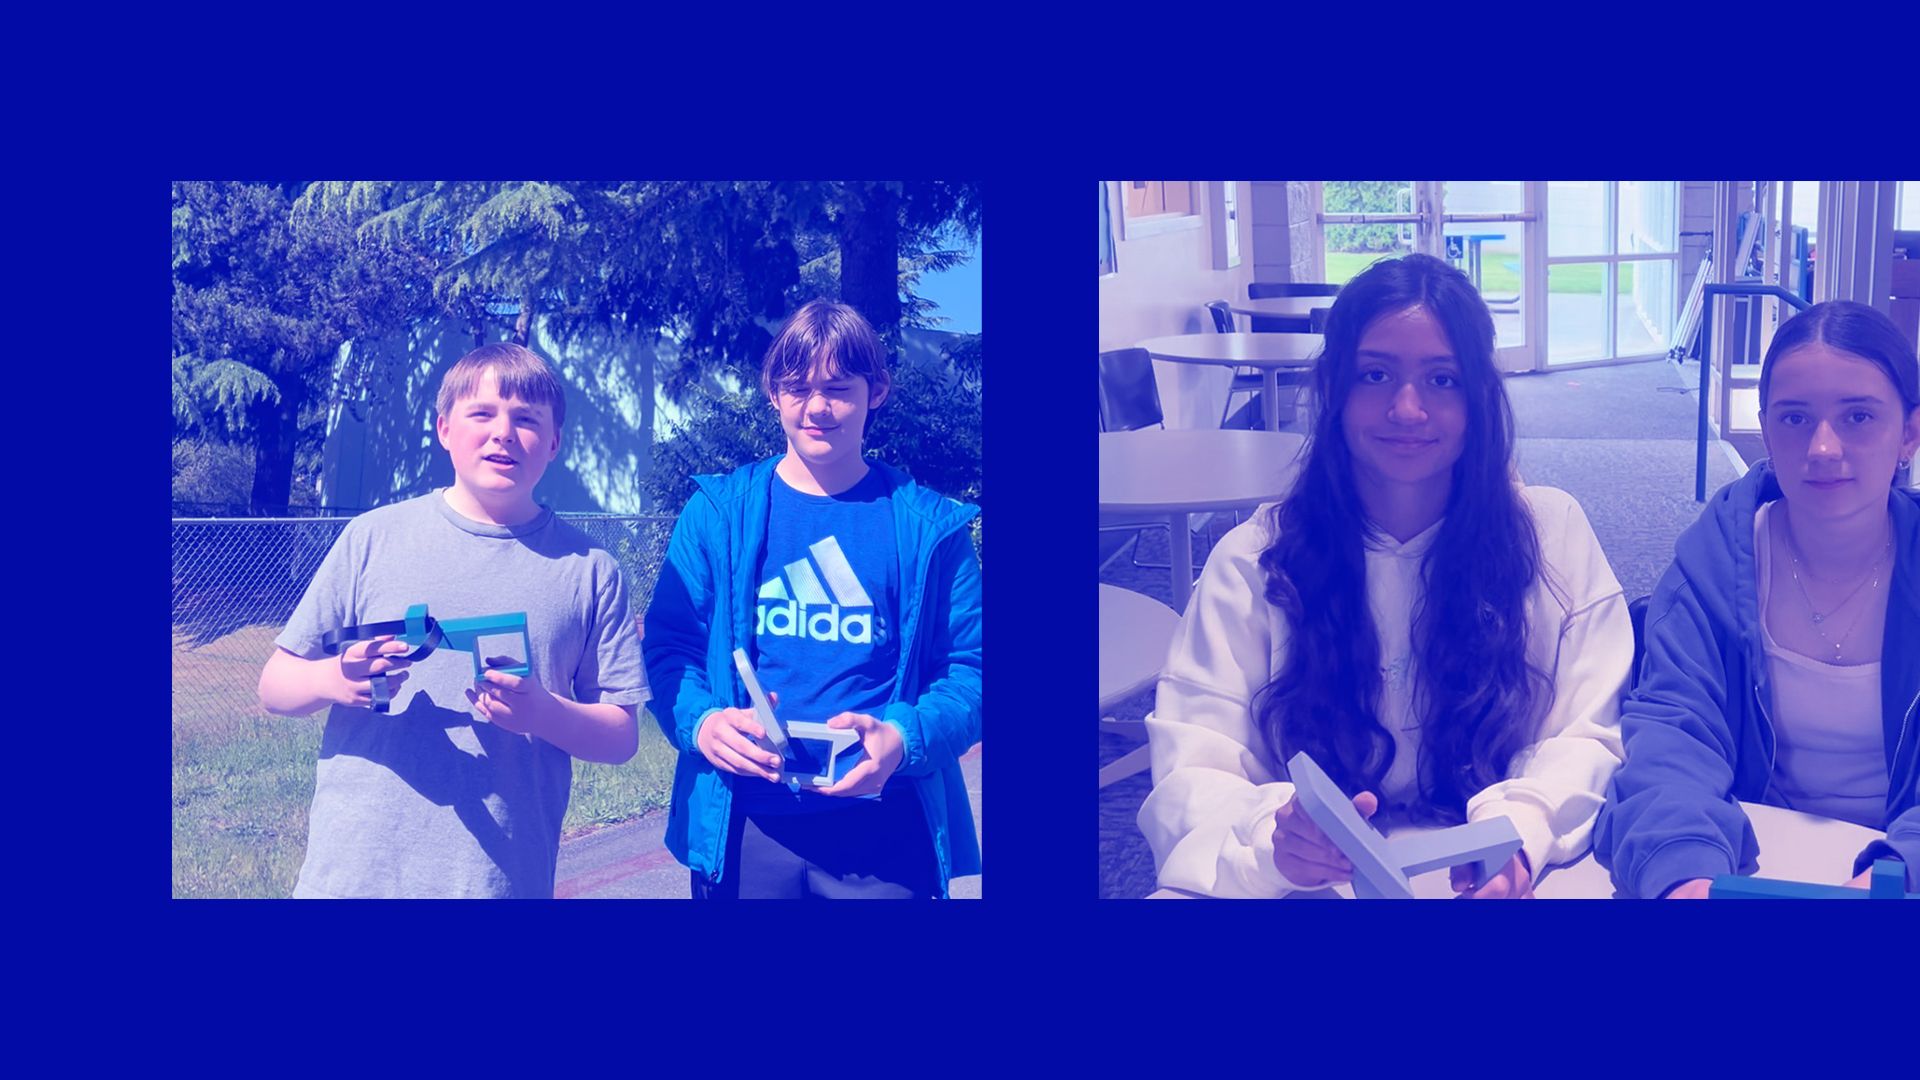
Before we dive into the interview, here are a couple of example submissions from Jim’s students in the Make:able Assistive Technology Challenge, where participants design and make 3D printed products for people with disabilities.
Let’s get into the interview and see how Jim managed the 3D printing process in his classroom!
Hi Jim, and welcome back to the PrintLab blog! Let’s begin by talking about the planning for Make:able. How many student classes were involved, and how did you divide them into teams?
I had two classes last year, each with about 15–20 students. This year I have one class each semester, typically 15–20 students. I aim for groups of four, but sometimes move to groups of five if the numbers require it. Early in the semester, students work in pairs so I can see how they collaborate. Then I have them complete a short survey asking about things like whether they know someone with a disability or who’s elderly, if they have video editing experience, and who they’d like to work with. I use that information to build balanced teams with a mix of technical, creative, and empathy skills.
How many weeks did your students have to complete the challenge?
Students usually complete the Make:able Challenge during the second quarter — about six to seven weeks. That’s long enough to allow multiple design cycles but short enough to keep momentum. Most teams go through at least four or five iterations, often delivering their prototype to the client two or three times for feedback. That client input is what really drives improvement and keeps students motivated to iterate.
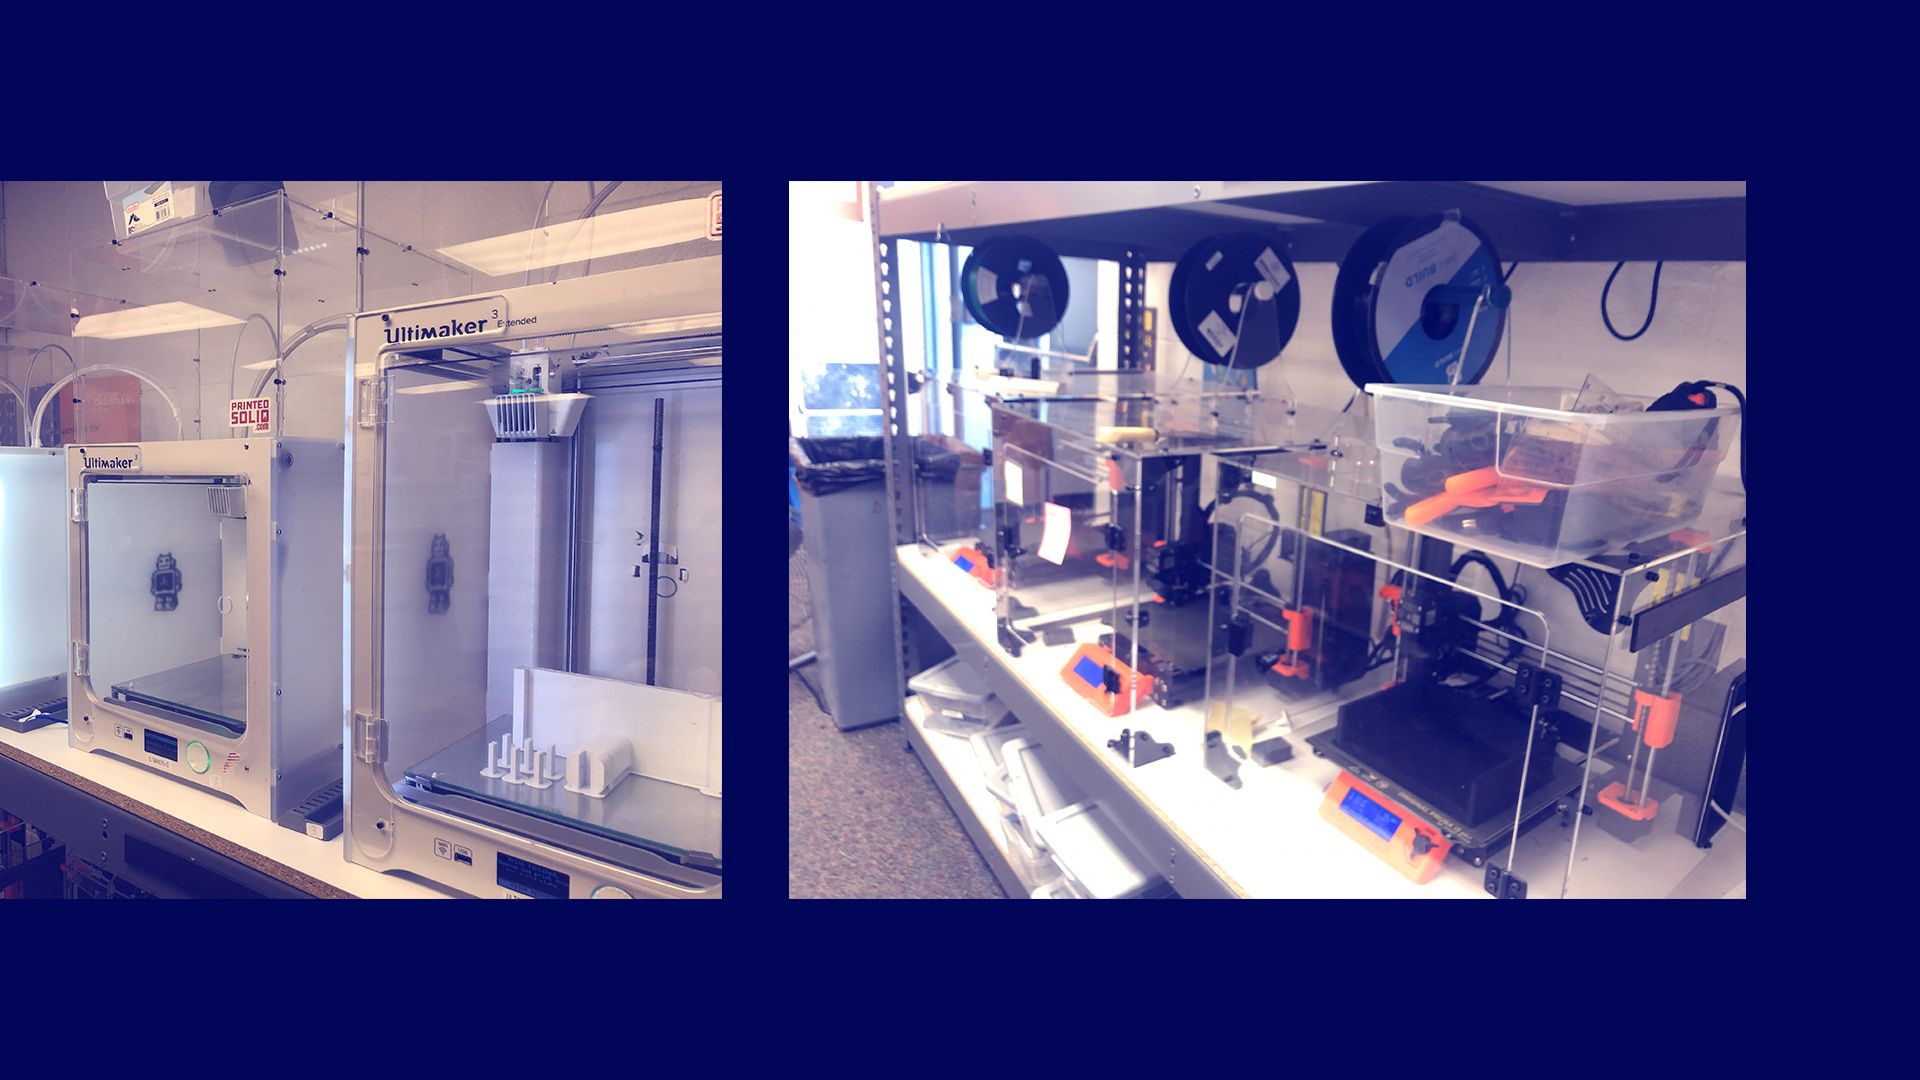
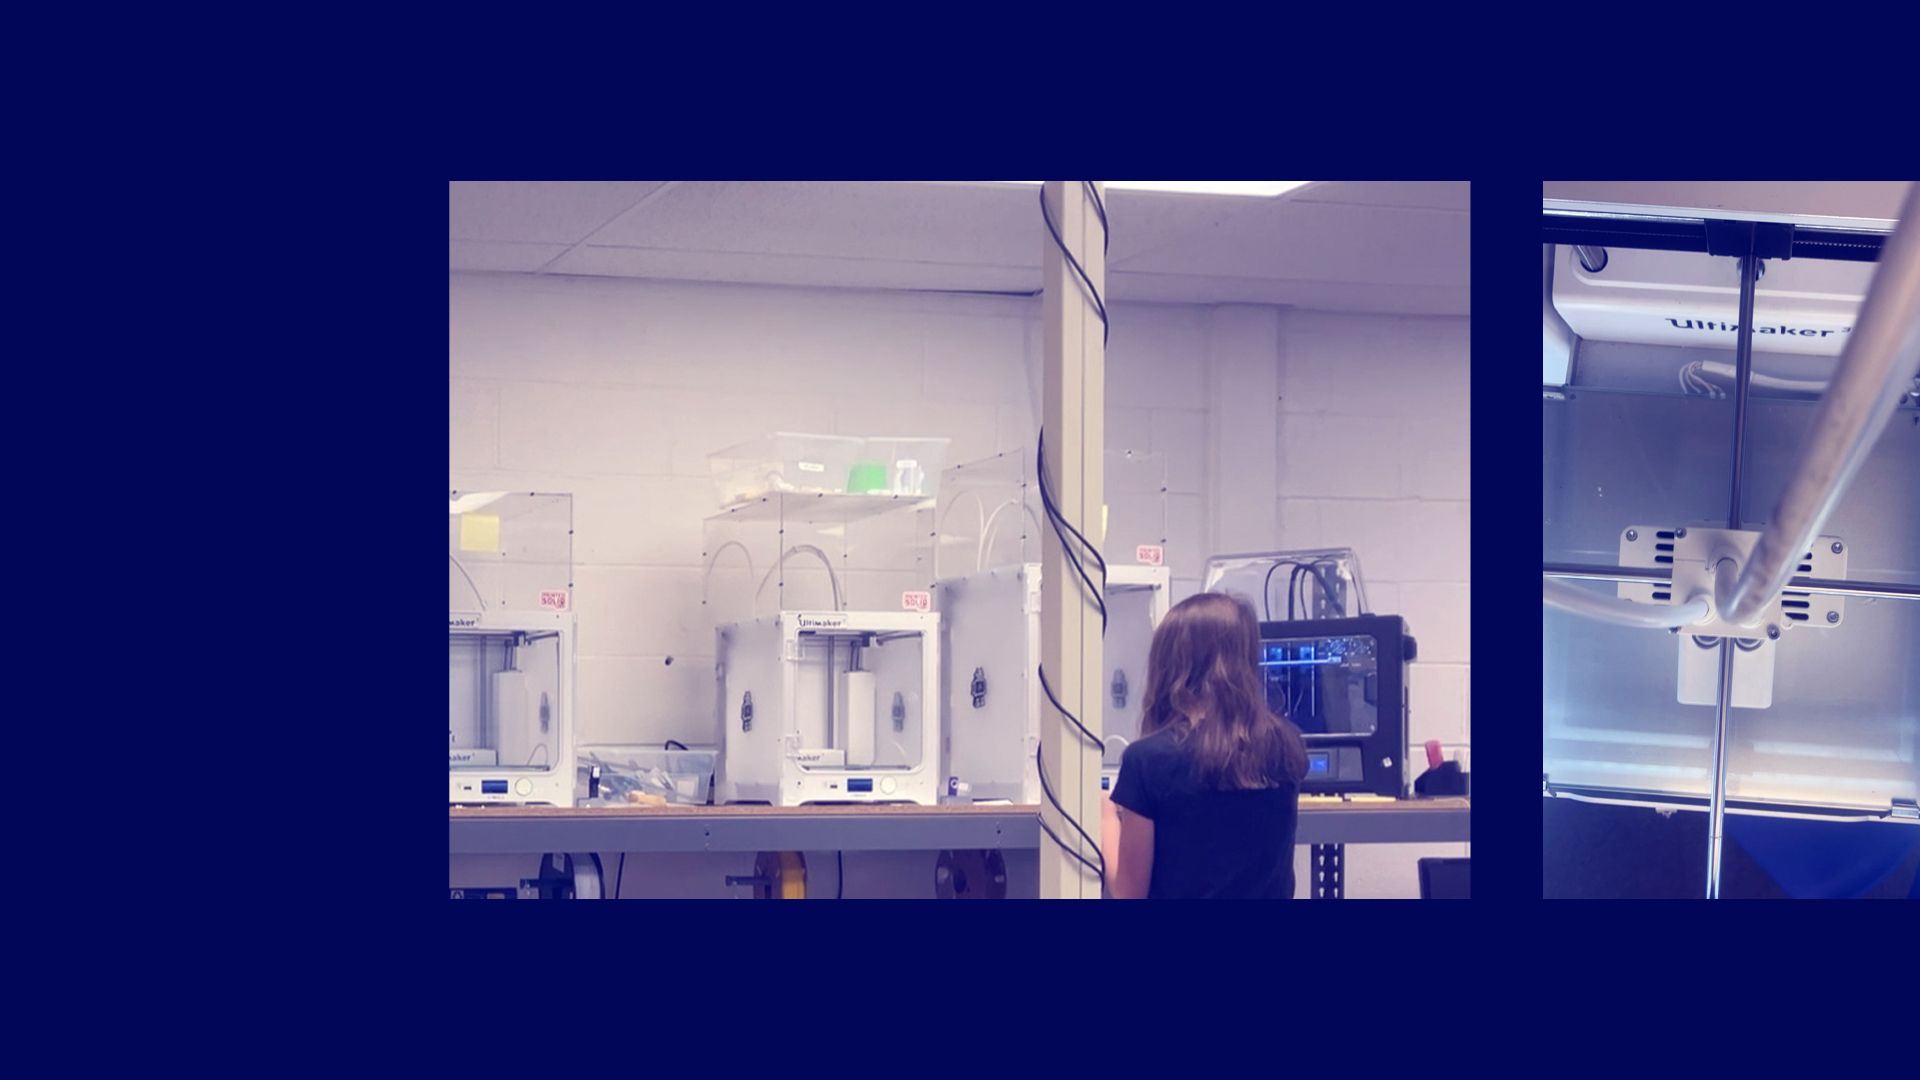
How many 3D printers did you have available to use, and what brands/models were they?
We have eight printers — four Ultimaker 3s and four Prusa MK3s — but typically only five or six are operational at a time due to maintenance needs. Our school recently purchased six Bambu A1 printers, which print about twice as fast and require far less upkeep, so that’s been a big improvement. The school provides unlimited filament for classroom use, though I do share the printers with a high school class of about 15 students, which can limit access.
Roughly how many total prints were produced throughout the whole Make:able Challenge, and how many prints did a typical team go through?
Each team averages seven to ten prints throughout the challenge. There’s usually no printing for the first week and a half as students design digitally, then about two prints per week until they move on to their final presentation video. Most teams complete five to six full iterations and deliver two to three prototypes to their client for feedback before finalizing their design.
Did students use the same 3D printing process you outlined in your previous blog with us, whereby they provided you with pre-sliced models ready for you to 3D print during lunch break or after school? Did this process go smoothly and did you need help from others to help you manage the 3D printing?
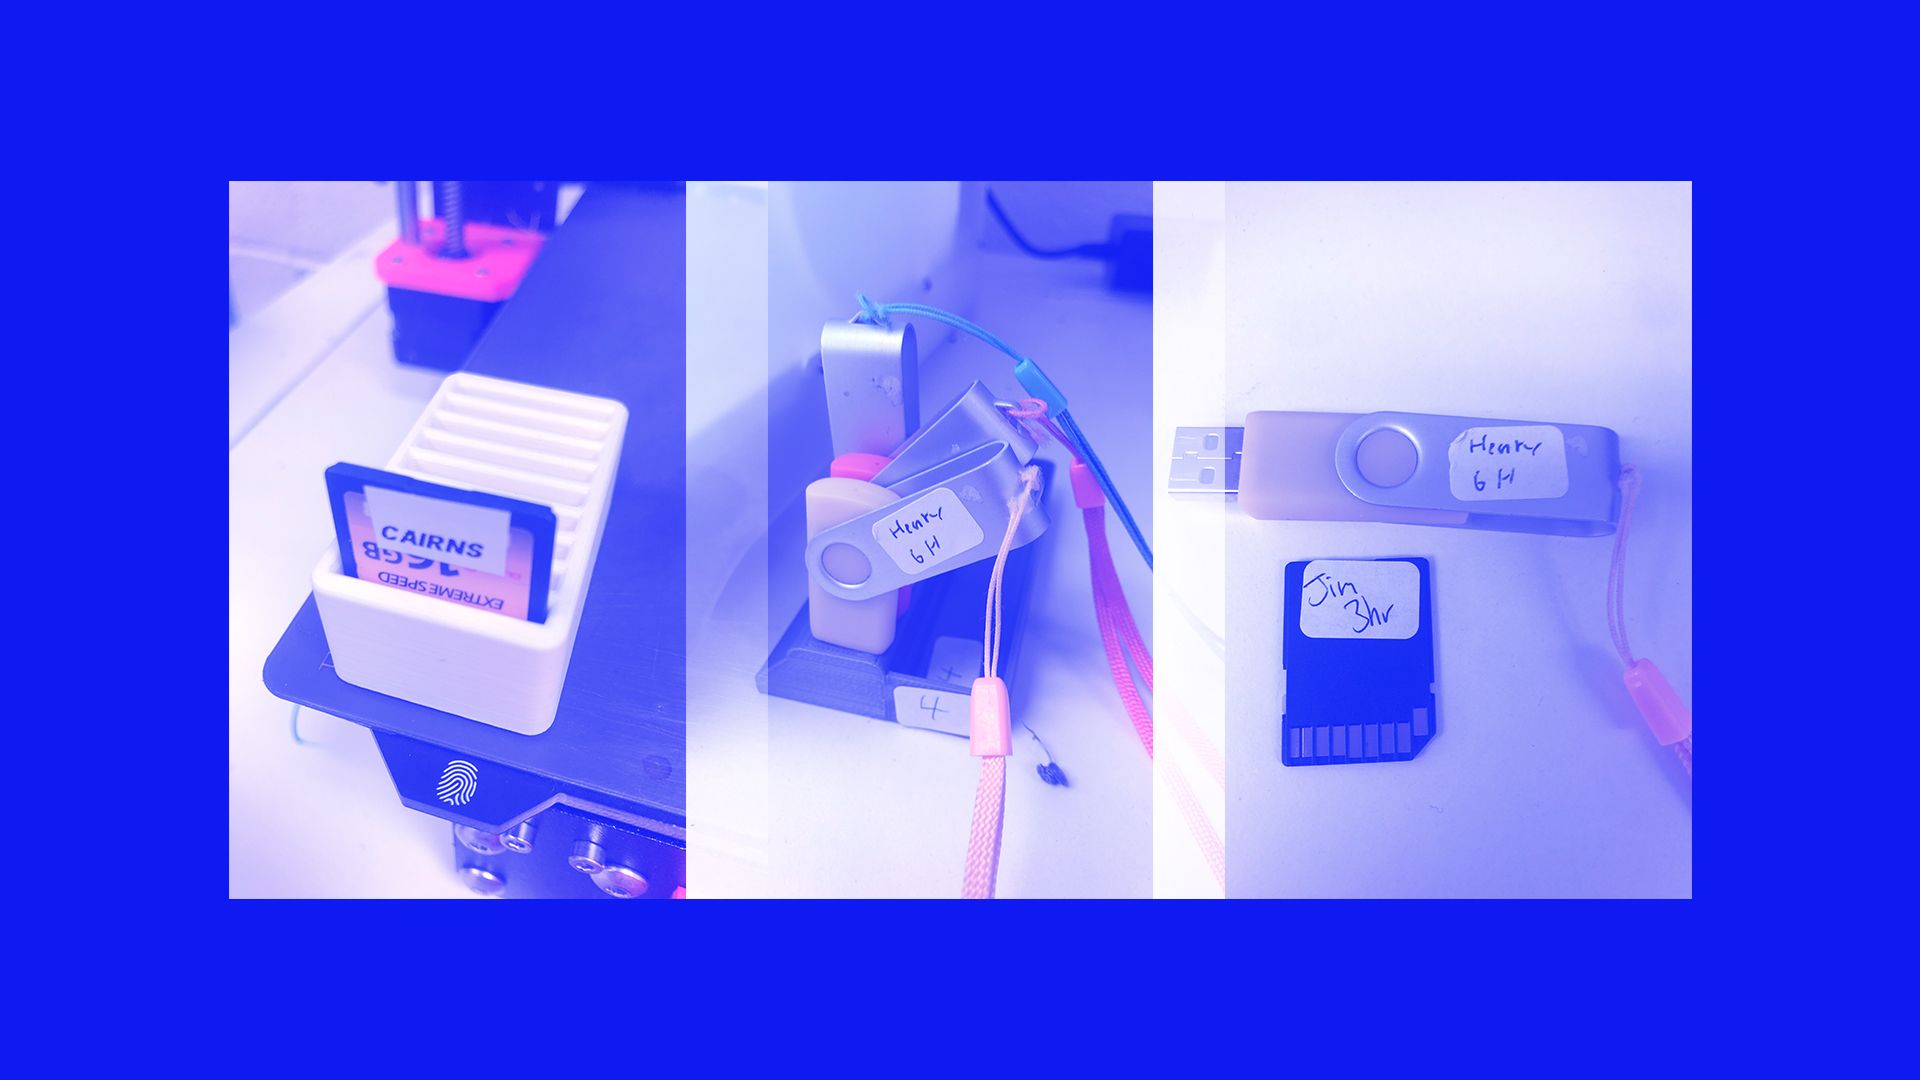
The more ownership students have, the better. From day one, they learn to start and remove their own prints. I train one or two students early on using a simple name tag project — those students become the class “experts” and help train others. I only need about a quarter of the class to be confident slicers; they can support everyone else. When the queue is heavy, I start prints before or after school. Students label their USB or SD cards with their names and estimated print time, which helps me organize and prioritize jobs.
Did you batch student files together by class, project stage, or priority? How do you decide what gets printed when?
I experimented with batching prints, but found that when one print failed, the whole batch failed. Shorter prints tend to be more reliable. I prioritize based on estimated print time and the stage of each team’s project — prototypes for client feedback take precedence over aesthetic or display prints.
How do you balance quality vs speed when you’re trying to get through a long queue of student prints? Any specific print settings or hacks you rely on?
I print almost everything at 0.3 mm layer height using default settings. That’s plenty for functional parts, which is what most teams need. Final models or submissions are sometimes printed at 0.2 mm for a cleaner finish. The focus is on usability and purpose — how the print helps the client — rather than cosmetic perfection.

What’s your strategy when things get tight – like if a printer goes down or you’re short on time before a deadline?
When deadlines get close, I do whatever it takes — start prints before school, run them during lunch, or stay after to finish. My goal is to always keep at least four printers operational. If something fails, I shift jobs to the next available printer to keep things moving.
Looking back at this year’s 3D printing workload, is there anything you’d do differently next time – or something new you’d like to try?
Upgrading to better printers was the biggest improvement. The Bambu A1s are faster, more reliable, and easier to maintain, which makes high-volume printing manageable at the classroom level. The only challenge now is organizing and tracking micro-SD cards.
What advice would you give to teachers with large classes who are hesitant to let students iterate more due to time or limited capacity?
You can only print as fast as your setup allows, but empowering students helps a lot. Teach them to slice, start, and manage their own prints early. Keep printers well-maintained, and advocate for upgrades when possible — newer models are cheaper and more reliable than ever. I also asked my administration to allocate funds for new printers last spring, which has made all the difference. Iteration is where the best learning happens.
—
A huge thanks to Jim for sharing his insights and strategies. It’s clear that with the right systems in place, high-volume 3D printing can open the door to meaningful, student-led innovation. If you’d like to get involved in the Make:able Challenge yourself, you can register below and get free access to the full online toolkit.
Sign up to the Make:able Challenge and gain full access to the online toolkit