3D Printed Board Games at Thomas Jefferson Middle School
In today’s blog, we welcome back one of our very first pioneers, Carrie Beach, from Thomas Jefferson Middle School. Carrie recently challenged her students to design 3D pieces for board games and has kindly volunteered to share her experience with us. Let’s jump straight into the interview!
5th July 2023 • Case Studies
Hi Carrie! As one of our very first pioneers, it’s great to have you back on the PrintLab blog. First of all, can you tell people who you are, what you teach and where 3D printing fits into your role?
It’s great to be back. I am Carrie Beach and I teach technology education at Jefferson Middle School in Winston Salem, NC. I have been a teacher for 25 years and teaching technology for about six years. I use challenge based assignments that enforce the design process in my classes. I like to tie various types of technology to each of the challenges. The students do a tutorial type lesson for the technology as part of the research for the overall challenge. Examples of technology that could be included on a challenge are 3D printing, coding with Scratch, Makey Makey, Minecraft, and Canva.

Before we get to the 3D printed board games, we understand that you used a PrintLab project beforehand. Can you talk a little about what this project was and how it helped as a preparation activity for their board game designs?
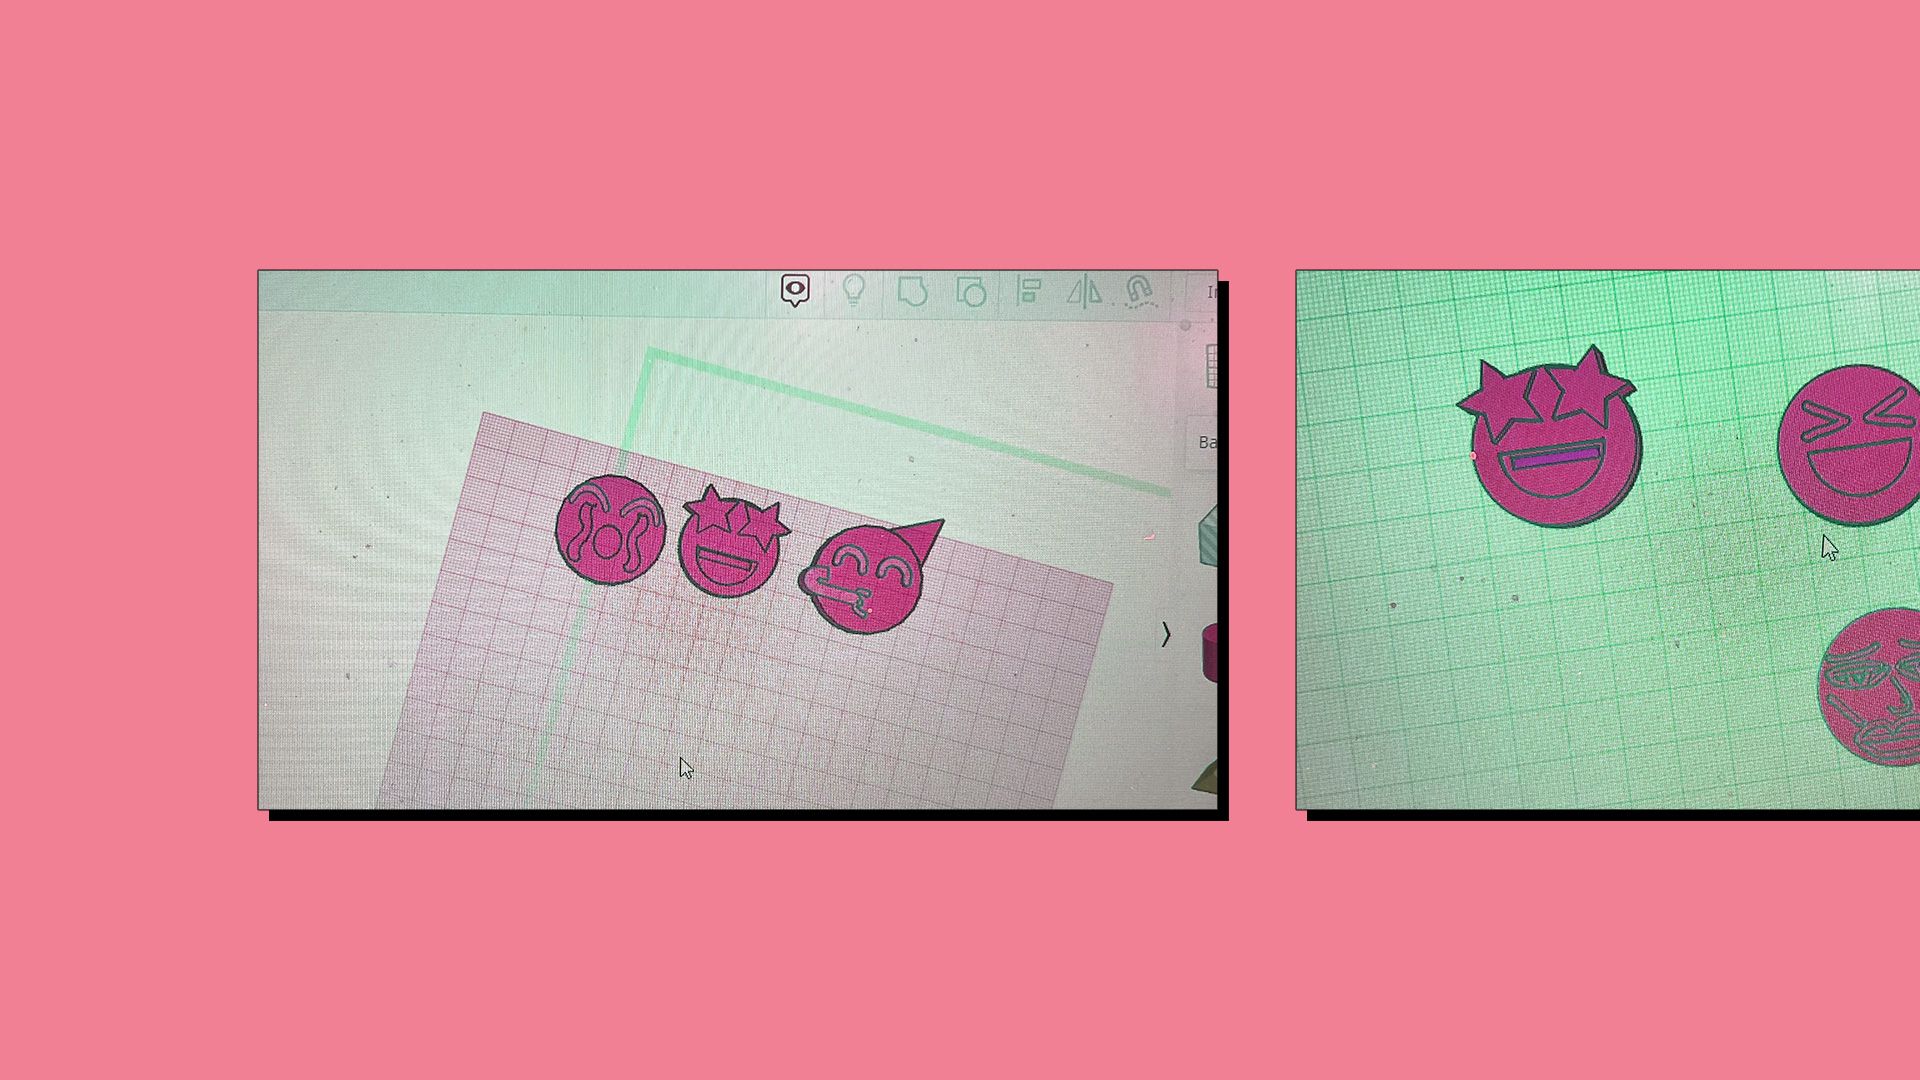
We did the Emoji Token lesson as an introduction to CAD and Tinkercad specifically. The kids did the lesson as part of the research for the overall board game project so they would be able to make a 3D part for their game. I love the PrintLab lessons because I can give the tutorial to the kids and they are able to work through the steps without much help from me. They like the freedom it gives them to learn at their own speed. When they created their own token, they really got into trying the different shapes and features of Tinkercad.
And now let’s move on to the board games! What was the brief you set for the students and how does 3D printed board games fit in with your curriculum?
I made the brief pretty simple. They just had to create a board or card game that we could play in class. It had to have some part that was designed by them on Tinkercad that we could 3D print as well as written instructions for playing the game. The class that completed this assignment is called Invention and Innovation. The kids had the option to invent a new game or innovate something that already existed.
Can you explain the process students went through during the project?
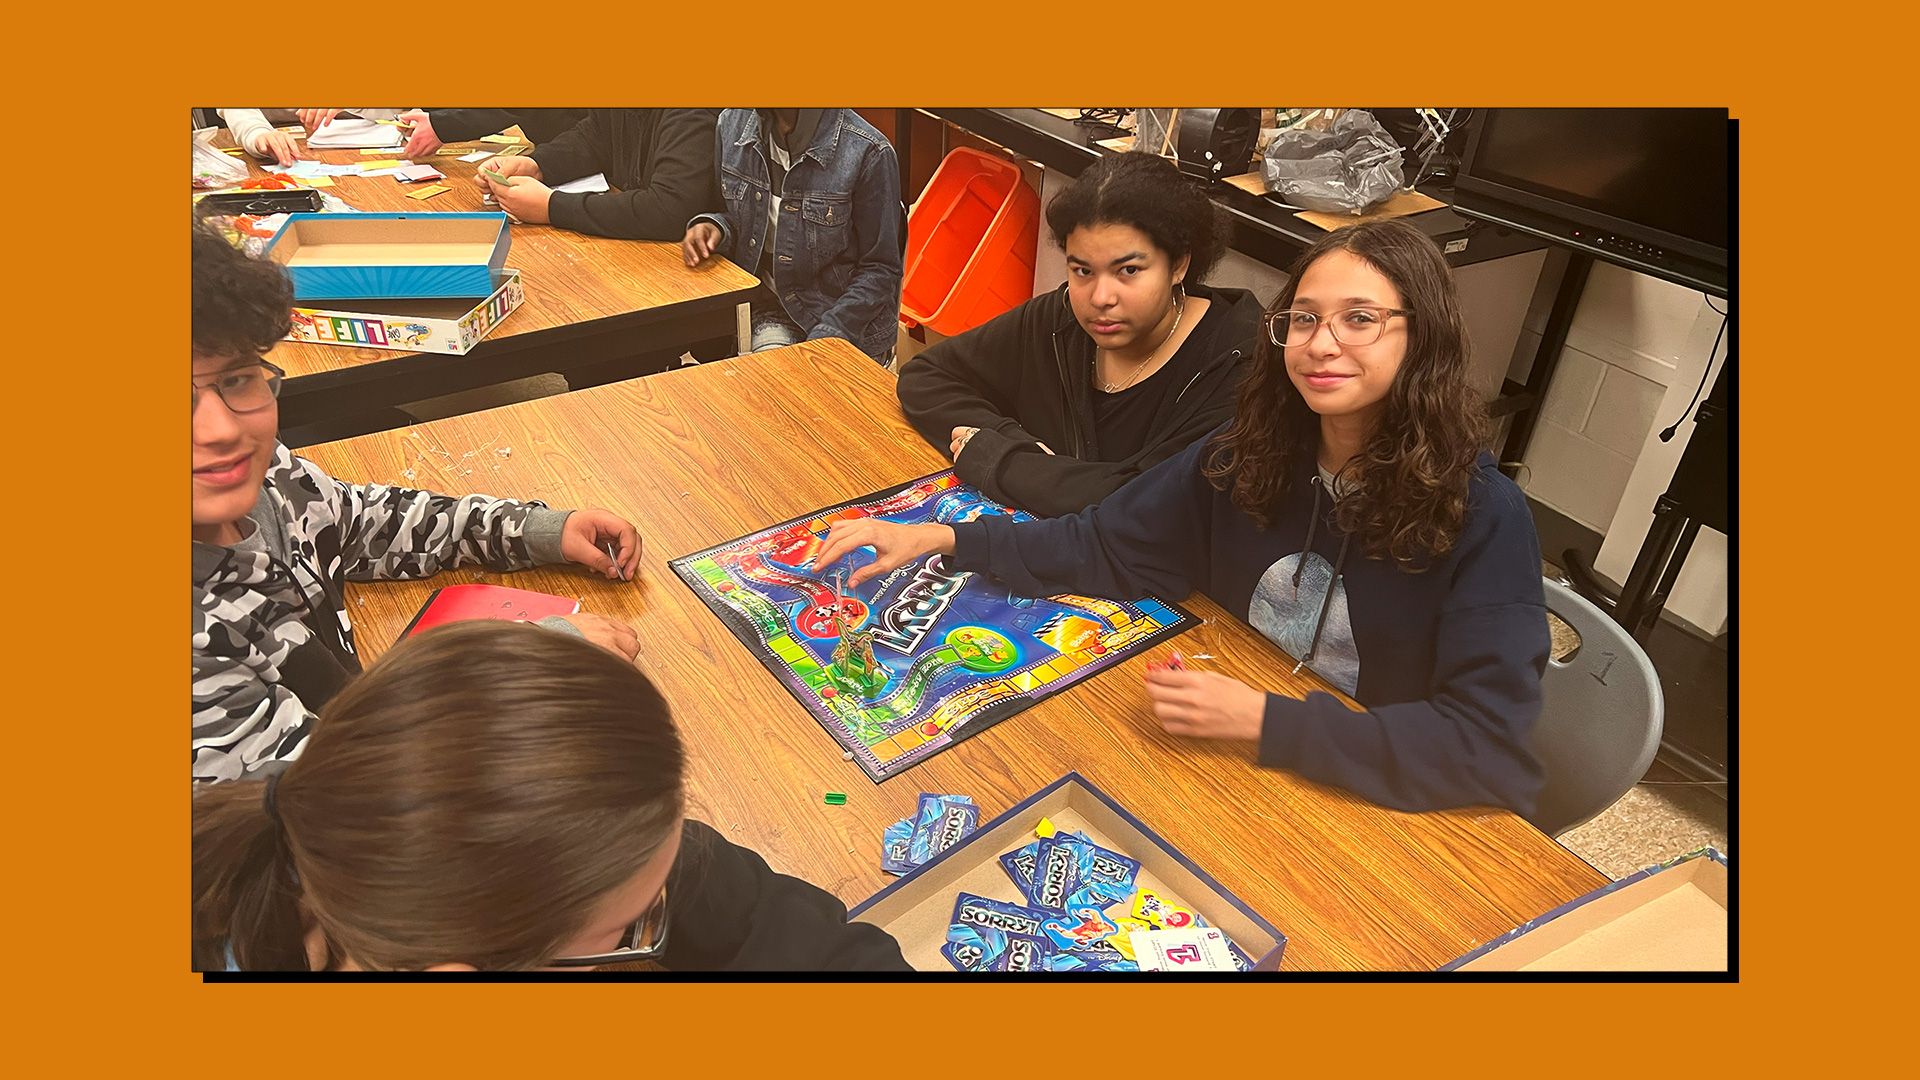
After the students were presented with the design brief, they spent some time playing existing board games so they could look over the instructions involved with games and experience some different types of games. Following our play days, students were given the opportunity to do online research of existing games and their rules as well as how to design a board or card game.
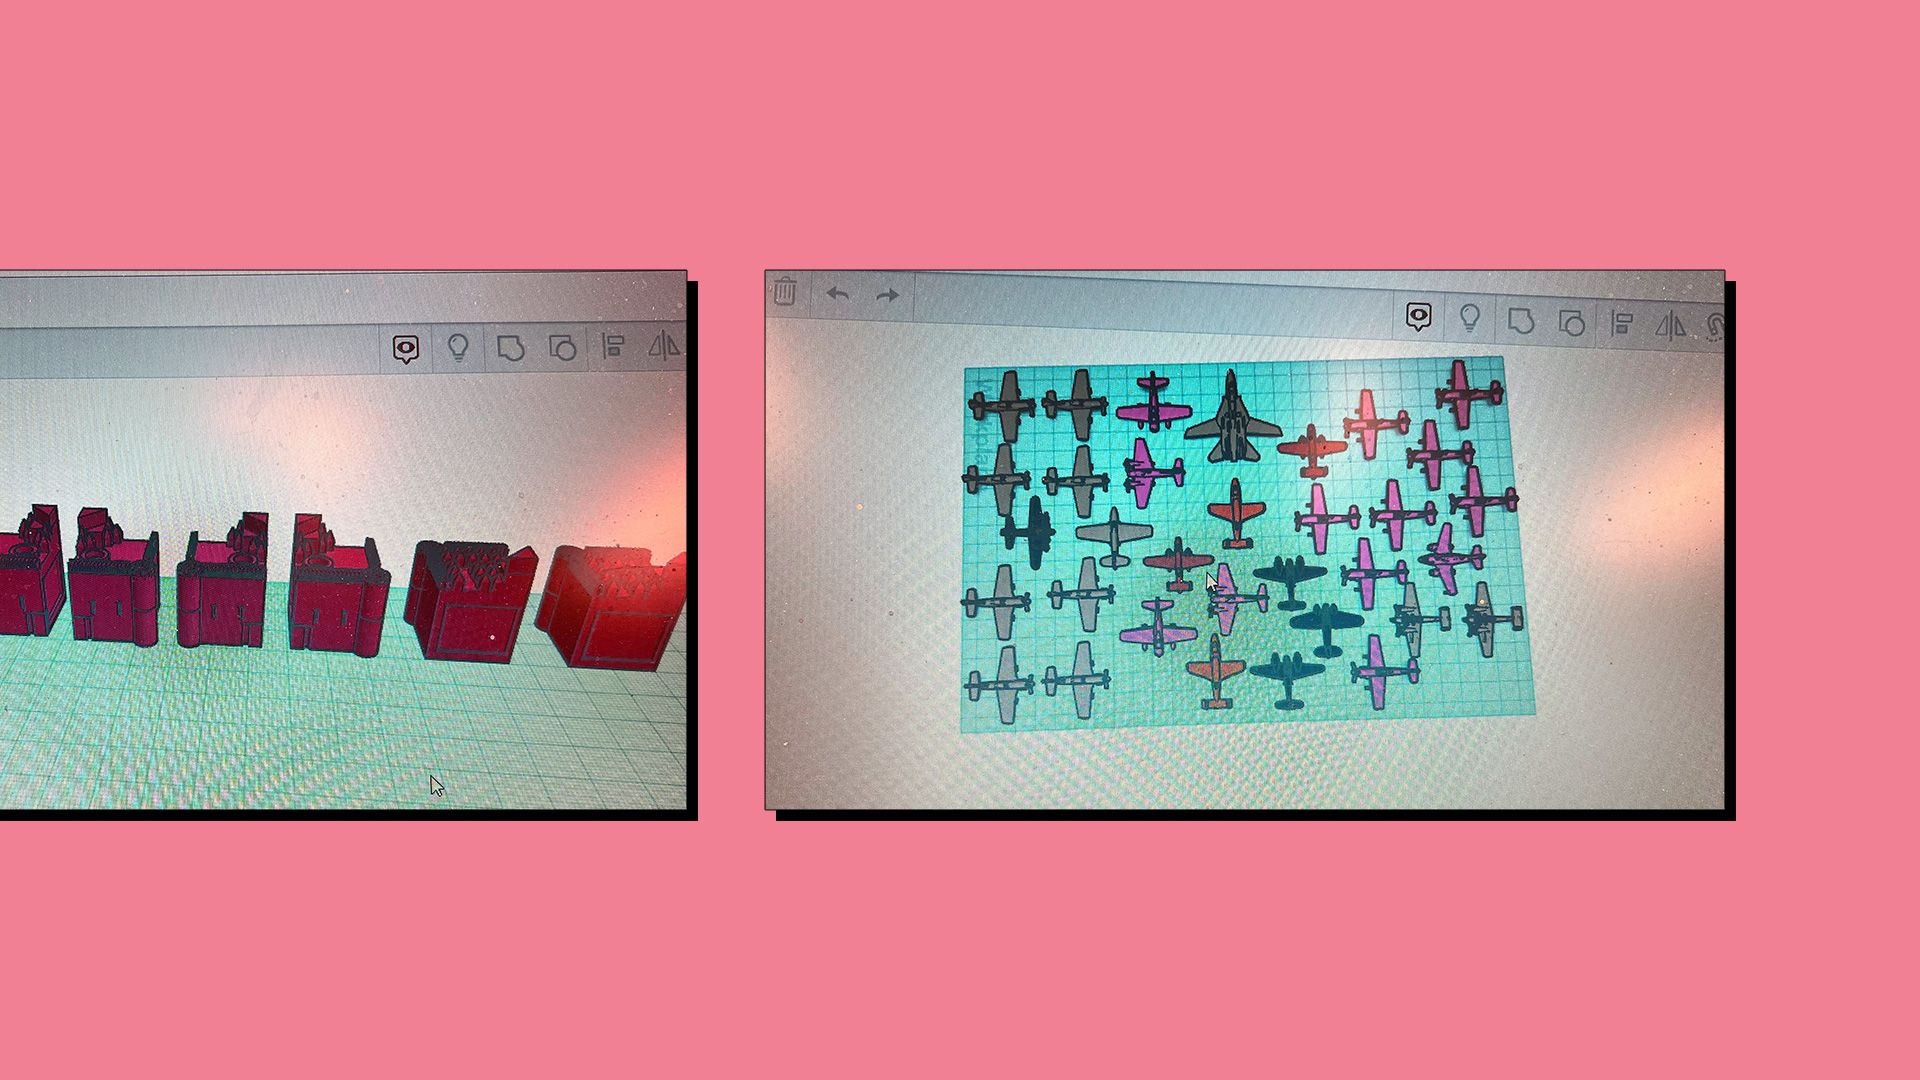
Once the kids had an idea of what they wanted to do, they had to create a scaled down version of their board game on graph paper. This was a challenge for some of them, but it made it much easier to create their final board. Students also decided what they wanted to 3D print and created their items on Tinkercad. They create a rough draft of their game instructions at this time as well.
Once they had a plan for all of the parts of their game, we started to make final versions of the game. Each student was given a 12 inch x 12 inch square of cardboard that they transferred their board game design onto.
They submitted their CAD files to our classrooms on Tinkercad and their instruction sheets on Canvas so they could be printed. Students who created card games created a front and back design for their cards and they were printed on card stock and assembled.
Once everything was finished, we had a couple of days when we played the games. My original plan was for the kids to take their games to other encore/special classes for students to play test them, but due to printer troubles, our schedule got delayed so I guess we will try that next year.
What types of games did students make and how 3D printing was used?
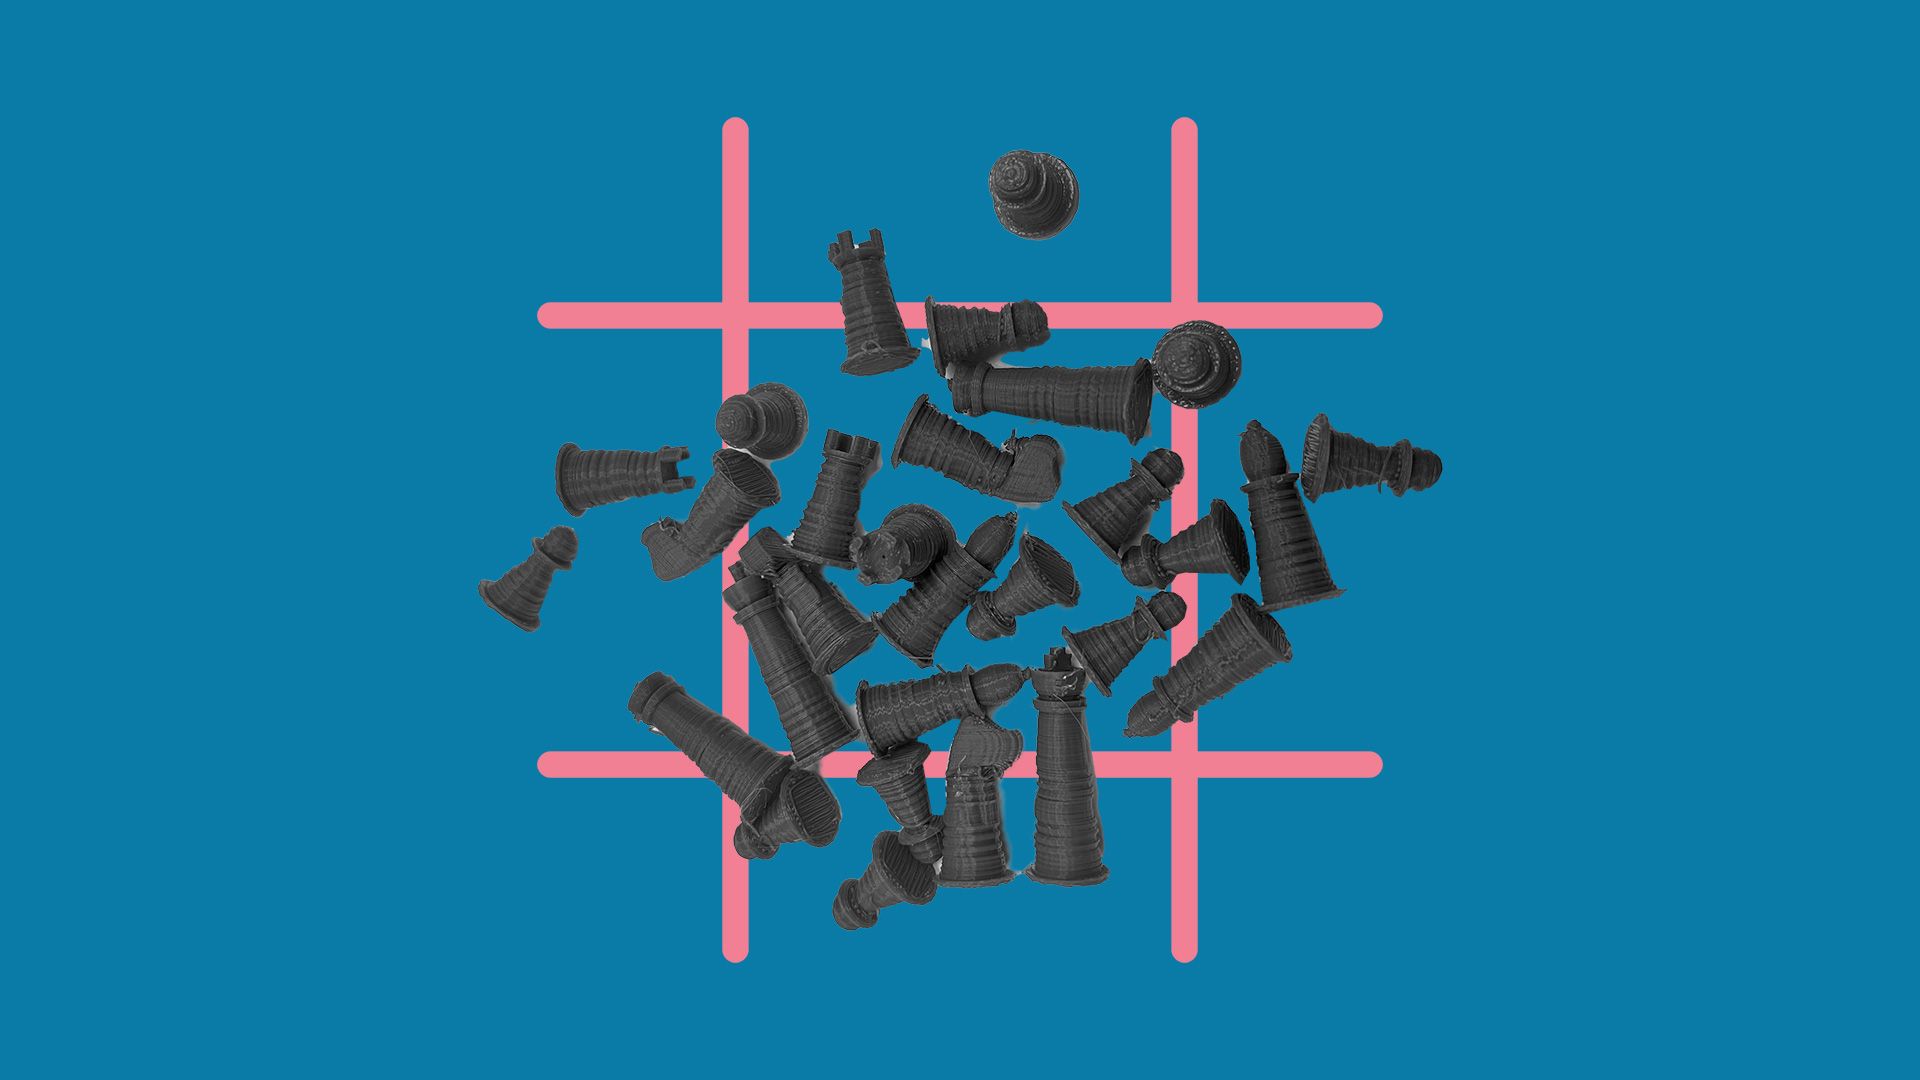
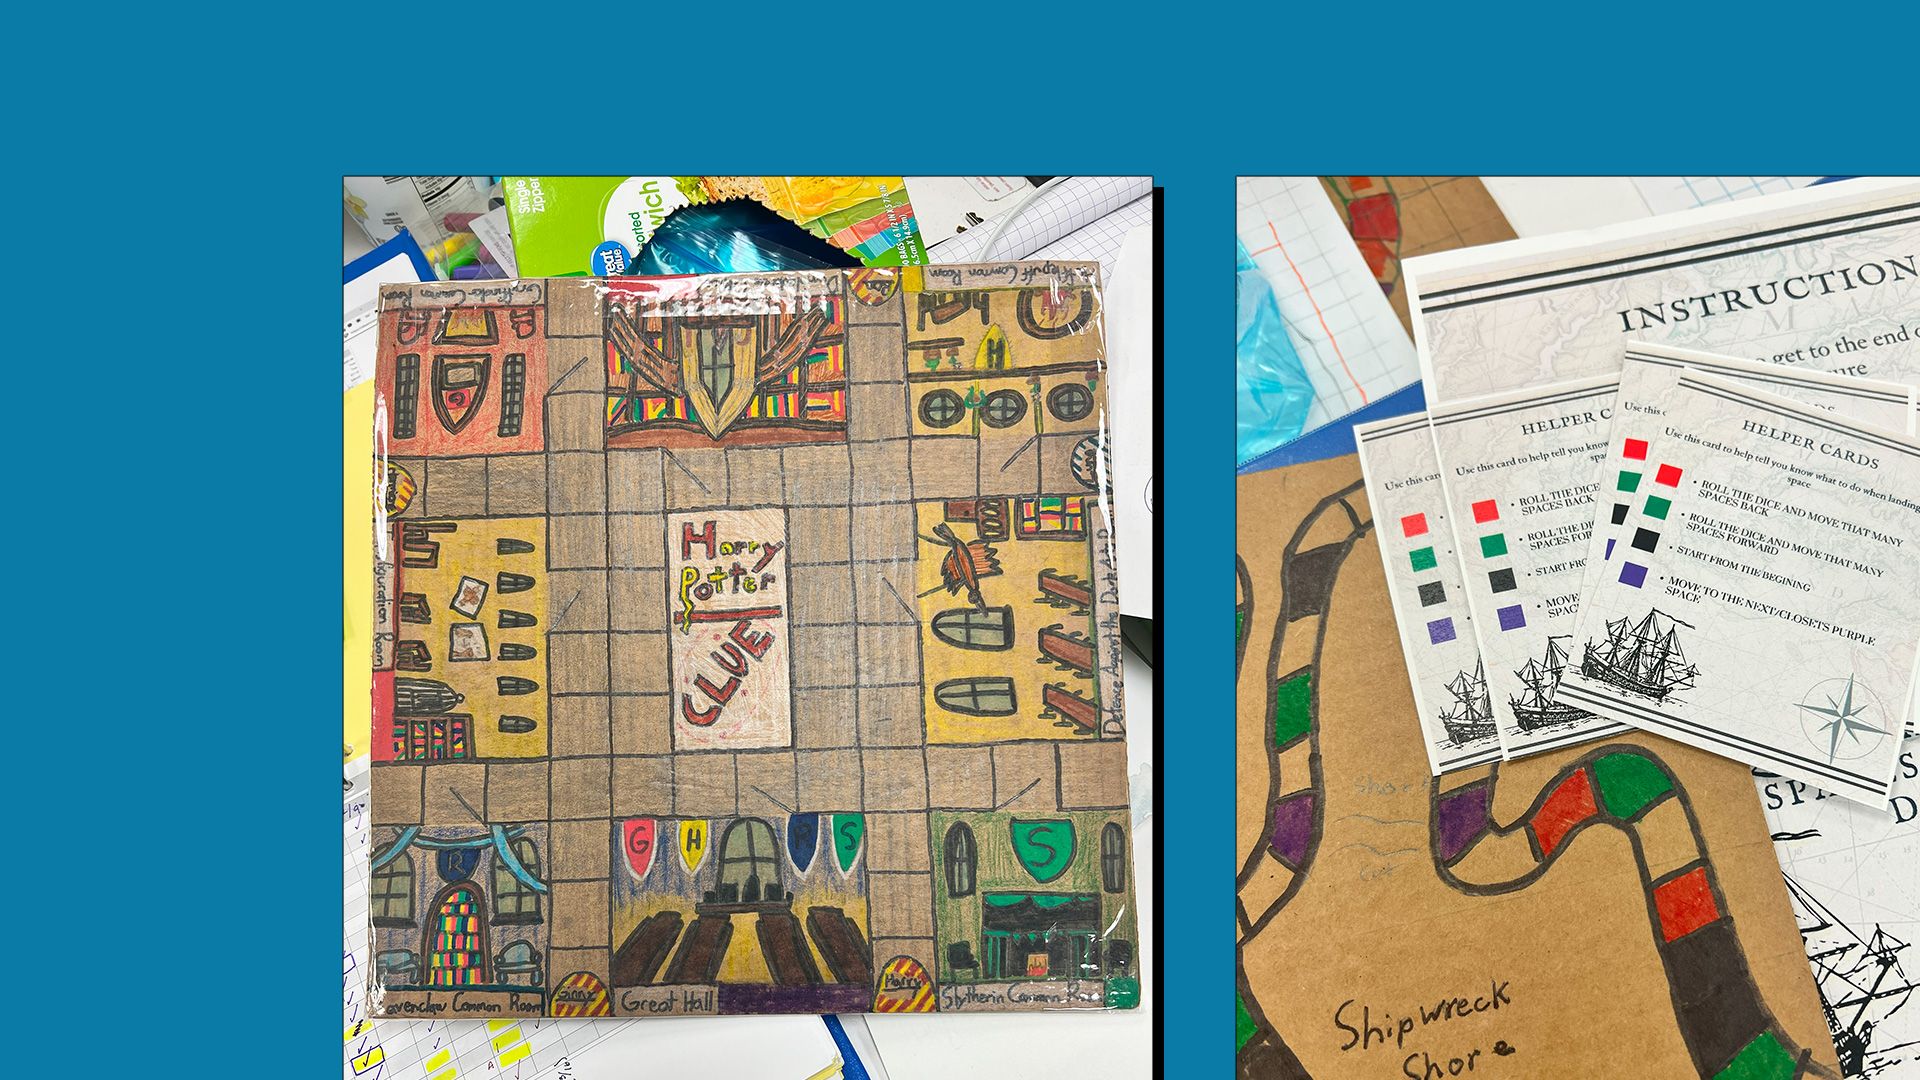
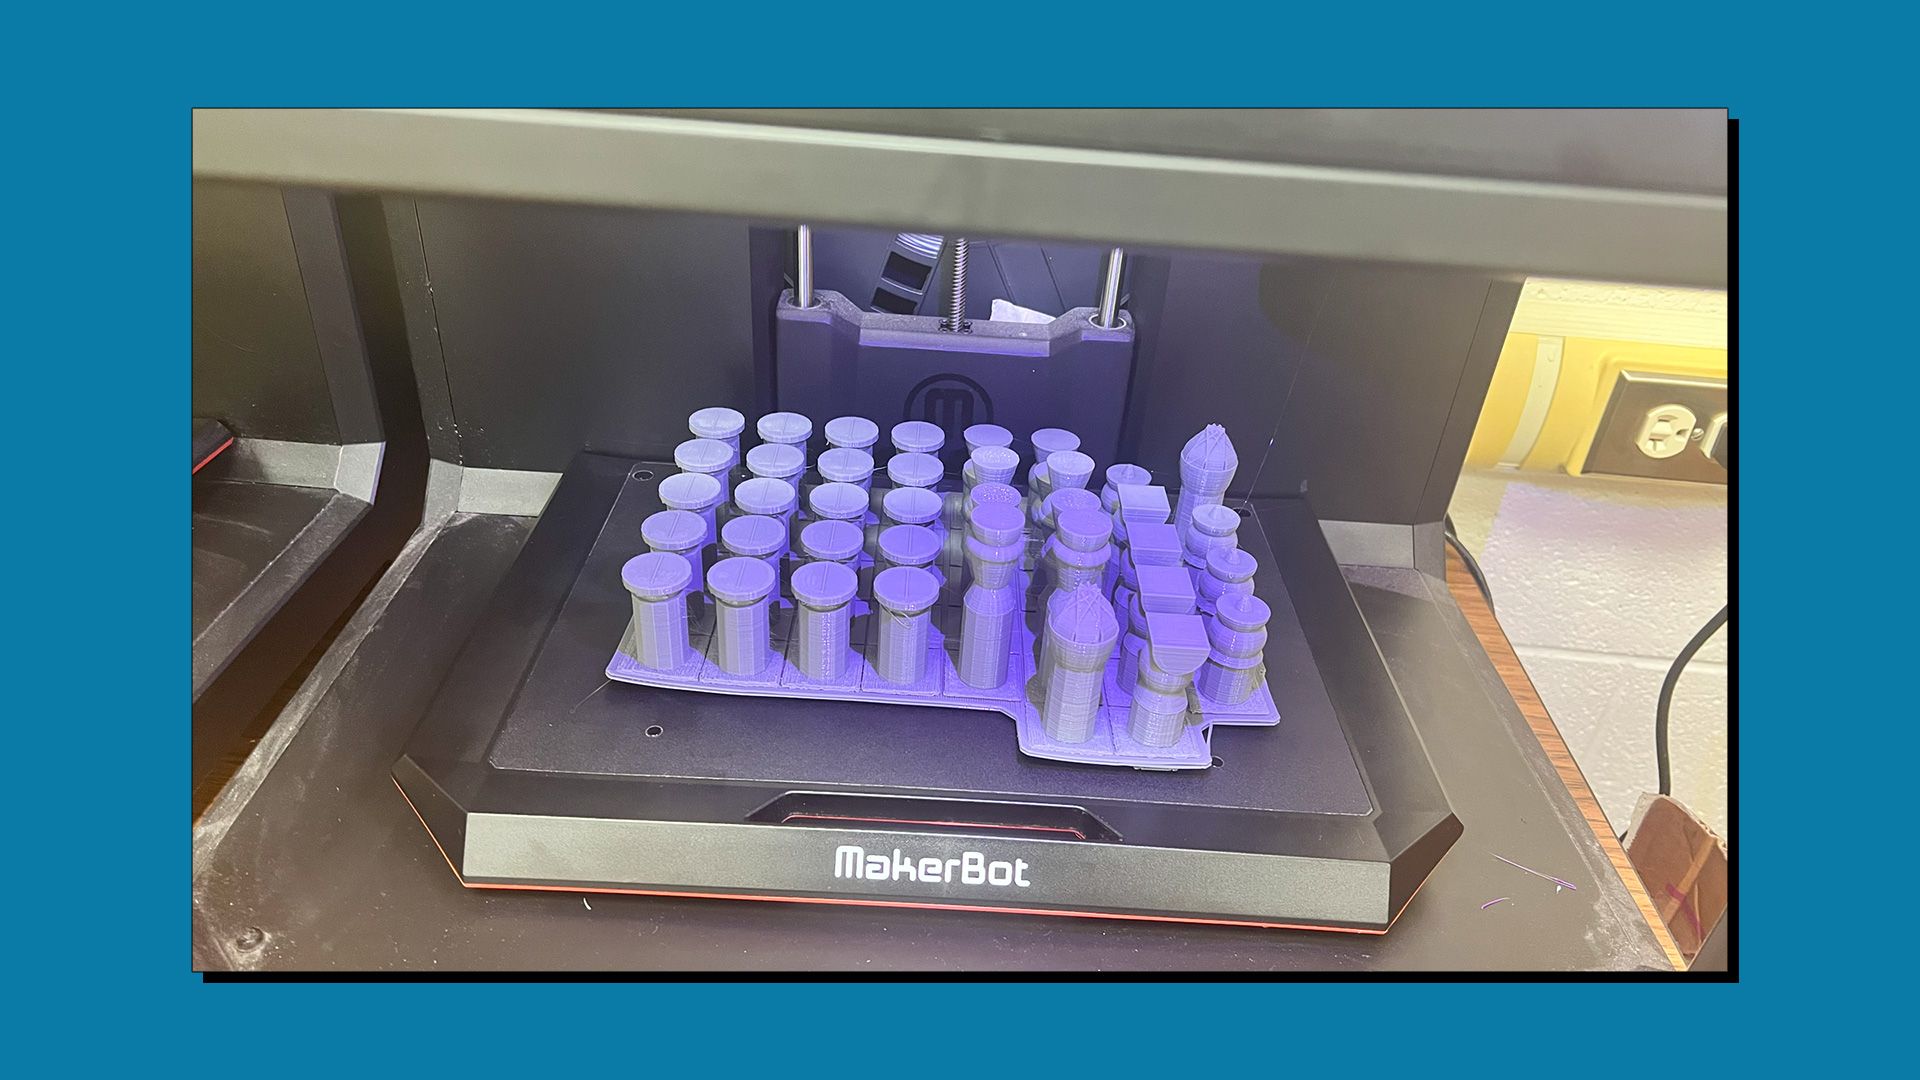
There was a large variety of games that students made. Clue was a popular game and it was made in the themes of Stranger Things and Harry Potter. These students made dice and player pieces for their games. I had a few students make a version of chess and they created their own chess sets on Tinkercad. Students who made card games generally created storage boxes for their cards. I had a couple of kids make soccer themed games and they created soccer goals and soccer balls for their 3D print.
Some students choose to make games themed around something personal for them. One student made a spoons card game about her family and her 3D printed item was spoons that she created. Another student made a Game of Life themed around his Mexican American heritage. His 3D printed item was the word America that he used as the center of his game board.
Can you talk about the experience for students. Did they have they have any challenges and what did they learn by designing board games?
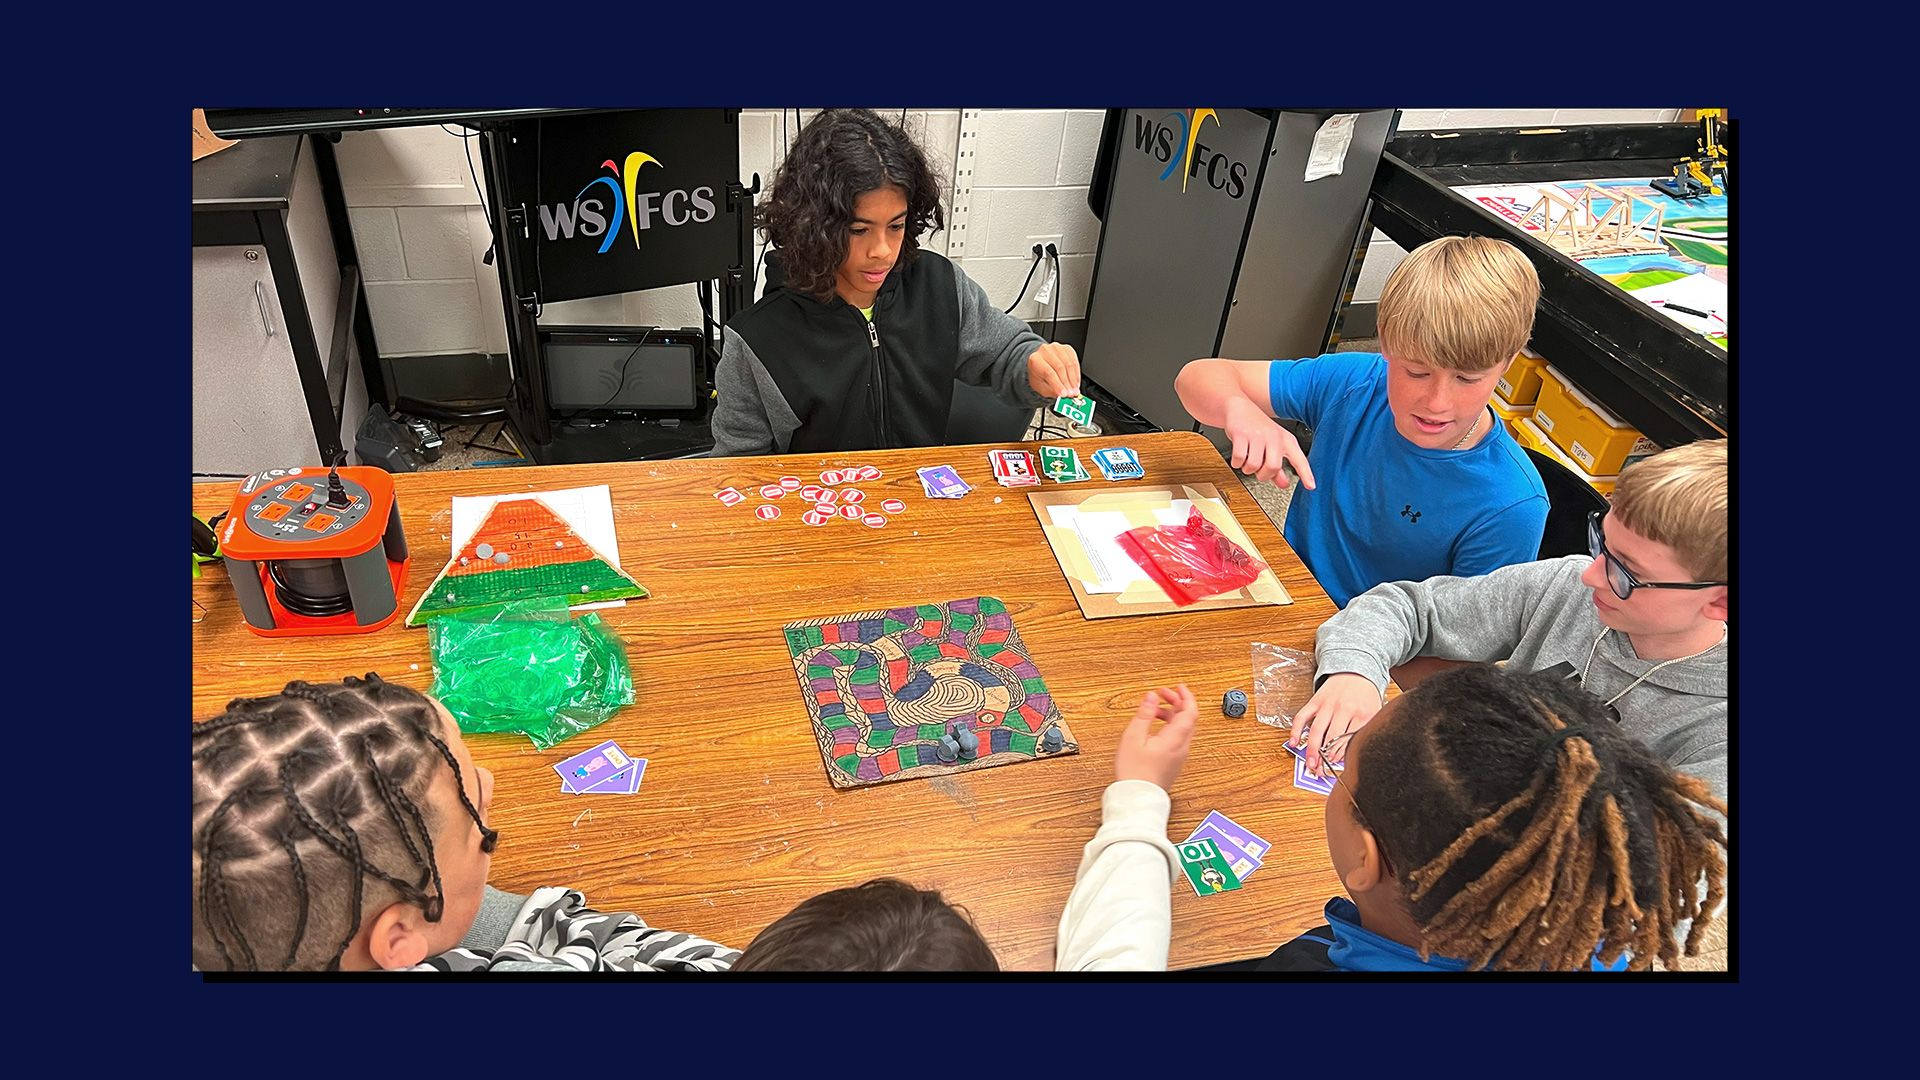
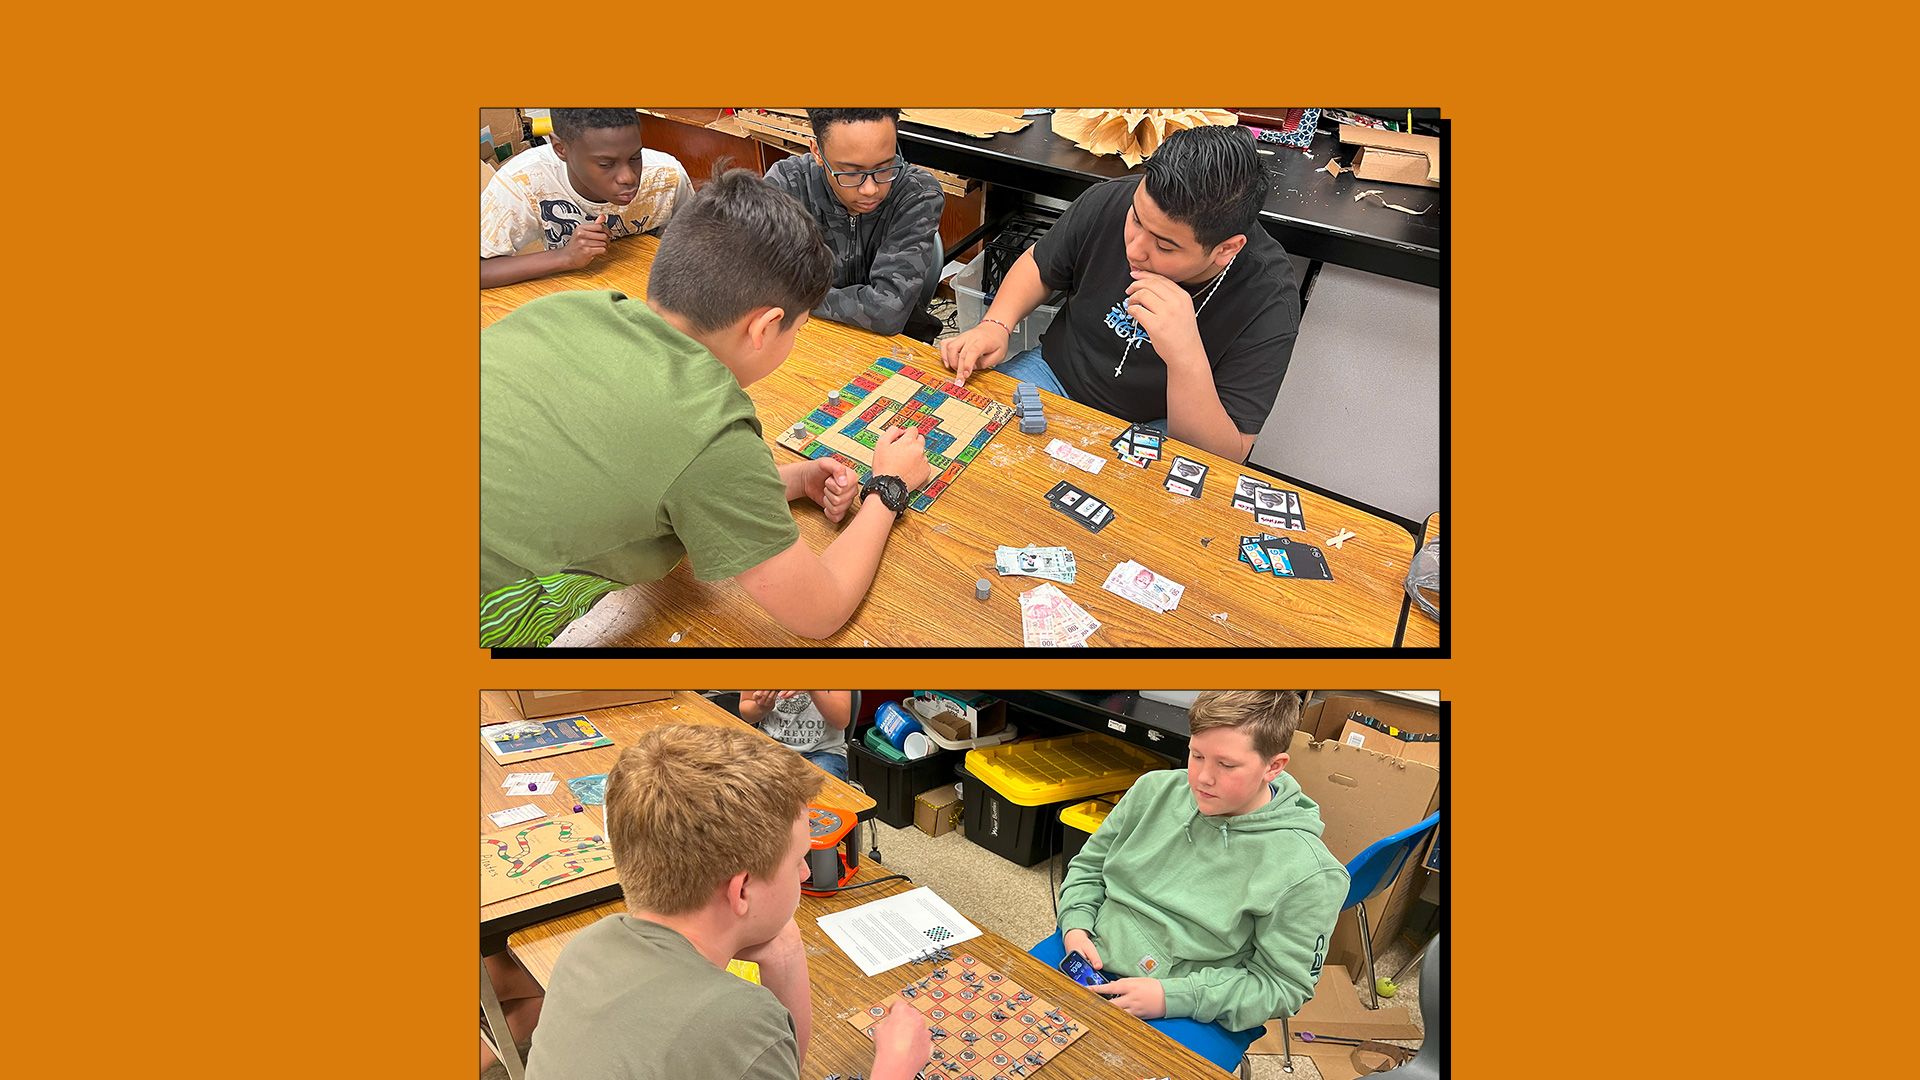
The students loved this assignment. They were engaged the entire time we worked on it in class. Some of them got very creative with their themes. It took over a month of class time for them to complete all the work involved.
Some students had problems with scaling the board game design for their board. I have decided that we will do marble mazes that are scaled from graph paper next year to introduce the concept before the board game challenge. Scale drawing is actually a seventh grade math standards so I feel it is important to include this in the challenge.
There were also problems with understanding the size of their CAD file items. As part of the research for the assignment, we did a lesson to review reading a metric and standard ruler. I made the kids use metrics for their CAD design and they used standard for their board game. Their ability to read a ruler and estimate size really improved as the assignment progressed. They all learned to keep a ruler handy while they worked so they could make sure everything was the right size.
Finally, if you were to give teachers 1 tip for 3D printing in the classroom, what would it be?
Figure out a way to work 3D printing into an assignment that the kids personalize in some way. This assignment got everyone excited about creating something to 3D print since what they were making was personalized to them.
—
A huge thank you to Carrie for taking the time to share her experience today and we look forward to welcoming her back again in the near future! Finally, for those new to 3D printing in the classroom and those looking for exciting new project to deliver, feel free to check out a trial to PrintLab’s curriculum here.
Until next time!