An Occupational Therapist’s 3D Printing Project Portfolio
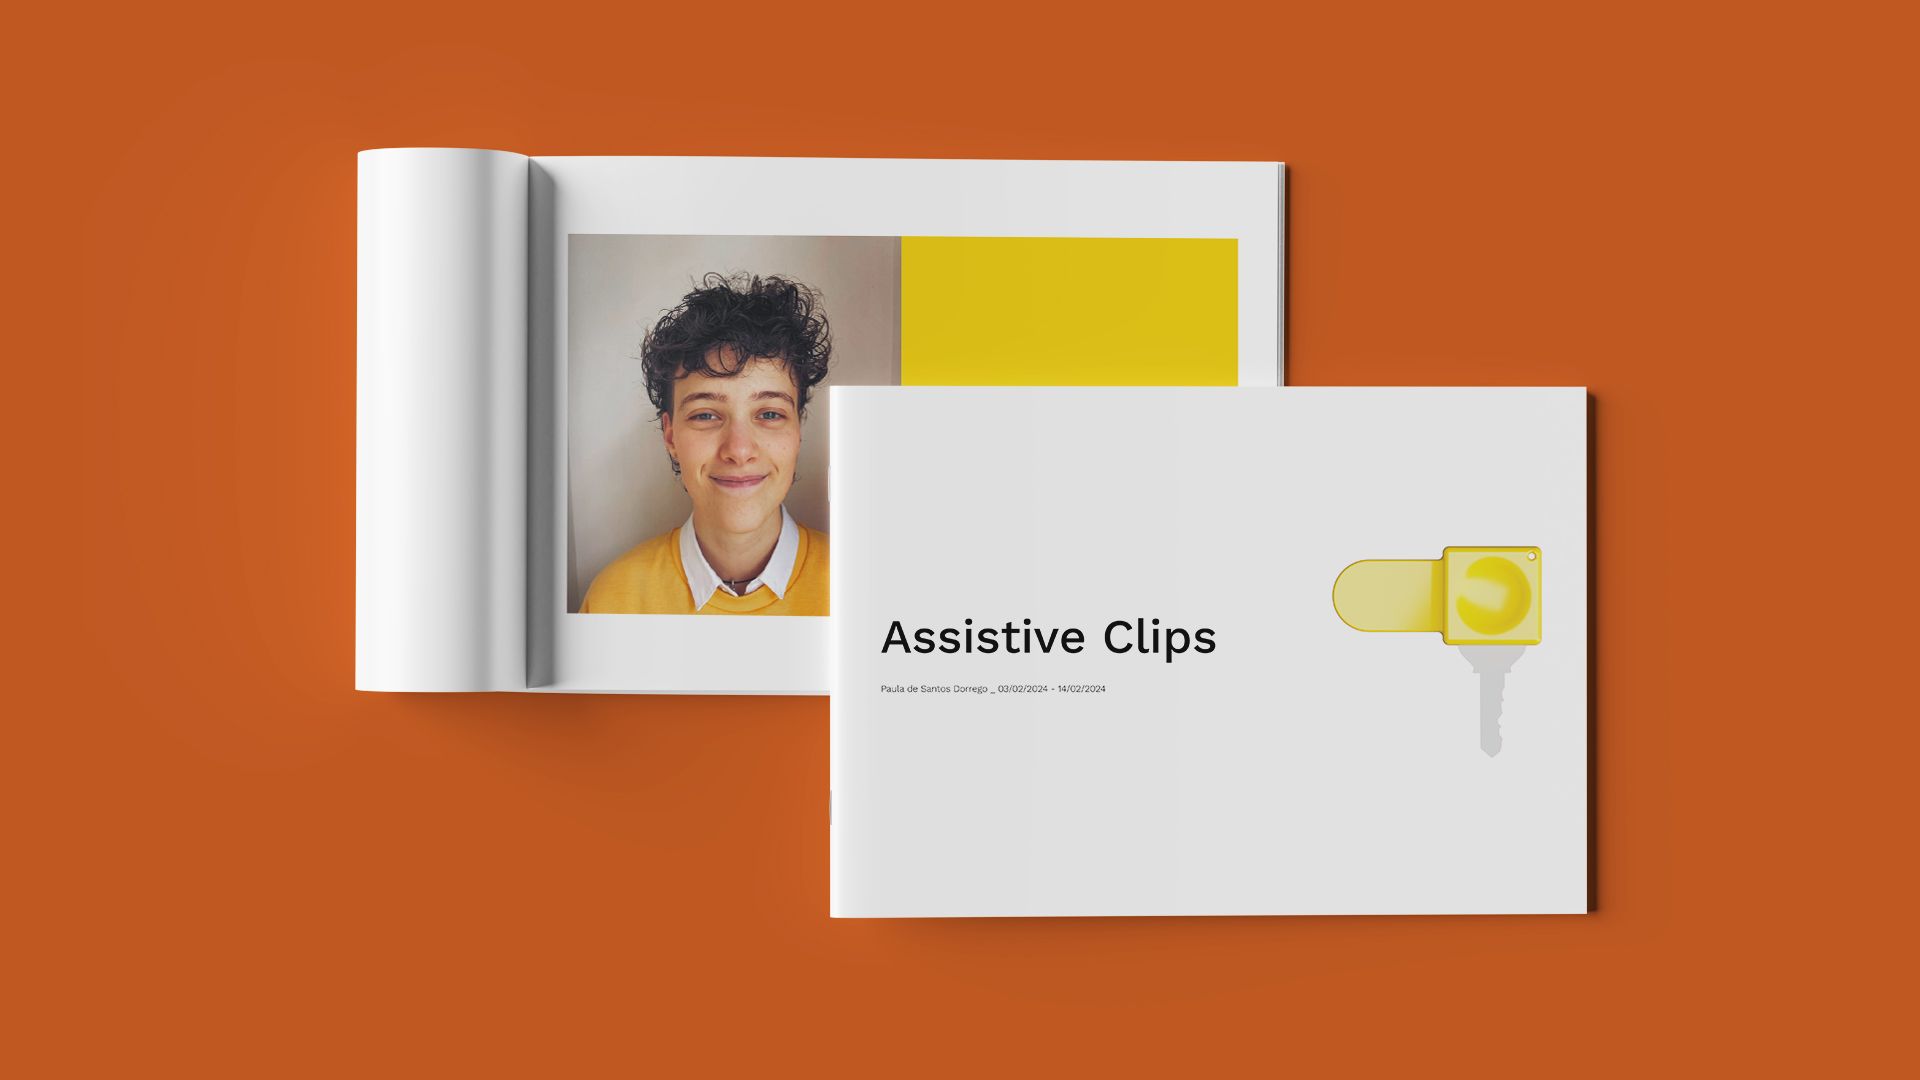
Several weeks ago, we sat down with Occupational Therapist, Paula de Santos Dorrego, to discuss her journey with 3D design and 3D printing. Paula has been using the PrintLab learning platform to hone her skills and today we are delighted to share her project portfolio for our Assistive Clips project.
1st May 2024 • Case Studies
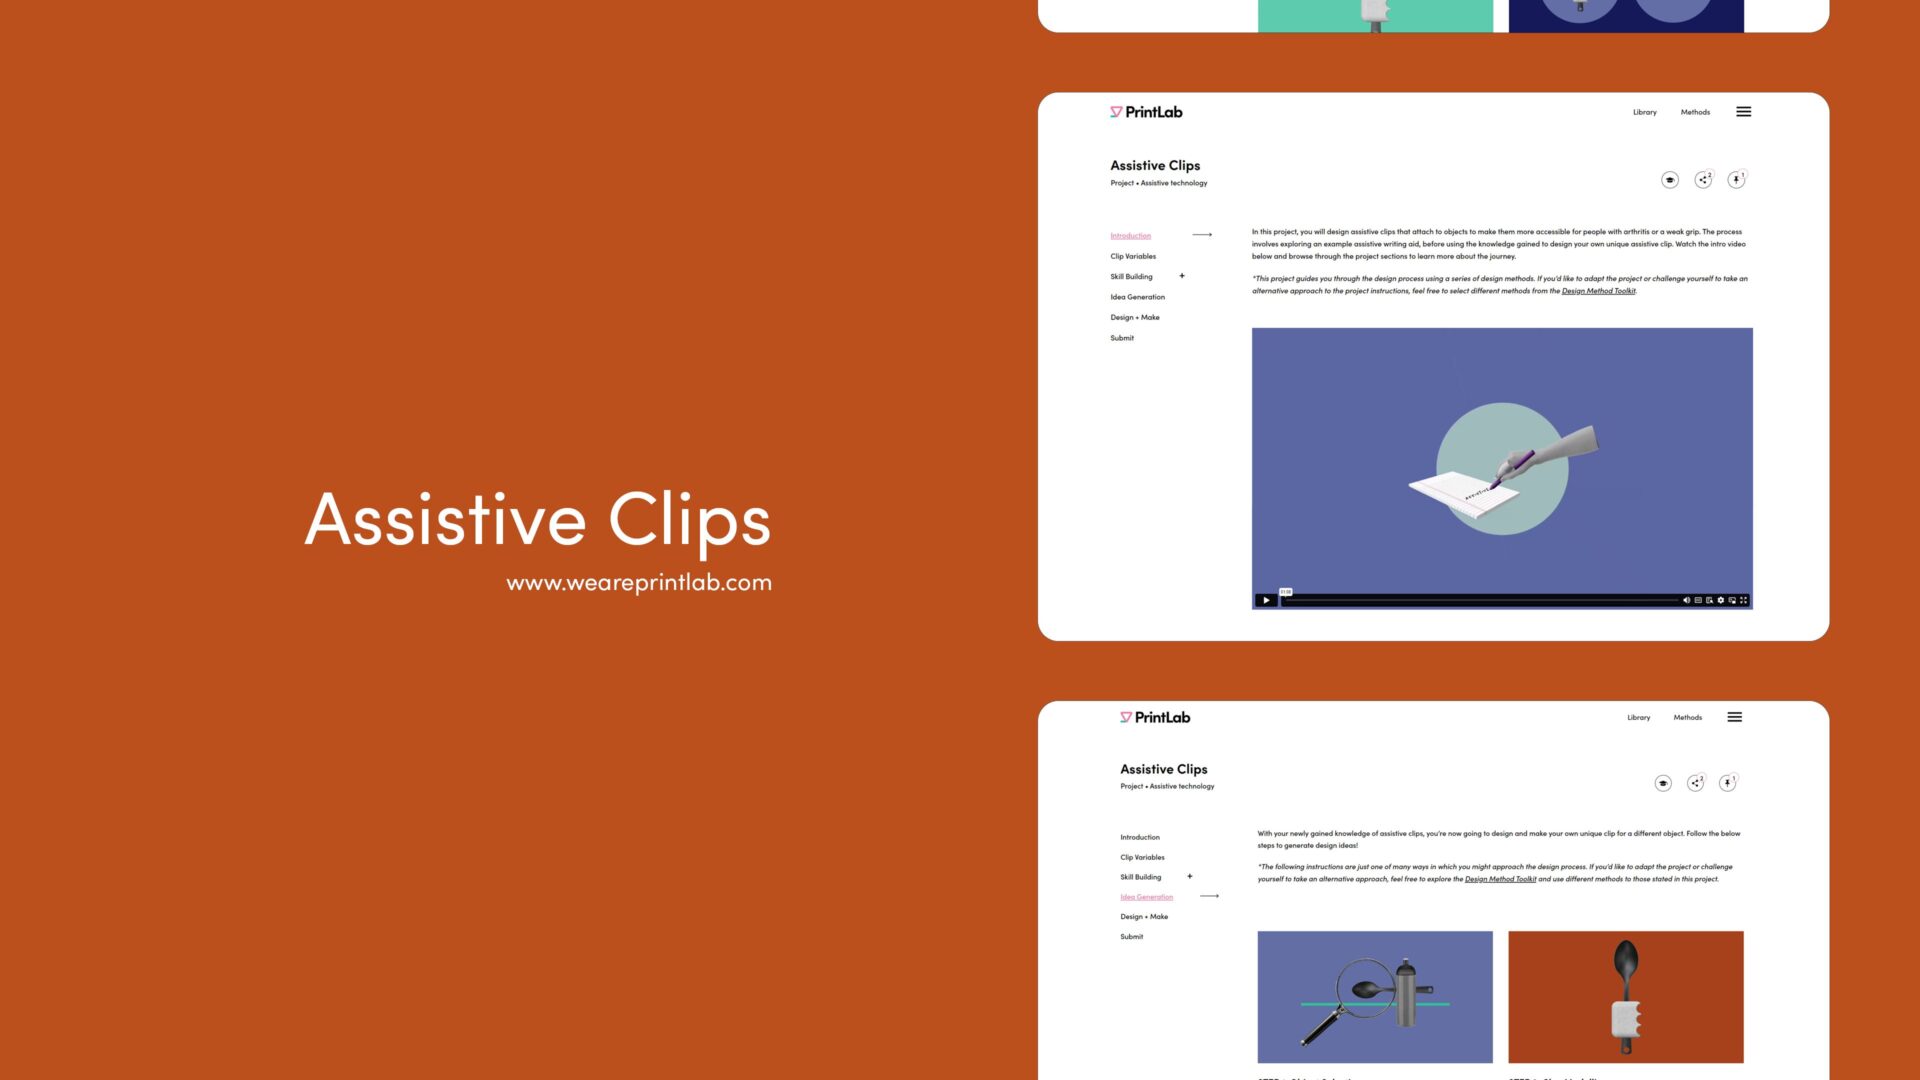
The project is based on designing assistive clips that attach to existing objects to make them more accessible for people with arthritis or a weak grip, and the project materials include a template portfolio to document the process. It can either be completed as a personal project to build new skills, or can also be adapted to design for a real end user. Let’s dive in and take a look at Paula’s journey. You can even download the full portfolio at the end of the blog :).
STEP 1: Context + Skill-Building
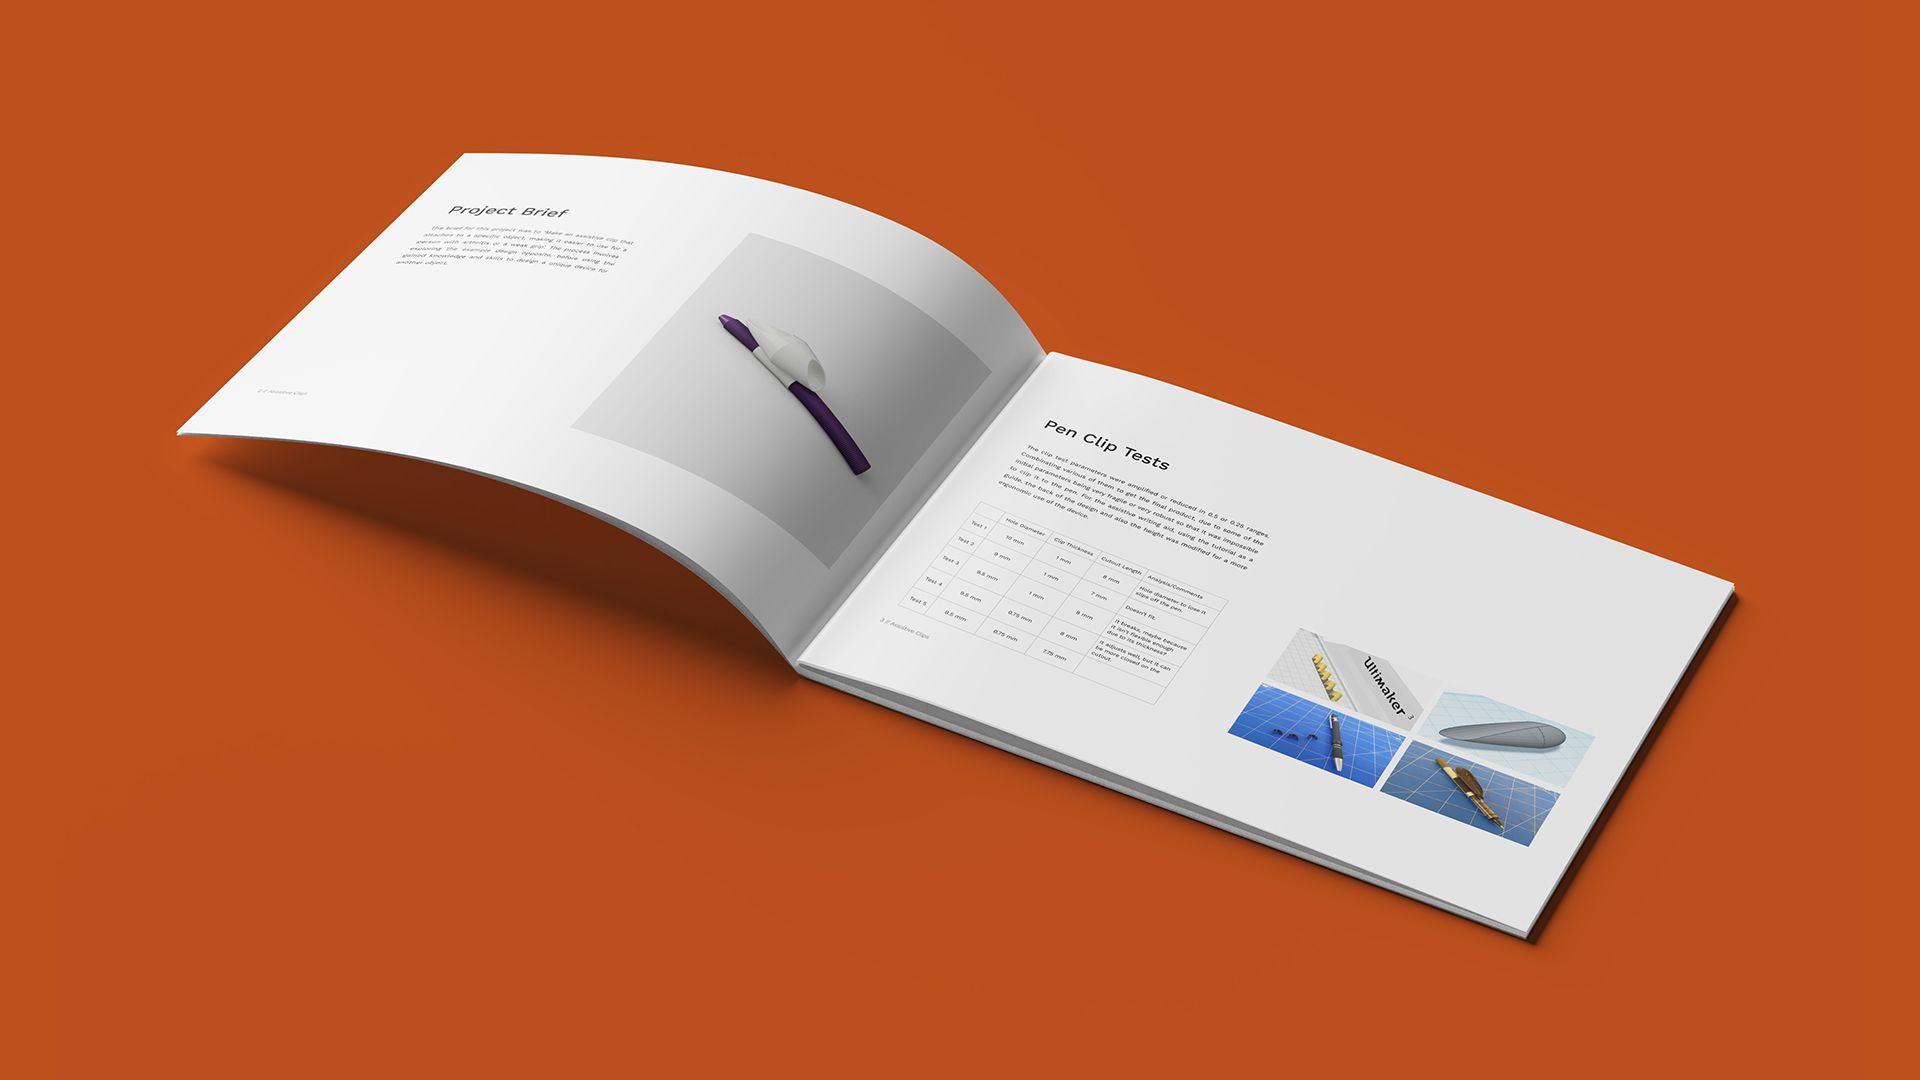
After watching the introduction video, Paula went through a series of skill-building activities and tutorials to design an example assistive clip in the form of a writing aid that widens the required grip. This means that users don’t have to close their fingers as much as with the original pen – alleviating stress on finger joints.
One of the key lessons learned here was how to correctly design models that clip on to existing objects. This was done using a method called ‘Small Scale Tests’, which involved designing and making miniature clips – all with slightly different hole diameters, thicknesses and lengths, which allowed Paula to thoroughly understand the dimensional accuracy of her 3D printer. All these insights would prove beneficial for Paula’s unique design later in the project.
STEP 2: Object Selection + Prototyping
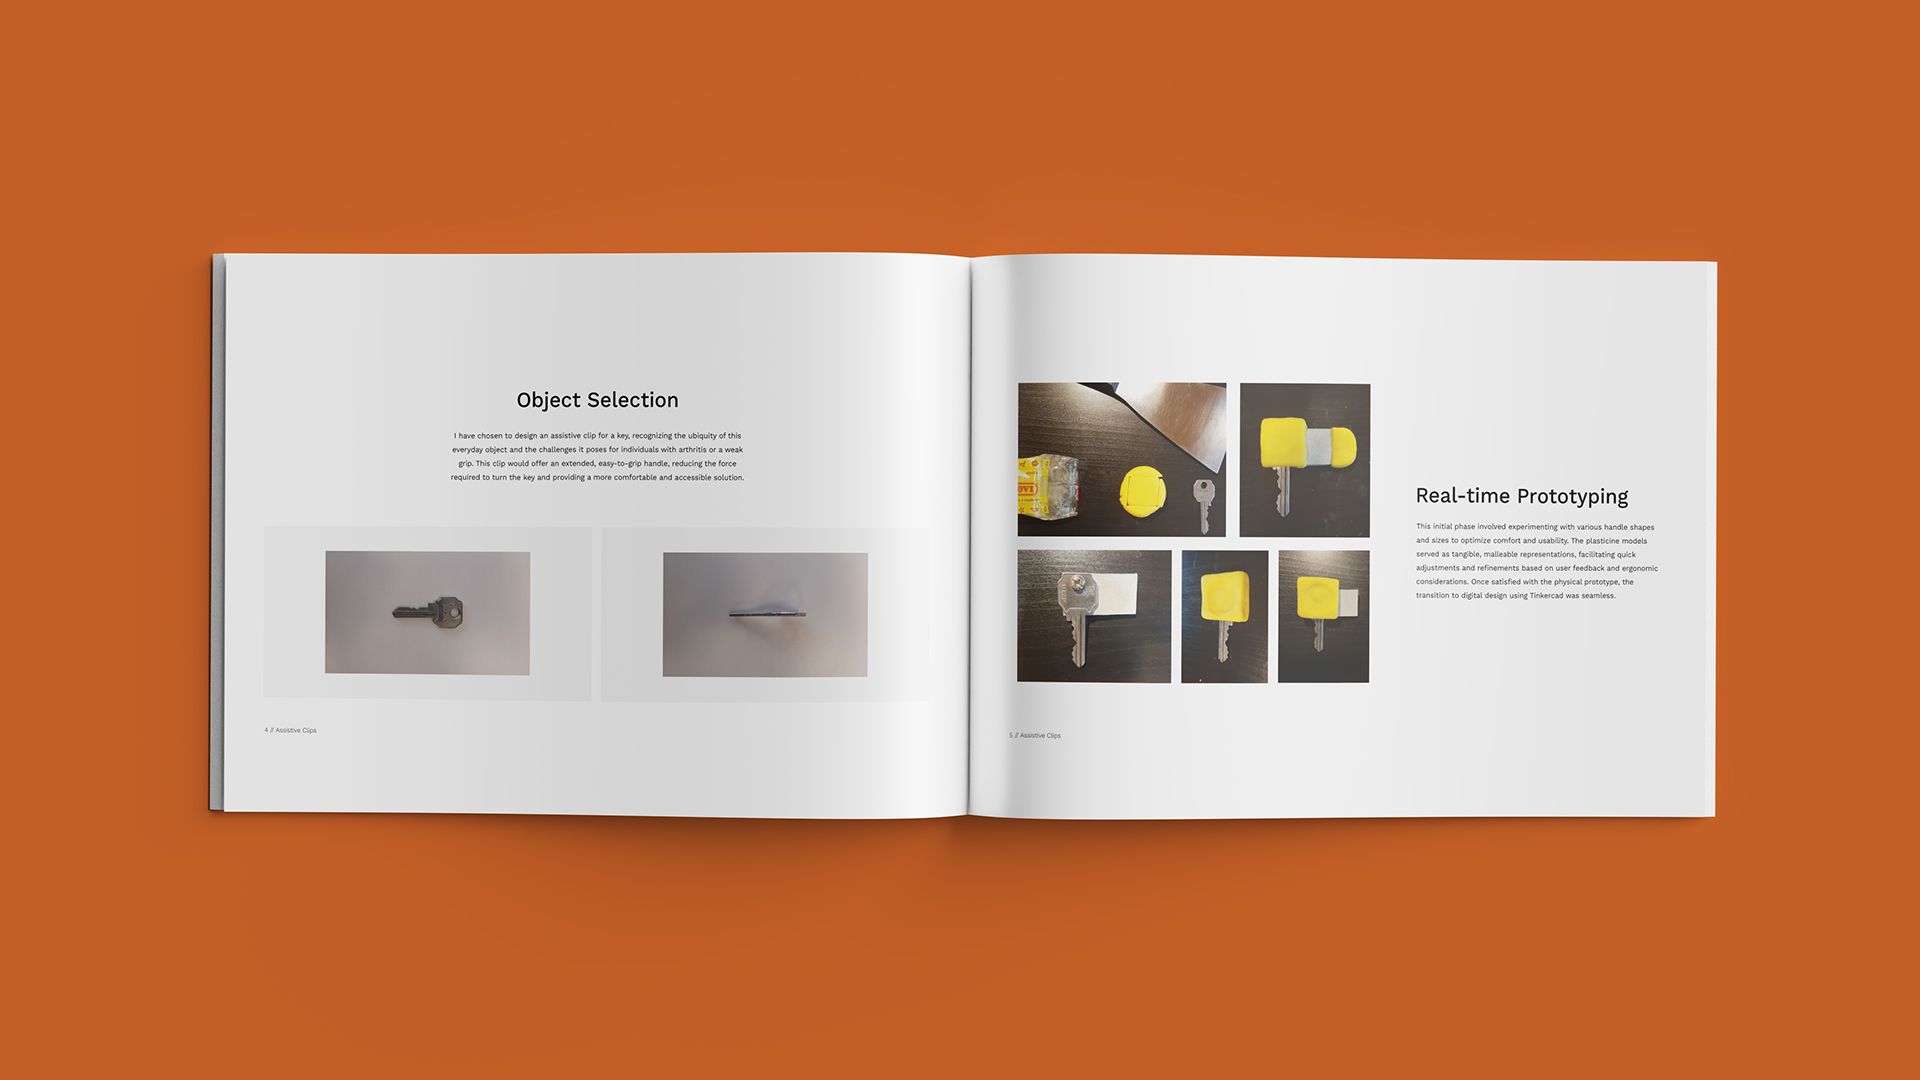
With the necessary foundational knowledge and skills in place, the next step was to select an object to design an assistive clip for. Paula’s choice was a key, as she recognised the ubiquity of this everyday object and the challenges it poses for individuals with arthritis or a weak grip (included her Grandma). Her aim was to create a clip attachment that would utilise leverage to help with the turning action. By following the project instructions, Paula used another creative design method called ‘Real-time Prototyping’.
Real-time prototyping is a way of rapidly creating rough models of products and services. By using materials or a kit of parts that are not permanently fixed in position, you can create multiple prototypes from the same materials – saving you time and resources. In this case, Paula used cardboard and clay to form a series of ergonomic attachments to the key with various handle shapes and sizes to optimise comfort and usability.
After each prototype was created, it was tested in real-time and images were taken, as well as notes to document thoughts about the design. Once multiple designs were tested, the one with the most potential was chosen as the key idea to take forward (no pun intended).
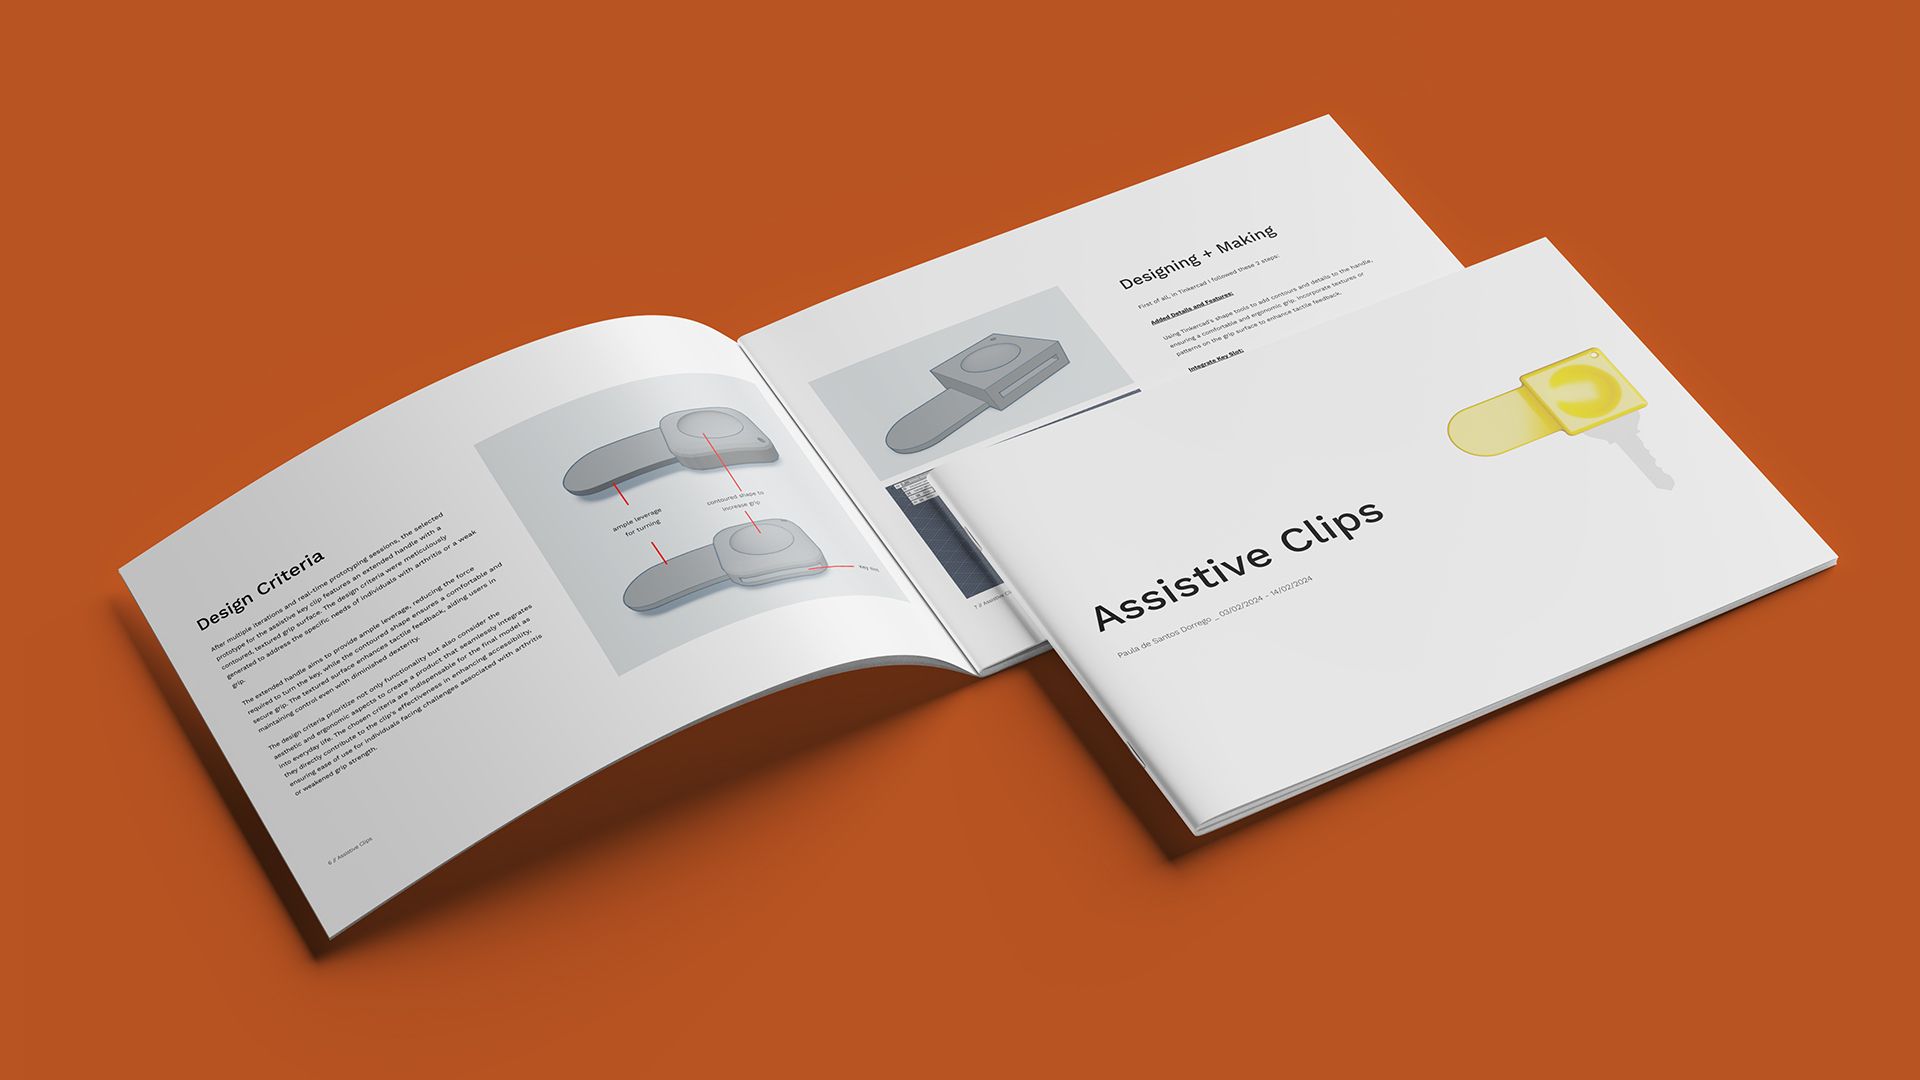
STEP 3: Designing + Making
In addition to defining the key idea, the real-time prototyping activity also helped Paula to generate a range of design criteria to follow as she moved from prototype to 3D printed product. These included criteria for shapes, textures, sizes and aesthetics. Using the final prototype model and her design criteria as a base, Paula generated a 3D CAD model in Tinkercad before sending it to Fusion software for detailing. And finally it was 3D printed.
STEP 4: Iteration
The 3D printed product underwent practical testing with intended users, including Paula’s Grandma, while Paula observed their actions and listened to feedback. Improvements were then made to the form of the model to reveal the final product.

We hope you enjoyed this blog about Paula’s journey. You can view the full portfolio here and you can keep up-to-date with Paula’s journey on LinkedIn. If you’d like to try the assistive clips project yourself, check out the free trial to PrintLab here. A big thank you to Paula for sharing her portfolio with us!